A Beginner’s Guide to Using Notion with Screenshots
Notion is a great productivity tool that can do a multitude of things. However, if you are just getting started using it, Notion can be very daunting as there really is no manual on where and how to get started. That is why I created this guide, to help you get started with Notion by teaching you how to do the essential things in Notion.
Before we get started, if you are looking to learn even more about Notion or other apps, Skillshare is a great resource to check out. Skillshare has courses on Notion, Evernote, Todoist, Things 3, Trello and more. In fact, there is a great Notion course by Francesco D’Alessio on Notion that you can check out at the link below:
Link to Notion Course on Skillshare
If you are looking for some quick tips and tricks, check out my article on the 14 cool tips to using Notion at the link below:
Link to 14 Awesome Tips for Notion article
If you are looking for a system for setting up your Notion Workspace, you should check out The Bulletproof Notion Workspace by Notion VIP. It is an excellent organizational system that provides a strong framework for setting up Notion. You can either manually setup the system using the above video as a reference or purchase the fully developed templates from the link below:
The Bulletproof Notion Workspace – Notion VIP
If you do choose to purchase the templates, use my coupon code productiveengineer for $50 off.
Creating a New Notion Page
Notion is essentially a turbo-charged wiki that consists of pages that you can add blocks of content and functionality to. Creating a page in Notion is very easy.
To create a new page in Notion, do the following:
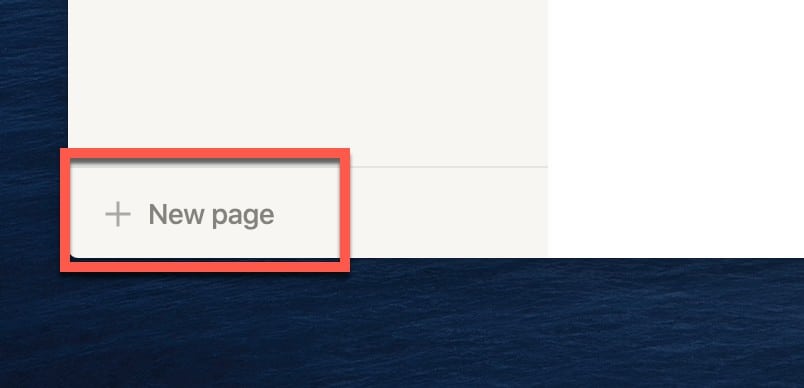
Open Notion. In the lower left-hand corner of the Notion window, click the “+ New page” button to create a new page.
Add a Cover Image to a Page in Notion
Notion is all about customization and one of the ways you can customize your page is by adding a Cover Image.
To add a cover image to a page, do the following:
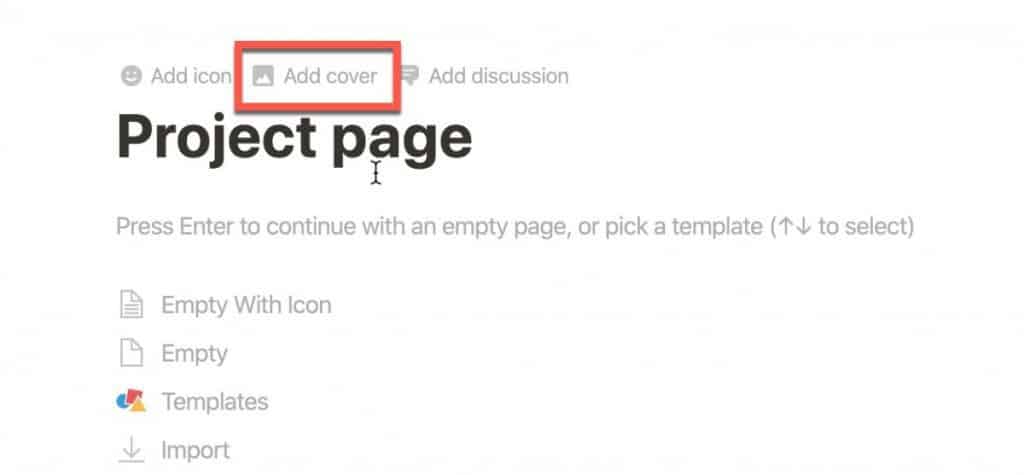
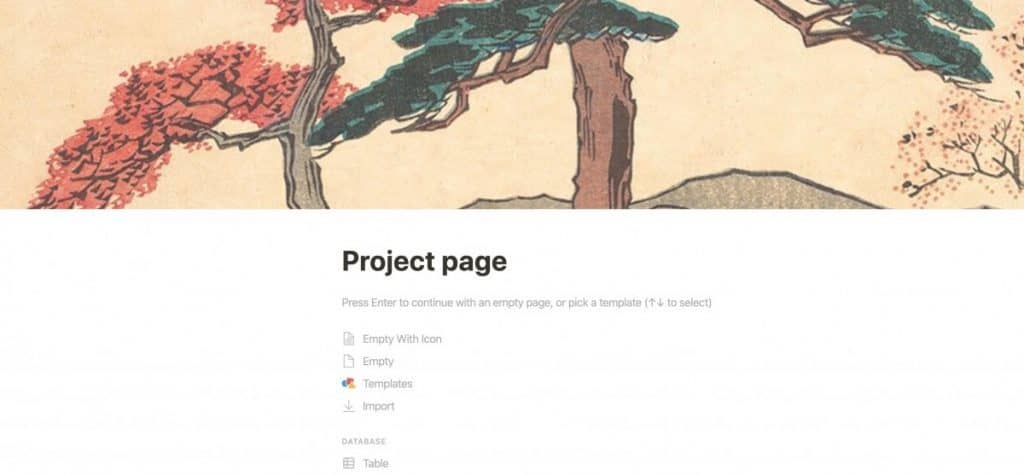
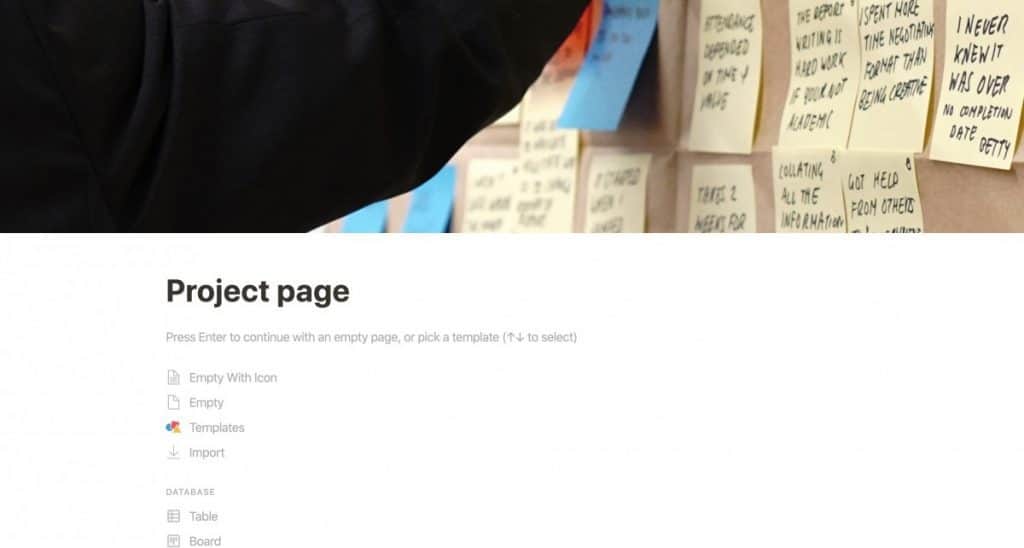
Open the page and scroll over the title of the page (in my example above “Project page”). Three buttons should appear:
- Add Icon
- Add Cover
- Add Discussion
Click the “Add Cover” button.
Notion will place a random image from its collection of images. To change the image, do the following:
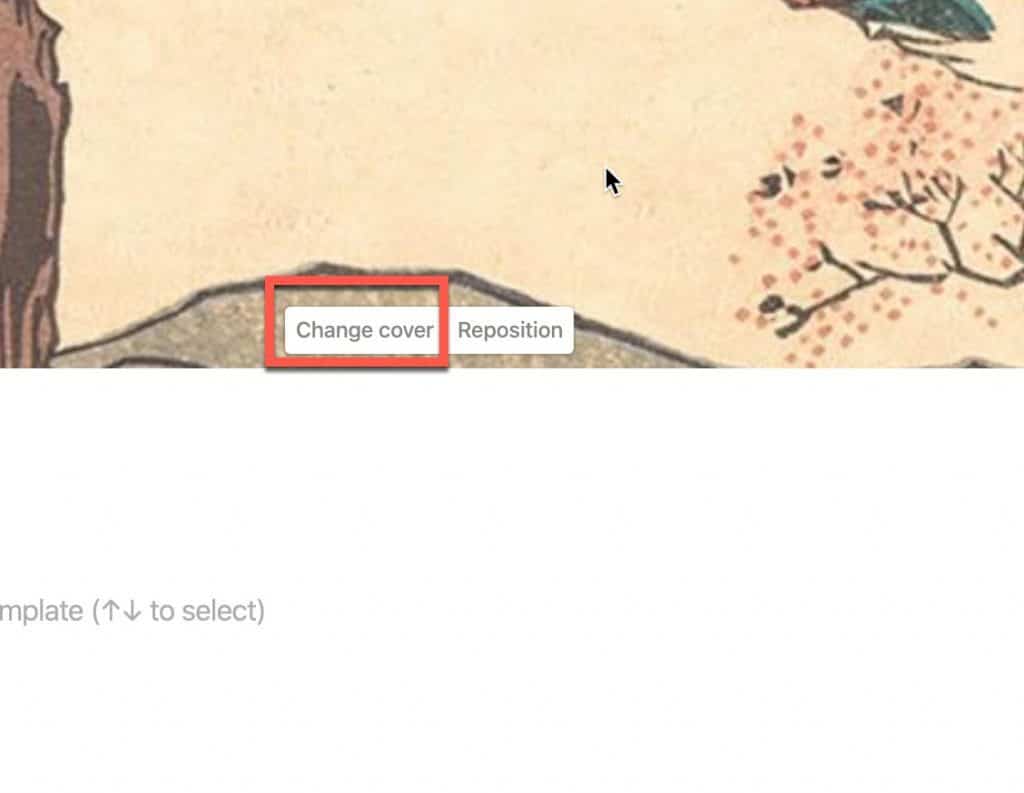
Hover your mouse over the cover image and you should see two buttons:
- Change Cover
- Reposition
Click the “Change Cover” button. You will see a dialog box like the one below:
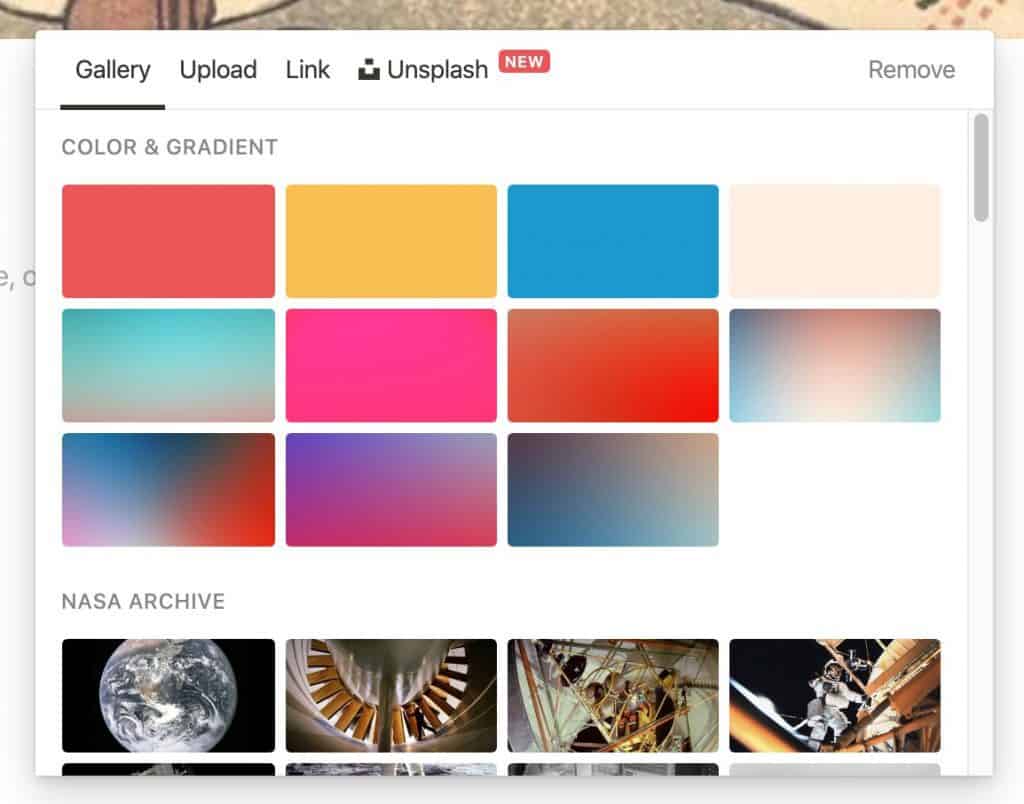
The dialog box has four (4) tabs:
- Gallery – a collection of gradients and images from Notion
- Upload – Allows you to upload your own images
- Link – Allows you to link to an image on the internet
- Unsplash – A third party photo service Notion allows access to (requires Notion paid subscription)
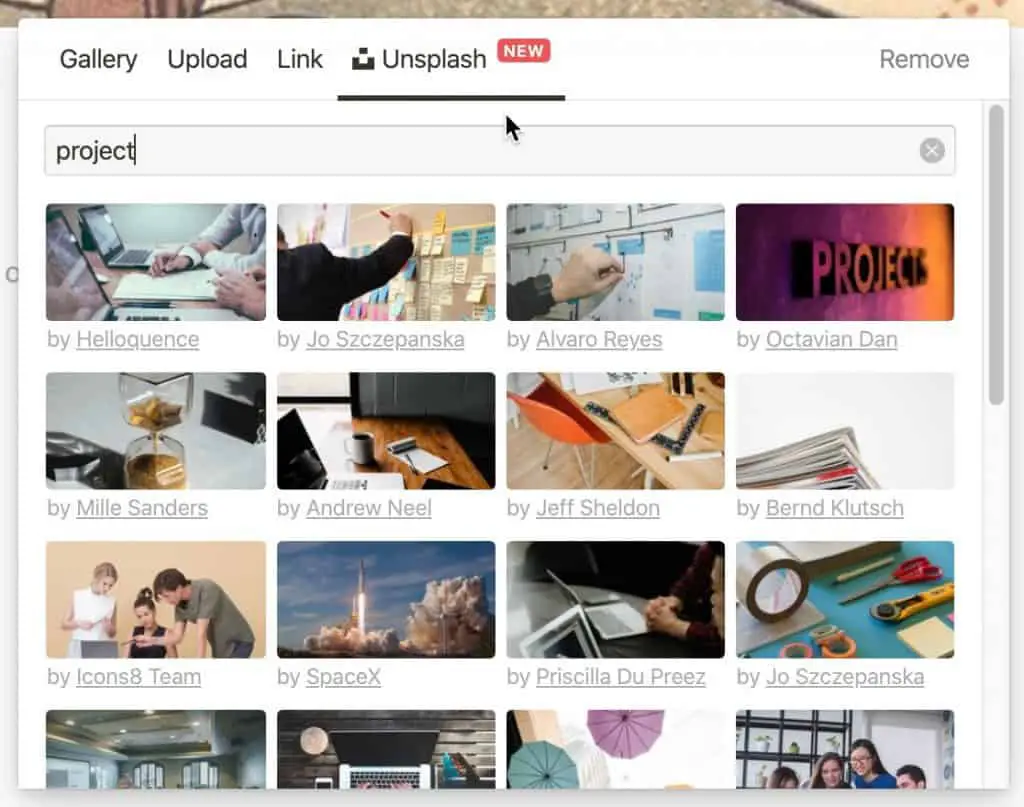
Choose the option you want to use. For my example, I will choose the Unsplash option. If using Unsplash, type in a description of the type of image you want.
Click on the image you want and Notion will use that image as your cover image. You should now see your cover image on your Notion page. But what if you want to re-position the image?
To re-position a cover image on a Notion page, do the following:
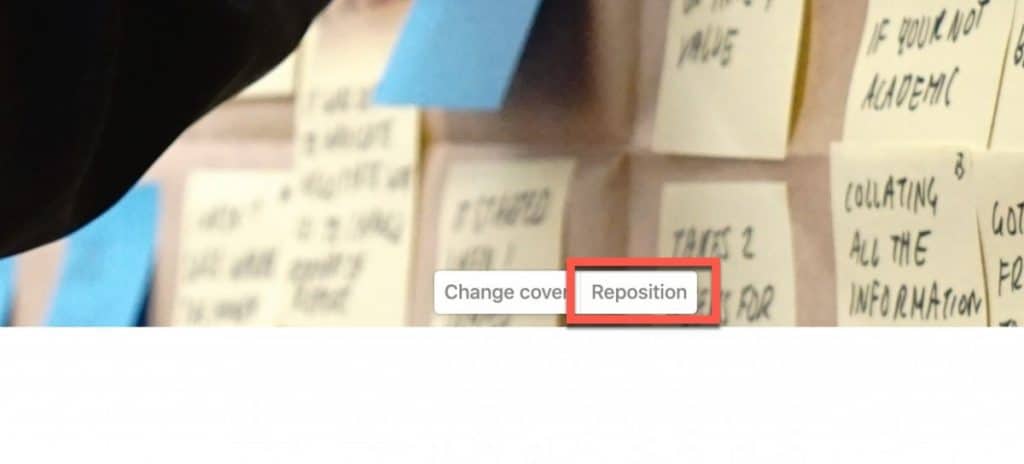
Hover over the cover image and click the “Reposition” button.
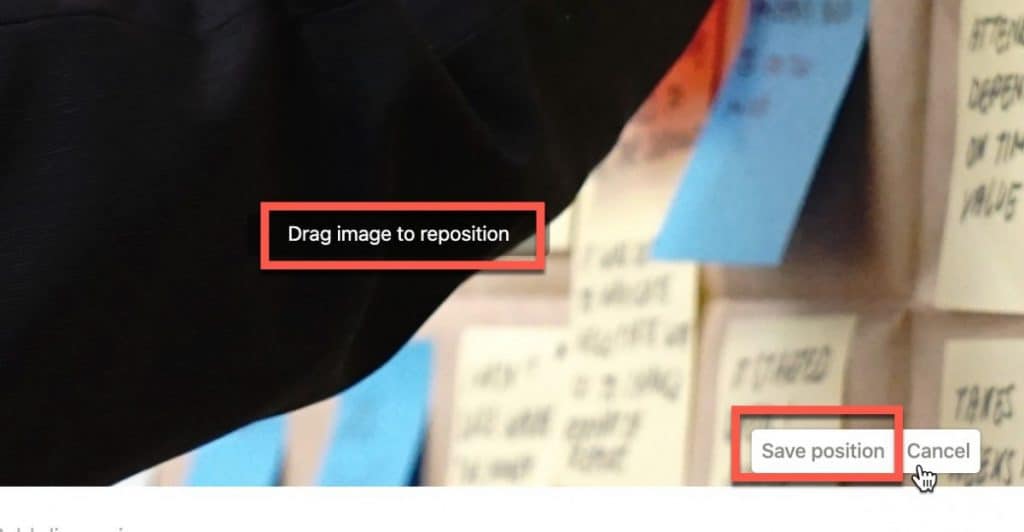
Click on the image and drag it to re-position it and, when you have it in the position you want it to be in, click the “Save position” button.
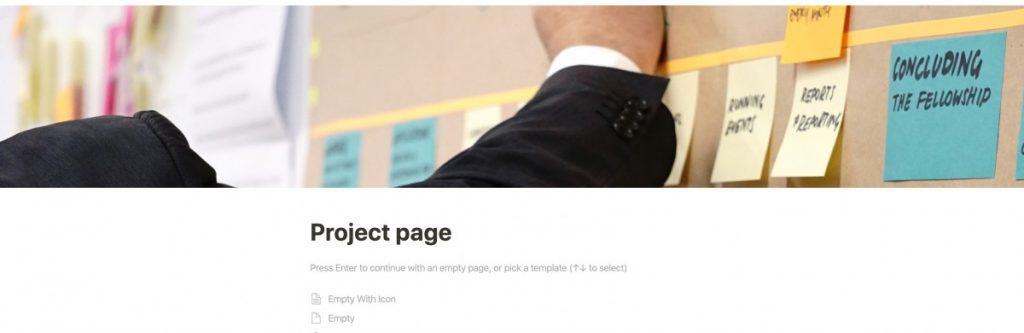
Your image will now be positioned appropriately in the Notion page.
If you are looking for a comparison of RemNote and Notion, you should check out our RemNote vs Notion Guide.
Add a Page Icon to a Page in Notion
In addition to supporting cover images, Notion also allows you to add an icon to your page. Page icons add a visual flair to your Notion page.
To add an icon to a Notion page, do the following:
Hover over the page title and click the “Add icon” button.
Notion will add a random icon to your page (as shown above). To change the icon, click on the icon.
You will be presented with a dialog box with three (3) tabs:
- Emoji
- Upload an Image
- Link
Select the tab you want and the image or emoji you want.
Your icon will appear on your Notion page.
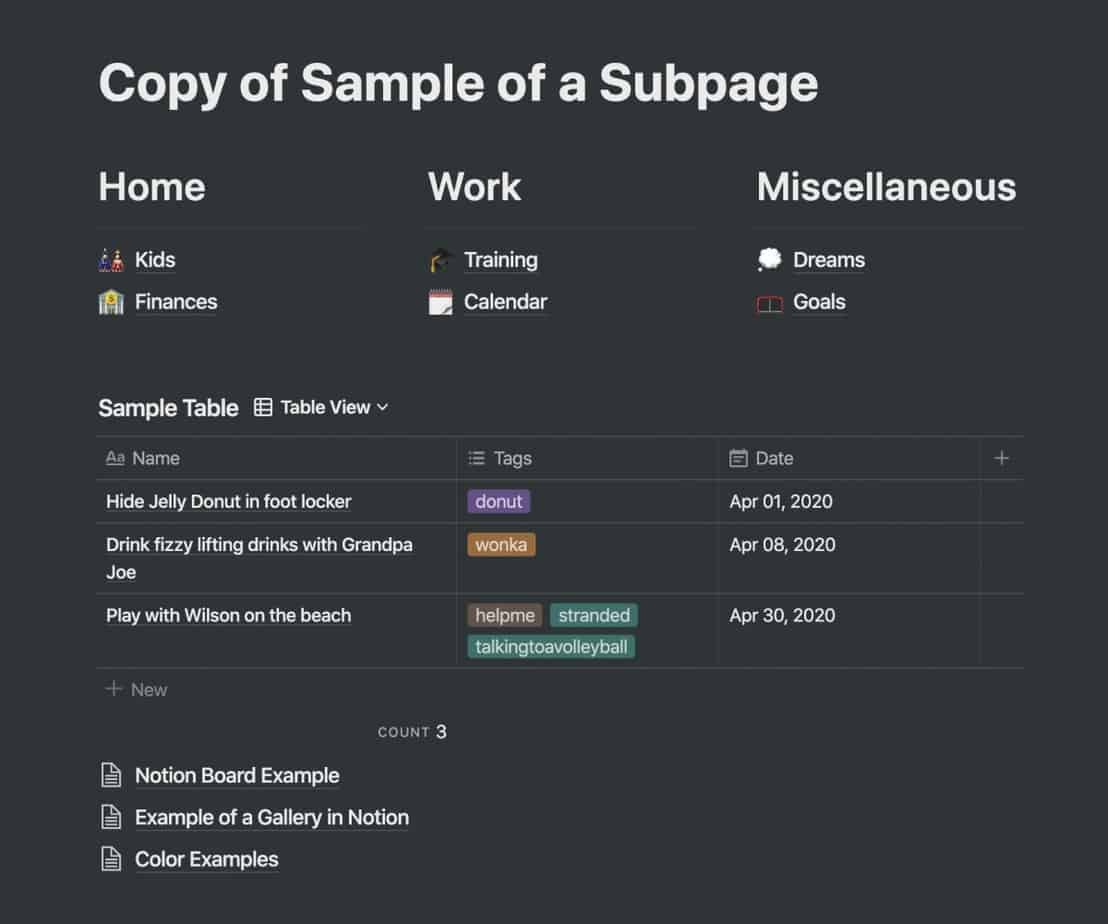
The nice thing about icons is that if your page is a subpage of another page, then you will see the icon before the name of the subpage as shown in the screenshot above.
Creating a Subpage in Notion
Notion leverages a hierarchical page structure, similar to how folders work on your computer. You can create subpages in Notion just as easily as you can create a normal page.
To create a subpage in Notion, do the following:
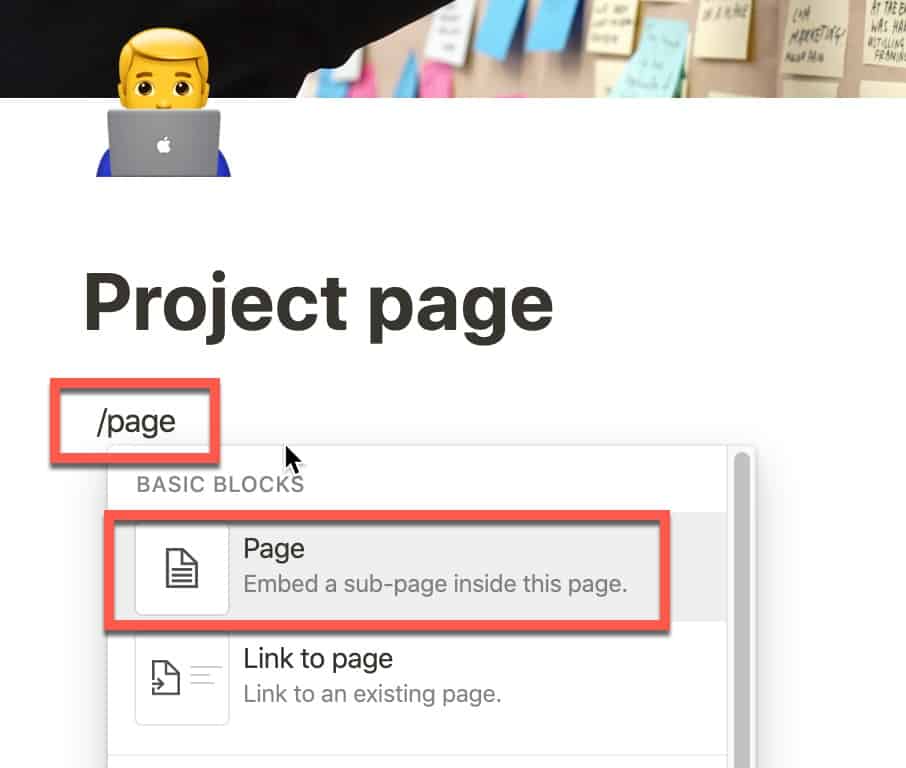
Open the Notion page you want to add the subpage to. Type /page and select the “Page” block.
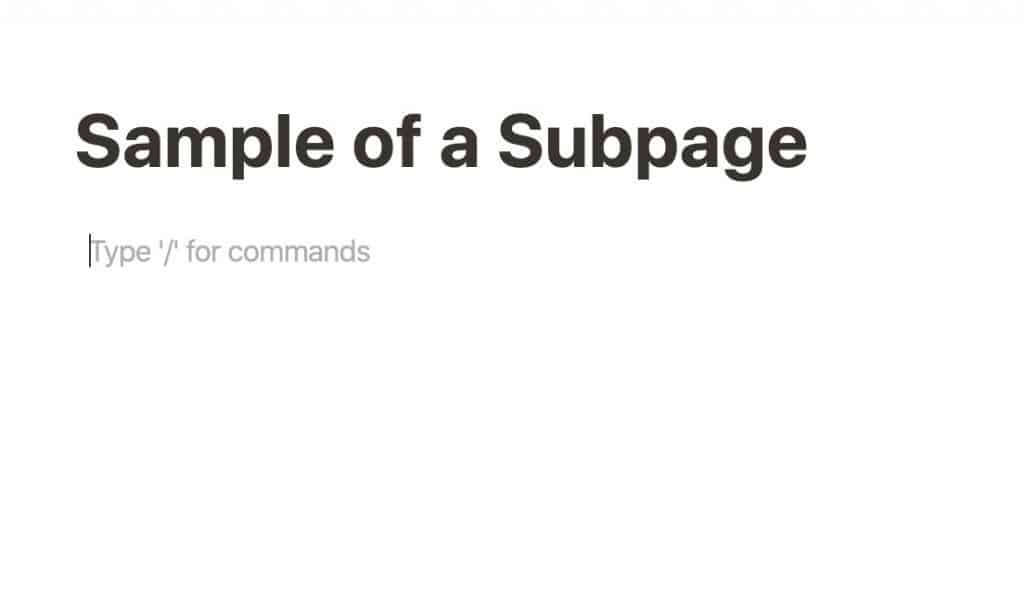
A new page will appear. Give your new page a title and press Enter.
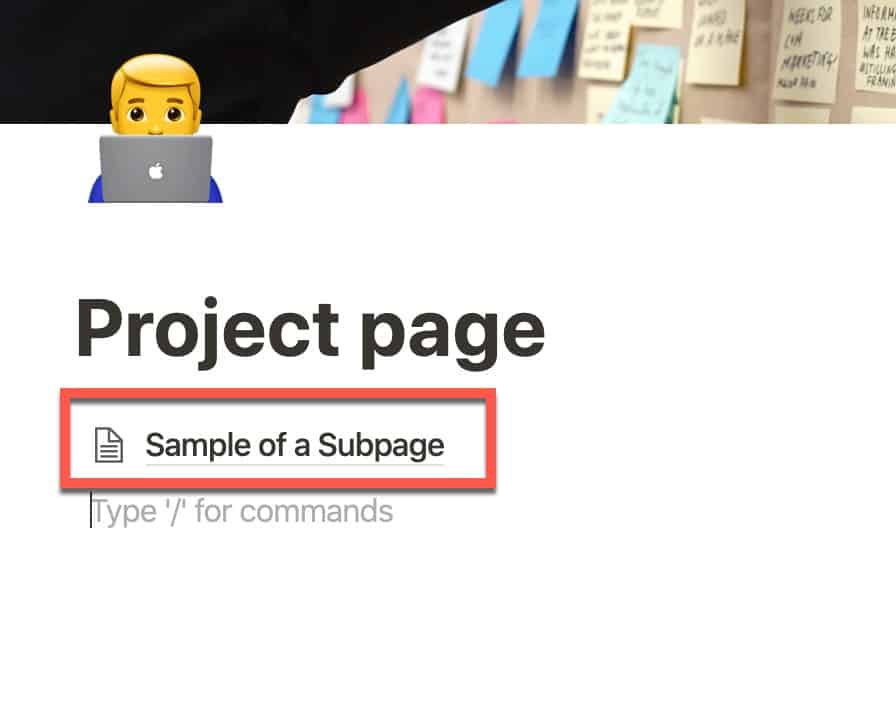
Navigate back to the original page you should see your subpage listed.
Page History in Notion
You can view the entire history of a page in Notion via the Page History feature. To use the page history feature in Notion, do the following:
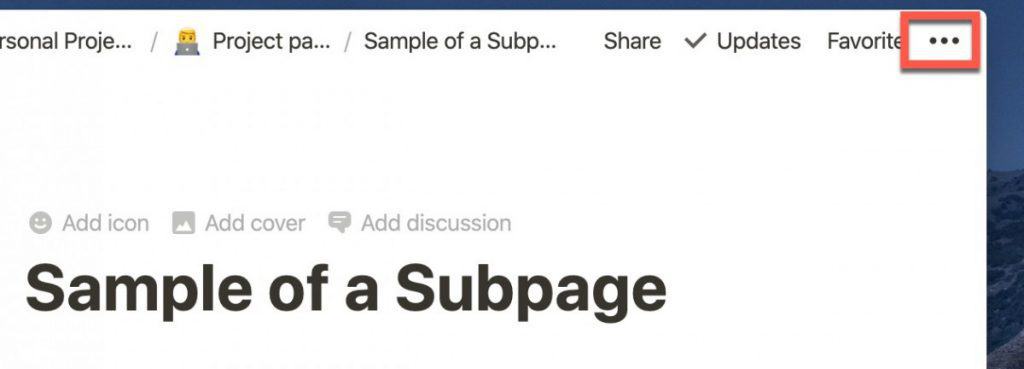
Open the page in Notion and click on the ellipsis (…) in the upper-right corner of the page.
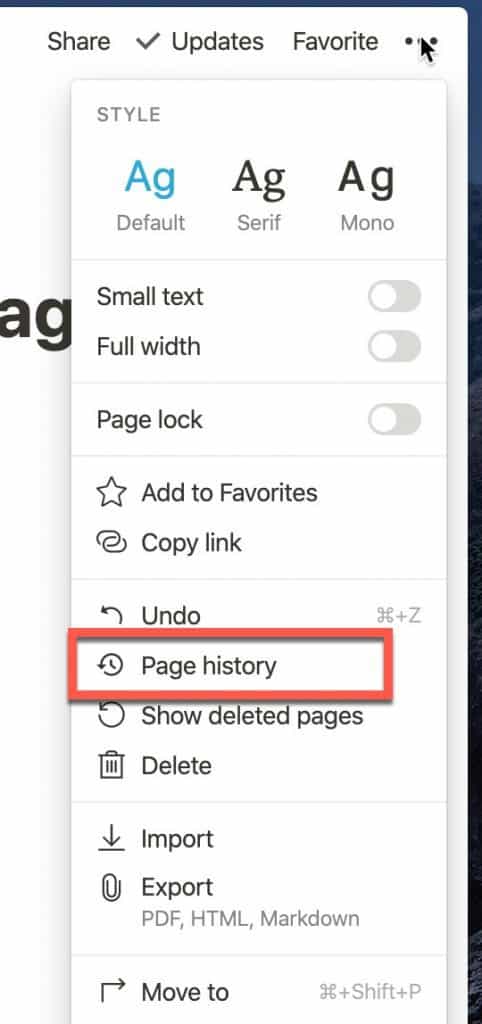
A menu panel will appear. Select “Page history” from the menu.
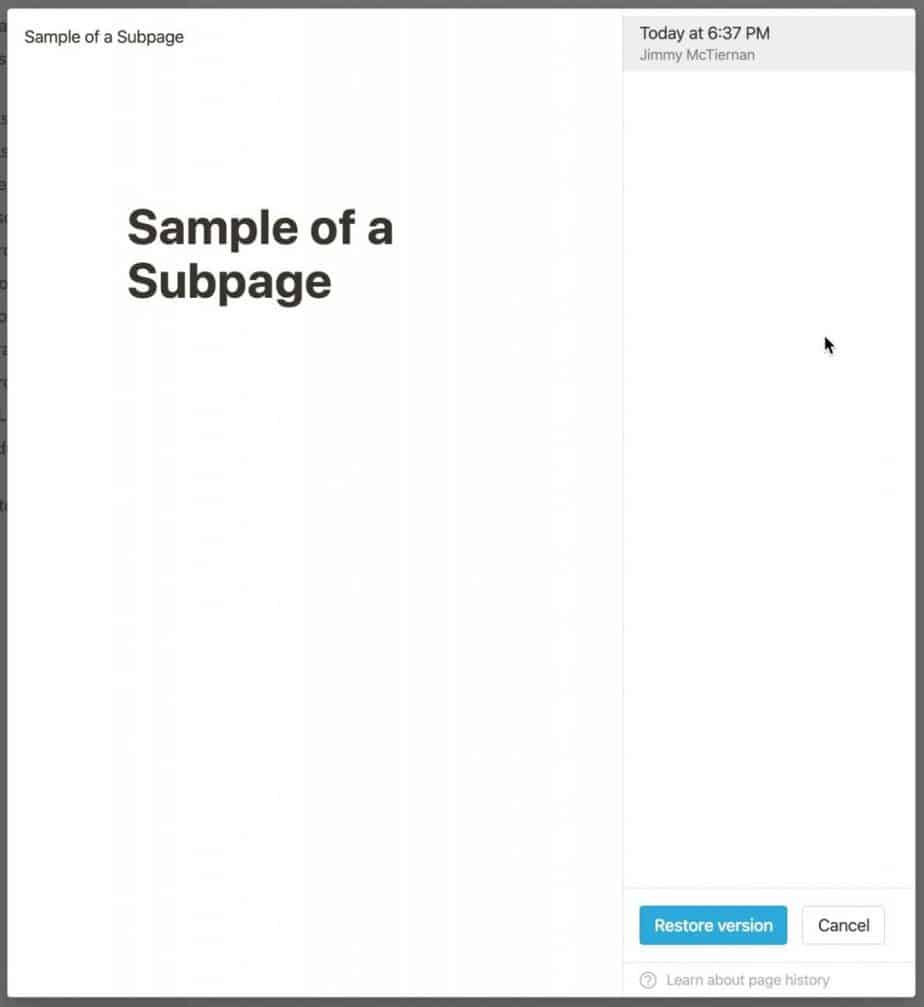
You will see a window containing the history of all the changes you made to the page. Clicking on any of them will show you the page with that change in the left panel of the window. The right panel contains a list of the changes by date. To restore a page to an earlier version, simply click on the version you want in the left-hand panel and click the “Restore version” button to restore the page to that version.
Create a Section in Notion
Pages in Notion can be very dynamic and one of the ways is by setting up sections on your page. For example, you can set up your page to have a three-column section. To set up a section in Notion, do the following:
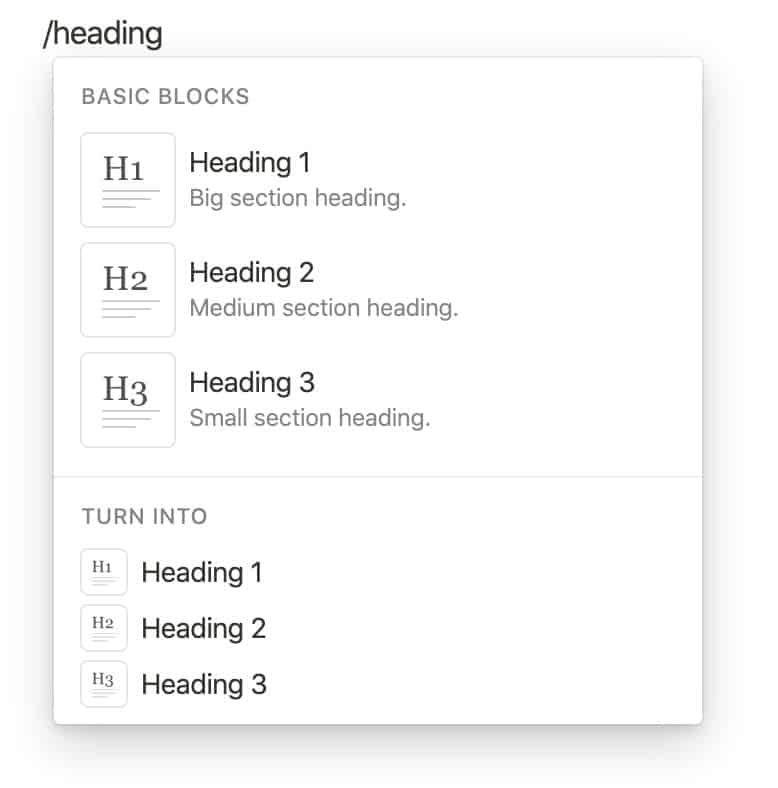
Create your headings by typing /heading and selecting the heading option you want.
Type out your headers for your section headings.
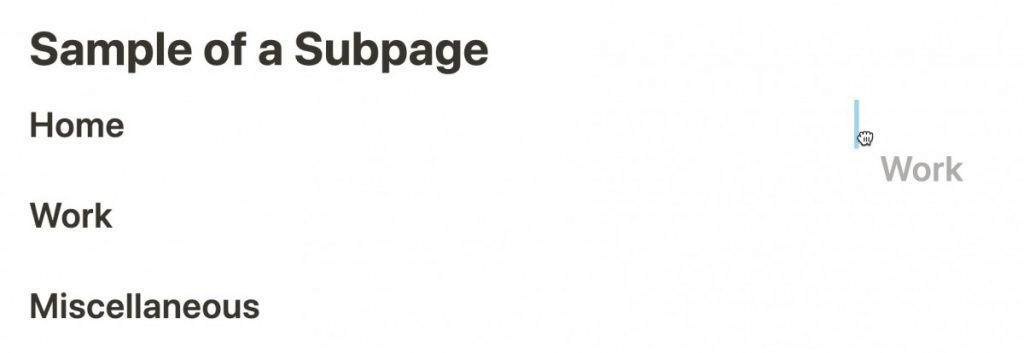
Once you have your headings created, click and drag the headings to arrange them the way you want.
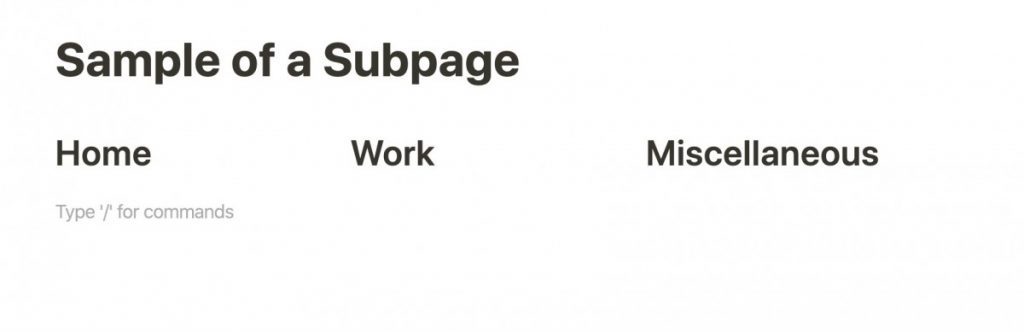
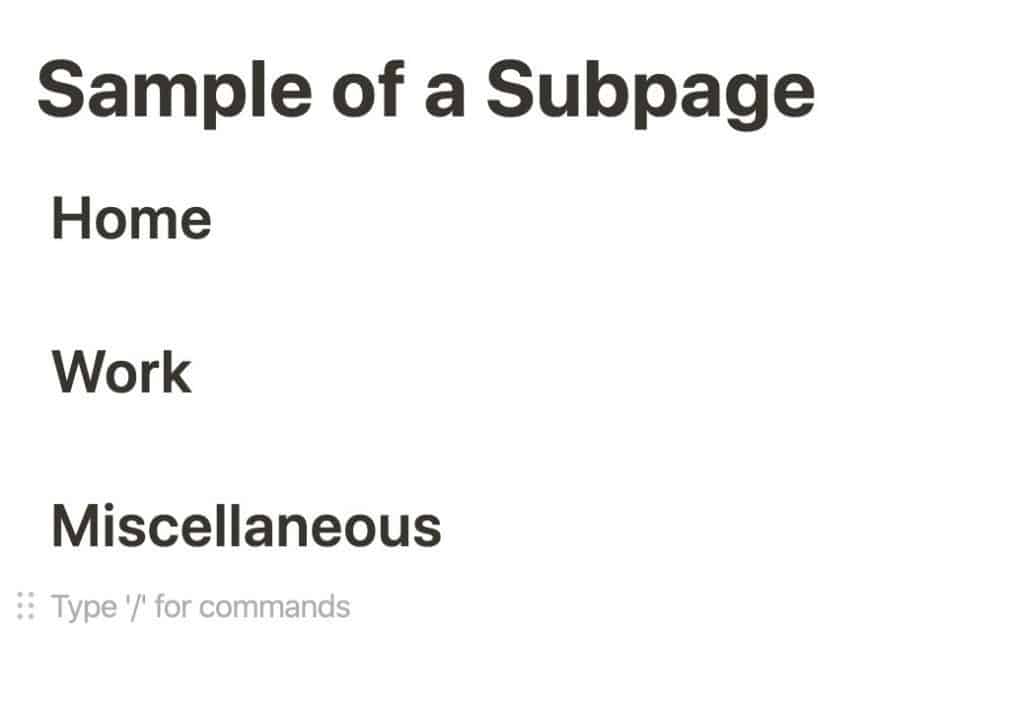
In my example, I want a three-column section so I dragged the “Work” and “Miscellaneous” heading onto the same line as the “Home” heading. Now we have a three-column section but it looks kind of bland. Let’s put a divider underneath each section header.
To add a divider to a page in Notion, do the following:
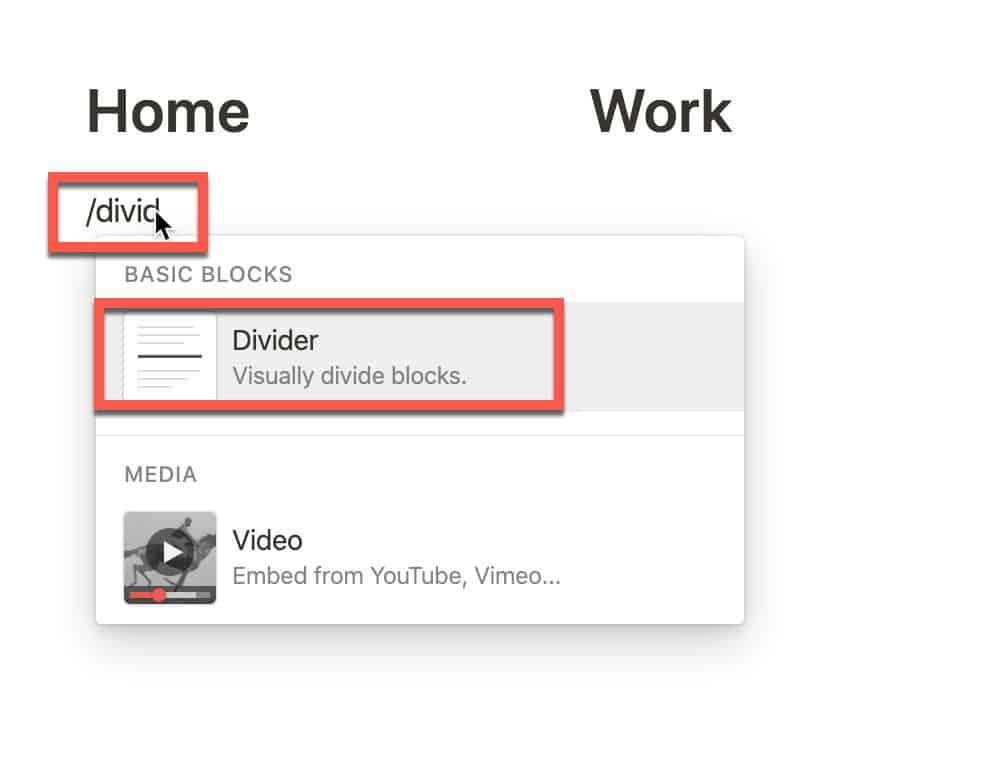
Click where you want the divider and type /divider and select the “Divider” block. You can also simply type three dashes in a row as well to add a divider to the line you are on.

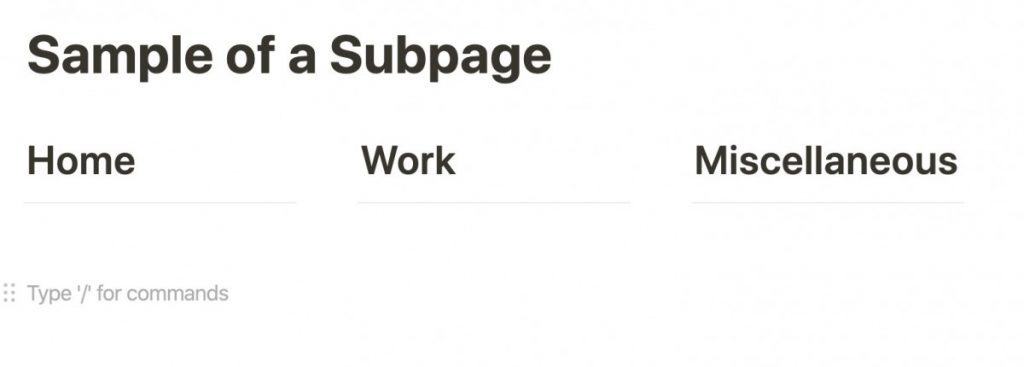
You should notice a divider line on your page as shown in the screenshot above. Add dividers to your other columns in your section.
Your section should look a little nicer now with a divider. Let’s add some pages to make our section look even nicer! To add a subpage to one of your columns, simply click on an empty line inside your column and type /page and hit Enter.
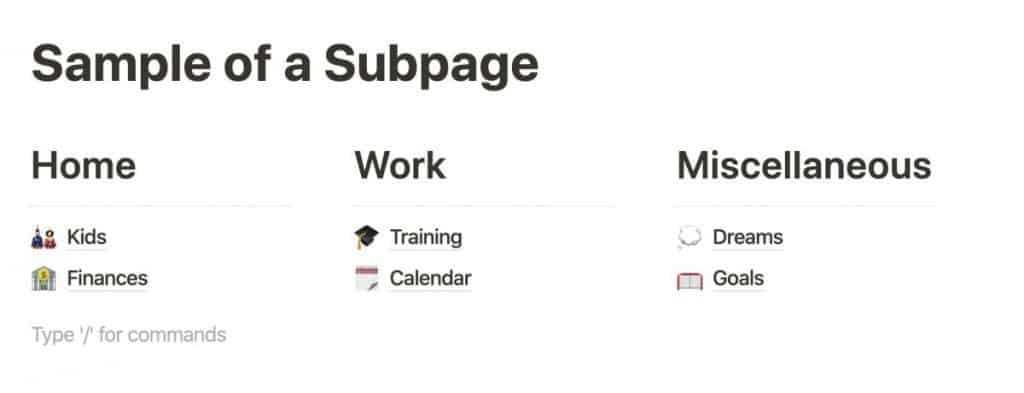
As you can see from the screenshot above, you can get very creative in how you layout your Notion page into sections.
Creating a Table in Notion
If you want to store any information in Notion, sooner or later you will need to create a table. The table support in Notion is awesome and, once you get the hang of them, will really enable your workflow. There are two types of tables in Notion:
- Inline
- Full Page
Inline tables are tables that will appear on the page you are currently on. A full-page table will create a new page for the table that will be a subpage of the current page you are on.
To create a table in Notion, do the following:
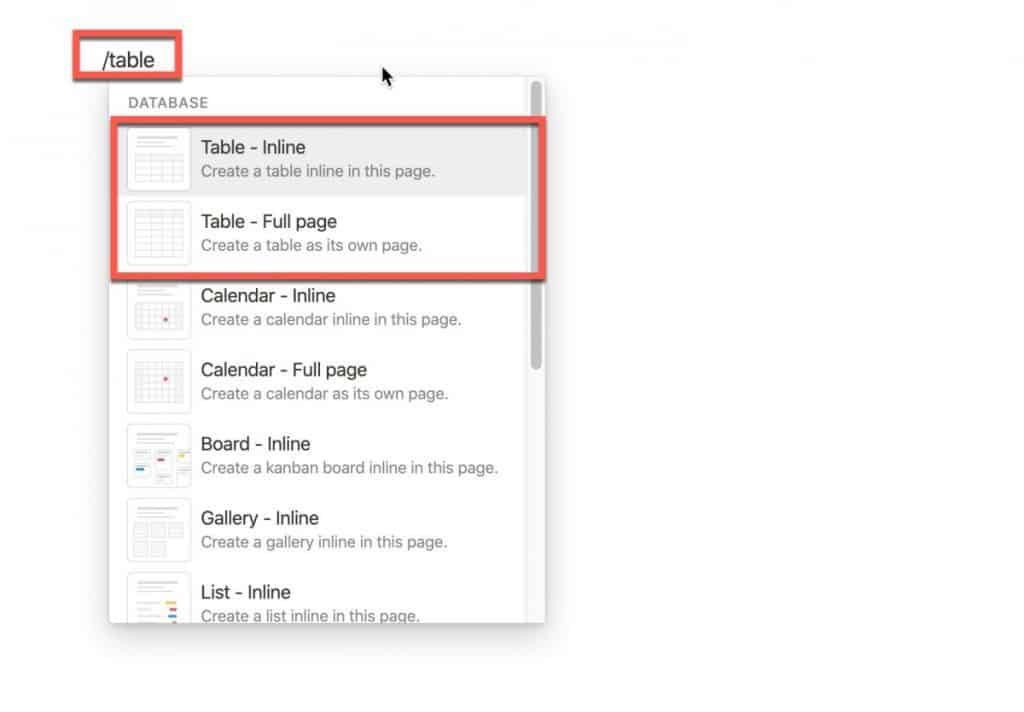
Type /table and select the type of table you want (inline or full-page).
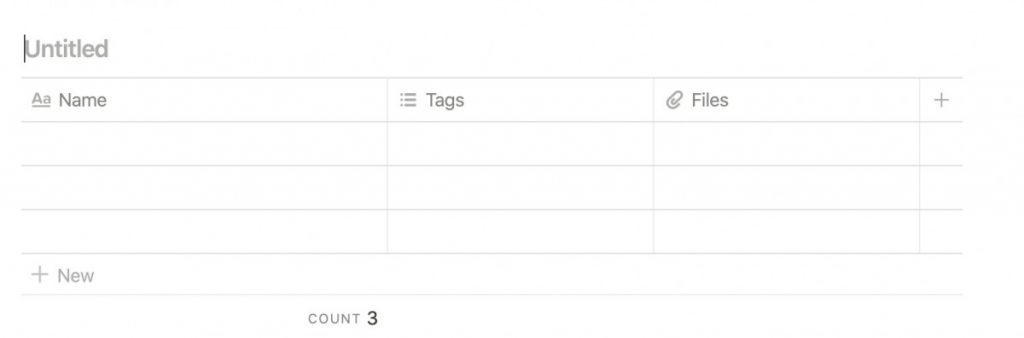
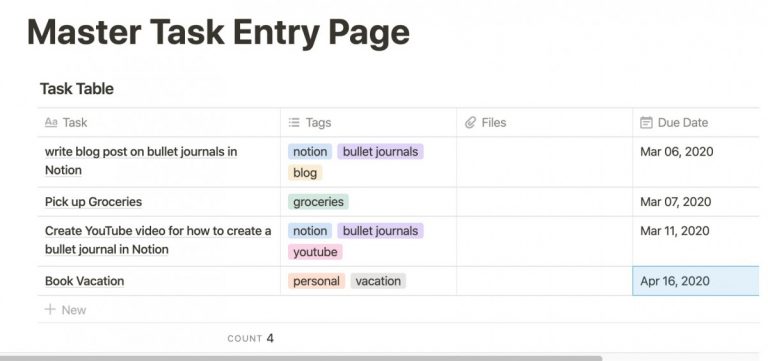
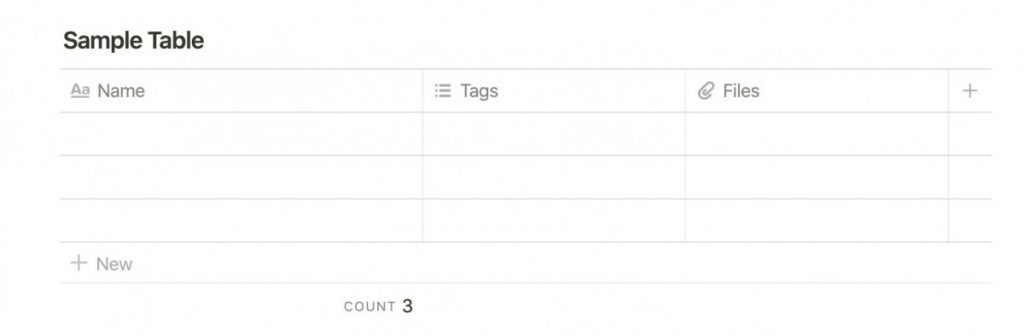
Your table should appear and look like the image above. Click where it says “Untitled” and type in the name you want your table to have.
Now that your table has a name, you should configure the columns of your table to hold the values and property types you want. To change a property in a table in Notion, do the following:
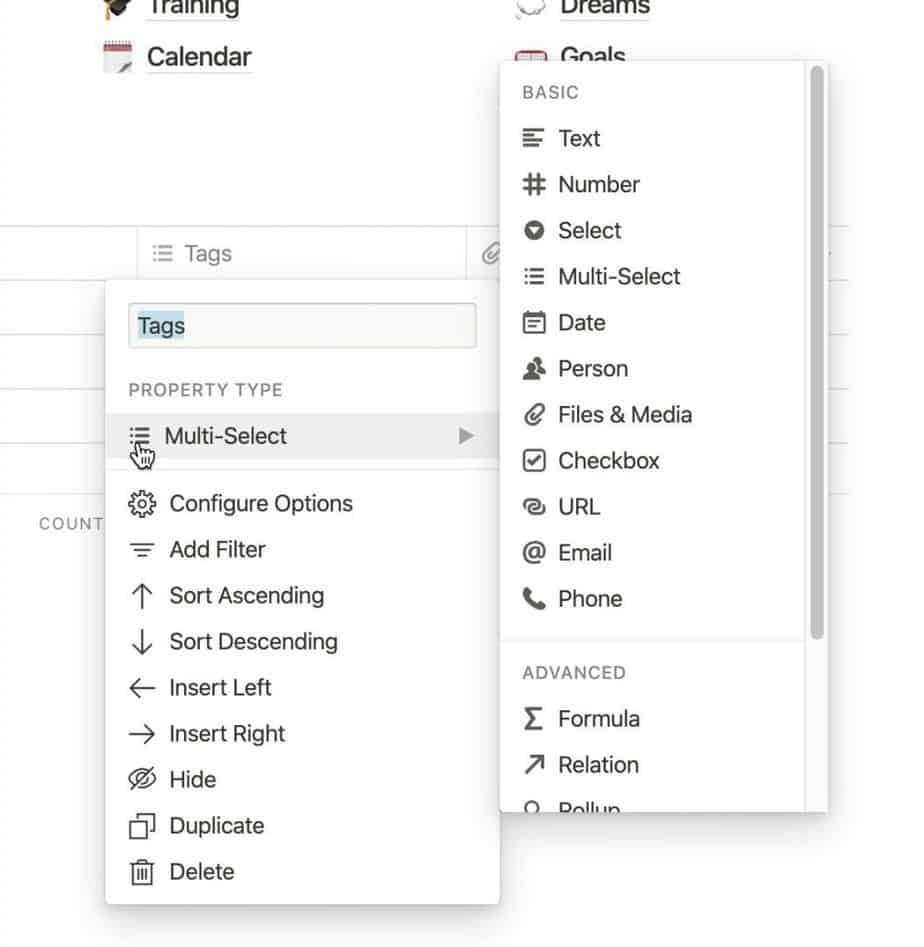
Click on the column heading you want to change. In the text box, change the name to be what you want it to be. Hover over the property type (default is Multi-Select) and select the property type you want for the column. In my case, I will type a name of “Date” and select the property type “Date”.
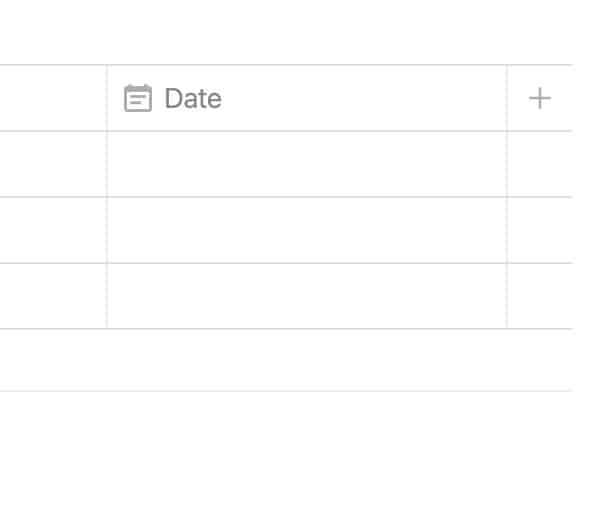
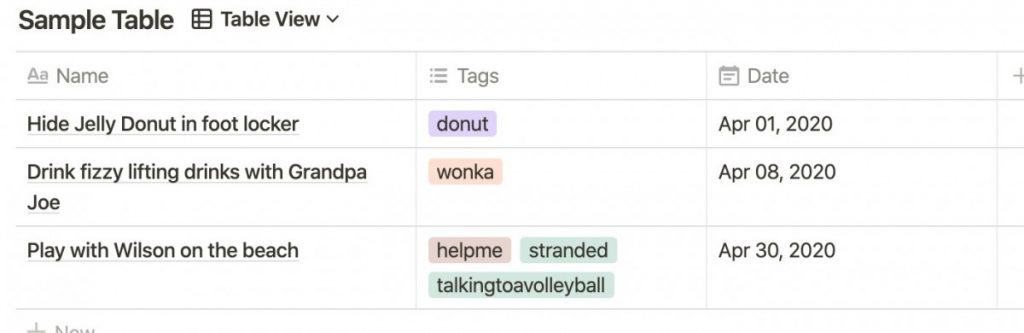
As you can see, we now have a date column in our table. Let’s populate our table to see what it might look like with data in it.
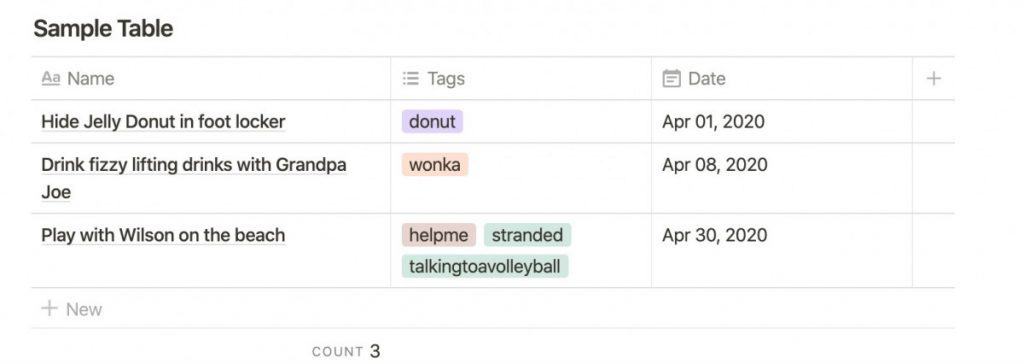
Tables in Notion are extremely powerful. In the next section, we will see how we can change the view of a table to have a Calendar view.
Create a Calendar in Notion
Most things we want to track in a productivity tool like Notion has a time element to them. Notion has rich support for calendars. There are three different ways of calendaring in Notion:
- Create a standalone calendar in Notion
- Create a Calendar View of a Table
- Embed a Google Calendar into Notion
While we won’t cover the Google Calendar option in this tutorial, I do have an article on how to embed your Google Calendar inside a Notion page at the link below:
How to Embed a Google Calendar in Notion article
If you prefer to watch a video, enclosed below is my YouTube tutorial on how to embed a Google Calendar inside Notion:
Let’s get into how to create a calendar in Notion.
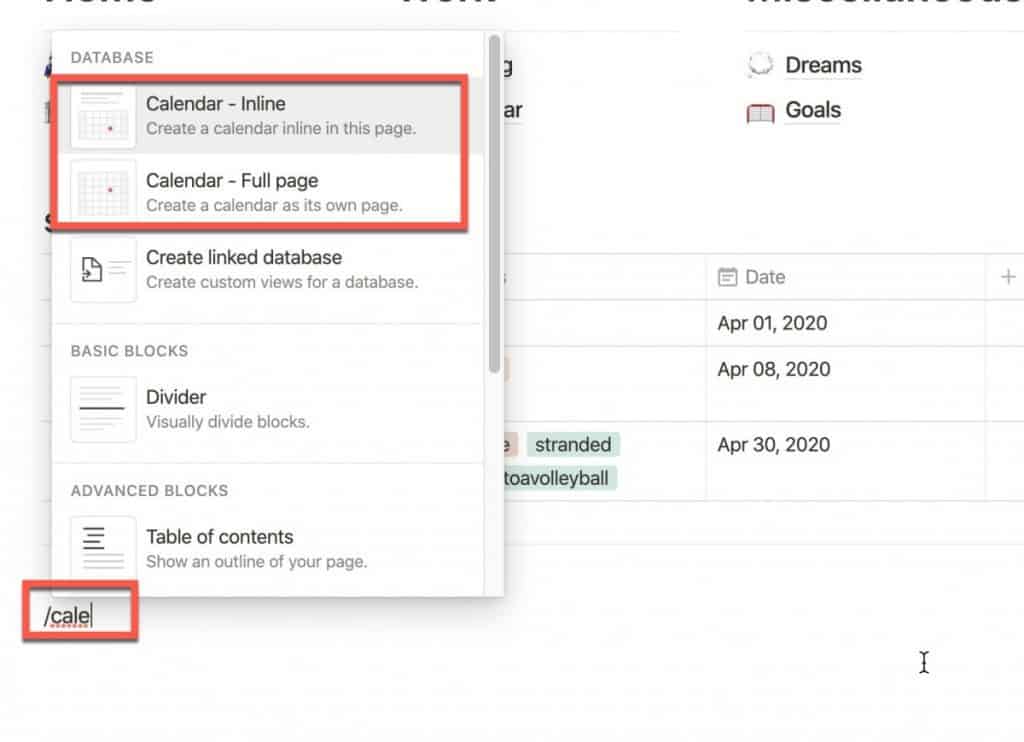
Open your Notion page and type /calendar to bring up the calendar block options. There are two calendar block options:
- Inline -> creates a calendar on the current page
- Full-page -> creates a new page for your calendar
Choose the block you want by clicking on it.
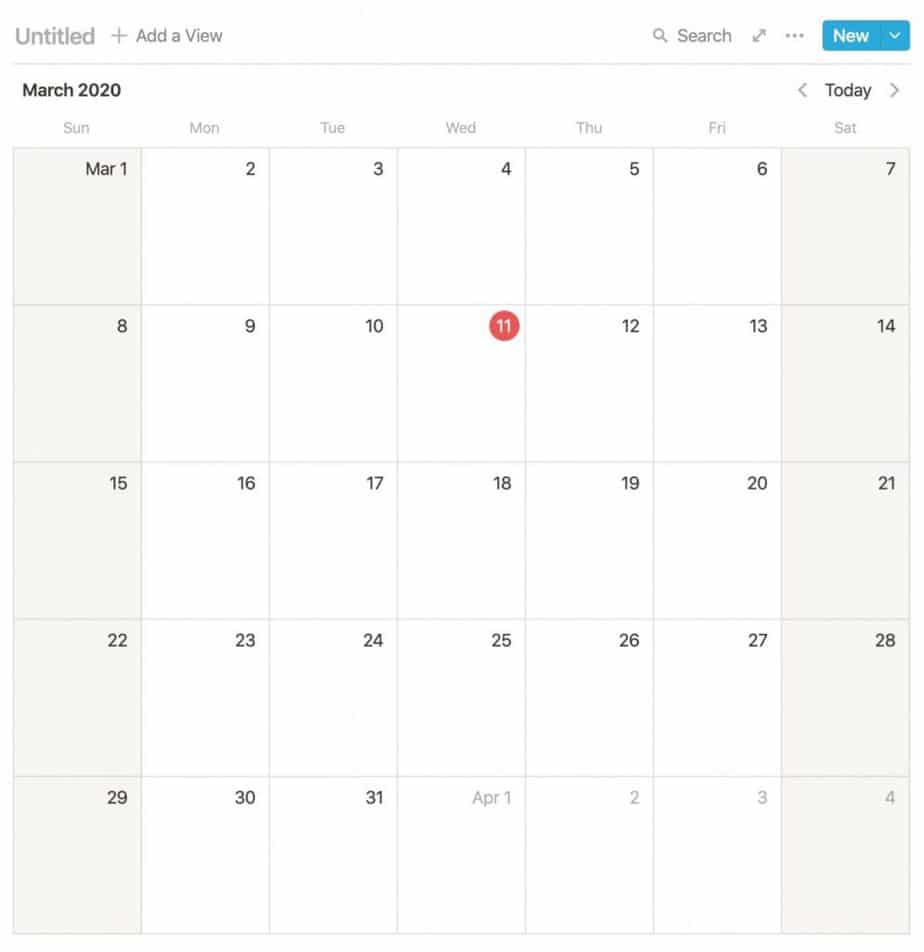
You should see a calendar appear on the page. Let’s give our calendar a name. Click where it says “Untitled” in the upper left-hand corner of the calendar block. Type in the name of your calendar and press Enter.

Now let’s add an entry to our calendar. To add an entry to a calendar in Notion, do the following:
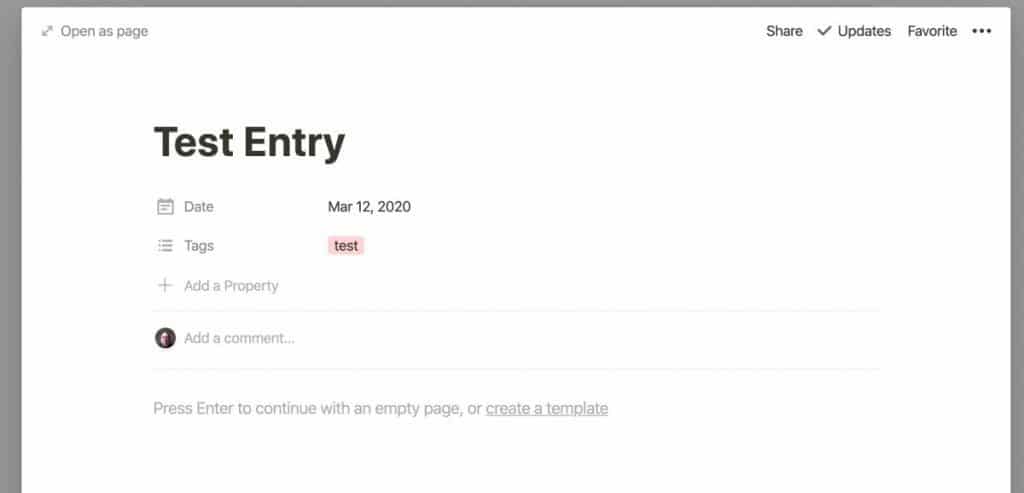
Double-click on that day you want to add an entry to. This will bring up a new page. Fill in the information you want in the entry. You can add blocks just like you would any other Notion page.
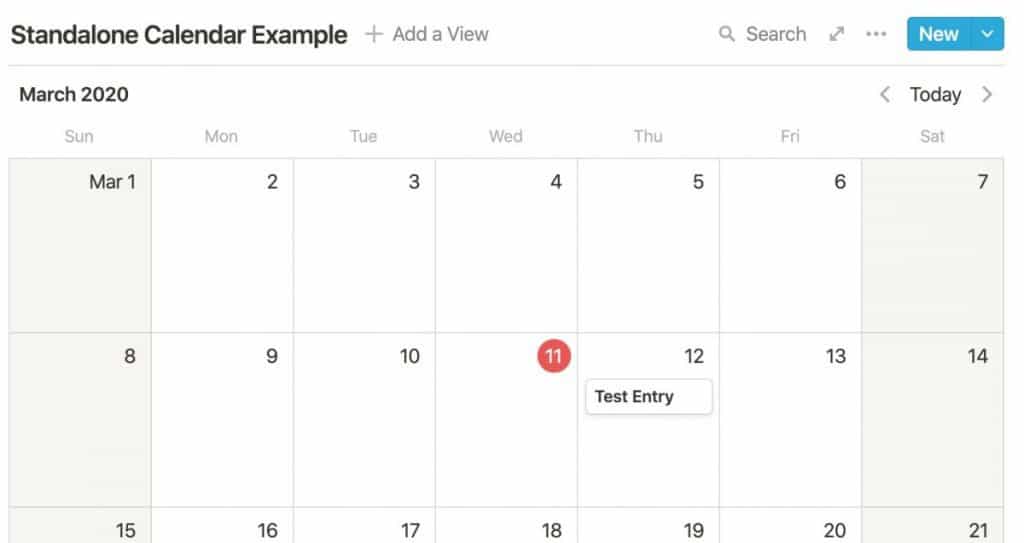
Your entry should appear inside the calendar on the day you selected.
Adding a Calendar View to a Table in Notion
One of the cool things you can do is to create a calendar view of an existing table (as long as the table has a date property somewhere in it). To add a calendar view to an existing table in Notion, do the following:
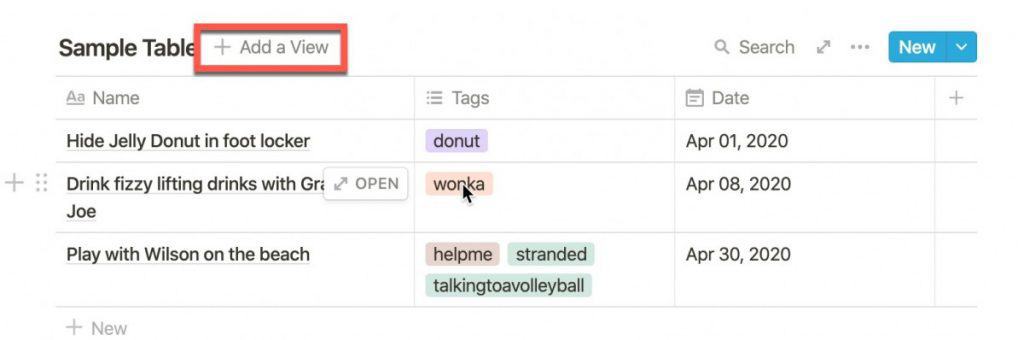
Go to your table and hover your mouse over your table. You should see a button appear to the right of the title of your table. This is the “Add a View” button. Click the button.
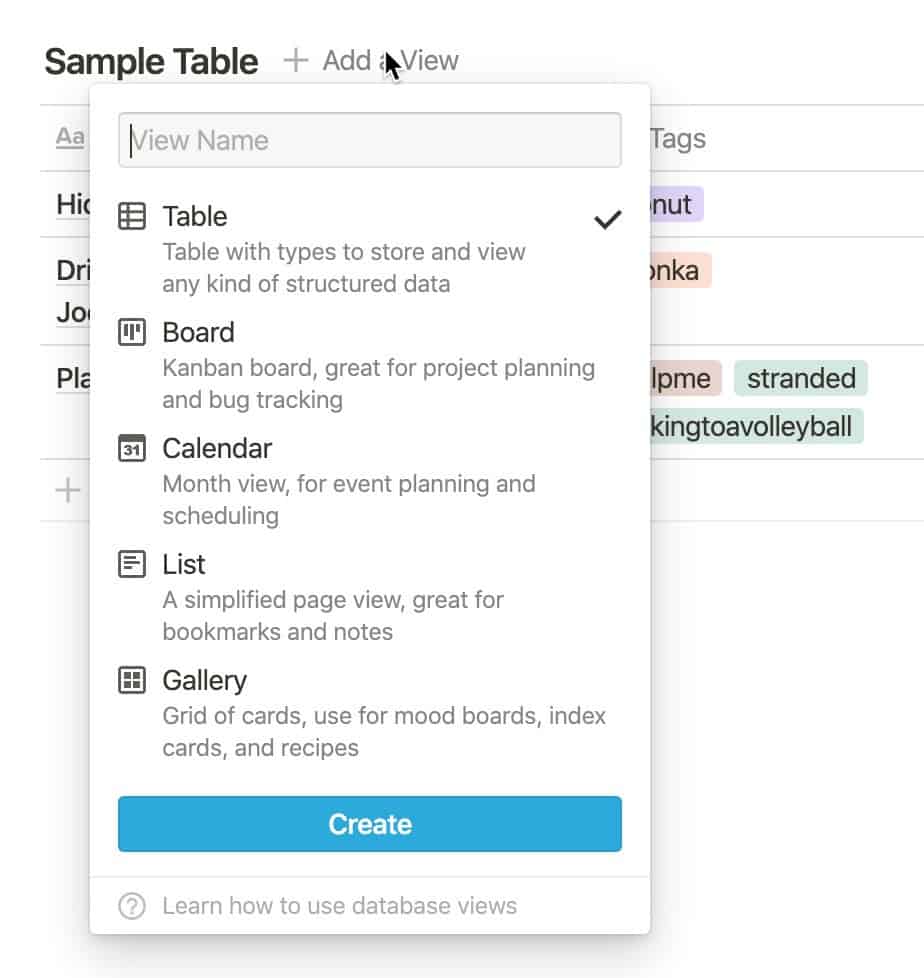
A pop-up dialog box will appear. Type in the name you want to assign to your calendar view in the “View Name” text box and click on the “Calendar” option and click the “Create” button.
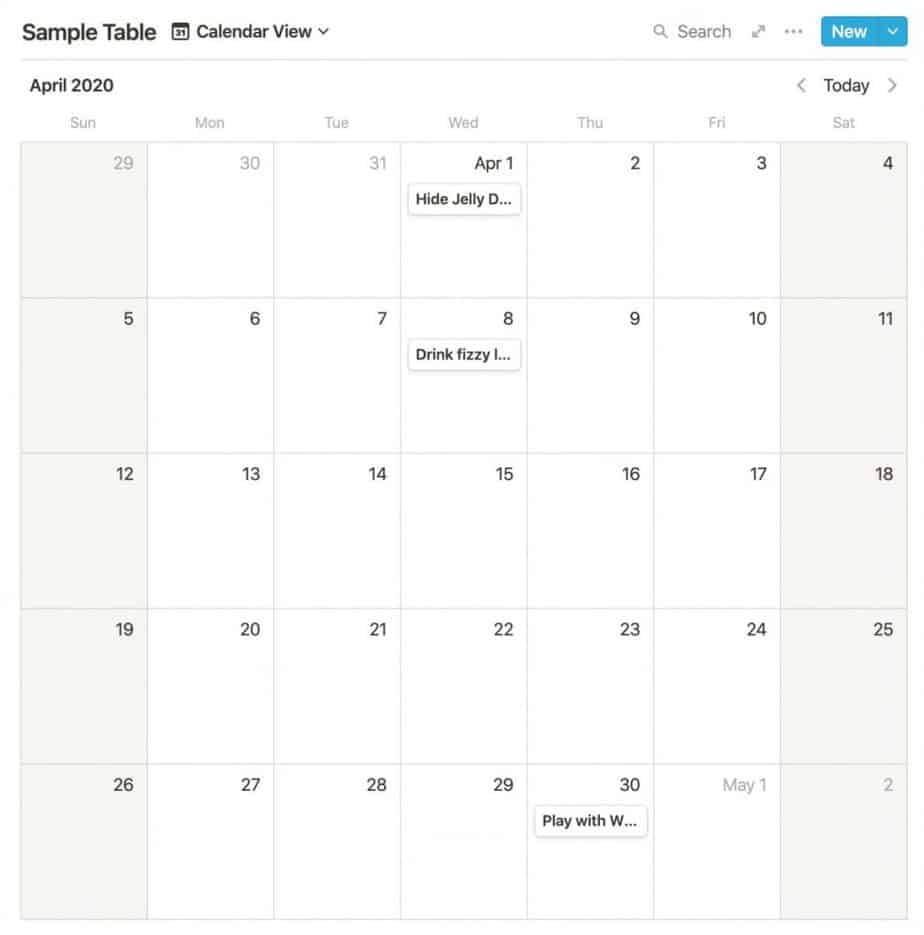
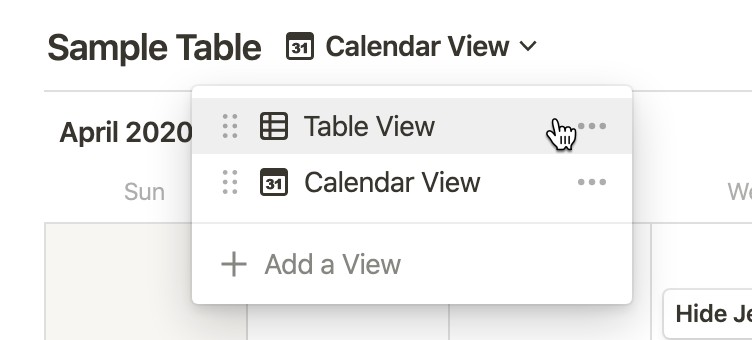
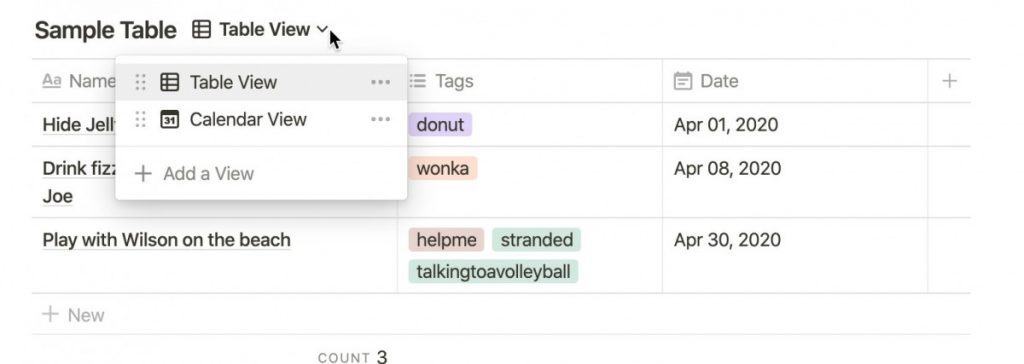
You should now see your table transformed into a calendar view. Notice that the entries that were in the table are on the dates that were defined in the Date column. But what if you want to see it in a table view again? No problem, just click on the calendar view drop-down menu next to the title of your table and select the table view.
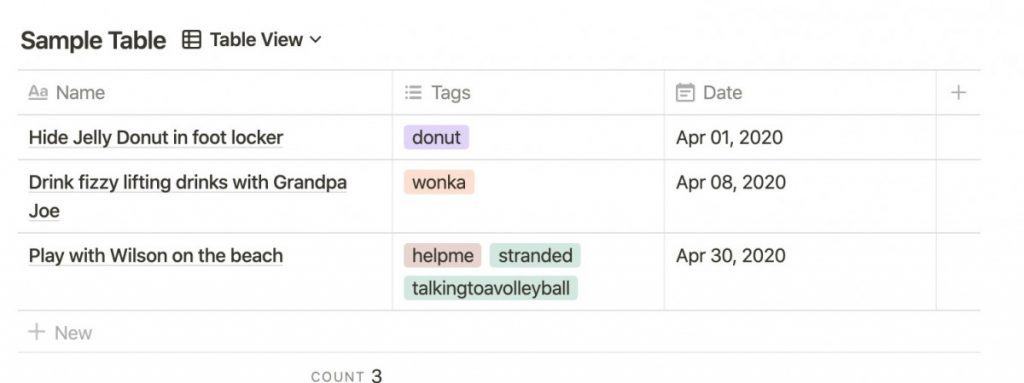
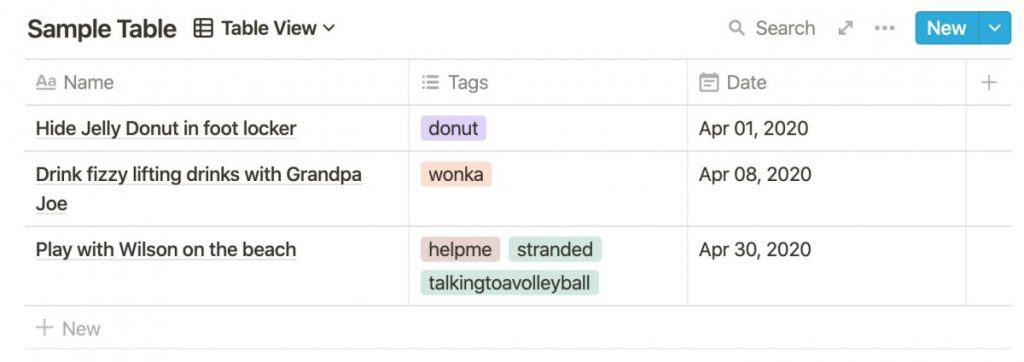
You should now see your table in table form again.
Create a Board in Notion
Boards are a great way to view your content. The boards in Notion are essentially Kanban boards, a system of project management that leverages cards and phases to visualize a project. There are two ways to create a board in Notion:
- As a standalone board
- As a view of an existing table
Creating a New Board in Notion
To create a board in Notion, do the following:
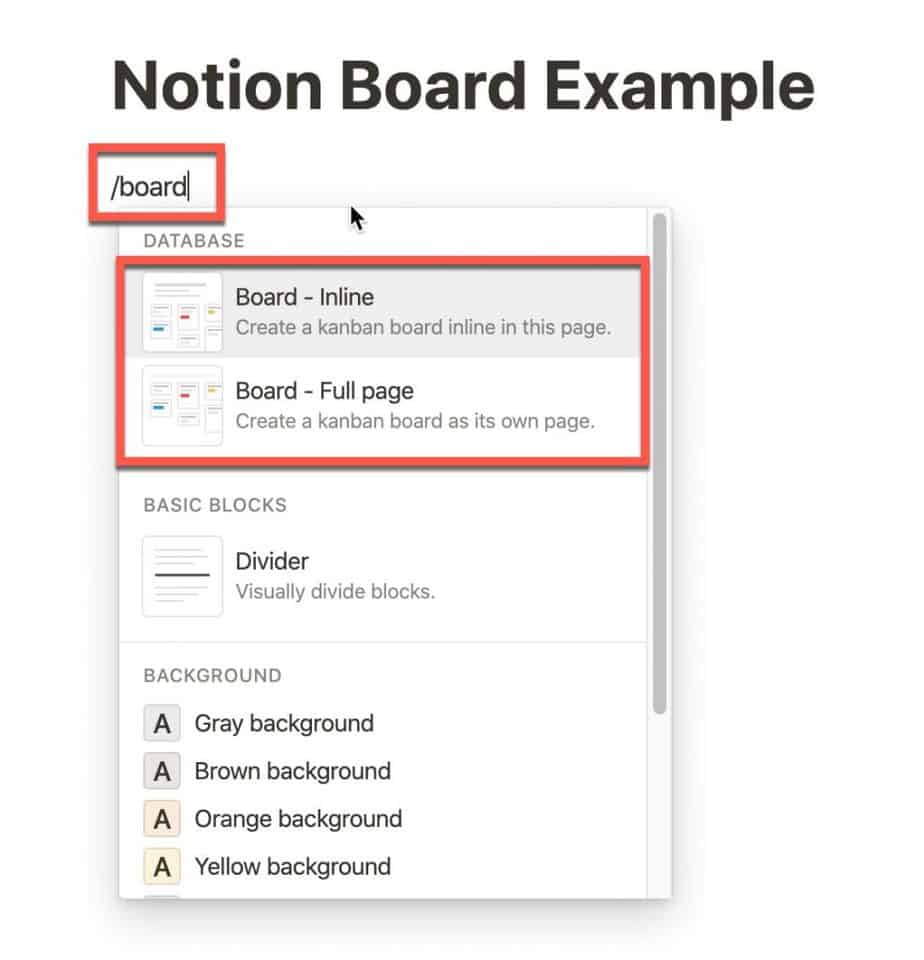
Open a Notion page and type /board. The block menu will appear with two types of boards available for selection:
- Inline -> board will be created on the current page
- Full-page -> board will be created on a new subpage of the current page
Select the option you want.
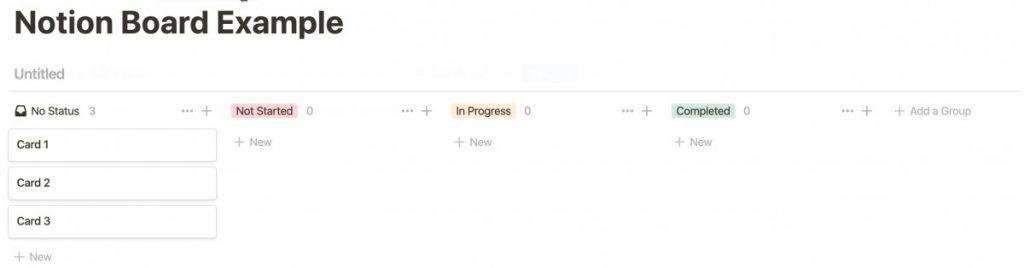
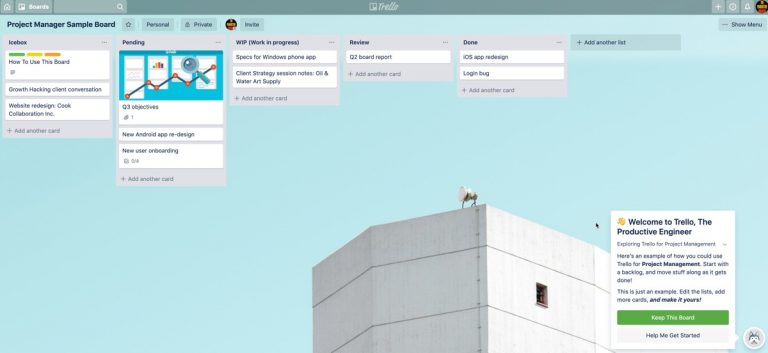
A board will appear that will look like the screenshot above. You can customize the board by:
- Adding more columns
- Editing the existing columns
- Editing and Adding Cards
- Editing and Adding Properties to Cards
- Adding Blocks to Cards
For a more detailed review of all the things you can do with a board in Notion, check out my article on How to Use Kanban Boards in Notion at the link below:
How to Use Kanban Boards in Notion article
Adding a Board View to a Notion Table
As we did with the Calendar View, you can also add a board view to an existing table in Notion. To add a board view to a table in Notion, do the following:
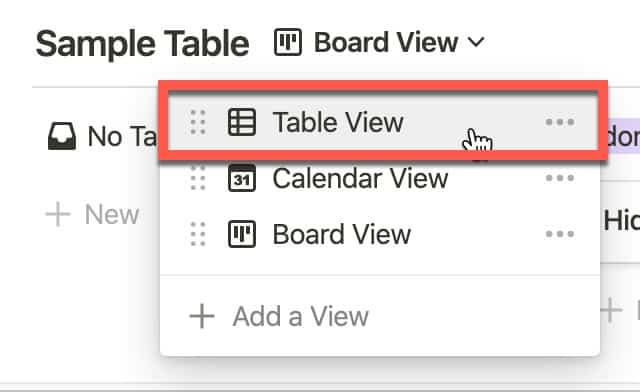
Navigate to your table and click the view drop-down next to the table name as shown in the screenshot above.
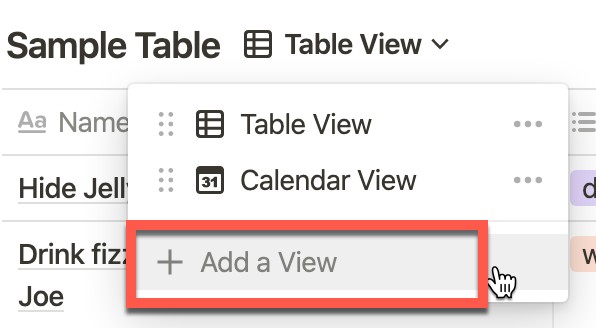
Click on the “+ Add a View” button.

Give you board view a name and select the “Board” option and click the “Create” button.

You should now see your table represented as a board on the Notion page.
To switch back to the table view, simply click on the view drop-down and select the table view.
Create a Gallery in Notion
Galleries are a relatively recent addition to Notion. Galleries are very visual and work best for things like mood boards and other collections where the visual representation is important.
Like Calendars and Boards in Notion, galleries can be created in two different ways:
- As a standalone gallery
- As a gallery view of a Notion table
Creating a Gallery in Notion
To create a gallery in Notion, do the following:
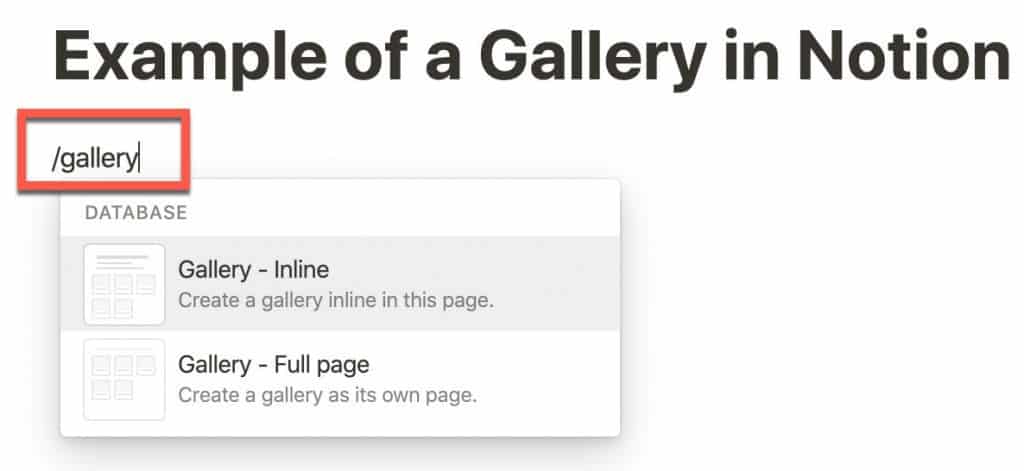
Open a Notion page and type /gallery and select the gallery option you want. The inline option places the gallery on the existing page you are one while the full-page option creates a new subpage of your current page and places the gallery there.
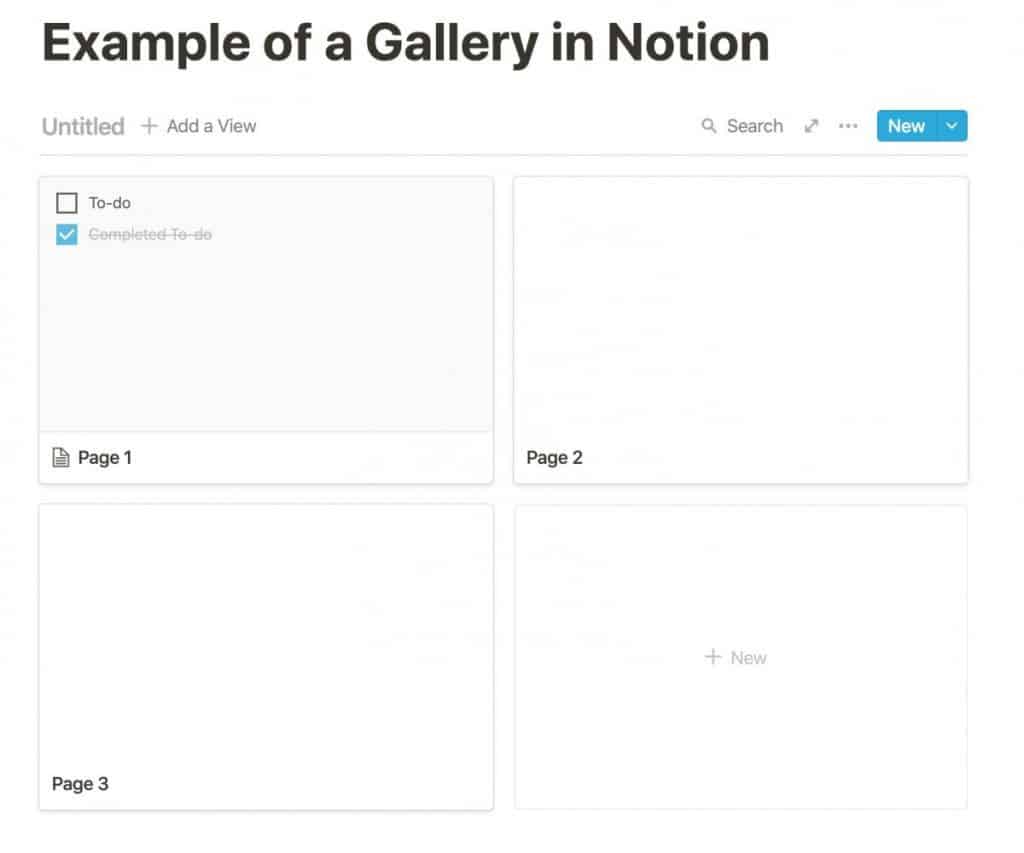
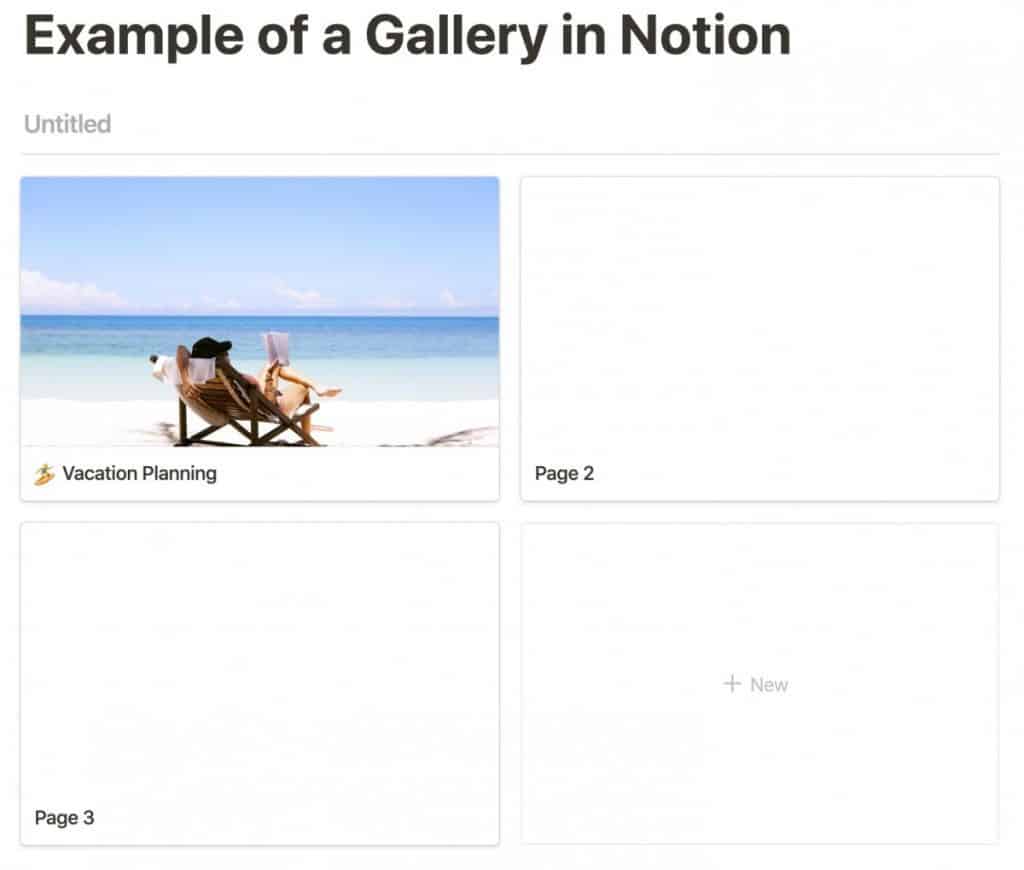
A gallery should appear on your page that looks like the image above. Let’s look at one of the gallery blocks and configure it.
To configure a gallery item in Notion, do the following:
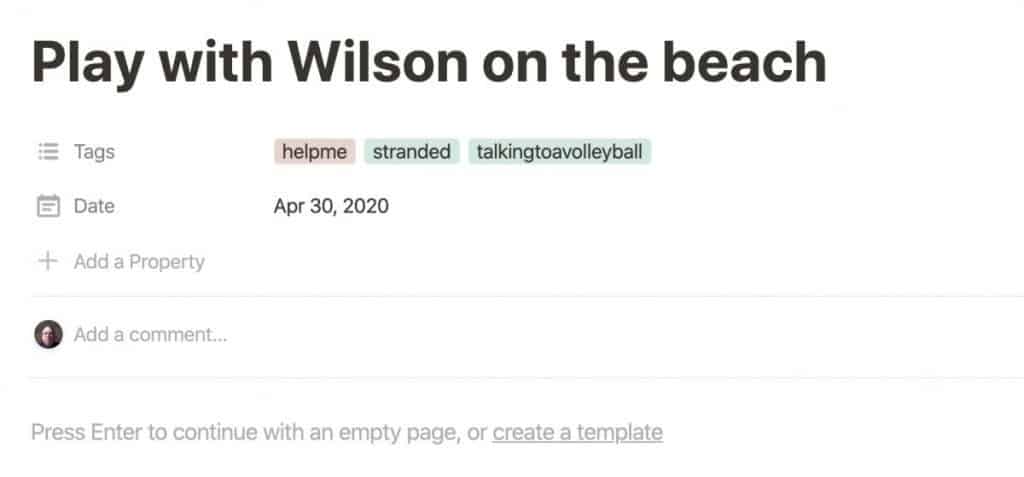
Double-click on the gallery item you want to edit. You should see a view like the screenshot above. We can edit this gallery card just like any other page in Notion. Let’s make some changes to jazz it up.
As you can see, you can really do a lot with a gallery item in Notion. You can add a variety of content to it and it can look amazing.
The card in the gallery view itself can look really good and quickly capture the intent of the card visually.
Adding a Gallery View to a Table in Notion
To add a gallery view to a table in Notion, do the following:
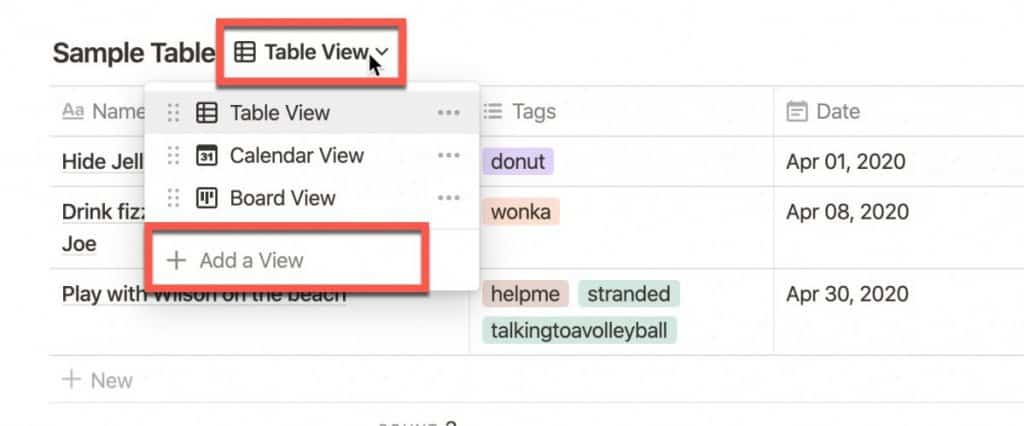
Click on the view drop-down next to the table title then click on the “+ Add a View” button.
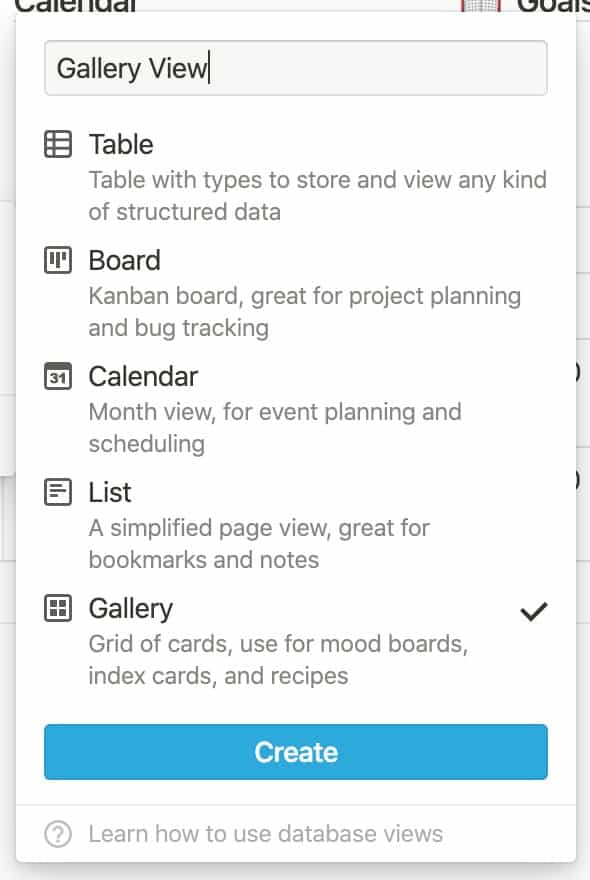
Give your gallery view a name, select the “Gallery” option and click the “Create” button.
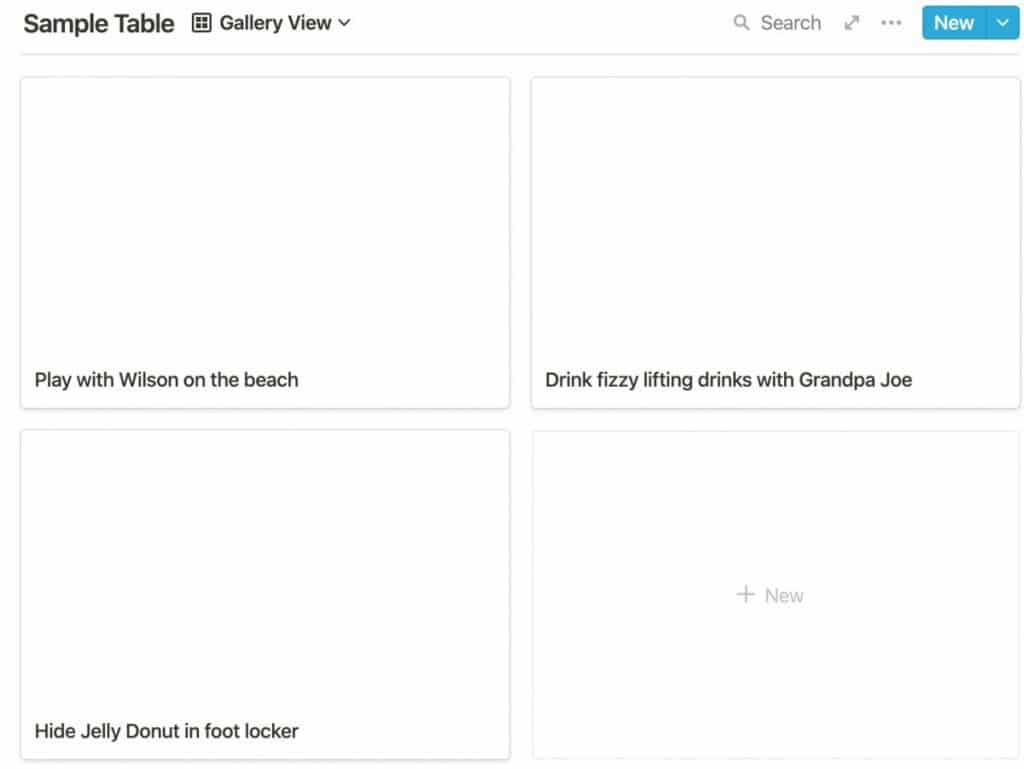
Your table will now appear as a gallery. As you can see, because we didn’t have images in our table, there are no images on our gallery cards.
As you can see, the gallery card does have all of the data for a given table row.
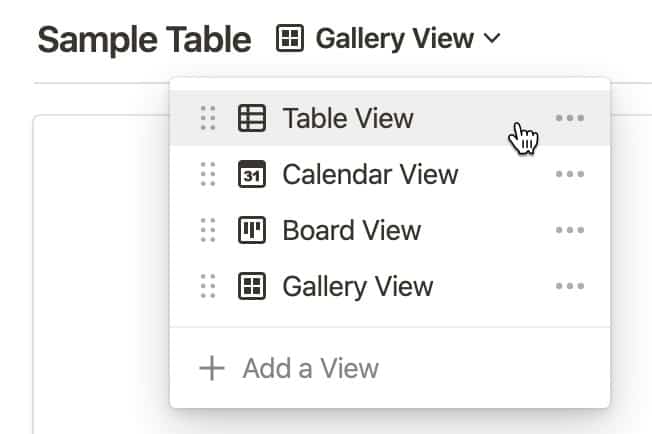
You can revert the view back to the table view by simply clicking on the view drop-down and selecting your table view.
Creating a To-Do List in Notion
Making and tracking your tasks in Notion is simple using a to-do list. A to-do list in Notion is essentially a list of tasks with checkboxes. Making a list is very easy.
To Create a To-Do List in Notion, do the following:
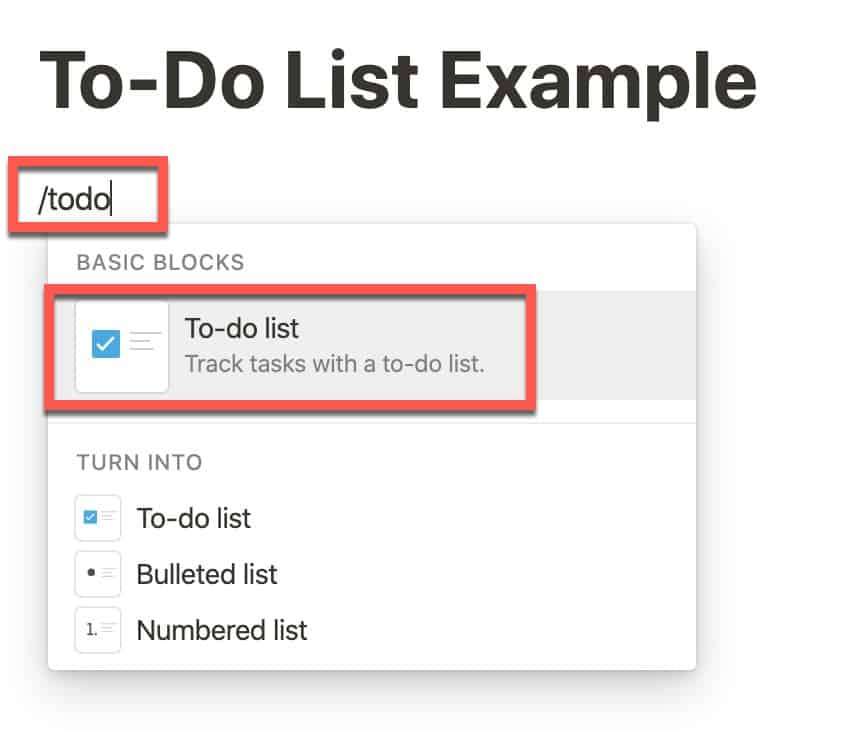
Open the Notion page where you want the to-do list to appear. Type /todo and select the “To-do list” block from the menu.
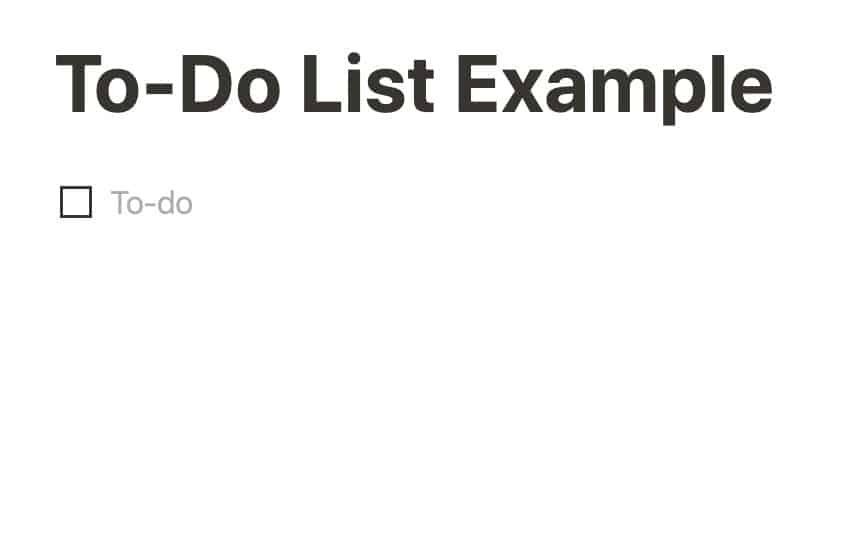
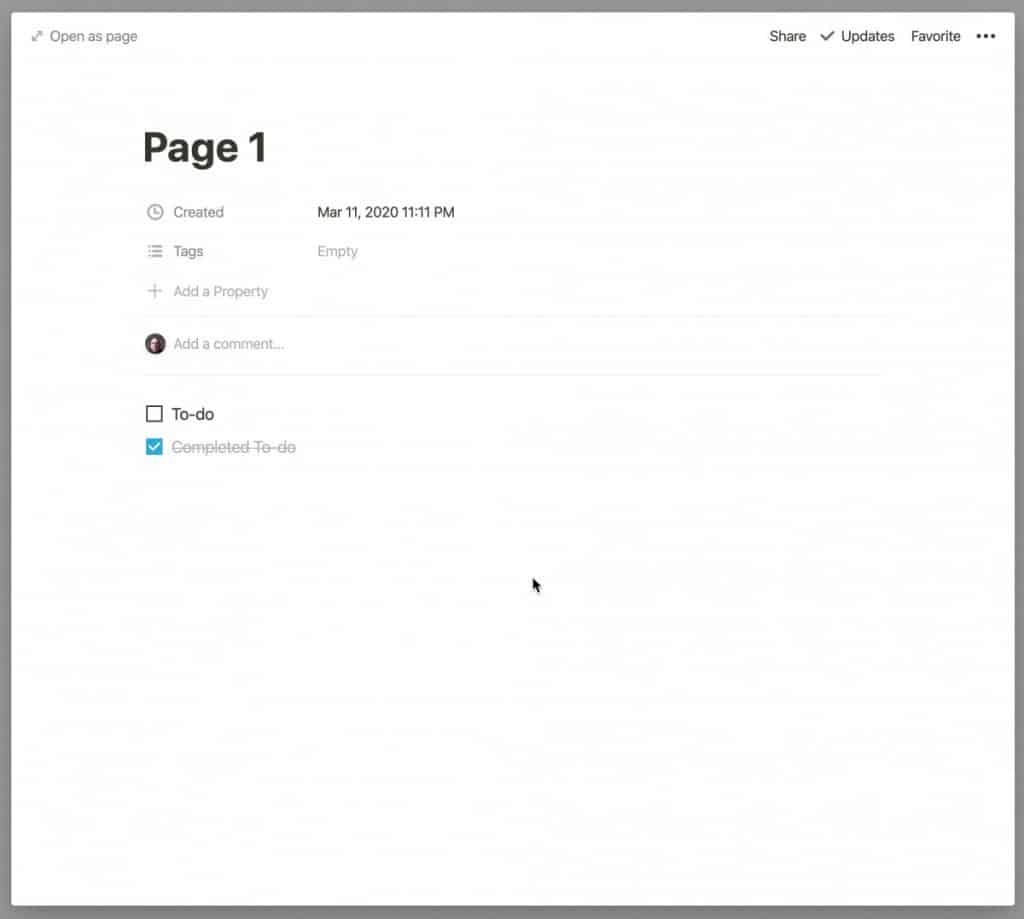
You should see a single, empty to-do item on your page (like the screenshot above). To populate your to-do list, simply click where it says “To-do” and start typing your to-do and hit Enter. You will then be taken to the next line with a new to-do to populate. Repeat until your list is full.
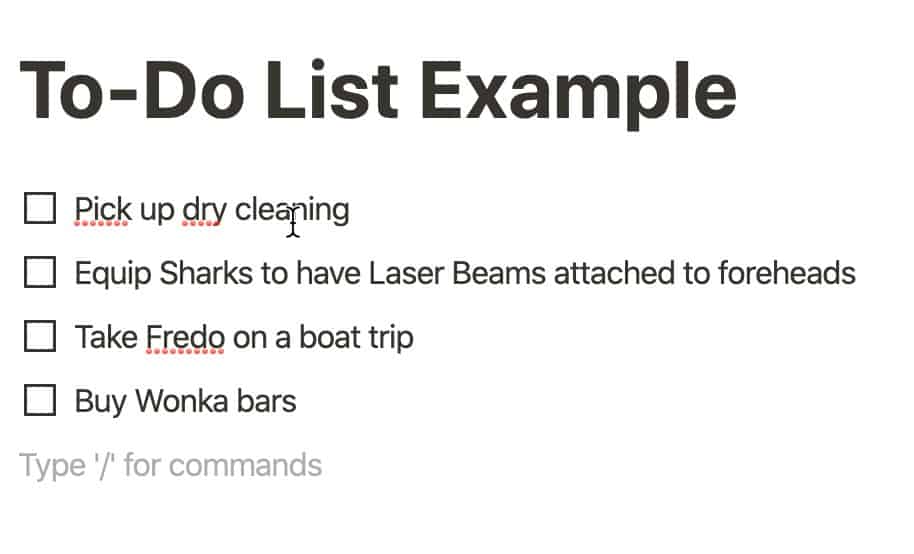
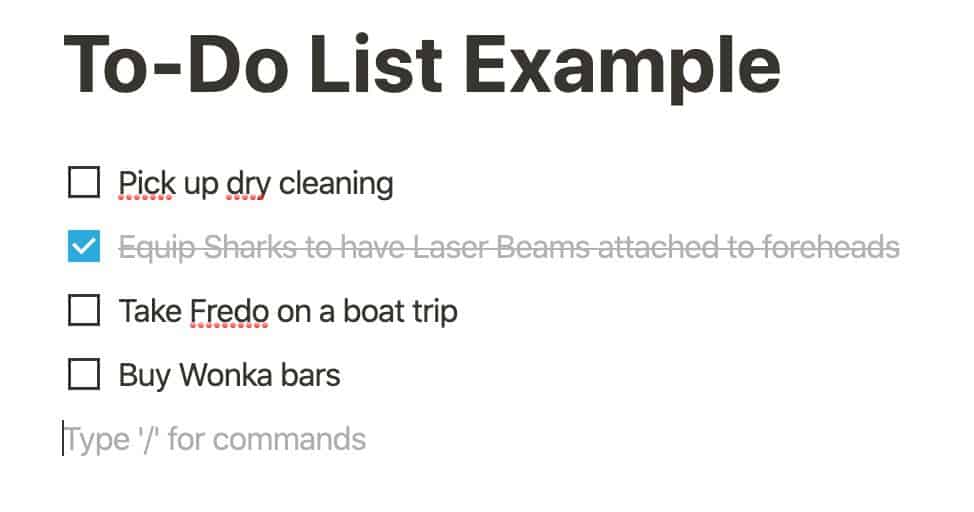
Your list should look something like the one above. To check-off items from your list, simply click on the checkbox.
Bulleted Lists in Notion
In addition to to-do lists, you can also have bulleted lists as well. To create a bulleted list, do the following:
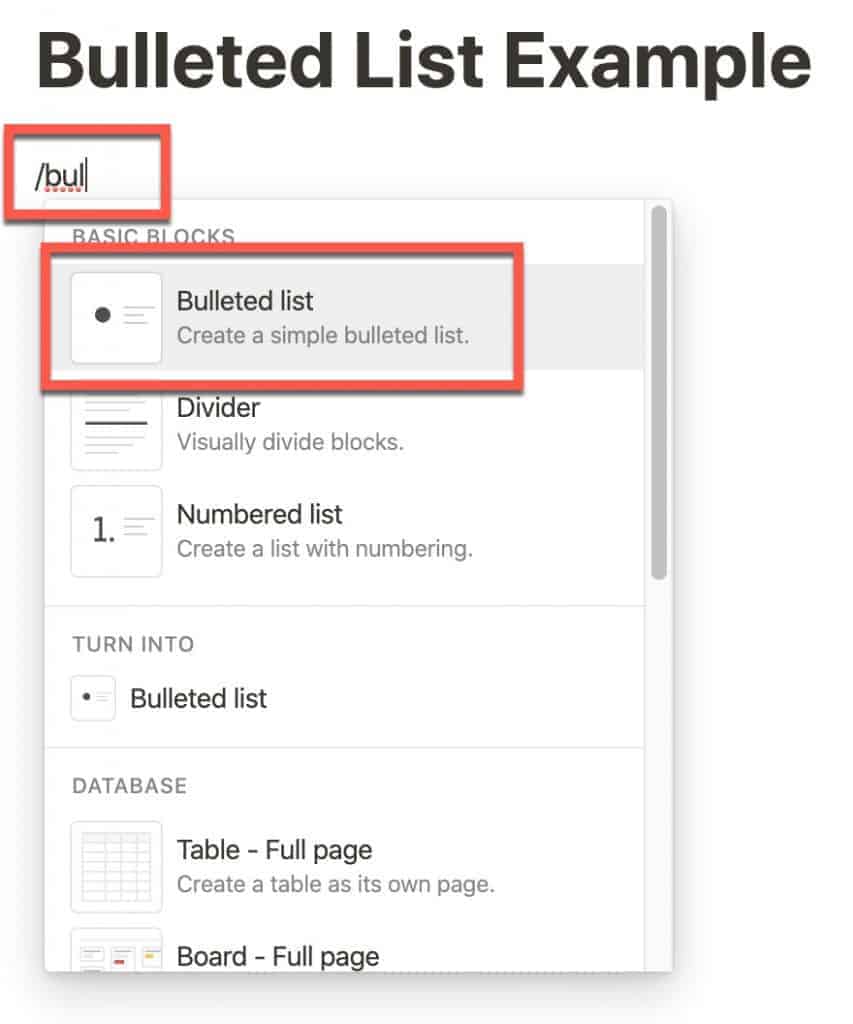
Open the Notion page where you want the list to appear and type /bullet. Selected “Bulleted list” from the menu.
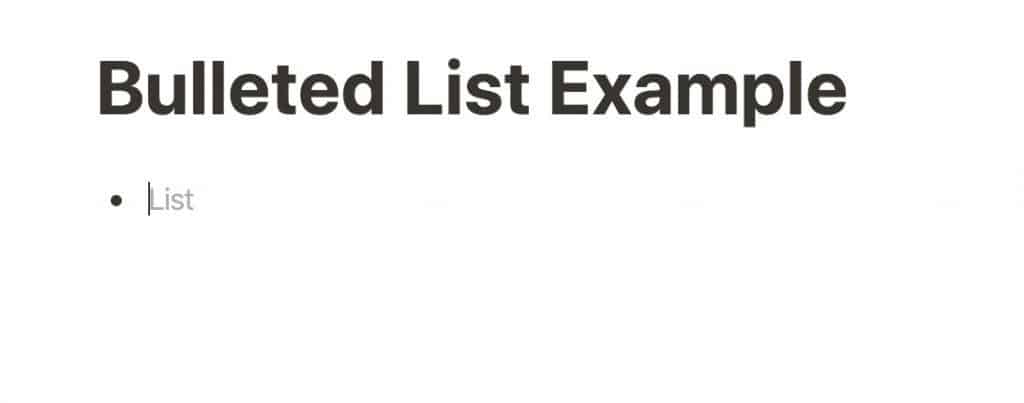
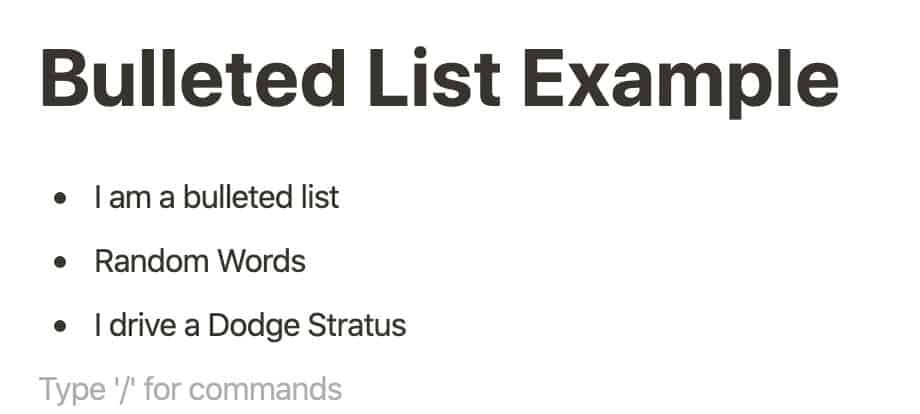
A single, blank bullet should appear. To populate your list, simply click where it says “List” and type in the text for your item and hit Enter.
Numbered Lists in Notion
Numbered lists are also supported in Notion are very easy to add to your Notion page. To add a numbered list to your Notion page, do the following:
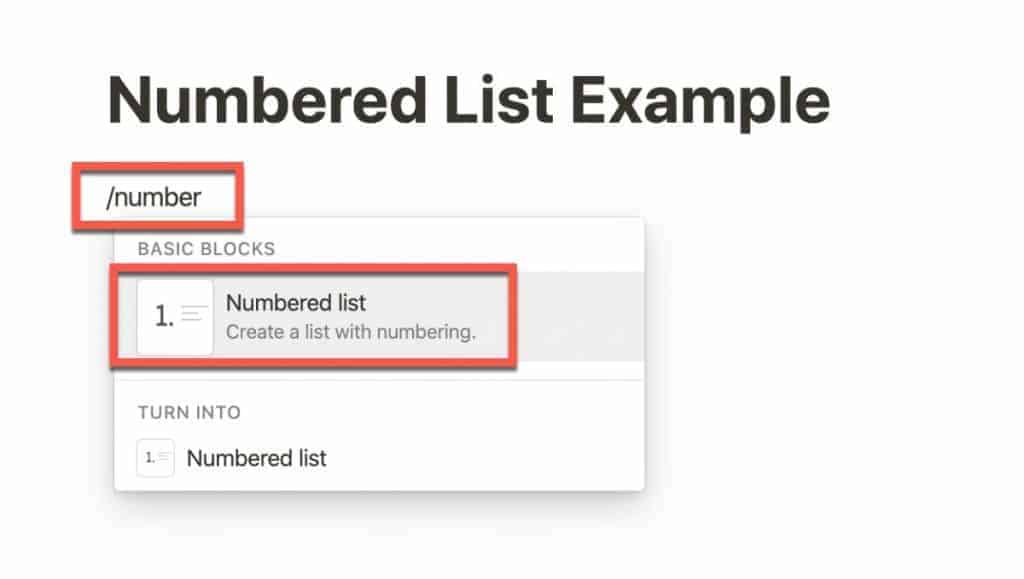
Open the Notion page that you want to add the numbered list to and type /number. Select the “Numbered list” option from the menu.
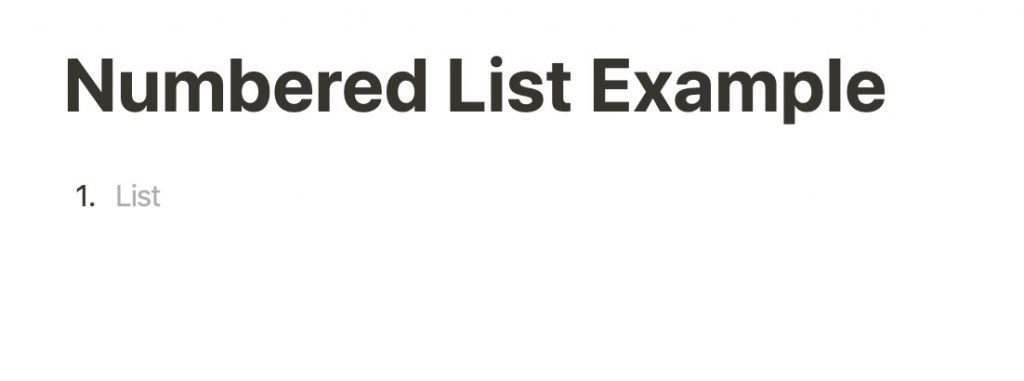
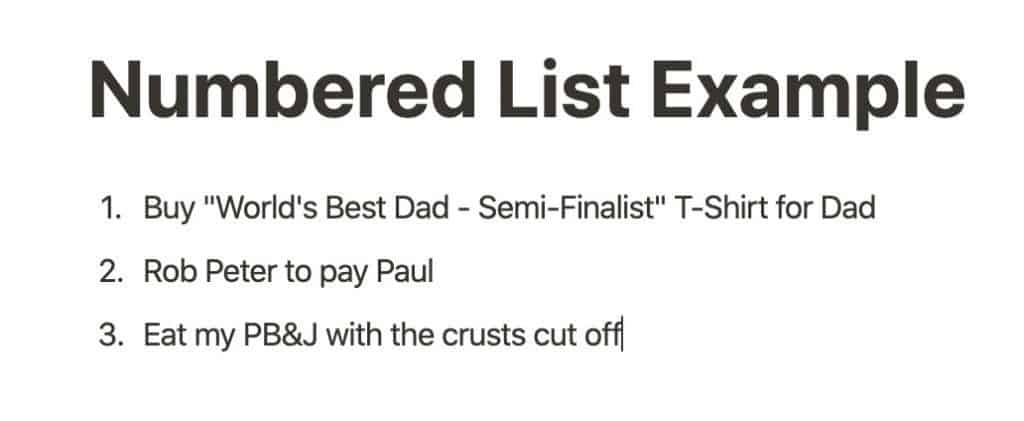
A single item will appear with the number one to denote the first entry on your list. Populate your list by typing your entry where it says “List” and press Enter to go the next line. Type in the rest of your entries.
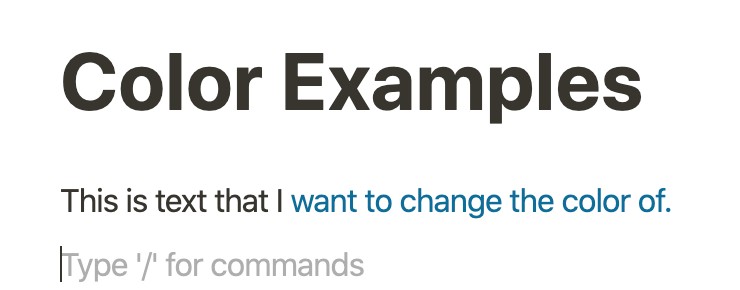
Changing Colors in Notion
When working inside your Notion page, you can change the color of the text and the background of the text itself.
To change the color of text in Notion, do the following:
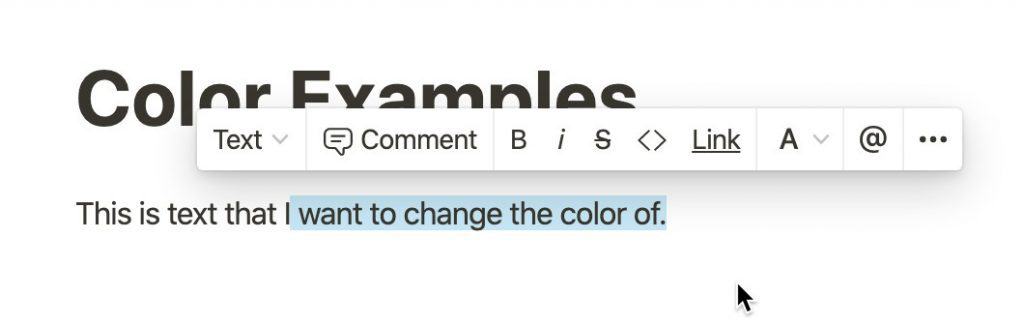
Highlight the text you want to change the color of. A contextual menu will appear.
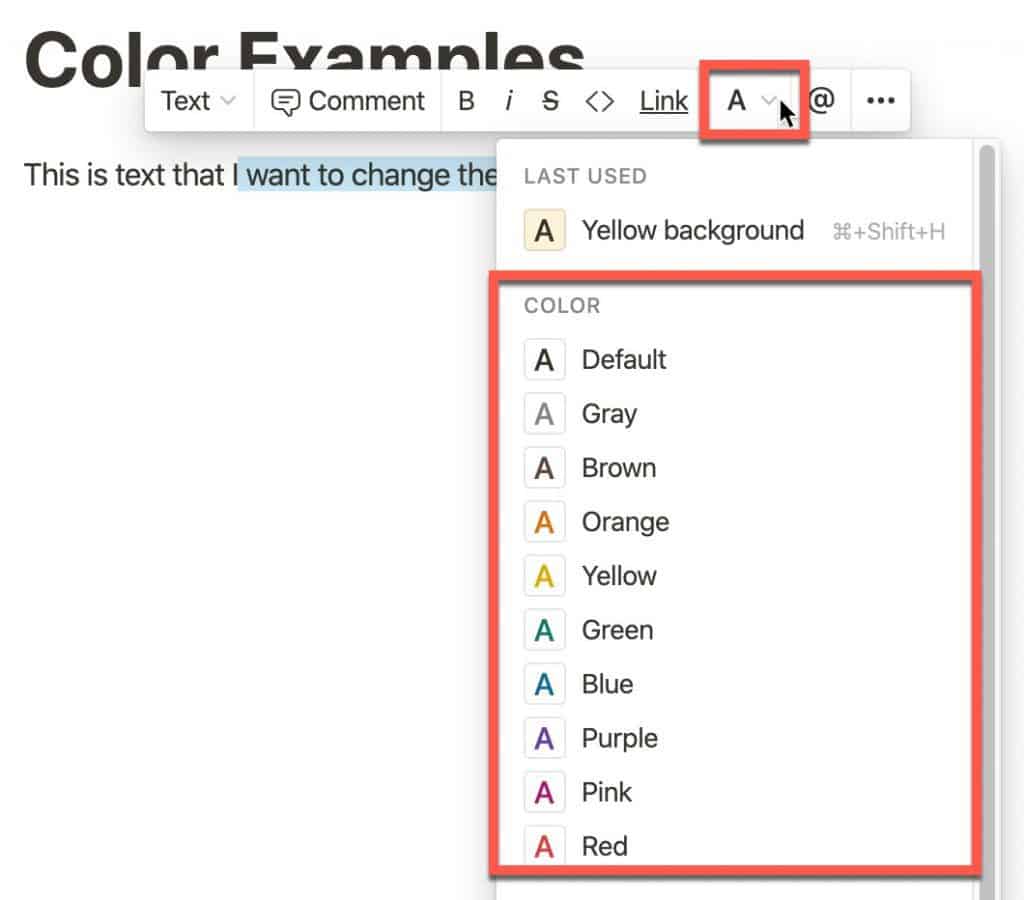
Click on the “A” button to bring up the color options. Select the color you want the text to be.
Your text should now be the color you chose.
You can also change the background color of the text. This is good for highlighting text or to add a visual flair to your headings.
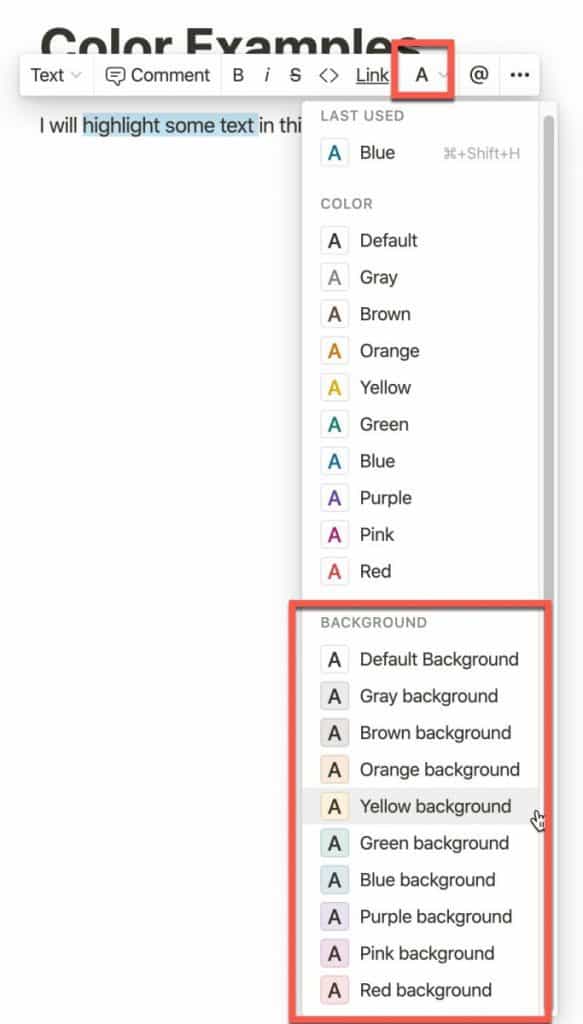
Highlight the text you want to highlight. A contextual menu will appear. Click the “A” button to bring up color options and scroll to the “Background” section and pick your color.
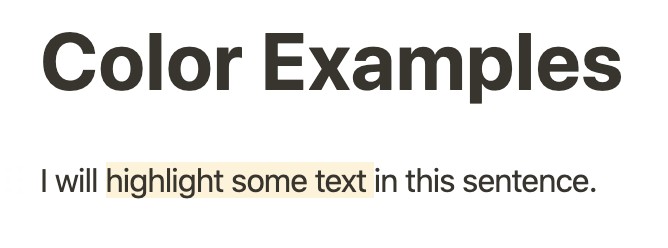
Your text should show up highlighted on the page.
Duplicating a Page in Notion
Sometimes you have a page that you want to make a copy of. Notion supports the ability to duplicate a page.
To duplicate a page in Notion, do the following:
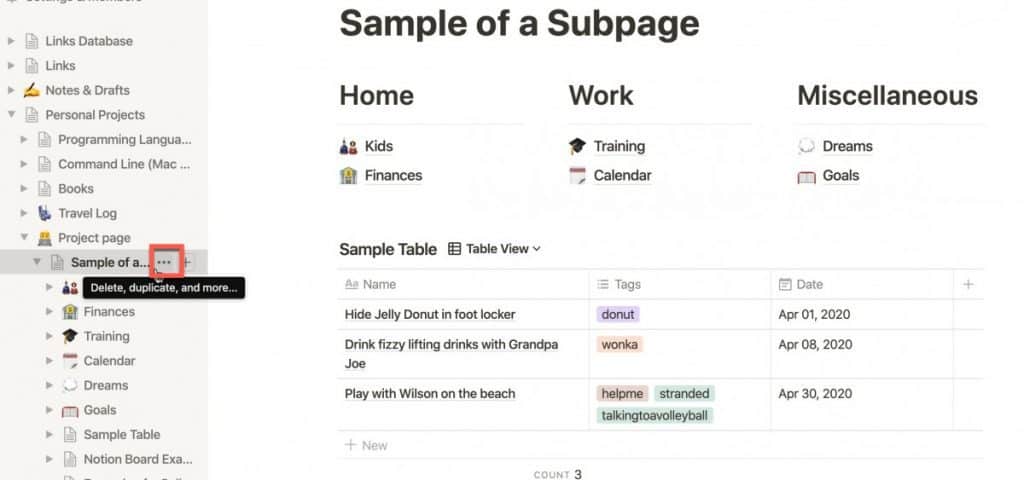
In the left-hand panel, hover over the page you want to duplicate. An ellipsis (…) will appear. Click on the ellipsis.
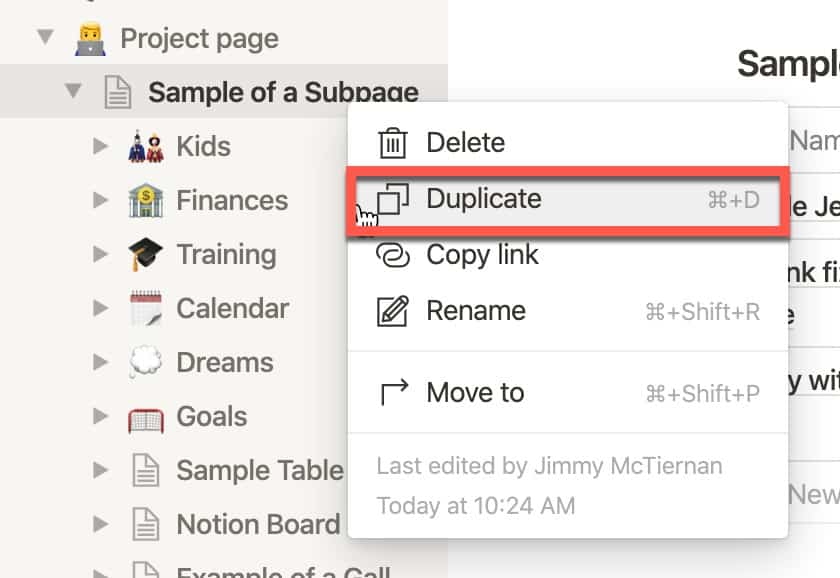
A menu will appear. Select the “Duplicate” option.
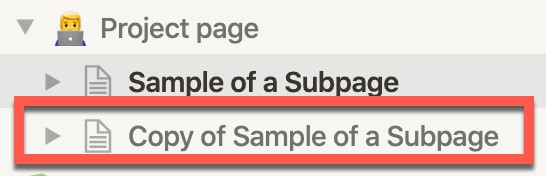
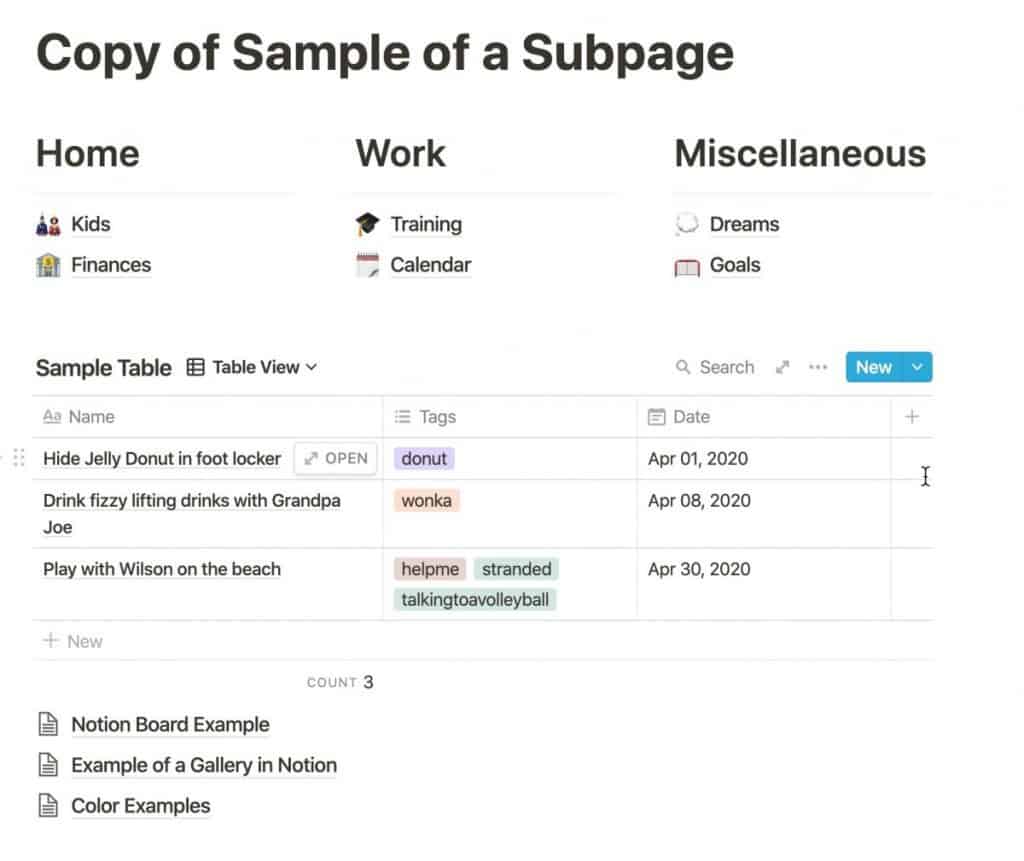
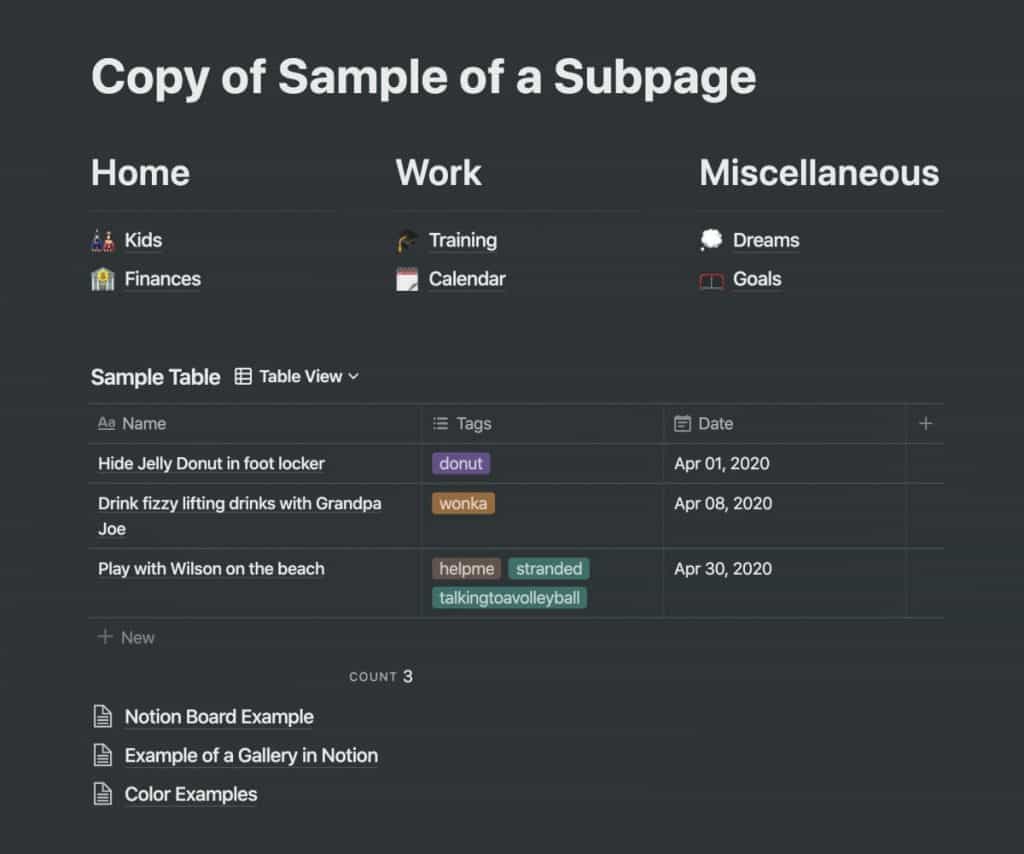
A complete copy of your page will appear in the left panel. Clicking the link will bring up the page and it should be an exact replica of the original page.
Enabling Dark Mode in Notion

If you want to change your Notion window to dark mode, you can very easily by clicking the “Settings & Members” button in the upper-left corner of the Notion window.
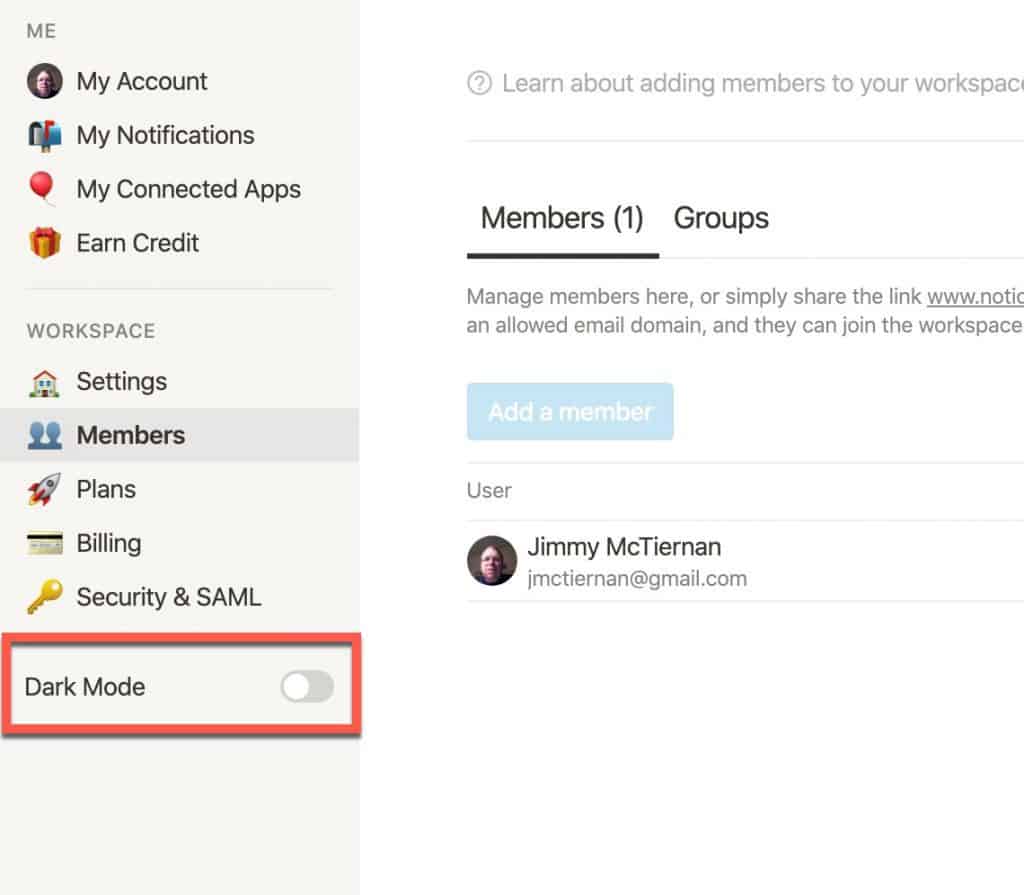
A window will appear. At the bottom of the left panel, click the “Dark Mode” switch to toggle Dark Mode on.
Your window should now be in dark mode.
Want More Tips and Tricks? Subscribe to our Newsletter!
If you haven’t already subscribed, please subscribe to The Productive Engineer newsletter. It is filled with tips and tricks on how to get the most out of the productivity apps you use every day. We hate spam as much as you do and promise only to send you stuff we think will help you get things done.
Check Out Our YouTube Channel!
We have a YouTube channel now and we are working hard to fill it with tips, tricks, how-tos, and tutorials. Click the link below to check it out!
Check out our Resources Page
Check out our resources page for the products and services we use every day to get things done or make our lives a little easier at the link below: