Time Tracking in Notion
Tracking your time is one of the best things you can do to improve your productivity. Knowing exactly how you spend your time will make you aware of how much time you are spending on things that matter (and how much time you spend on social media or YouTube). If you are a Notion user, you may want to track your time from inside of Notion. But how? The easiest way I have found is by using the Clockify service to add a timer inside of Notion.
But how do you add time tracking to Notion? Enclosed below are a list of steps to add time tracking to Notion using Clockify:
- Sign up for Clockify
- Install Clockify Extension for your Web Browser
- Log into the Clockify Extension using your Clockify account
- Open Notion in your Web Browser
- Navigate to the Notion page you want to work in
- Click the “Start timer” button to the right of your page title
- Do the work in Notion for that page
- Click the “Stop Timer” button to stop the timer
- Go to the Clockify tracker page to see your time in Clockify
Before we get started with the tutorial, if you are looking to learn more about apps like Notion, Todoist, Evernote, Google Docs, or just how to be more productive (like Keep Productive’s awesome Notion course), you should really check out SkillShare. Skillshare is an online learning platform with courses on pretty much anything you want to learn. To learn more about Skillshare and its vast library of courses and get 30% off, click the link below:
SkillShare – Online Learning Platform
If you are just starting out with Notion and aren’t sure where to get started, you really need to check out my comprehensive beginner’s guide to Notion. It goes through all things you need to know to get started the right way. Enclosed below is the link to the guide:
Link to Beginner’s Guide to Using Notion With Screenshots
Looking for some information on the power of Notion? Check out our article containing tips to help you become a power user of Notion at the link below:
Let’s get started with the tutorial 😀.
Go to the Clockify website
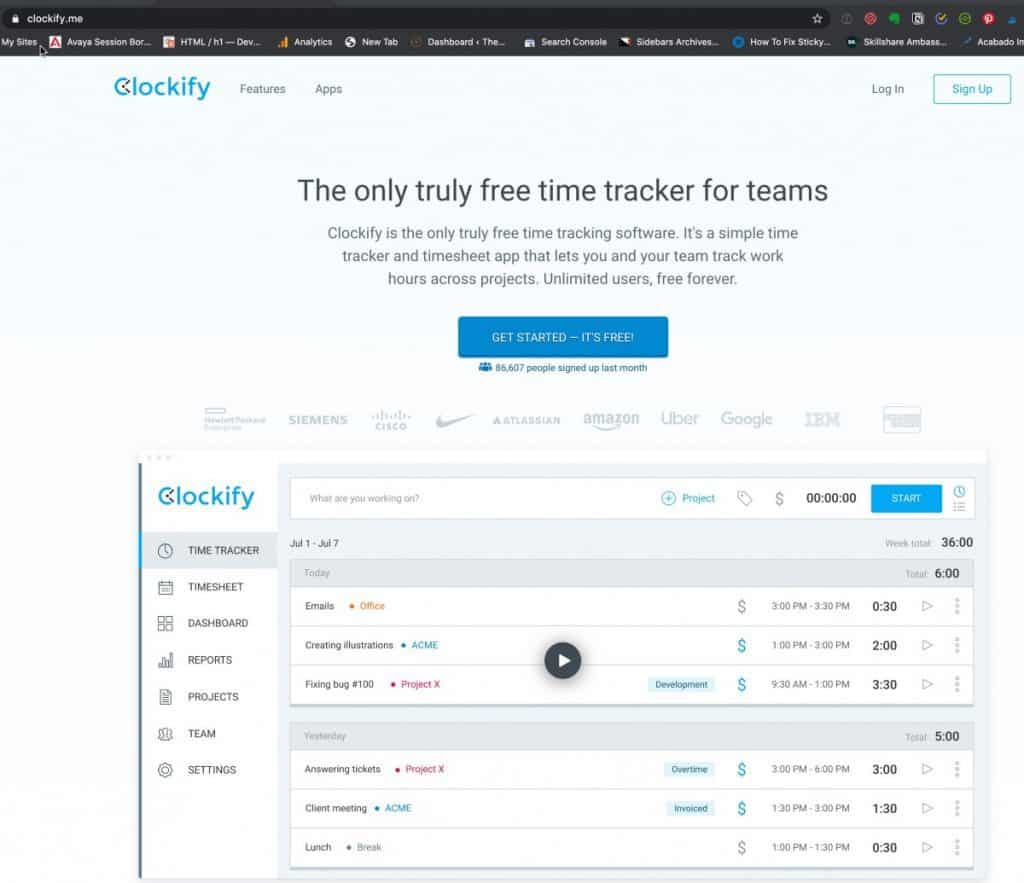
Navigate to the Clockify website by clicking this link. Click the “Sign up” button in the upper-right-hand corner of the page.
Enter your Information into Clockify Signup Page
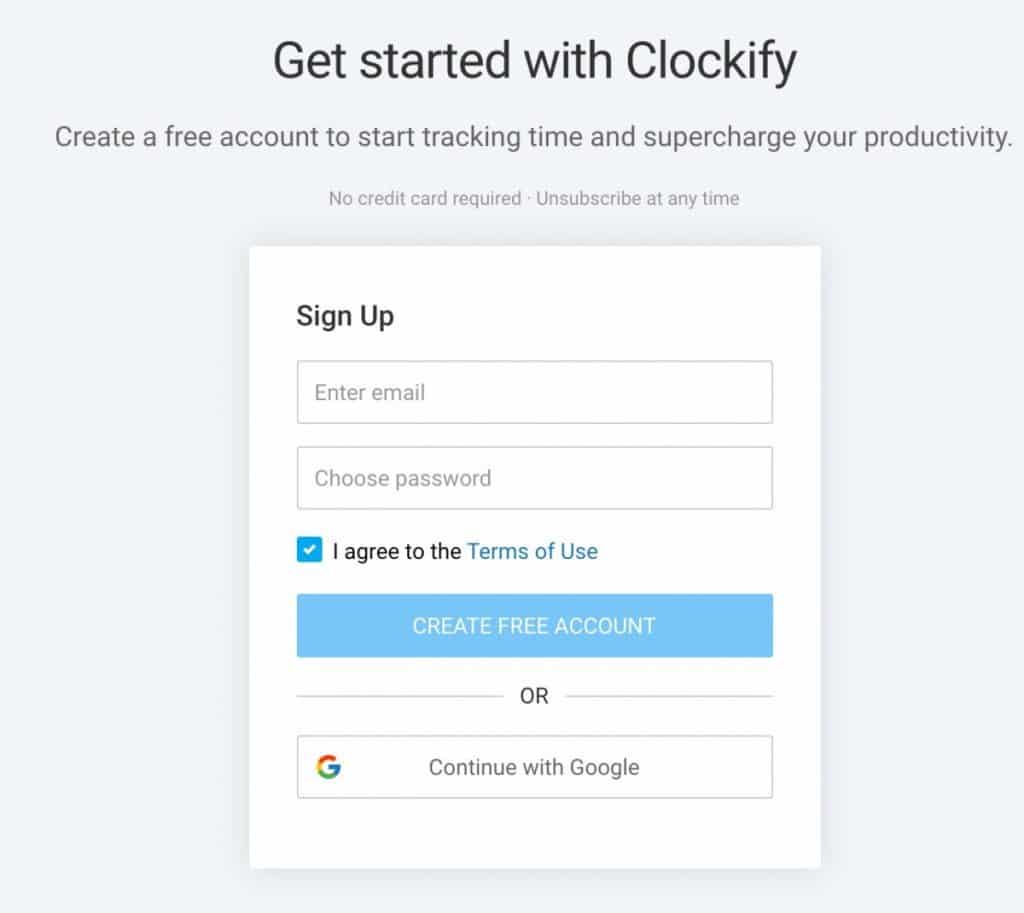
You can sign up for Clockify in two ways:
- Entering your email address and creating a password
- Using your Google account by clicking the “Continue with Google” button
Choose the option you want and continue.
You should now be logged in to Clockify. Clockify offers both free and paid plans. I am using a free plan as it does everything I need. The next step is to install the Clockify web extension into your browser of choice.
For this tutorial, I will be using Google Chrome.
Go to your Browser’s Extension store
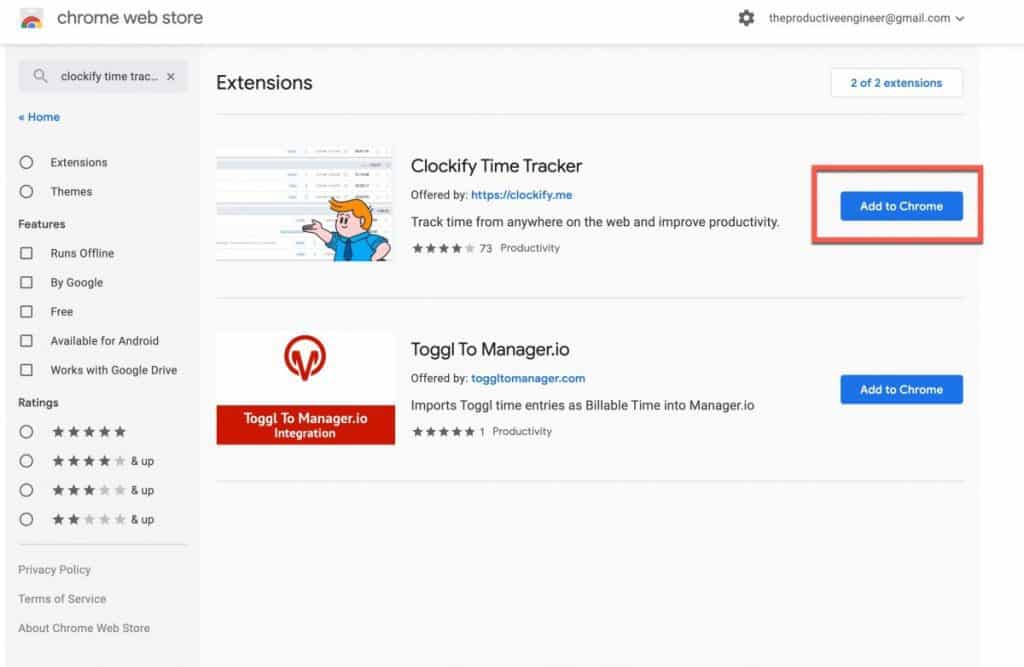
Go to your browser’s extension store. In this tutorial, we will go to the Google Chrome Web Store (don’t worry, the extension is free). Search for the extension by clicking in the search bar of the store and typing “Clockify Time Tracking“. The Clockify extension should appear like in the screenshot above. Click the “Add to Chrome” button (or whatever button is in your browser’s web store) to install the Clockify extension into your web browser.
Click the “Add extension” button
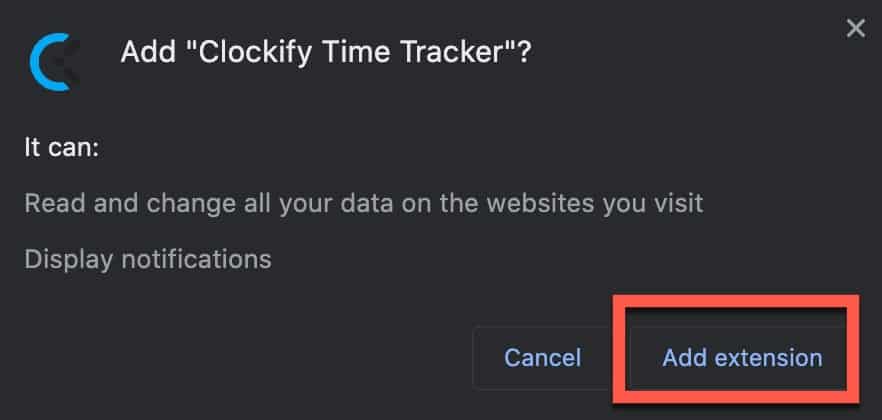
If you are using Google Chrome, you will be prompted with an “Add Clockify Time Track” dialog box. Click the “Add extension” button.
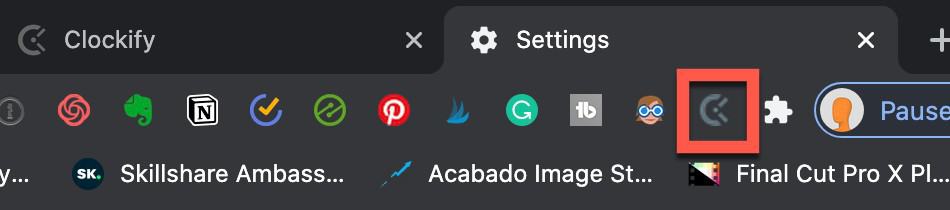
The Clockify extension should now appear in the extension section of your browser as shown in the above screenshot.
Log into the Clockify Web Extension
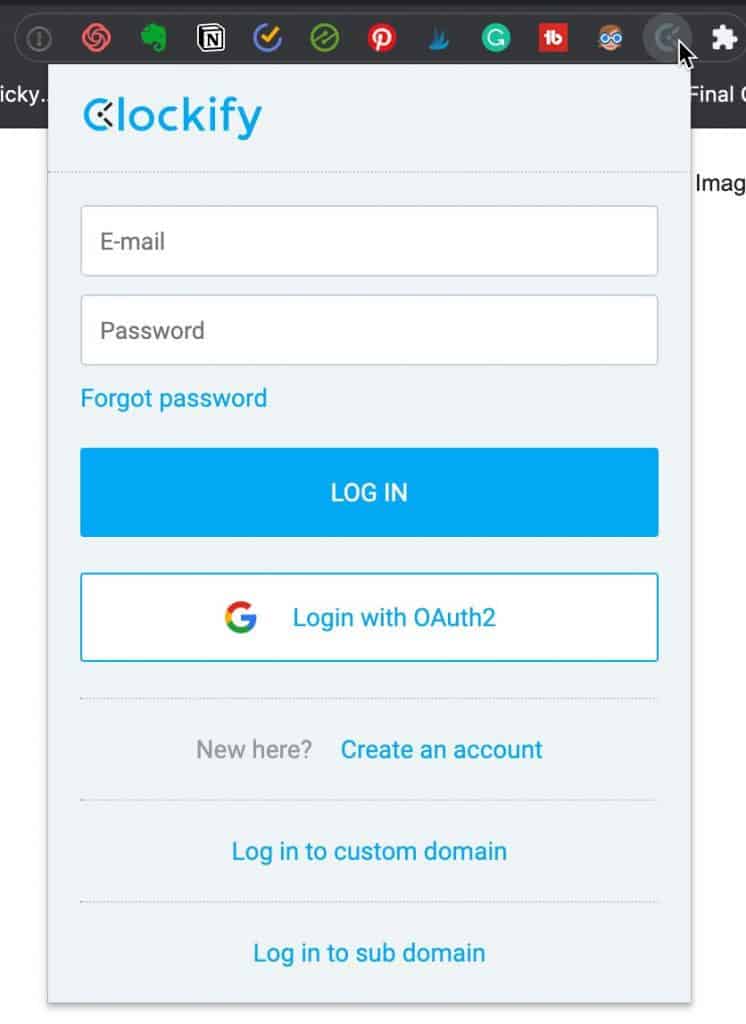
Click on the Clockify extension button. You will be presented with a login dialog box. Log in using the method you set up earlier in this tutorial. In my case I used Google so I would press “Login with OAuth2” to login using my Google credentials.
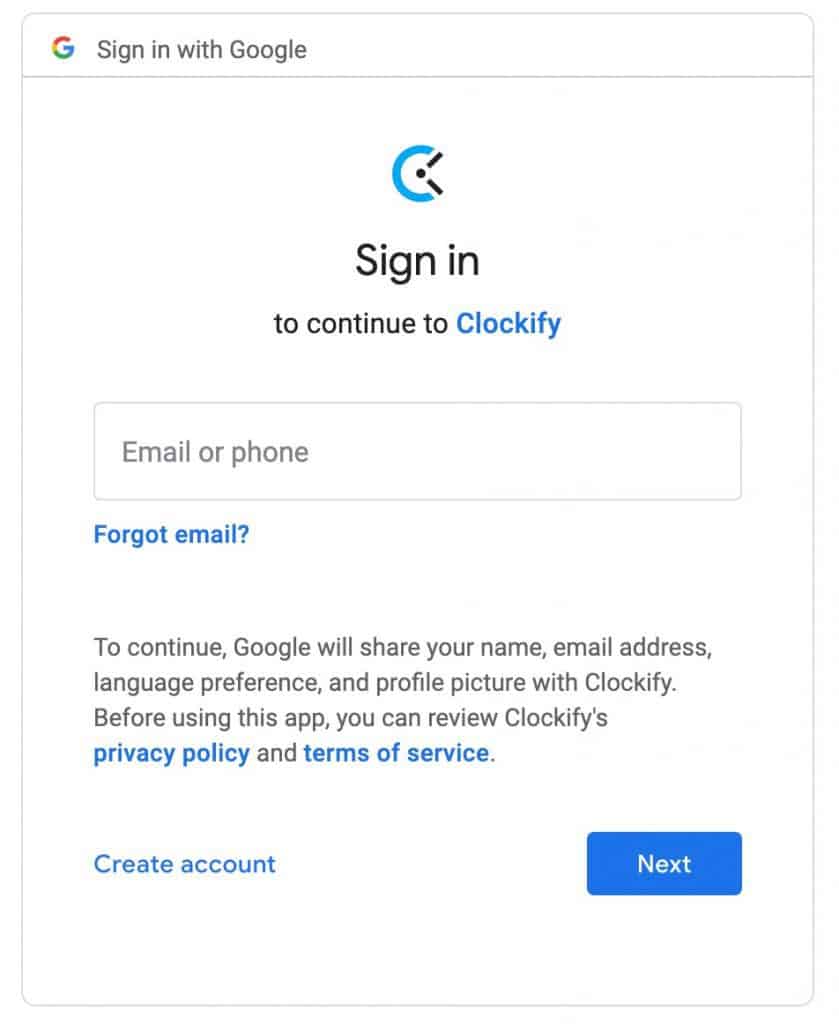
Google asks from your email or phone. Enter either and press “Next“. Note this dialog will only appear if you choose the “login with Google” option.
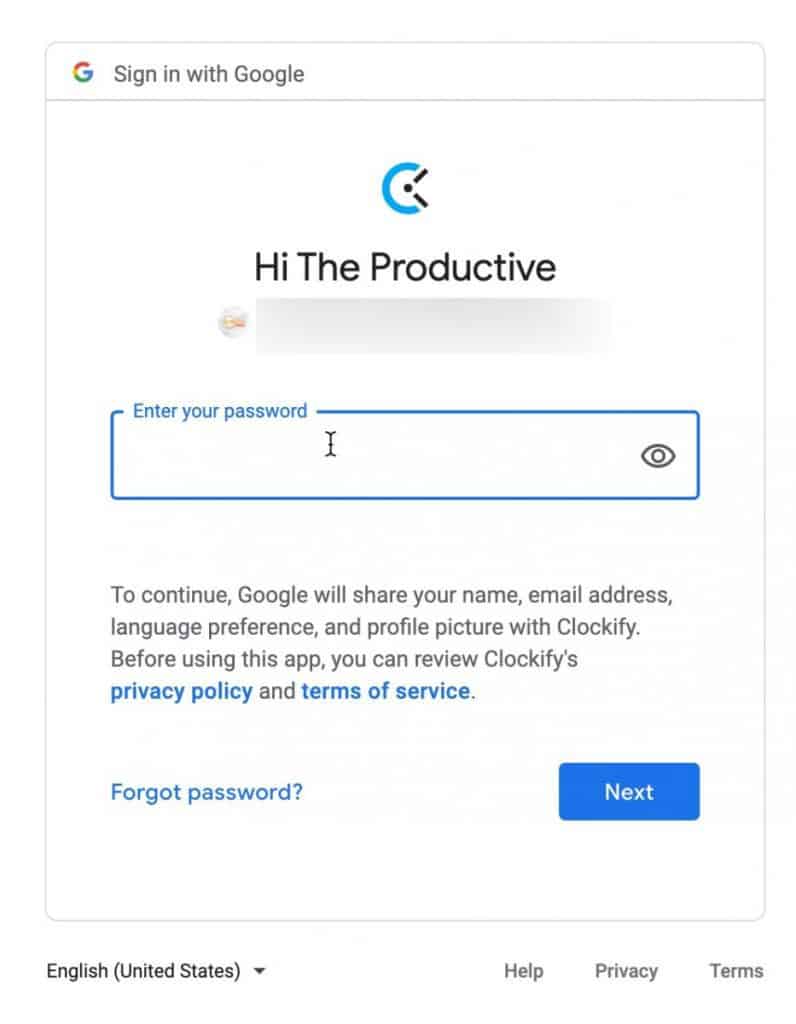
If using Google login, the next step is to enter your password and press “Next“.
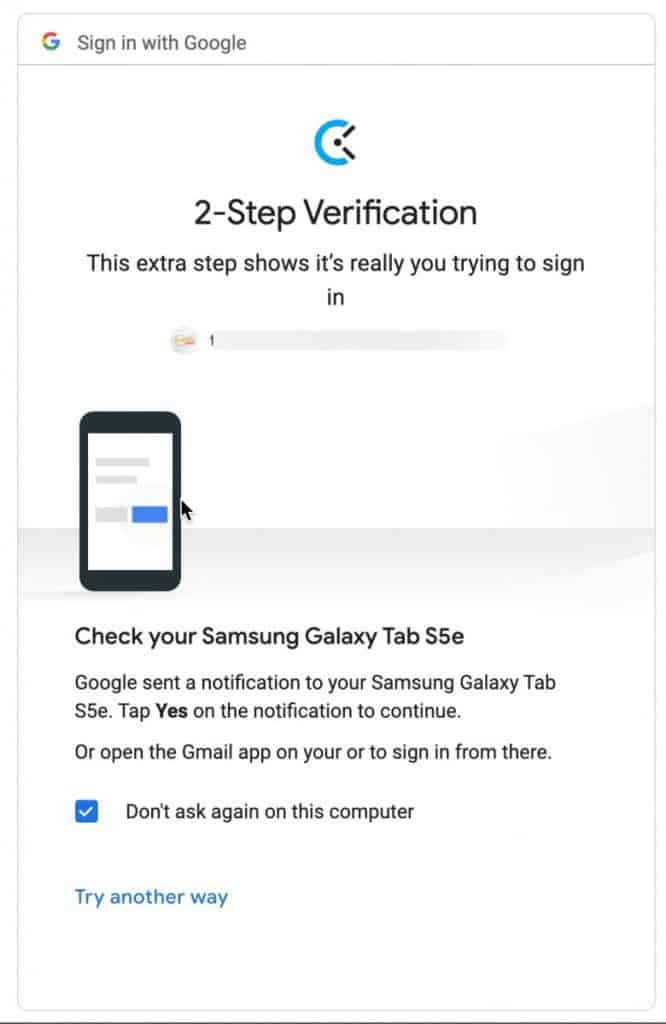
If you have two-factor authentication setup on your Google account (which I highly recommend), you will be presented with a dialog like the one above. Approve the login on your device.
Go to Notion in Your Web Browser and click the “Start timer” button
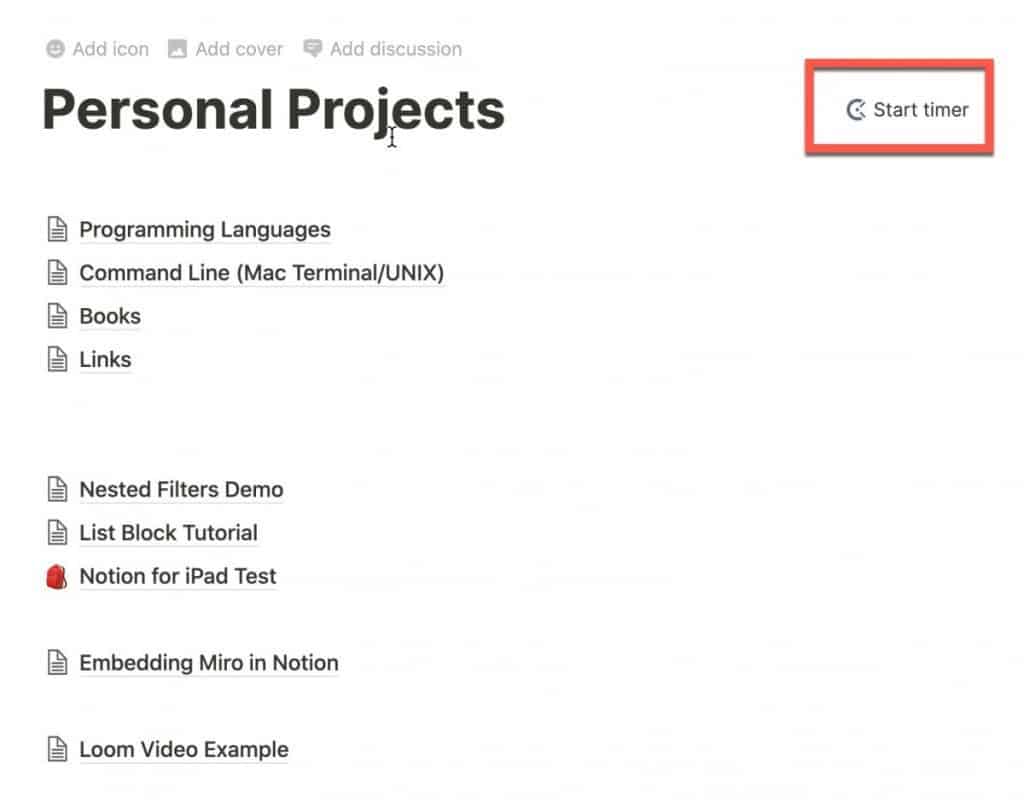
In your web browser, go to Notion and navigate to the Notion page you are working on. You should now notice a new “Start timer” button added to your page. Note that this button will only appear in the web version of Notion and not the desktop Notion client.
Click the “Start timer” button to start your timer. Work on your Notion page.
Click “Stop timer” Button once you have completed work on that page.

Once you have completed the work on your current page, click on the “Stop timer” button to stop your timer. The time you have spent working on this Notion page will now be logged into Clockify.
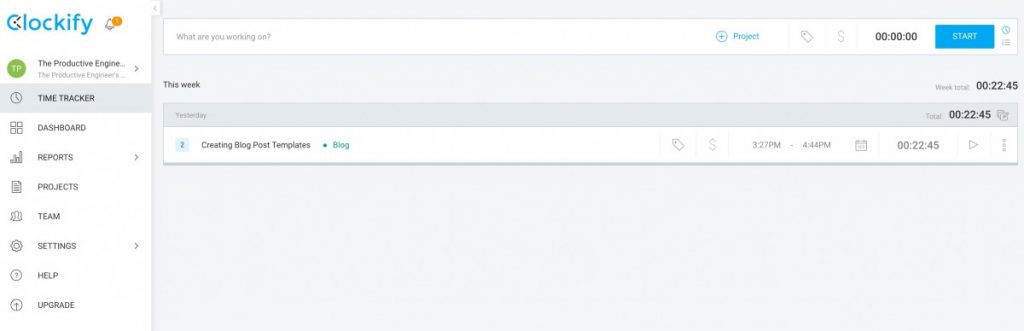
Log into Clockify to view your tracked time


Go to the Clockify tracker page to view your tracked time. You should see all of the time tracked for each Notion page you pressed the start and stop timer buttons for. This is a really awesome way of tracking the amount of time you spend in Notion by page.
I hope this tutorial was helpful to you. Good luck!
Subscribe to Our Newsletter
If you like this article, subscribe to our newsletter. It contains tips and tricks to help you get things done.
Check out our Resources page
Check out our resources page for the products and services we use everyday to get things done or make our lives a little easier at the link below:
Check Out Our YouTube Channel!
We have a YouTube channel now and we are working hard to fill it with tips, tricks, how-tos, and tutorials. Click the link below to check it out!
Looking to Get Started Blogging or on YouTube?
Getting started can seem daunting and scary (I know it was for me) but it doesn’t have to be. I was very lucky to find a program that that has helped me grow my blog to over 35,000 page views and a YouTube channel that is growing month-over-month.
Project 24 by Income School is the program that I have used. I have been a member for over a year now and just renewed my membership. I cannot recommend Project 24 enough! For more information on Income School, click the link below:
Project 24 by Income School – Teaching You How to Create Passive Income from Blogs and YouTube