Beginner’s Guide to RemNote
RemNote is a great service that allows you to take notes in a way that facilitates learning. How? RemNote supports both the creation and use of virtual flashcards (called Rems) as well as flexible ways to link documents and Rems together to create a comprehensive personal knowledge base.
This beginner’s guide to start at the very basics of RemNote and will layer in functionality in a clear, step-by-step fashion.
One of the things that helps get content from the web into RemNote is the RemNote Clipper. Check out my step-by-step guide to using the RemNote clipper to get content from your favorite websites into RemNote at the link below:
RemNote Clipper – Detailed Guide with Video and Screenshots
Before we get started with the tutorial, if you are looking to learn more about apps like Notion, Todoist, Evernote, Google Docs, or just how to be more productive (like Keep Productive’s awesome Notion course), you should really check out SkillShare. Skillshare is an online learning platform with courses on pretty much anything you want to learn. To learn more about Skillshare and its vast library of courses and get 30% off, click the link below:
SkillShare – Online Learning Platform
Let’s get started with the tutorial 😀.
What is RemNote?
RemNote is a note-taking service that is focused on learning. RemNote combines document creation (notes) with spaced repetition and flashcards to create a great learning environment for students or anyone looking to learn.
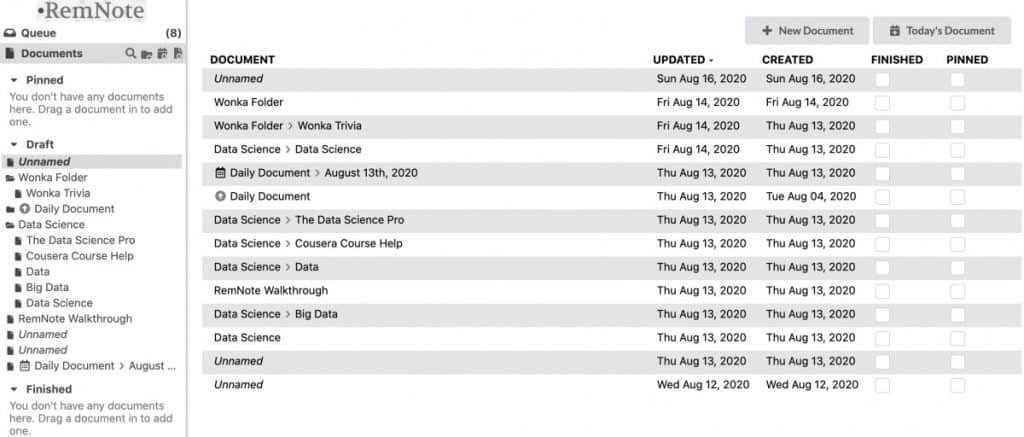
Creating a Document in RemNote
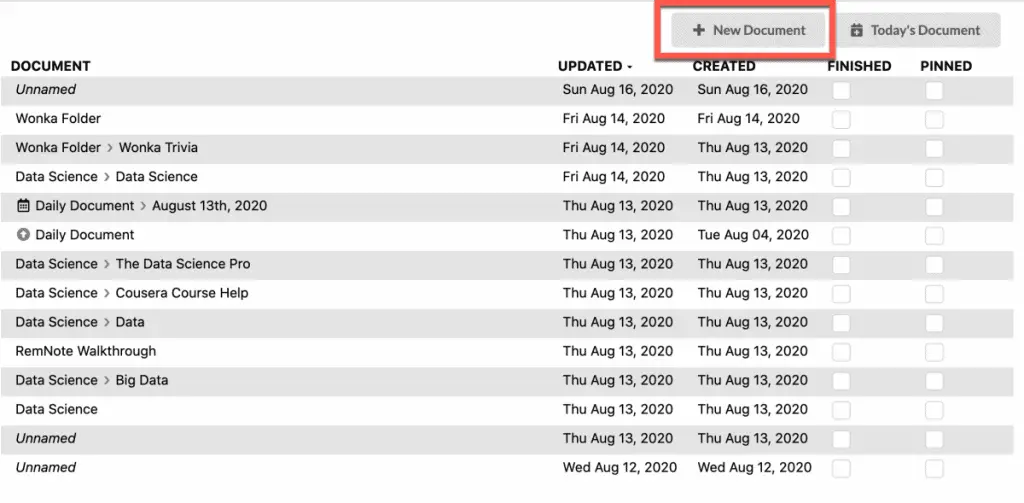
There are three ways to create a new document in RemNote:
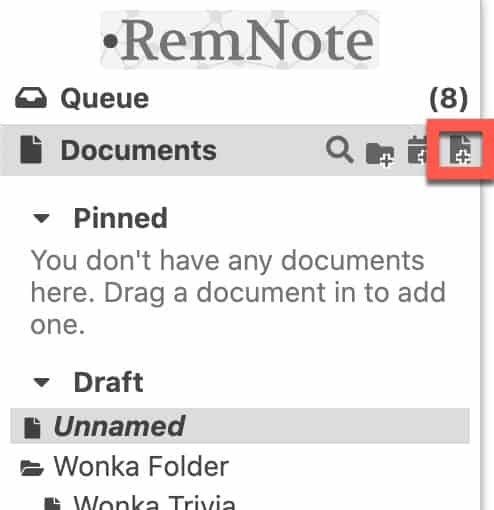
- Clicking the “New Document” button in the “Documents” line in the left panel
- Clicking the “+ New Document” button in the main window when “Documents” is selected in the left panel (shown below)
- Using the keyboard shortcut “Alt + D“
Use one of the above options to create a new document in RemNote. Documents are essentially notes in RemNote.
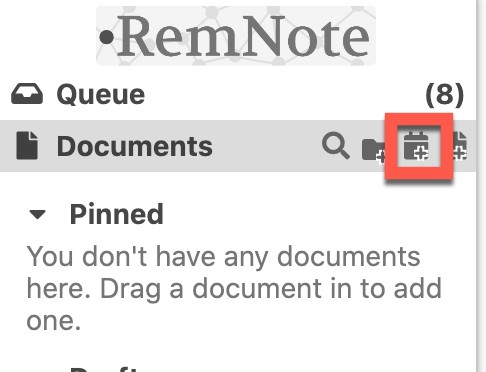
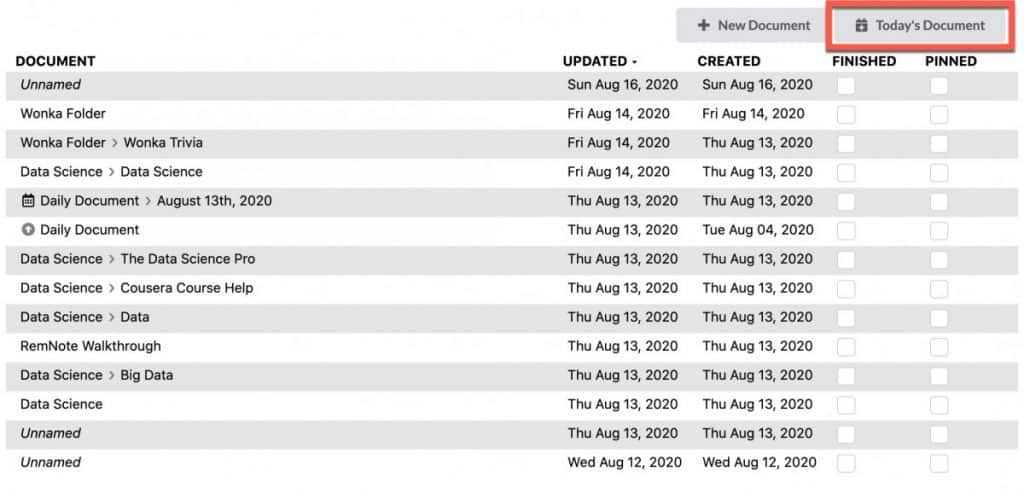
RemNote also enables daily journaling by having a special option to create “Today’s Document”. This document will have the date as the title of the document. You have three ways to create today’s document:
- By clicking the “Create a New Document with Today’s Date” button in the left panel in the “Documents” section
- By selecting the “Documents” section in the left panel and clicking the “Today’s Document” button in the main window
- Using the keyboard shortcut “Alt + N“
If you are looking for a comparison of RemNote and Notion, you should check out our RemNote vs Notion Guide.
Adding Content to a Document in RemNote
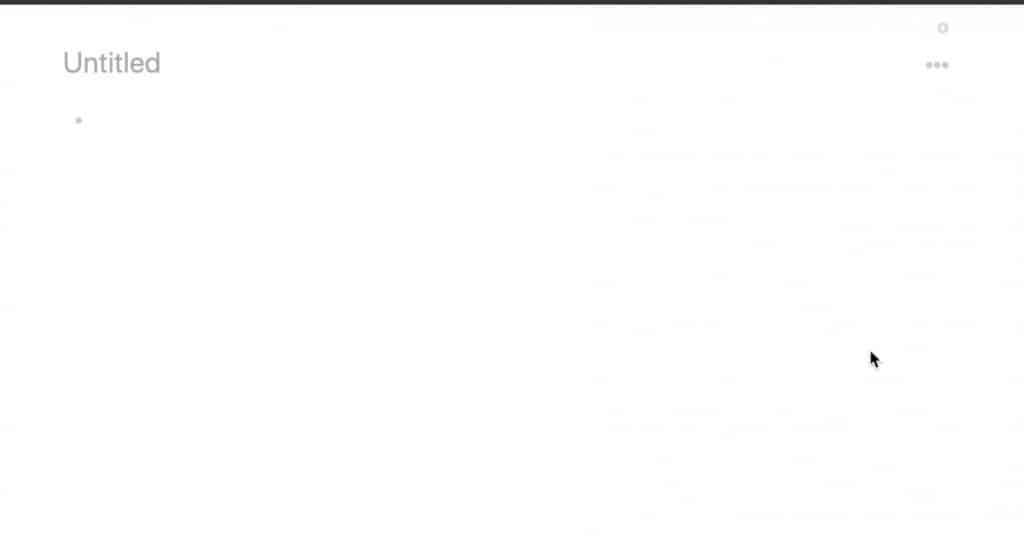
Adding content to a document in RemNote is as easy as clicking in the body of the document and start typing. Add a title to your page as shown below:

Click where it says “Untitled” and type in your new title.

You should notice under your title that there is some text “No Source”. As RemNote is geared toward learning, you can add links to reference material by simply clicking on the “No Source” section and pasting a link into it as shown below:
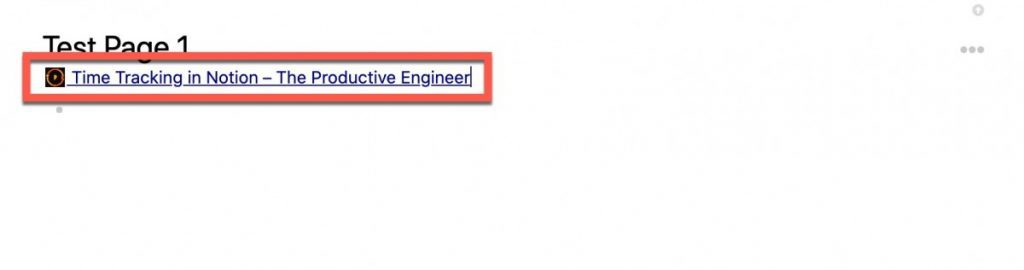
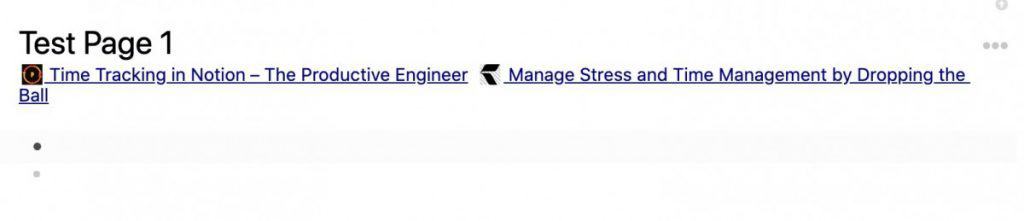
You can actually have multiple links in the section by clicking the area to the right of the link and pasting in another link as shown below:
RemNote makes it easy to add reference links to your documents. Next, lets review how to edit text in RemNote.
Editing Text in RemNote

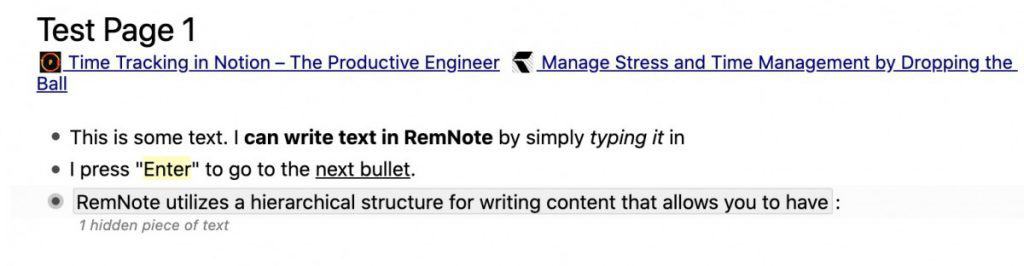
As you can see above, I added some text to the document we created. RemNote uses collapsible bullets that can be indented multiple levels like the screenshot above. To indent one level, press the “Tab” key. To move out one level, press the “Shift + Tab” keys.
As I mentioned in the prior paragraph, You can collapse bullets. This allows you to focus on specific content on your page.
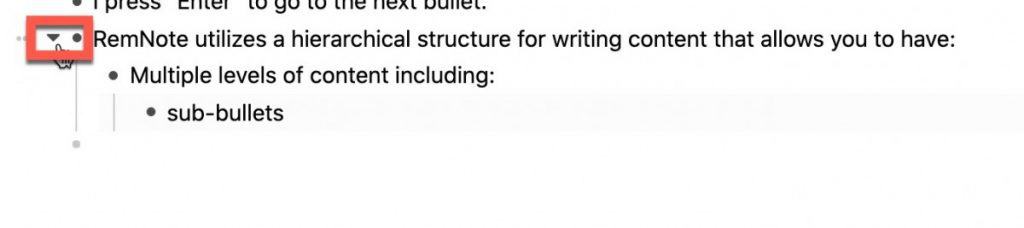
To collapse a bullet, hover over the bullet and a drop-down arrow should appear to the left of the bullet.
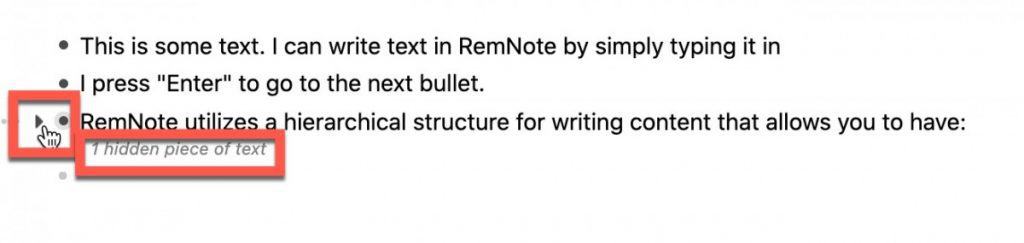
Click on the drop-down arrow and all the sub-bullets under your bullet should disappear. You should also see a message indicated you have hidden text as shown in the screenshot above.

To edit text in RemNote, simply click and drag your mouse to select the text. A contextual menu will appear with the following options:
- Make Rem reference (Rems are virtual flashcards)
- Make a Tag
- Make a Cloze Rem (fill in the blank flashcard)
- Bold text
- Italicize text
- Underline text
- Quote text
- Highlight text (multiple color options)
We will talk about Rems later on in this tutorial so let’s focus on the common text editing options. Highlight some text and apply one of the formatting options.
As you can see from the screenshot above, you have a bunch of options for formatting text. Next, let’s organize our documents using folders.
Creating Folders to Organize RemNote Documents
As you use RemNote more and more, you will end up with a bunch of documents. RemNote offers the ability to group documents inside of folders.
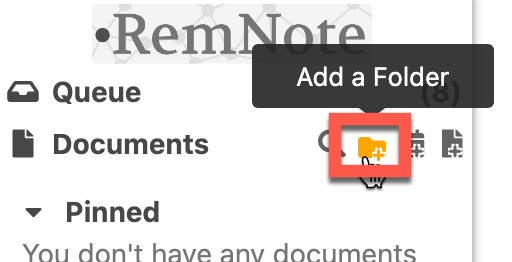
To create a folder, simply click on the “Add a Folder” button in the “Documents” section in the left panel as shown in the screenshot above.

Your folder will appear in the main window as shown above.

Give your folder a title.
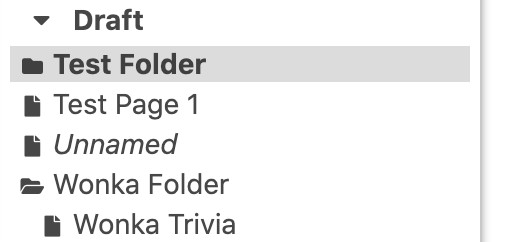
Your folder should appear in the left hand panel of the RemNote window.

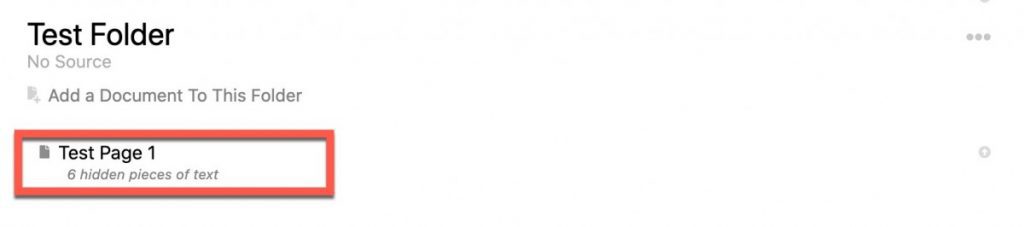
To add an existing document to your new folder, simply click and drag the document in the left panel into the new folder as shown in the screenshot above.
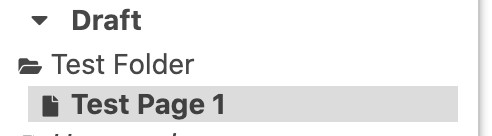
Your document will now appear in the folder as shown in the screenshots above and below.
Next, we will explore Rems. Rems are virtual flashcards you can use to review your content.
Creating Rems in RemNote
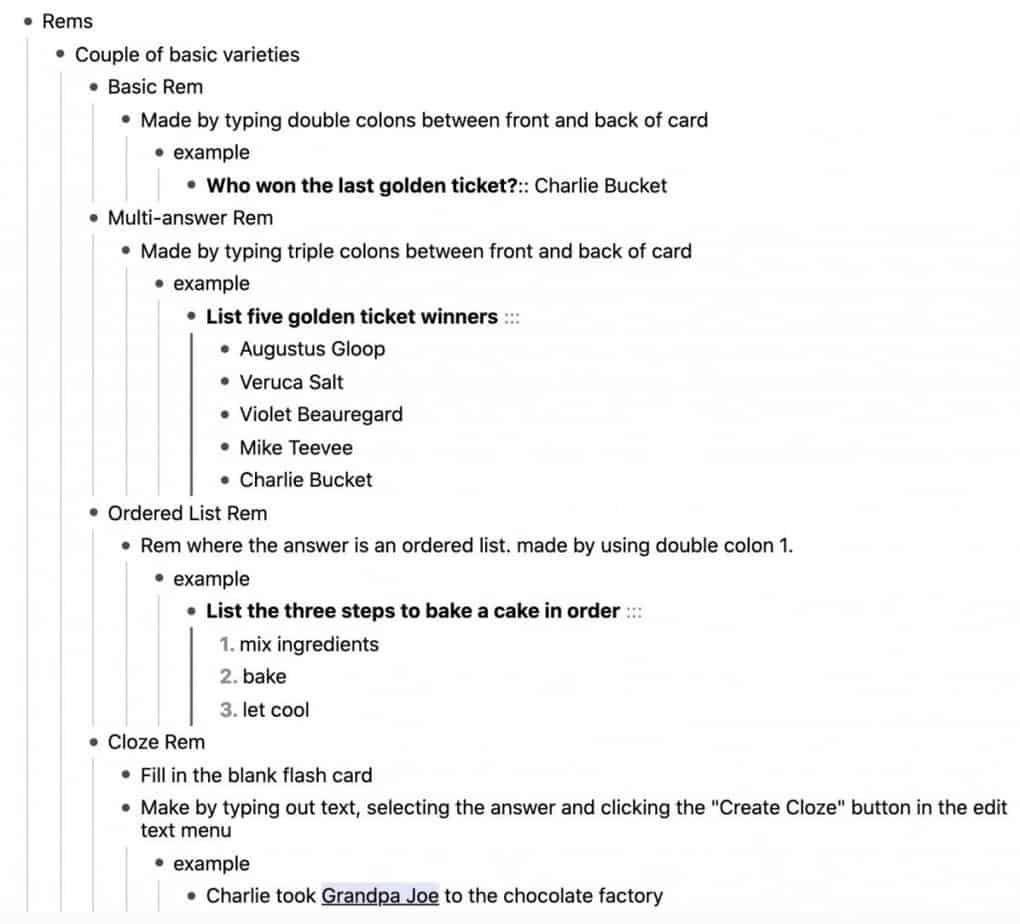
We have mentioned Rems a couple of times in this tutorial. Rems are simply virtual flashcards to can create from your notes. There are several kinds of Rem:
- Basic question/single answer Rem
- Question/multiple answer Rem (unordered)
- Question/Ordered List Rem
- Cloze (fill in the blank) Rem
Basic Rem

A basic rem is a simple question/answer Rem where there is a simple single line answer. To create a basic Rem, simply type your question, :: and then your answer as shown in the screenshot above. You should notice that your question becomes bolded when you add the double colons (::).
Question/Multiple Answer Rem (unordered)
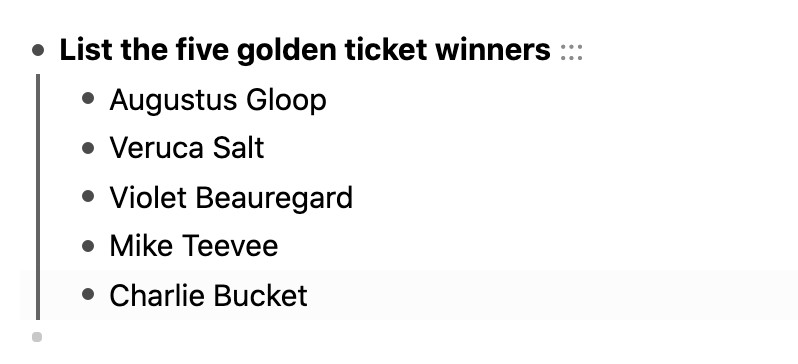
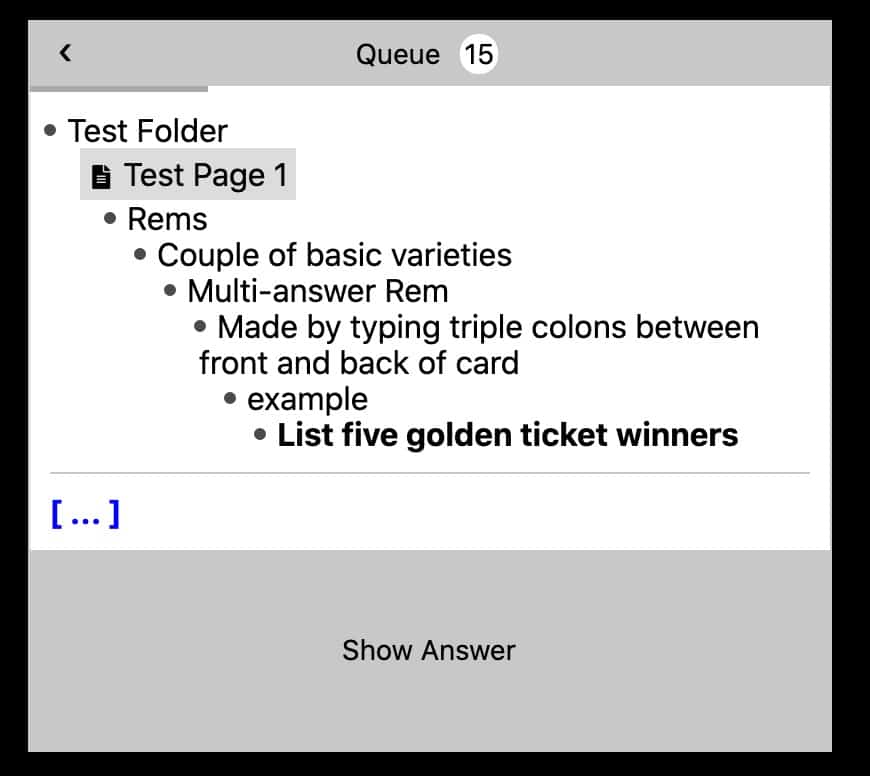
The next type of Rem is a question/multiple line answer Rem. You would use this Rem for an unordered, multi-line answer like the one in the screenshot above. To create this type of Rem, type in your question and then use a triple colon (…). This will bold the question and create an indented bullet underneath your question.
Type in each entry and hit “Enter” to go to the next line. When you have typed in the last answer line, hit “Enter” twice to leave the Rem.
Ordered List Rem
The next Rem type is an ordered list Rem. This Rem is used when the answer needs to be in a specific sequence or order. The way you create this type of Rem is to type:
- [Question] ::1. [Answer]
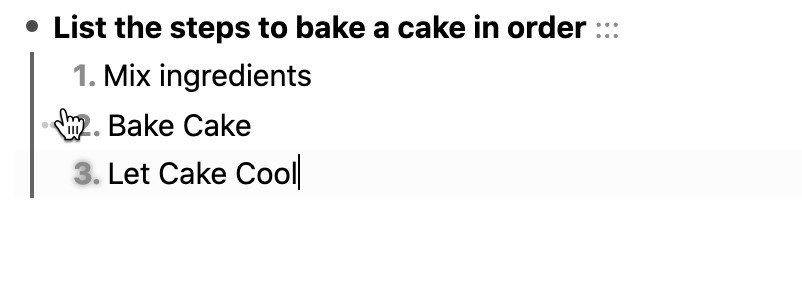
As you can see in my example above, each answer item is denoted with a number. Type in each step and hit “Enter” to go to the next step. Repeat this process until you have completed then hit “Enter” twice to leave the Rem.
Cloze Rem
The last Rem type we will talk about is the Cloze Rem. A Cloze Rem is just a “fill in the blank” Rem.

To create a Cloze Rem, type out you phrase containing the answer, select the answer text and click the “Cloze Rem” button as shown in the screenshot above.

Your Cloze Rem should look a lot like the one in the screenshot above. The answer should be underlined and highlighted.
Now that we know how to create Rems, let’s learn how to review them.
Reviewing Rems in RemNote
As you saw in the last section, you can create multiple types of Rems. To review, a Rem is simply a virtual flashcard.
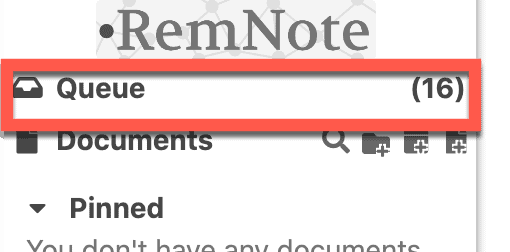
You can review all of your Rems by simply clicking on the “Queue” section of the left panel. The Queue is a collection of all of your Rems.
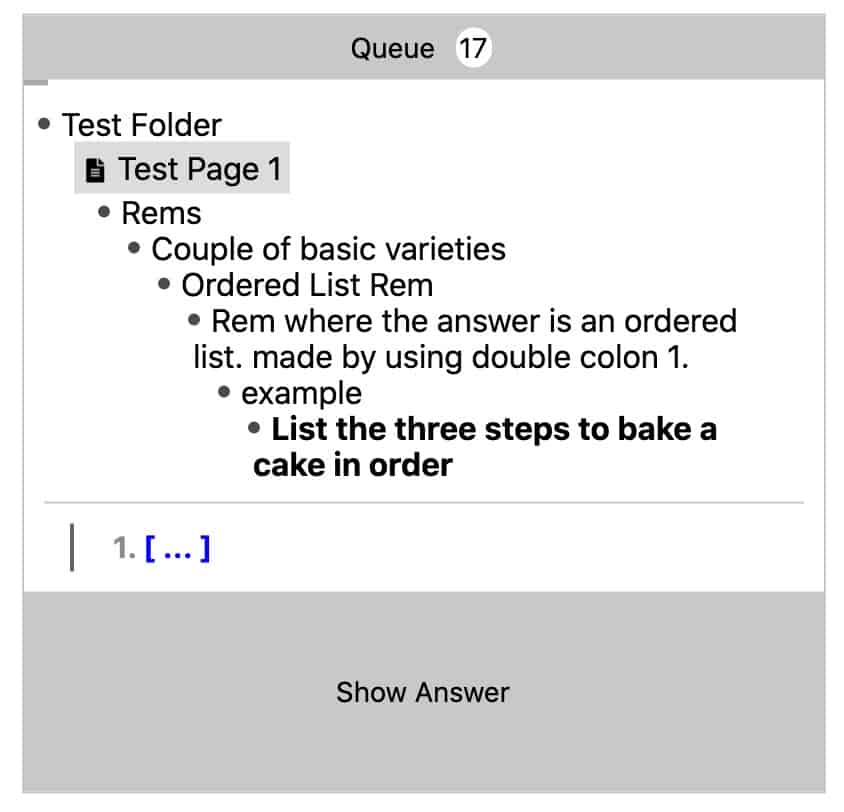
Once you click the “Queue” section in the left panel, you should be presented with a flashcard similar to the one above. The question should be bolded. Try to guess the answer to your Rem and press “Show Answer” to see the correct answer.
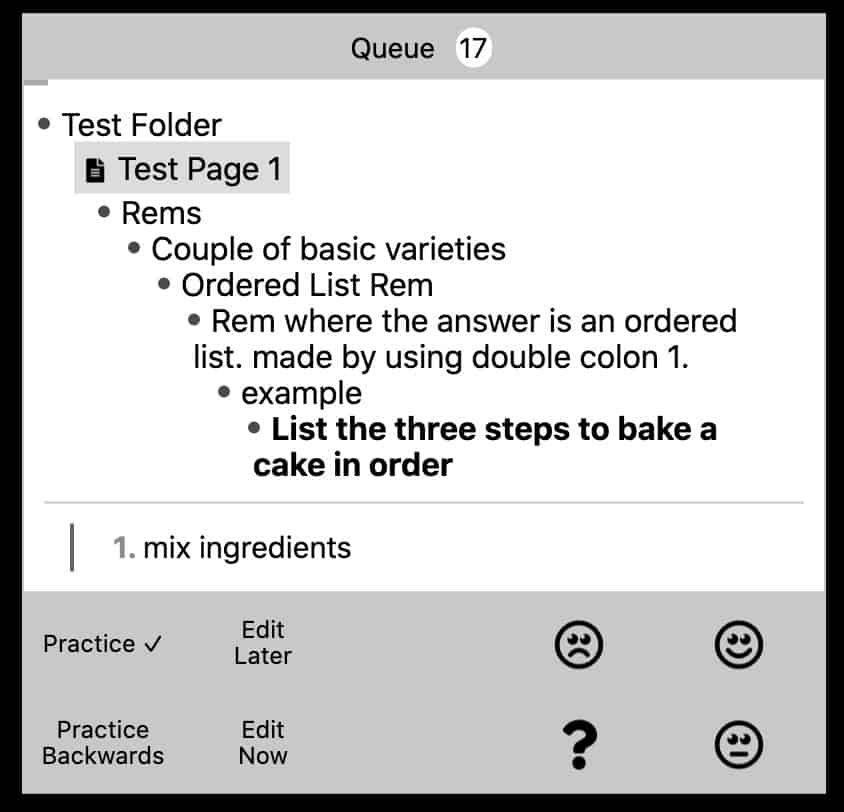
Your answer should appear. If it is a multi-line answer, the first line of the answer will appear as shown above.

Did you get it right? RemNote provides you the ability to tell it how you did answering it. There are four feedback options you can give RemNote on how well you answered the question:
- I don’t know this (Frown face)
- I know this (Happy face)
- Knew it, but not well (indifferent face)
- Accidentally pressed “Show Answer” too early (question mark)
RemNote uses spaced repetition to determine when and how often to ask you a question based on how well you answered the question. Spaced Repetition is a system that attempts to ask you questions in a staggered timeline to ensure you don’t forget the answer over time.
Press the one based on how you answered the question.
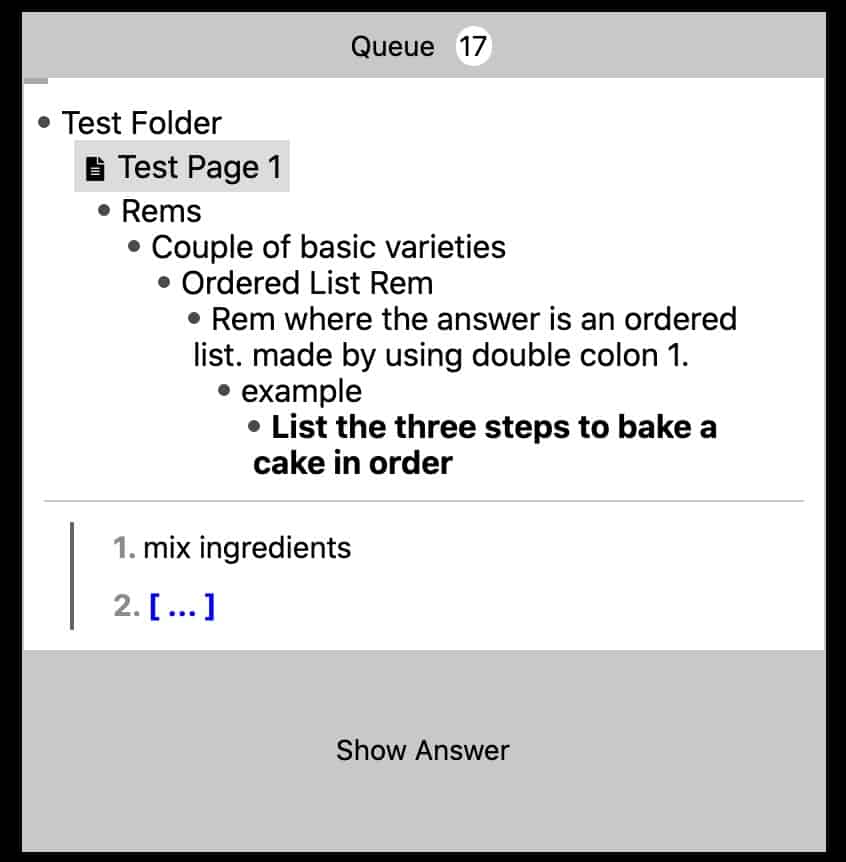
If the question is a multi-line answer, you will be asked for the next answer. Continue until you have answer the question completely.
Once you have completed the question, you will be taken to the next question in your Queue as shown above. Review the rest of your questions.
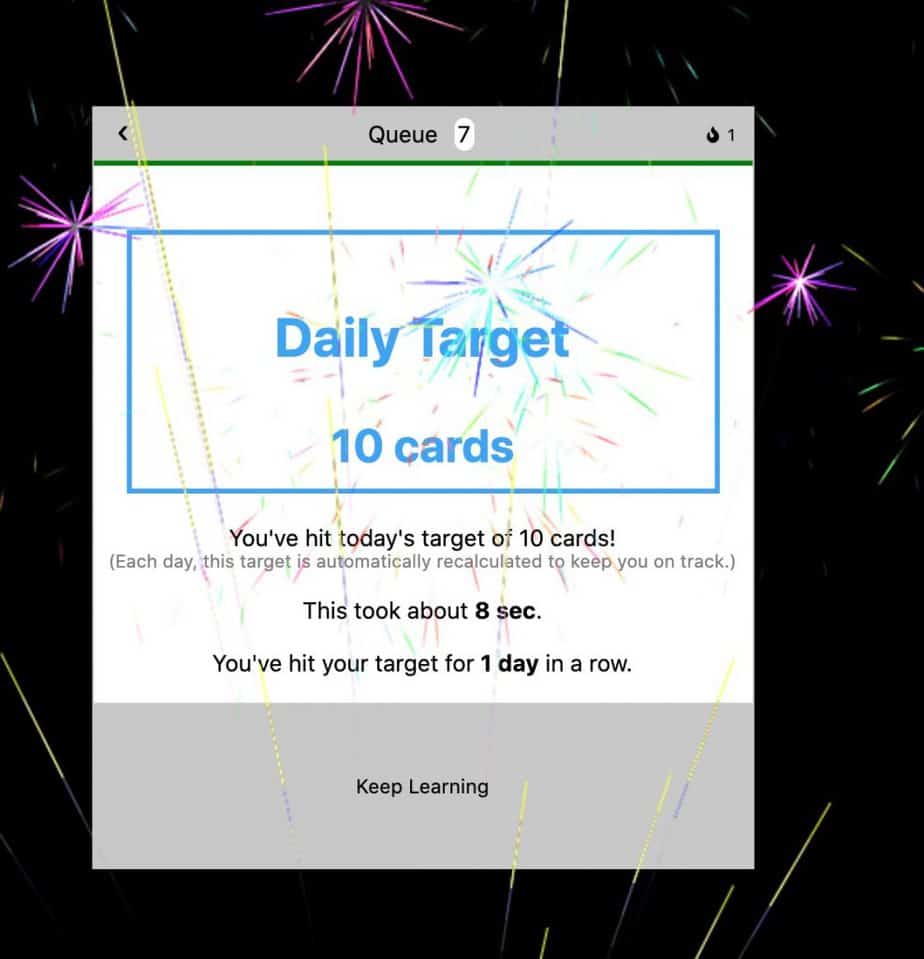
Once you have completed 10 cards in a row, you will see a screen like the one above congratulating you on completing your daily target.
I hope this tutorial was helpful to you in terms of learning the basics of RemNote. Good luck!
Subscribe to Our Newsletter
If you like this article, subscribe to our newsletter. It contains tips and tricks to help you get things done.
Check out our Resources page
Check out our resources page for the products and services we use everyday to get things done or make our lives a little easier at the link below:
Check Out Our YouTube Channel!
We have a YouTube channel now and we are working hard to fill it with tips, tricks, how-tos, and tutorials. Click the link below to check it out!
Looking to Get Started Blogging or on YouTube?
Getting started can seem daunting and scary (I know it was for me) but it doesn’t have to be. I was very lucky to find a program that that has helped me grow my blog to over 35,000 page views and a YouTube channel that is growing month-over-month.
Project 24 by Income School is the program that I have used. I have been a member for over a year now and just renewed my membership. I cannot recommend Project 24 enough! For more information on Income School, click the link below:
Project 24 byIncome School – Teaching You How to Create Passive Income from Blogs and YouTube