How to Backup Notion – The Complete Guide with Video
Have you ever wondered whether you should back up your Notion pages? If so, you will need to export your workspace out of Notion. Notion provides the ability to export your workspace and this guide will teach you how step-by-step.
So how to do you export your pages in Notion? Enclosed below is a list of steps to take to export your Notion workspace:
- Open Notion
- Go to “Settings & Members” in the left panel
- Click on “Settings” to bring up the Settings page
- Click on “Export All Workspace Content”
- Select the export format
- Exporting will start, when complete, select where to save exported files and click “Save”
Before we get started with the tutorial, if you are looking to learn more about apps like Notion, Todoist, Evernote, Google Docs, or just how to be more productive (like Keep Productive’s awesome Notion course), you should really check out SkillShare. Skillshare is an online learning platform with courses on pretty much anything you want to learn. To learn more about Skillshare and its vast library of courses and get 30% off, click the link below:
SkillShare – Online Learning Platform
If you are looking for a beginner’s guide to Notion, we have you covered with our extensive beginner’s guide to Notion, which you can find at the link below:
Beginner’s Guide to Using Notion with Screenshots – The Productive Engineer
If you are already familiar with Notion and simply looking for power tips to help improve your use of Notion, check out our article that contains fourteen great tips to help you use Notion more efficiently at the link below:
14 Amazing Notion Tips You Must Know! – The Productive Engineer
Now, let’s get started with the tutorial!
Open Notion
Open up Notion.
Go into Settings & Members
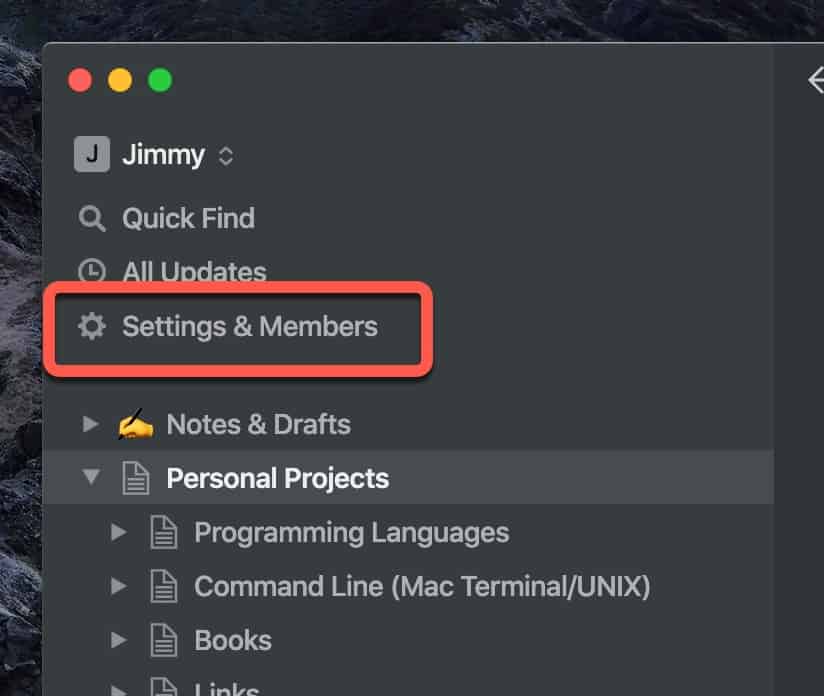
Mouse over to “Settings & Members” in the left panel to access settings.
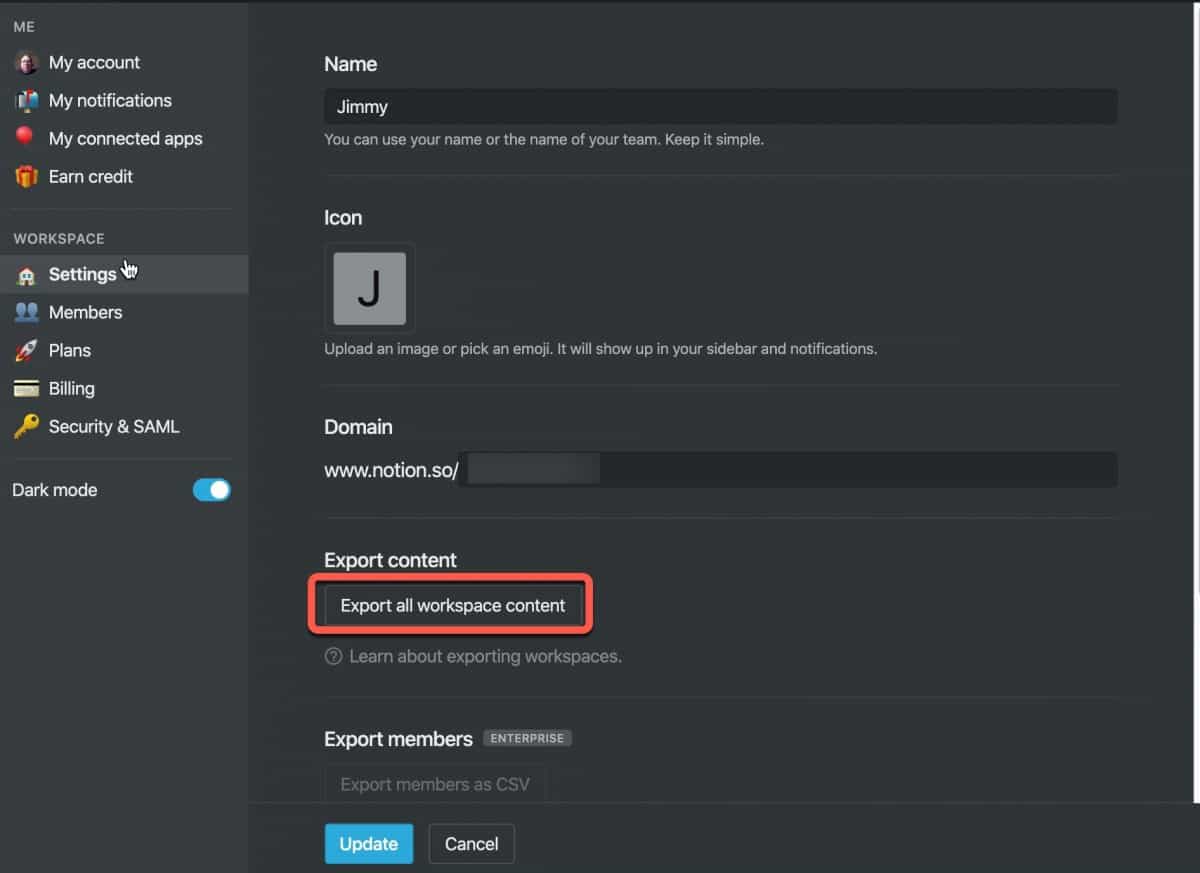
Access Settings and select “Export all Workspace content”
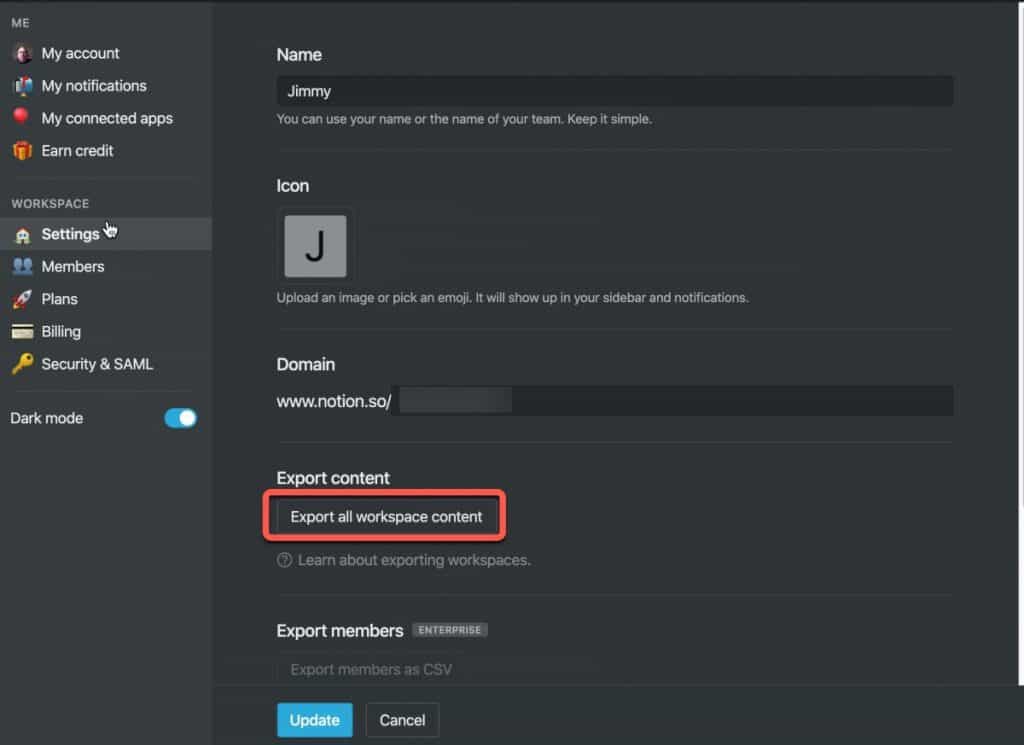
Click on the “Settings” option in the left-hand panel under “Workspace“. Scroll down to the “Export content” section and select “Export all workspace content“.
Select Export Format
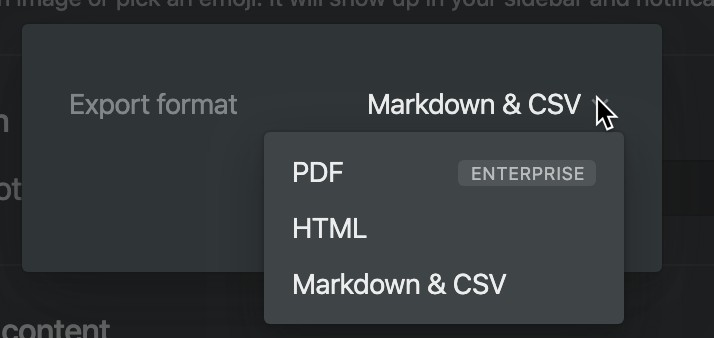
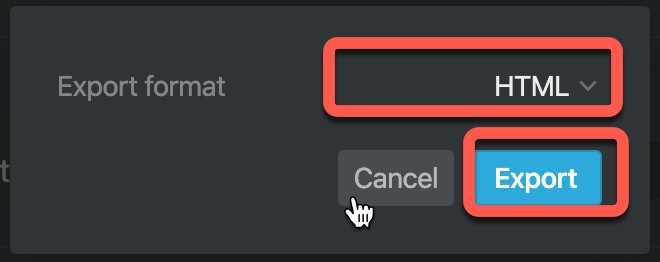
A pop-up dialog will appear that will allow for three export options:
- PDF (only available for Enterprise subscriptions)
- HTML
- Markdown & CSV
The default selection in Markdown & CSV and that is the method that I recommend.
Exporting Notion in Markdown & CSV format
When you export using the Markdown & CSV option, all of your pages will be exported in markdown while your databases/tables will be exported as CSV files.

Once you have pressed the “Export all workspace content” button, select “Markdown & CSV” and click “Export“.
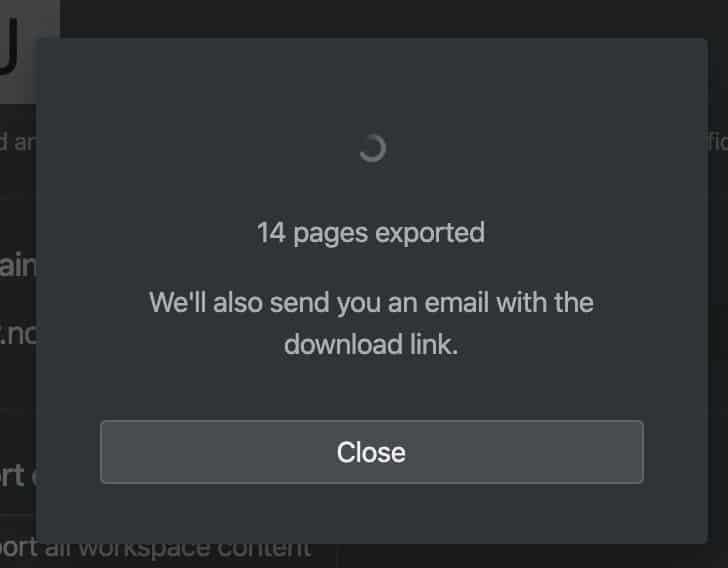
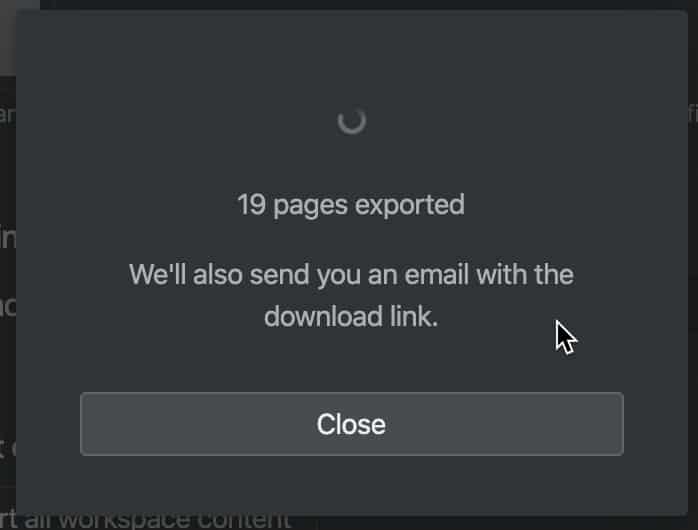
Your Notion pages will start exporting.
Once Notion is done exporting your pages, you will be presented a save dialog.
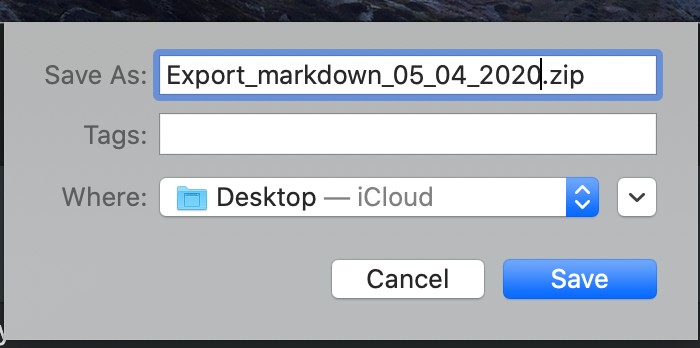
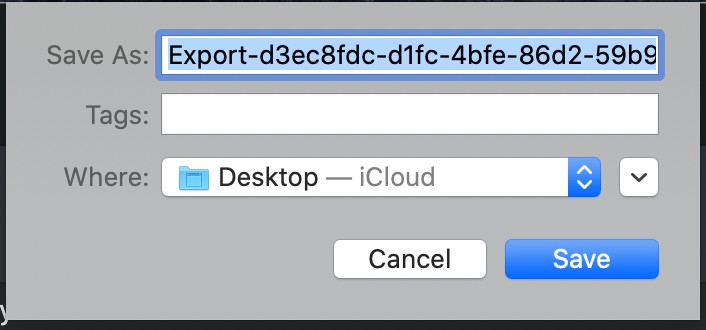
Give your backup a name. It is a good idea to append the date to the end of the filename if you plan on doing regular backups so you know for sure which is the most current backup. Click “Save” to save your backup to your computer.

Your backup file will be saved to your computer as a .zip file.
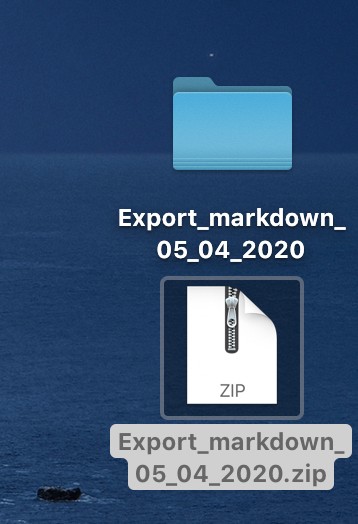
To open your zip file, simply double-click on it and a folder will be created containing your files.
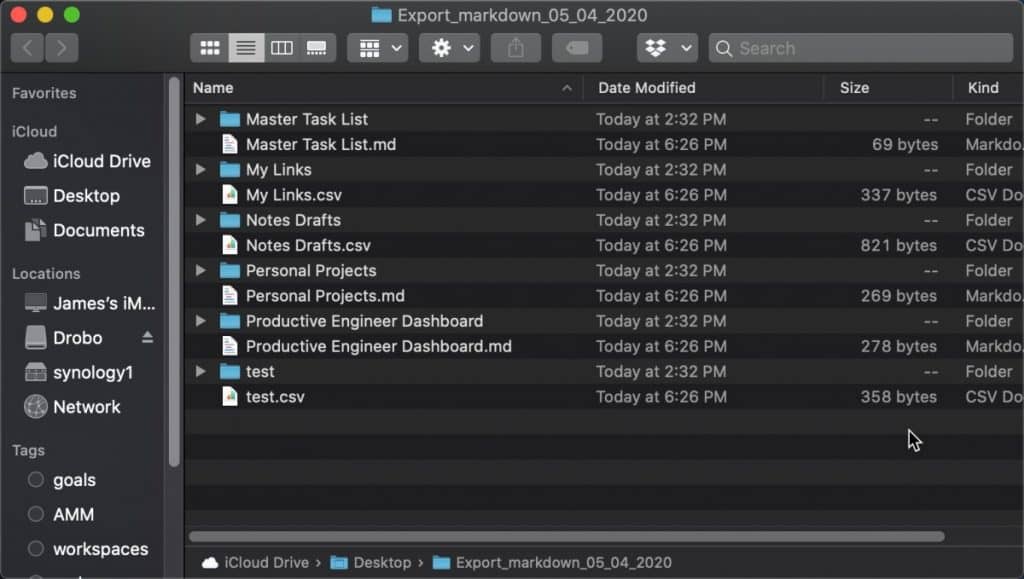
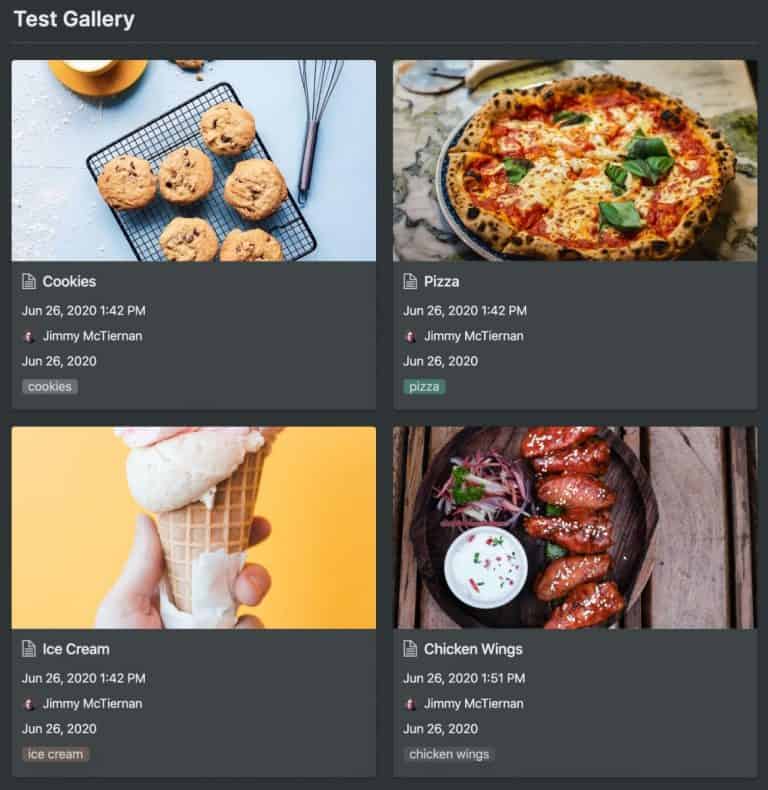
Your notion pages will be formatted as markdown (.md) files. Your databases will be CSV (.csv) files. Subpages will be in subfolders as shown in the screenshot above.
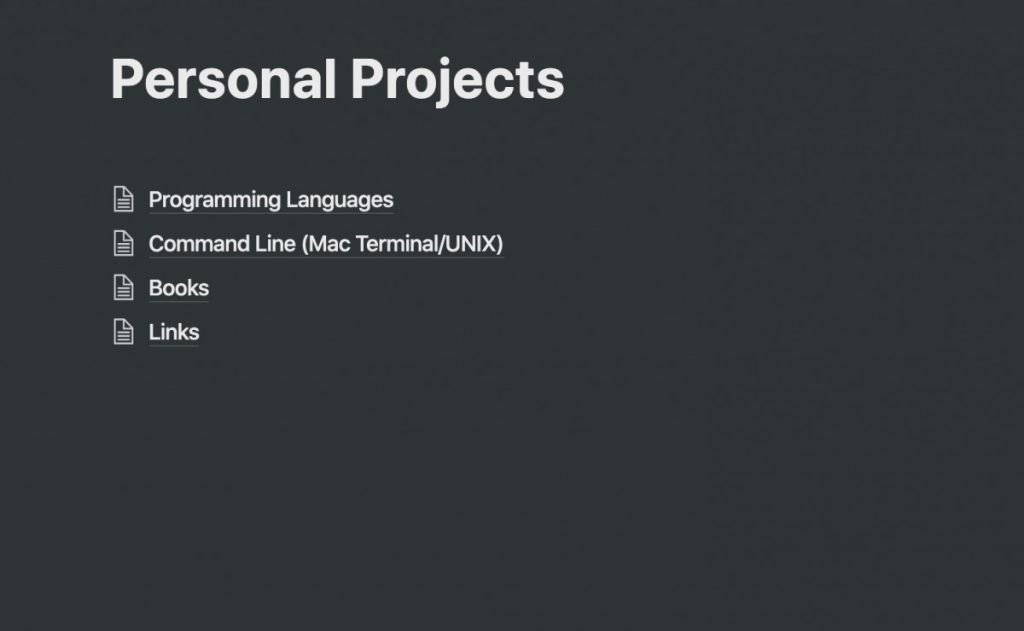
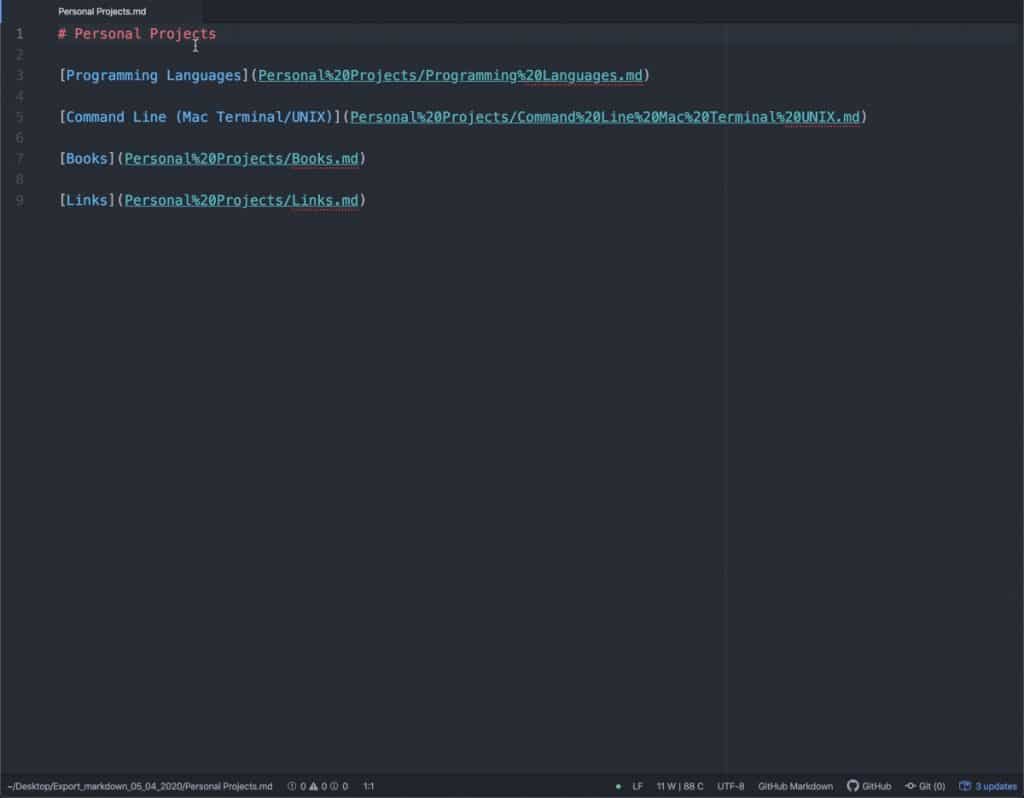
The two screenshots above show how a page looks in Notion and how it looks as a markdown file.
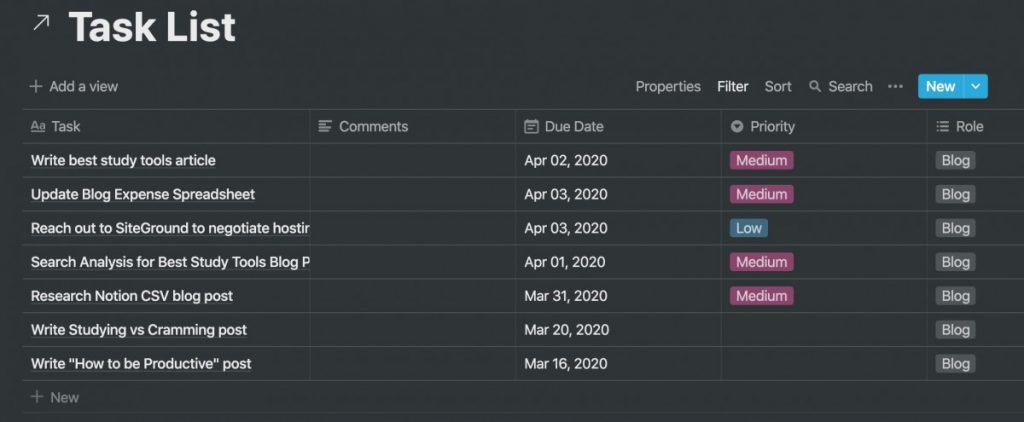
The image above is a Notion linked database.
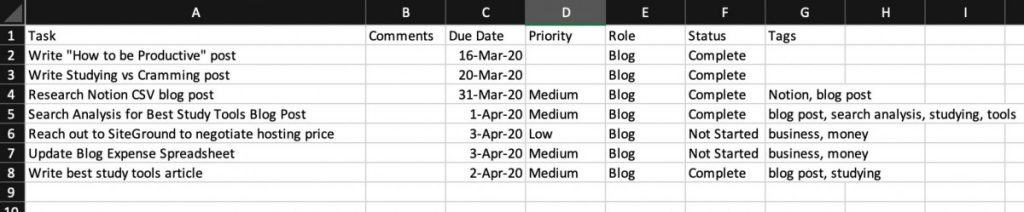
The image above the same linked database as a CSV (.csv) file exported out of Notion.
Exporting Notion in HTML format
When you choose the HTML format, all of your pages will be exported at HTML files.
Once you have pressed the “Export all workspace content” button, select “HTML” and click “Export“.
Your pages will start to export.

Once your pages have been exported, you will be presented with a save dialog box.
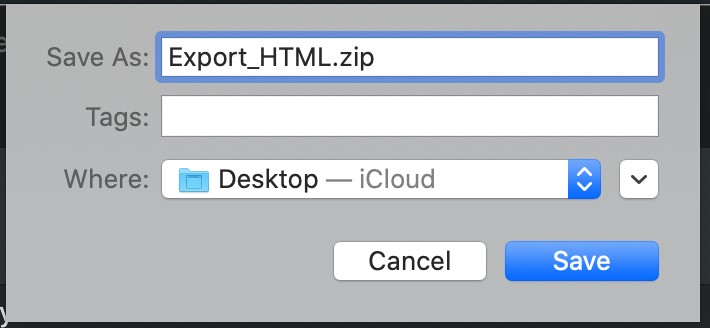
Give your file a name (with the date appended to the end if you plan to do multiple backups). Click “Save” to save your files to your computer.
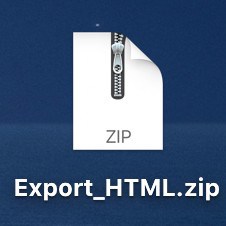
Your exported files (in zip format) will appear on your computer.
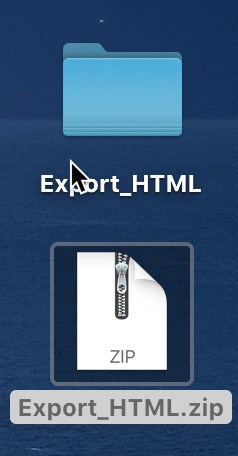
Double-click the zip file to unpack it.
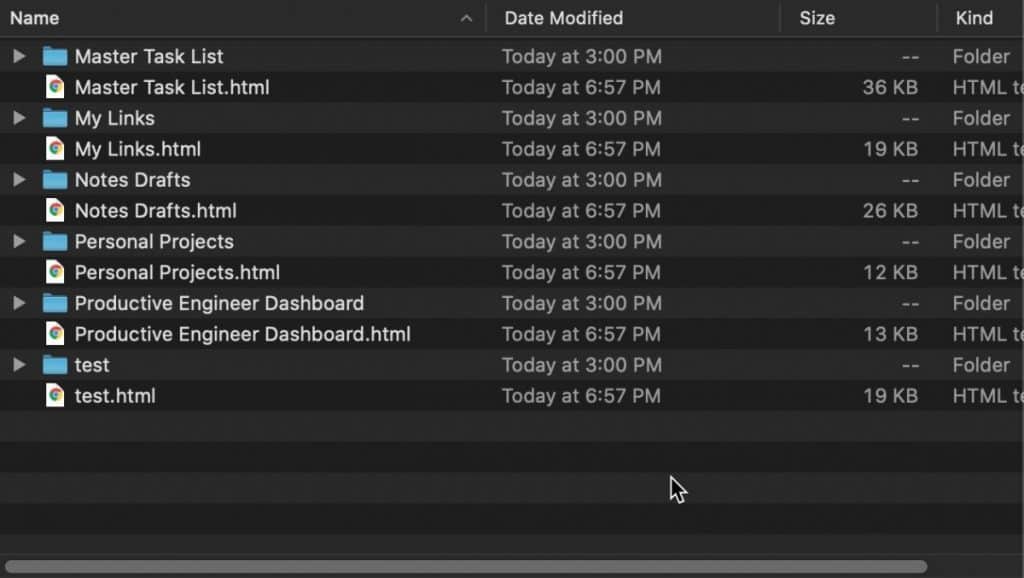
Open the folder containing your files. You should see a bunch of HTML files and folders which hold sub-pages which will also be in HTML format.
Summary
Exporting your Notion workspace is probably a good thing to do from time to time just in case something happens to your workspace. I hope this tutorial was helpful to you. Good luck!
Want More Tips and Tricks? Subscribe to our Newsletter!
If you haven’t already subscribed, please subscribe to The Productive Engineer newsletter. It is filled with tips and tricks on how to get the most out of the productivity apps you use every day. We hate spam as much as you do and promise only to send you stuff we think will help you get things done.
Check Out Our YouTube Channel!
We have a YouTube channel now and we are working hard to fill it with tips, tricks, how-tos, and tutorials. Click the link below to check it out!
Check out our Resources page
Check out our resources page for the products and services we use every day to get things done or make our lives a little easier at the link below: