How to Use the Upcoming View in Todoist – Complete Guide
Todoist has replaced the “Next 7 Days” view with an Upcoming view and it is different by extremely useful. But how do you actually use the Upcoming view and what value does it provide you in getting things done? That is what this guide is for, to teach you how to use the Upcoming view and what scenarios it will provide value to you.
Before we get started with the tutorial, if you are looking to learn more about apps like Notion, Todoist, Evernote, Google Docs, or just how to be more productive (like Keep Productive’s awesome Notion course), you should really check out SkillShare. Skillshare is an online learning platform with courses on pretty much anything you want to learn. To learn more about Skillshare and its vast library of courses and get 30% off, click the link below:
SkillShare – Online Learning Platform
If you are looking for Todoist tips and tricks, check out my top Todoist tips and tricks at the link below:
Ten Great Tips for Using Todoist
Now let’s get started with the tutorial!
Upcoming View
The Upcoming view in Todoist contains a couple of sections:
- Month/Year
- Week view
- List of Days with Tasks
Accessing the Upcoming View
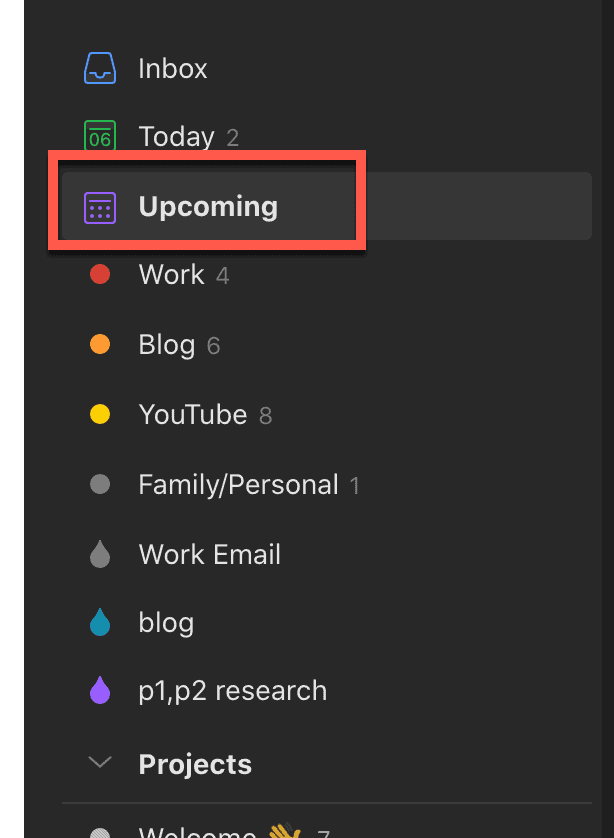
You can find the Upcoming view in the left panel of the Todoist window under the Today view. To access the Upcoming view, simply click or press on it.
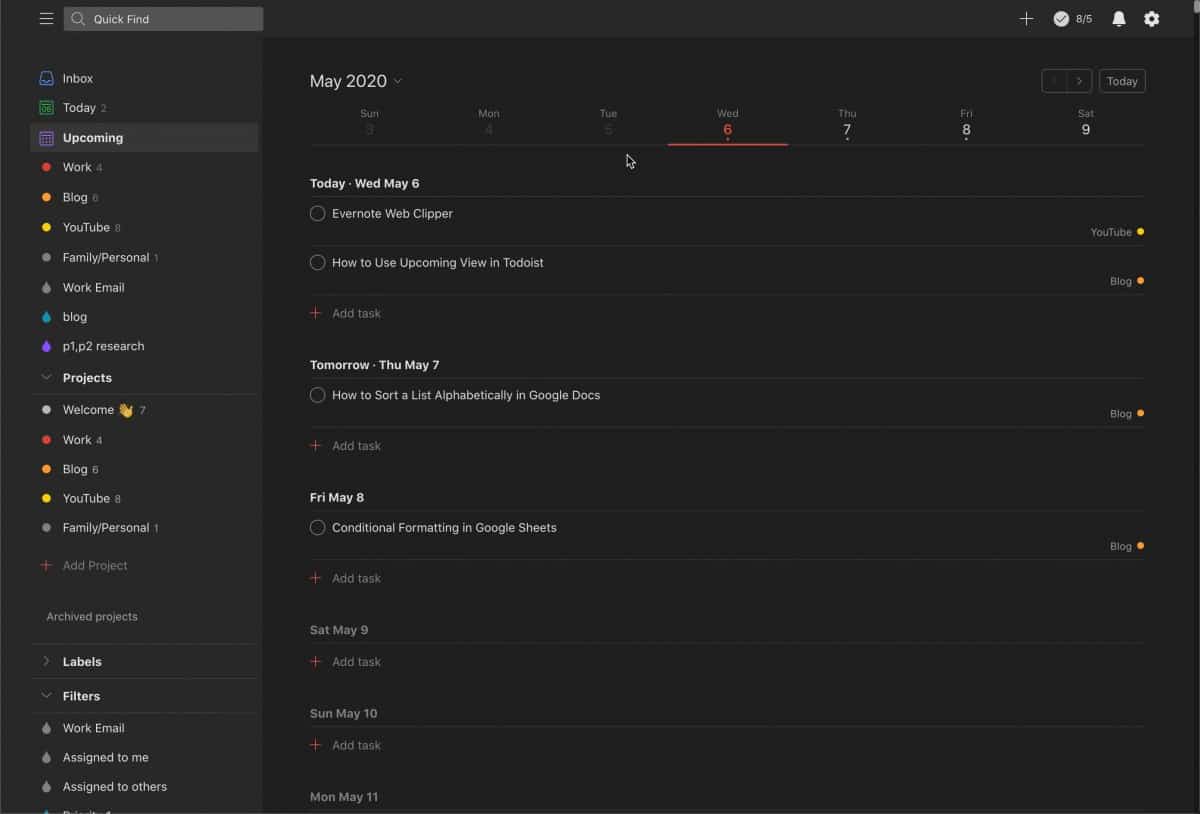
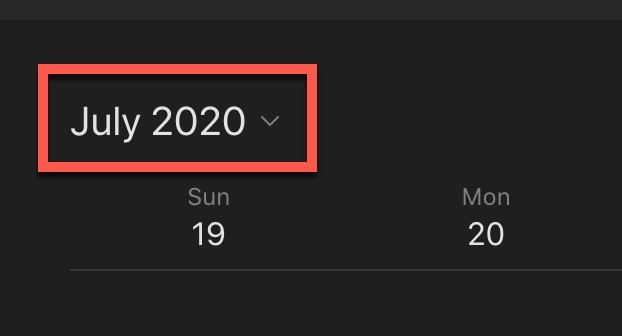
Upcoming View Main Window
As you can see from the screenshot above, the Upcoming view is a well-structured view of your tasks that will occur. While the view initially shows you the current week you are in, you can change the day range you are looking at inside the view.
The Month/Year Drop-down
In the top left-hand corner of the Upcoming view window, there is a month/year drop-down. The drop-down defaults to the current month and year.
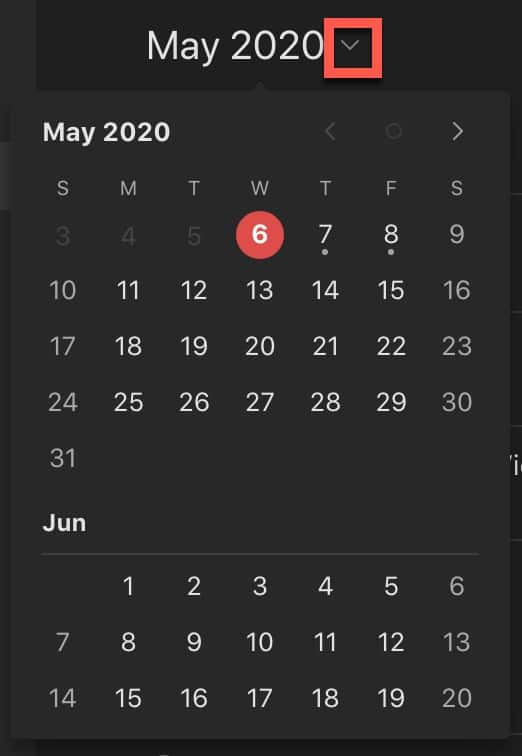
Clicking on the month/year drop-down will display a calendar where you can scroll to the date you want to see. Once you see the date you want to view, click or press on it and the upcoming view will refresh and show the activity on that date and the days immediately following it.
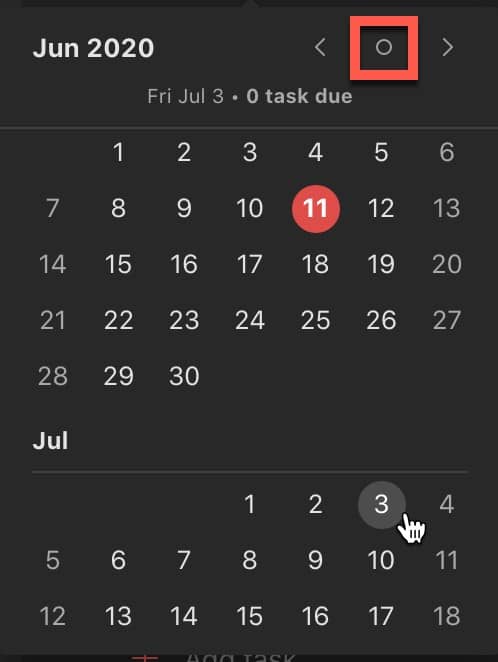
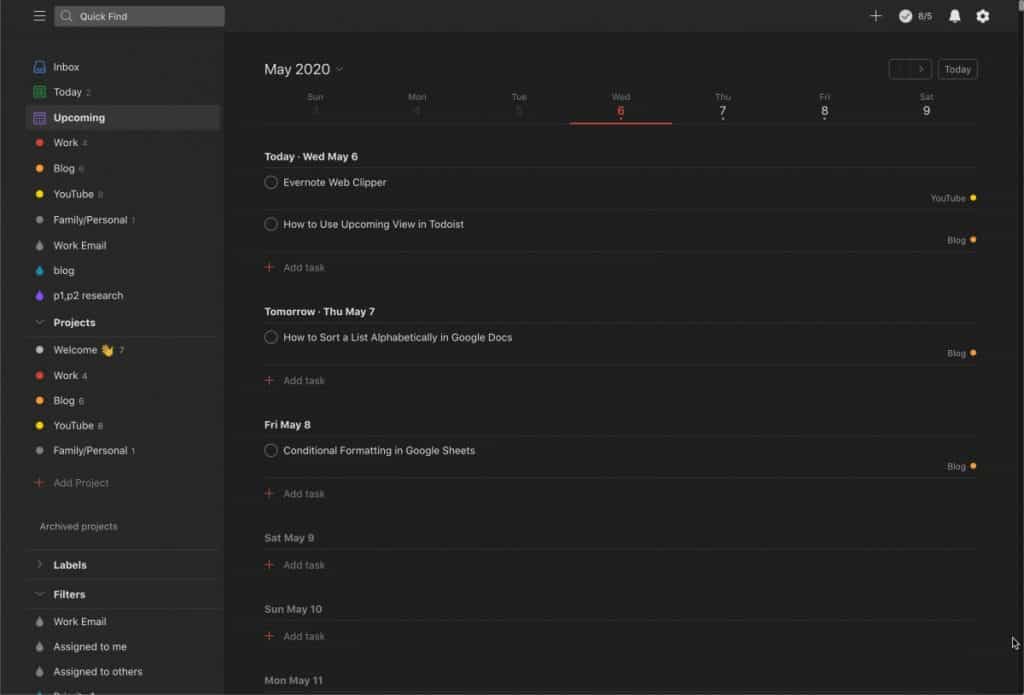
If you want to quickly go back to the current date, simply click the “circle” in the calendar as shown in the above screenshot.
You can also move forward and backward in time when in the calendar via the arrow keys as shown in the screenshot above.
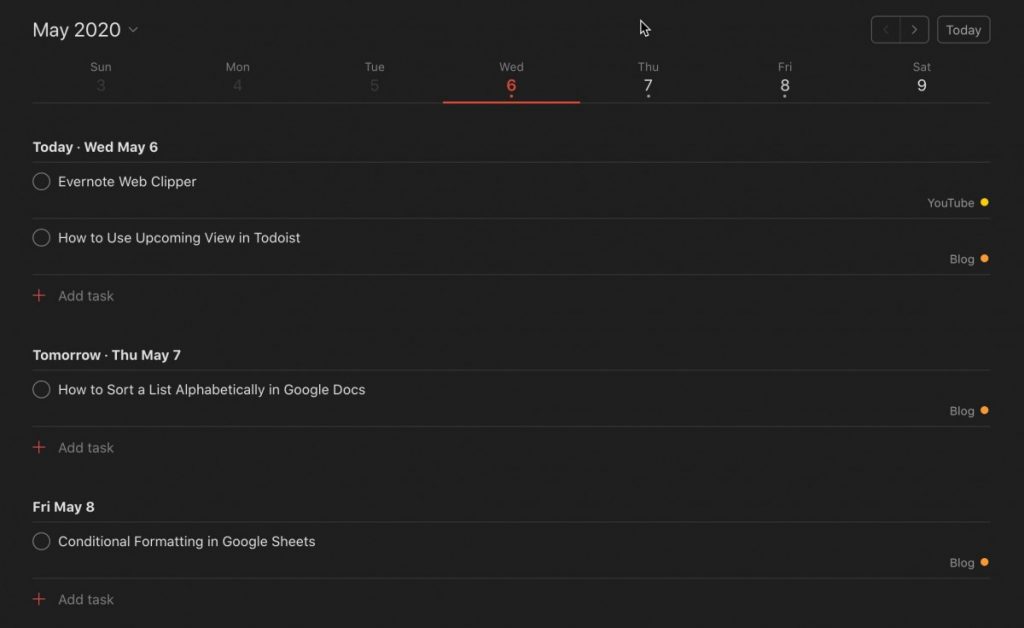
The Week Section of the Upcoming View in Todoist

The week section, as shown above, displays the current week of the day you have chosen. By default, it uses the current day but you can change it in a couple of ways:
- via the month/year drop-down
- using the left/right arrows above the week section
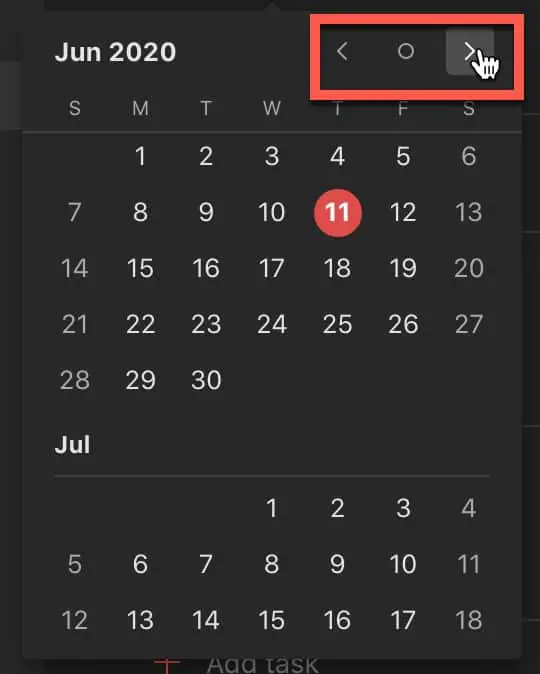
We already covered the month/year drop-down but the Upcoming view also provides arrows and a “Today” button for navigation as shown in the screenshot below:
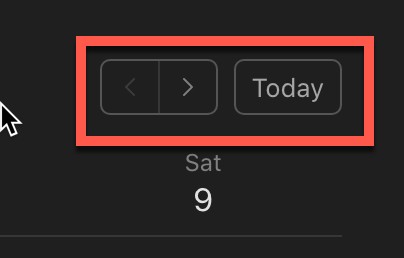
The right arrow moves the view forward one week each time you press it. Conversely, the left arrow moves you back one week each time you press it. The “Today” button resets the view to the current date.

If you notice in the week section, the selected date will always have a red line underneath it. Also is a date has tasks due, that date will have a dot underneath it in the week section.
Day Section of the Upcoming View in Todoist
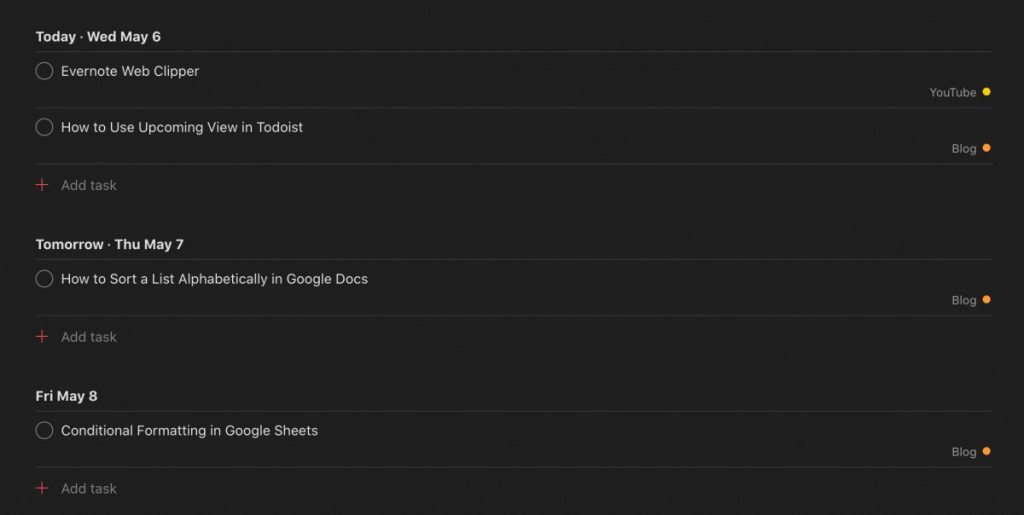
The day section of the Upcoming view the currently selected day and each successive day and the tasks assigned to them. You can scroll through the future dates up to 2 years from the current day. You can move back one week at a time via the navigation arrows at the top of the view or simply click the “Today” button to go back to the current day.
Adding a New Task to a Day in the Upcoming View

You can create a new task on a day in the Upcoming view by click the “+ Add task” button in the day you want.

Enter the name of the task. You can add priority level, labels (tags), reminders and comments as well as assign the task to a project. Once you are done configuring the task, click or press “Add Task” button to create the task.

Your new task should appear in the Upcoming view on the date you assigned it.
Summary
The Upcoming view, in my opinion, is a welcome replacement for the previous Next 7 Days view it replaced. The Upcoming view contains more information and is more flexible. I hope this tutorial was helpful. Good luck!
Want More Tips and Tricks? Subscribe to our Newsletter!
If you haven’t already subscribed, please subscribe to The Productive Engineer newsletter. It is filled with tips and tricks on how to get the most out of the productivity apps you use every day. We hate spam as much as you do and promise only to send you stuff we think will help you get things done.
Check Out Our YouTube Channel!
We have a YouTube channel now and we are working hard to fill it with tips, tricks, how-tos, and tutorials. Click the link below to check it out!
Check out our Resources Page
Check out our resources page for the products and services we use every day to get things done or make our lives a little easier at the link below: