Ultimate Guide to JotForm – From Beginner to Expert
JotForm is an amazing service that allows you to quickly create interactive forms that you can use in a variety of ways. JotForm also does a great job integrating with third party services and includes the ability to auto-generate tables based on input from your forms.
Given how powerful JotForm is, it can be difficult to know where to start and all the things you can do to make awesome forms to poll your users. This tutorial will teach you everything you need to know to get started quickly building forms and becoming a form creating ninja 🥷 in JotForm.
Before we get started with the tutorial, if you are looking to learn more about apps like Notion, Todoist, Evernote, Google Docs, or just how to be more productive (like Keep Productive’s awesome Notion course), you should really check out SkillShare. Skillshare is an online learning platform with courses on pretty much anything you want to learn. To learn more about Skillshare and its vast library of courses and get 30% off, click the link below:
SkillShare – Online Learning Platform
Now let’s get started with the tutorial!
Signing up for JotForm
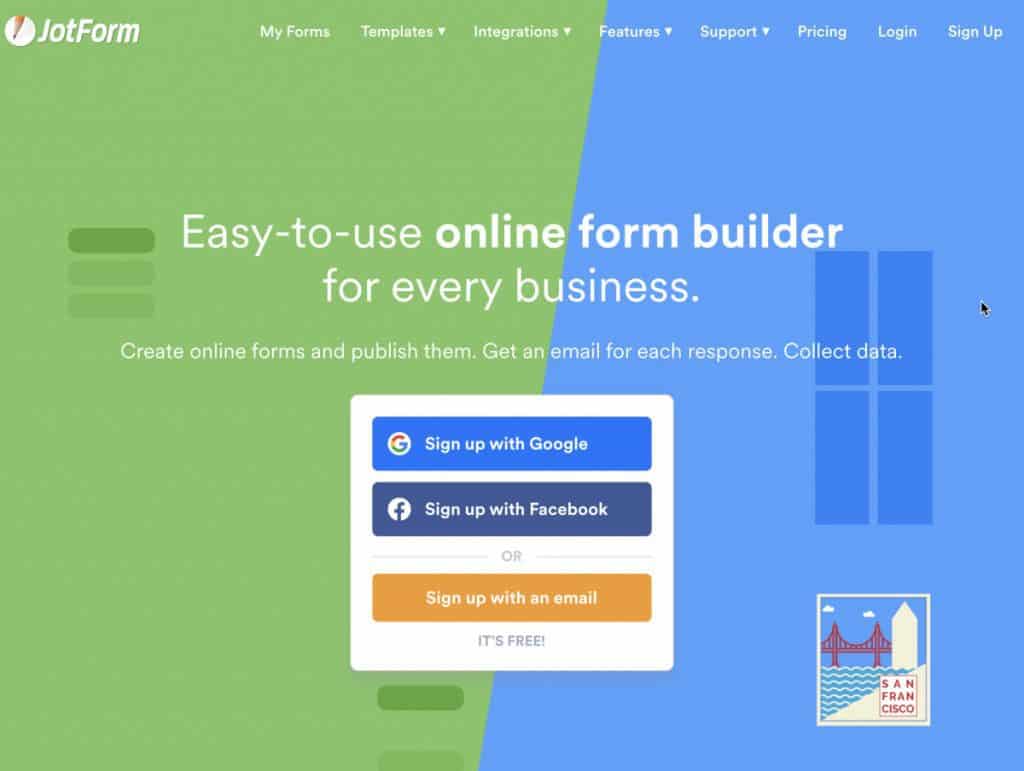
Signing up for JotForm is very simple. Go to the JotForm website and you will see a screen like the one shown above. There are three options for signing up with JotForm:
- Sign up with Google
- Sign up with Facebook
- Sign up with an email
I used my Google account and the directions below will walk you through the process. First click the “Sign up with Google” button.
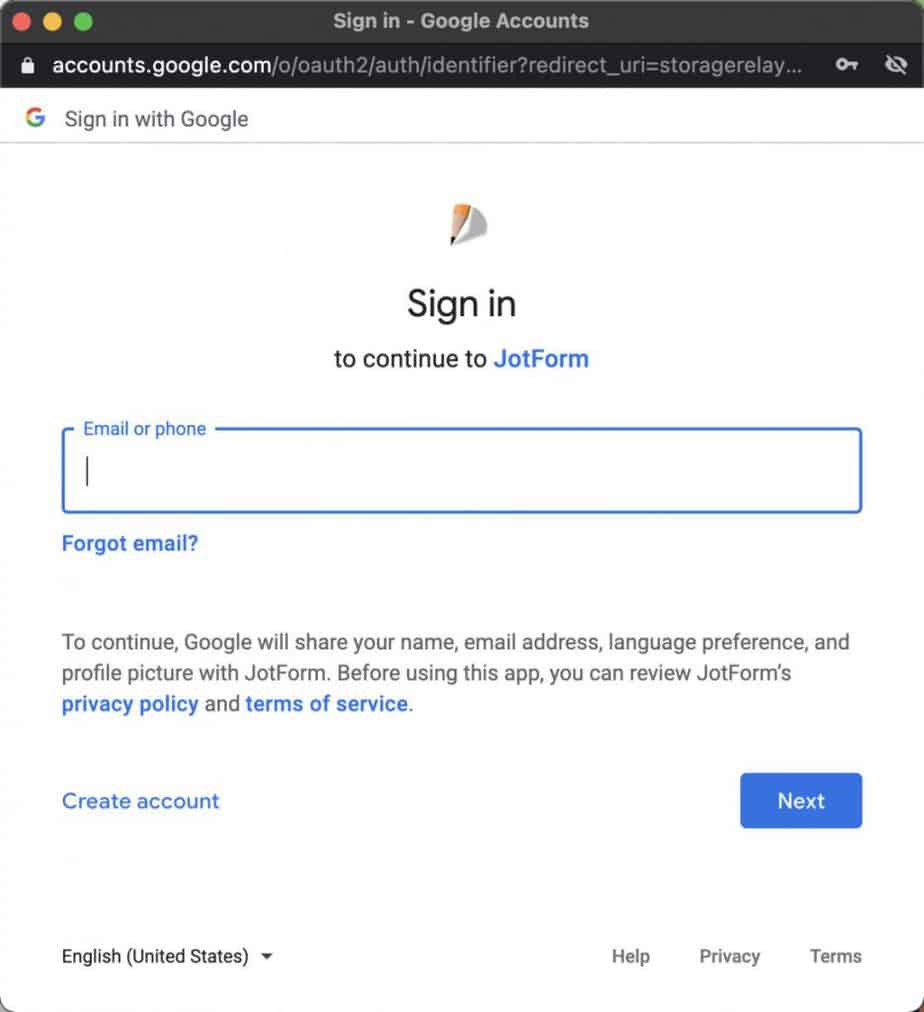
The Google sign in pop-up window should appear (unless you are already logged into Google). Enter your email address or phone number associated with your Google account and click “Next”.
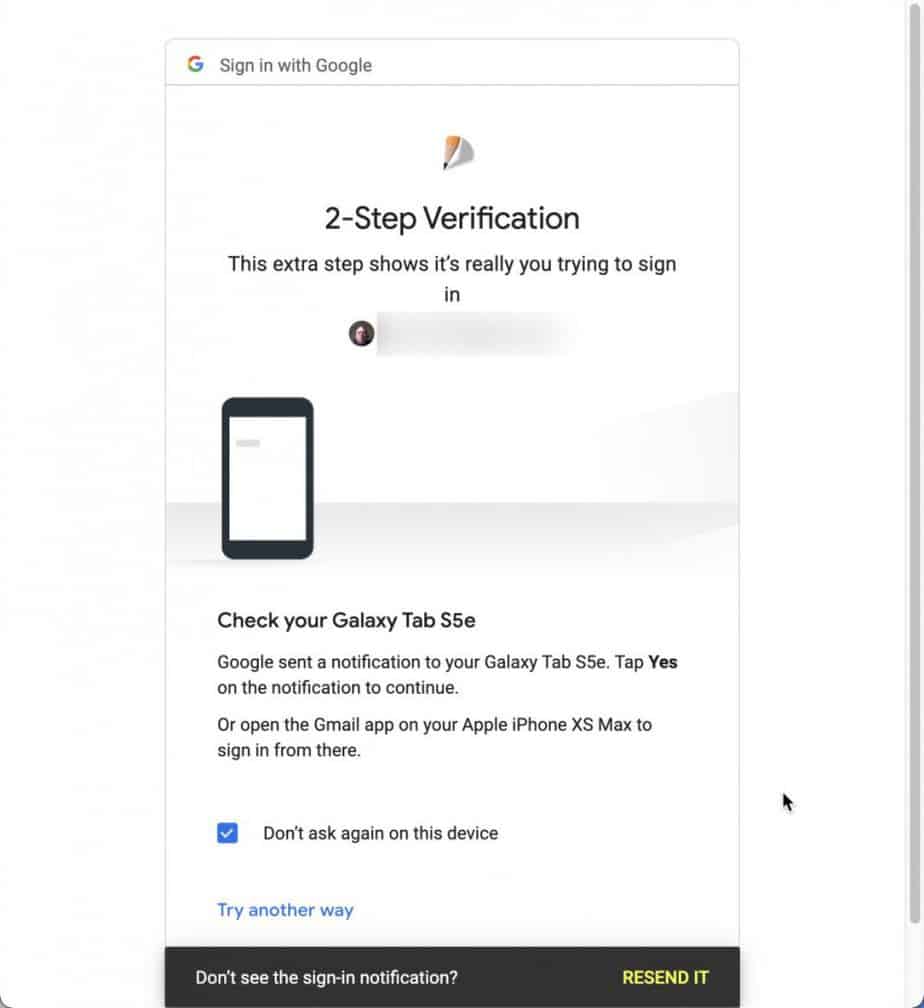
If you have two-factor authentication enabled for your Google account (which I highly recommend you do), you will be prompted to authenticate as shown above.
Once you have authenticated, you should see a welcome screen like the one above. We are now ready to create our first form in JotForm!
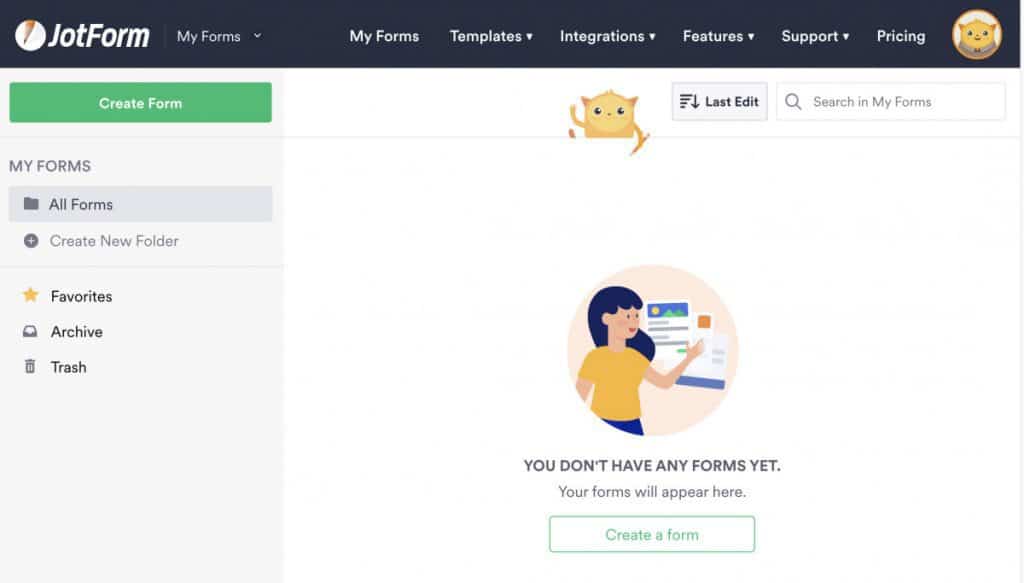
Creating Your First Form in JotForm
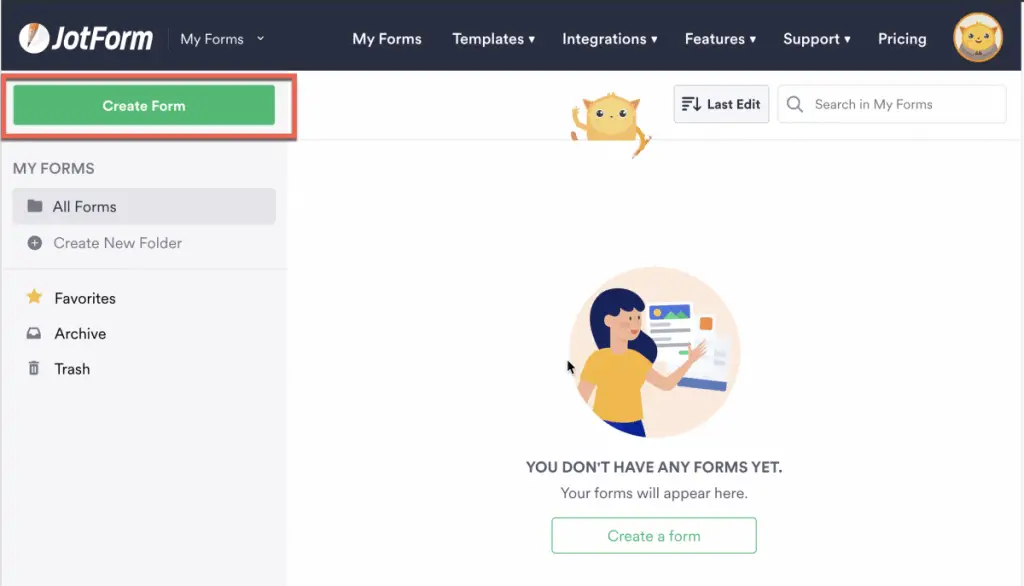
To create your first form in JotForm, click on the “Create Form” button as shown in the screenshot above.
Creating a Form from Scratch
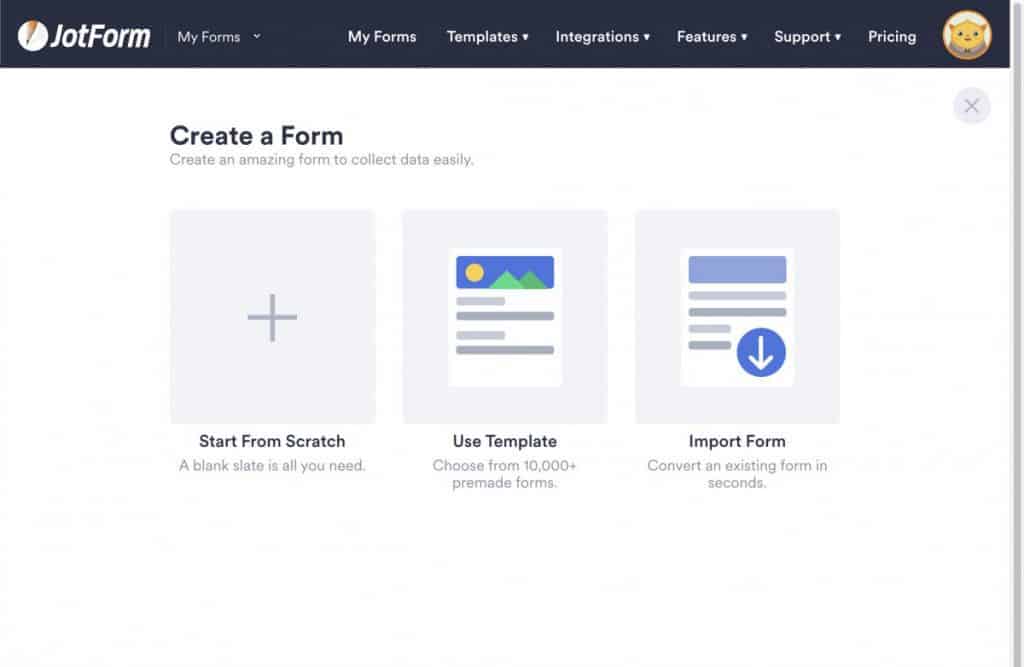
There are three (3) options for building a form in Jotform:
- Start from Scratch
- Use Template
- Import Form
Start from scratch provides you a blank form to start populating with elements.
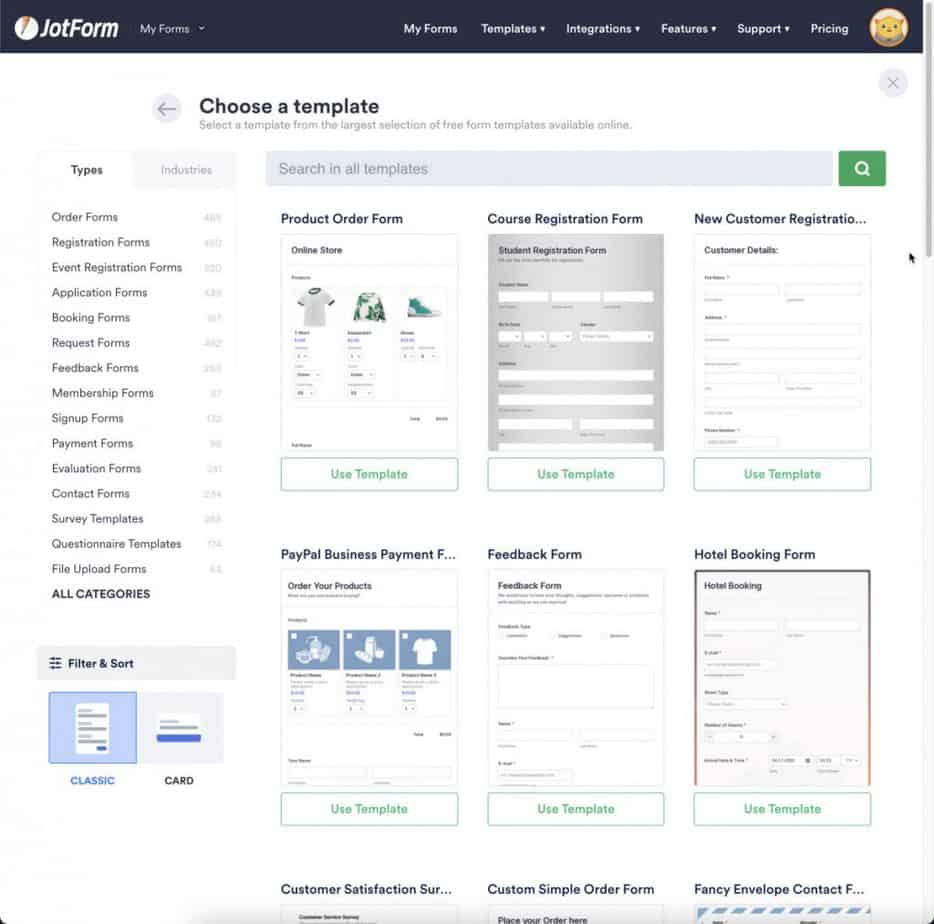
The Use Template option allows you to select a pre-made template from the huge template library that JotForm provides (shown above). You can select one of these pre-made templates and customize it to fit your needs.
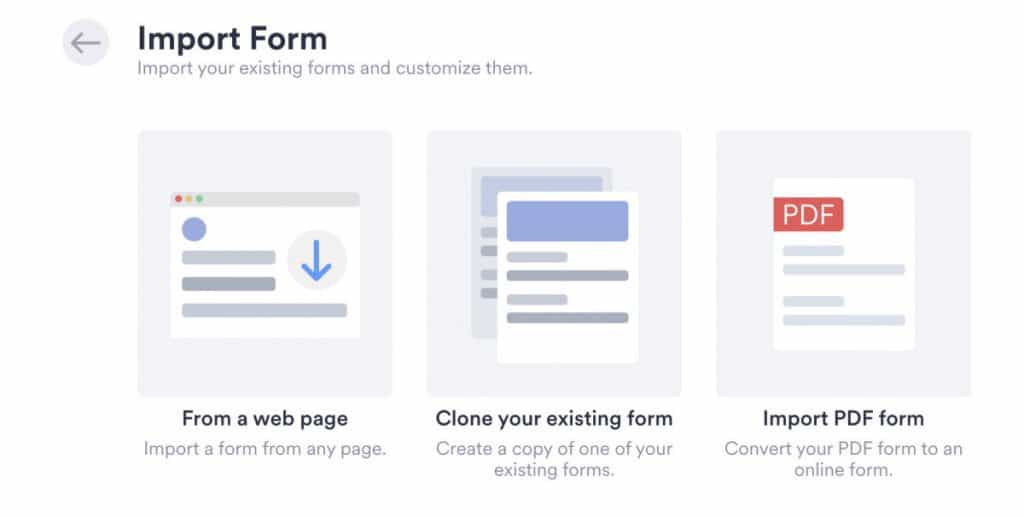
Lastly, you have the option to import an existing form. You are given three options when you select the import form option:
- From a web page
- Clone an Existing JotForm form
- Import PDF form
Make your selection on how you want to create your form. For this tutorial, we will be selecting the “Start from Scratch” option.
Selecting the Form Layout in JotForm
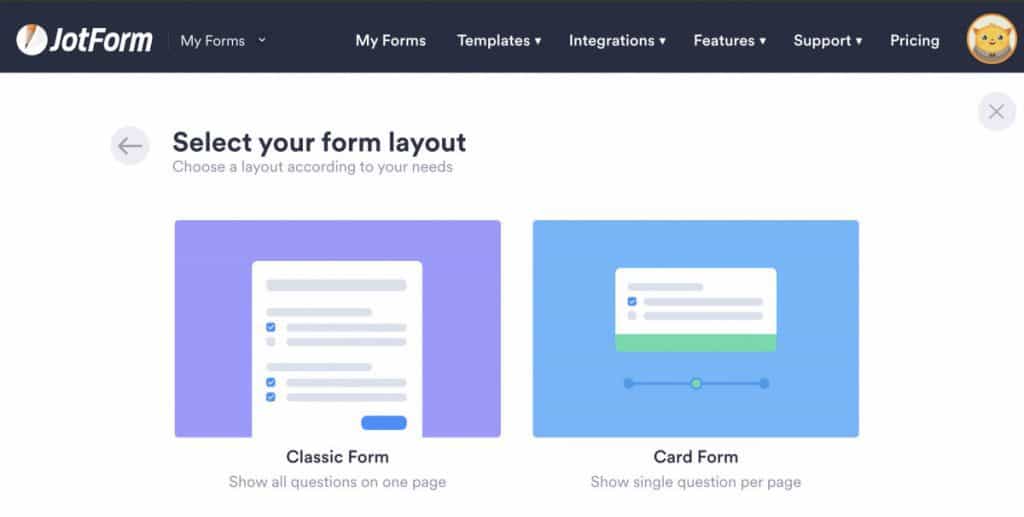
Once you select the “Start from Scratch” option, you will be presented with the “Select your form layout” screen. There are two layout options for a form in JotForm:
- Classic Form
- Card Form
Classic Form is where all the fields of your form appear on one page. Card form creates a card for each field of your form. Each card is presented to the person filling out the form one card at a time. For this tutorial, we will choose the “classic form” option as that is likely the one you will use the most in your day to day forms.
Using the Form Builder in JotForm
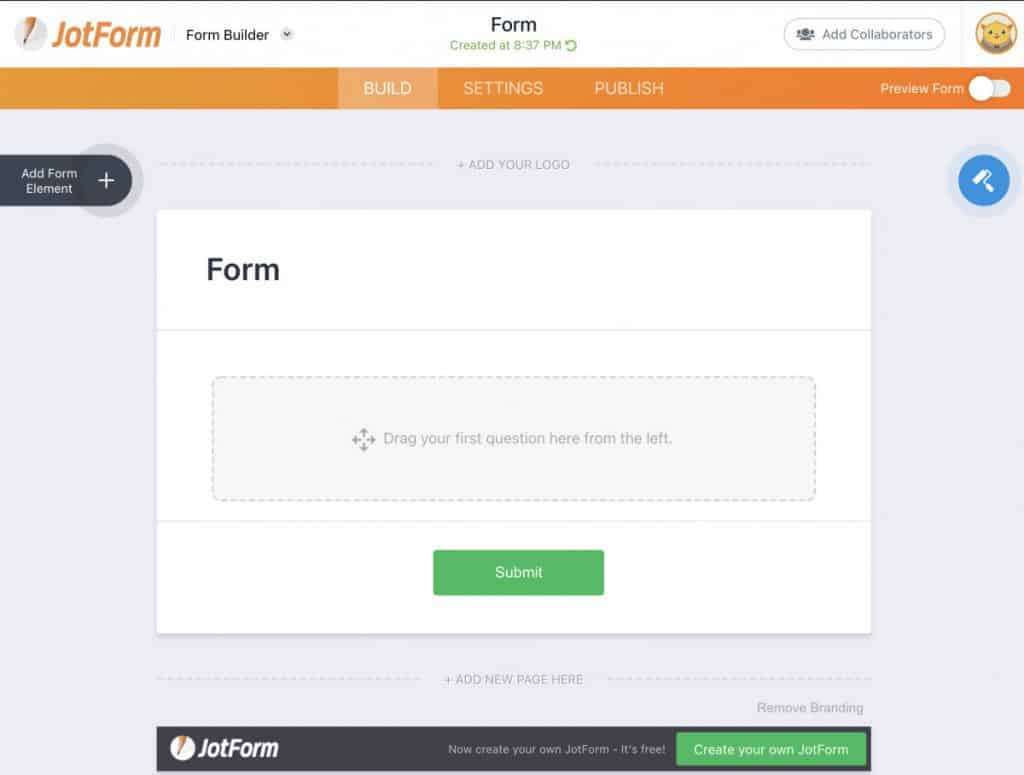
One of the best features of JotForm is how easy it is to create a form. The form editor in JotForm is awesome and makes it so easy to quickly create forms.
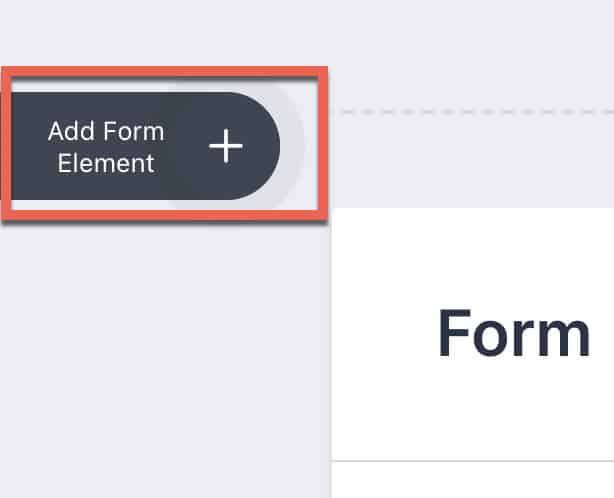
To get started adding elements to your form, click the “Add Form Element” button to bring up the Form Elements panel.
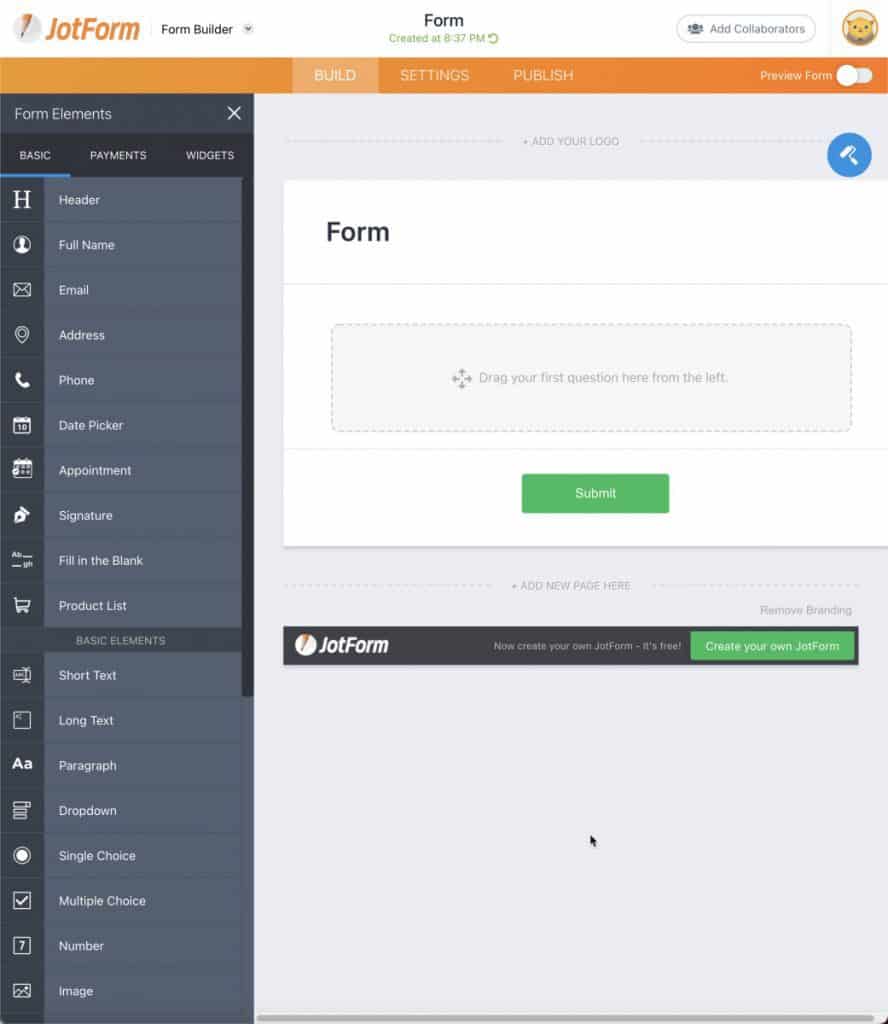
The Form Elements panel should now be visible on the left side of the JotForm window (as shown in the screenshot above). There are three different categories of form elements:
- Basic
- Payments
- Widgets
Most of the time, you will use the basic elements for most of your forms.
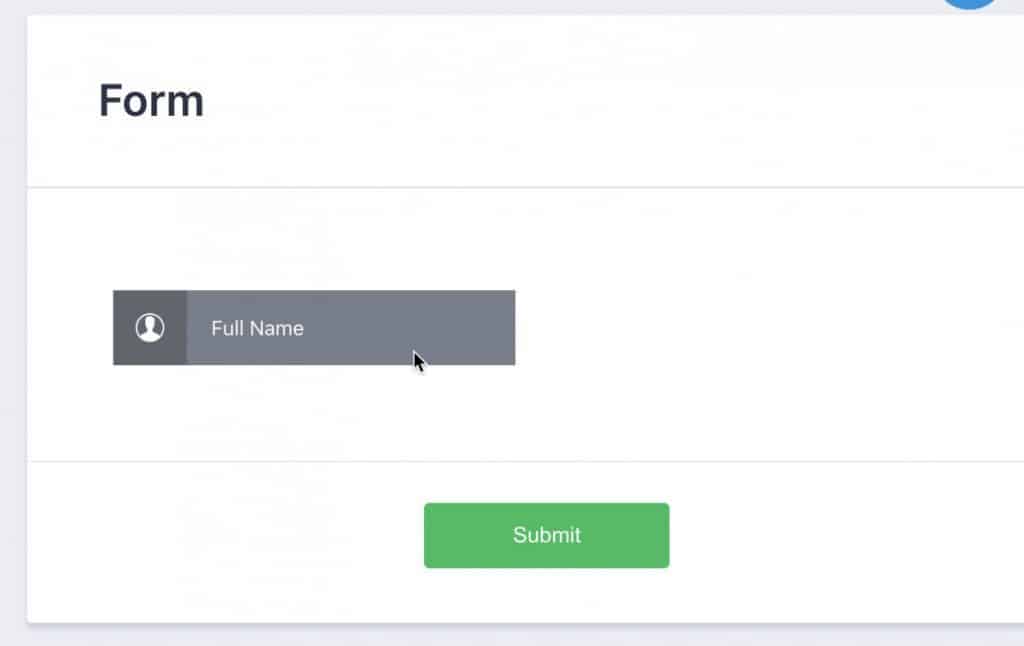
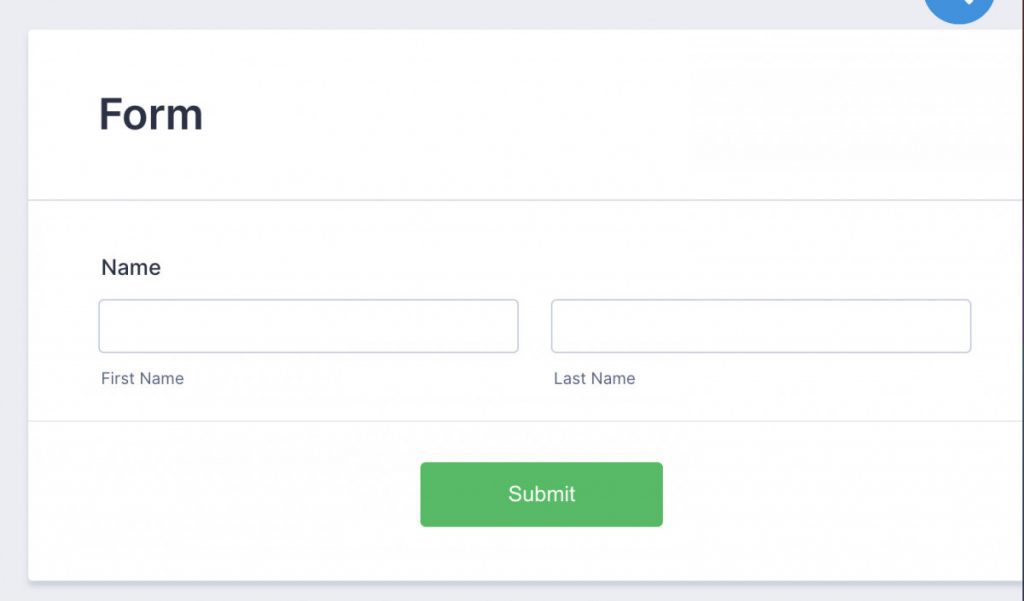
To add a particular form element to your form, simply click on the element you want to drag it onto your form, positioning it where you want on the form. In the example shown above, I have dragged the “Full Name” element onto the form.
Your form element should now be on the form. Let’s add another element. For our tutorial, we will address the ability to collect the user’s email address.
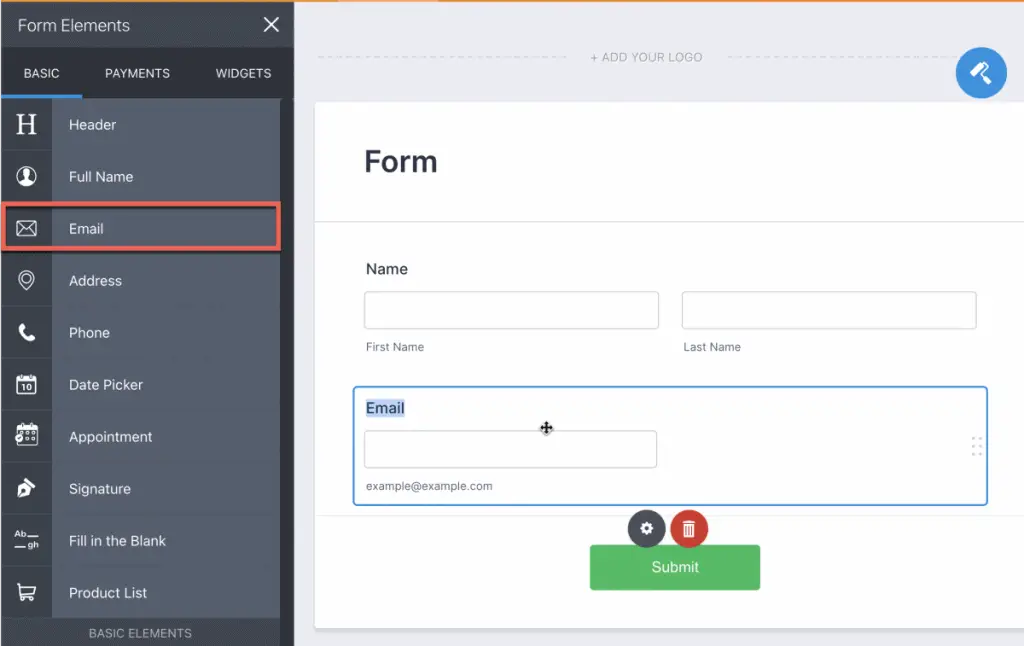
To add an email collection field to your form, simply scroll in the form elements panel under the “Basic” tab. Click and drag the “Email” form element onto your form, positioning it where you want it to appear on your form.
Add a Title to Your Form in JotForm
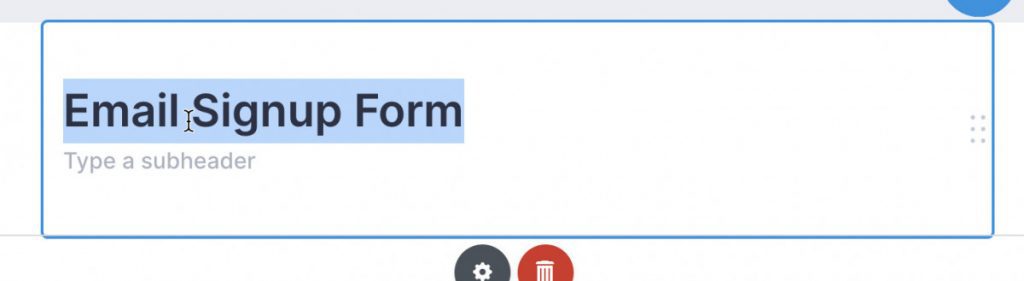
Adding/editing the title of your form in JotForm is really easy. Simply highlight the default/current title of the form as shown in the screenshot above and type in the new title and hit “Enter”.
Adding a Subtitle to Your Form in JotForm
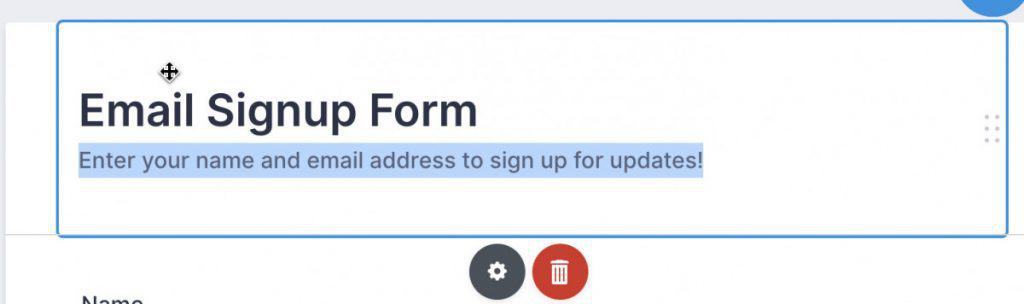
In addition to the Form title, you can also add a subtitle to your form in JotForm. To add a subtitle to your form in JotForm, simply click on the text underneath your form title, select it and type in your new subtitle.
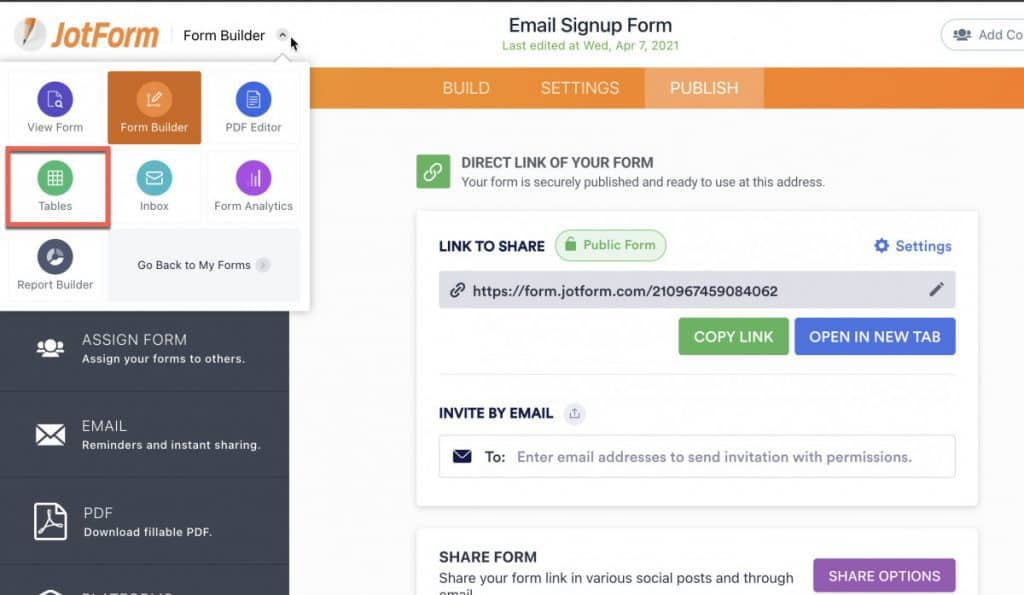
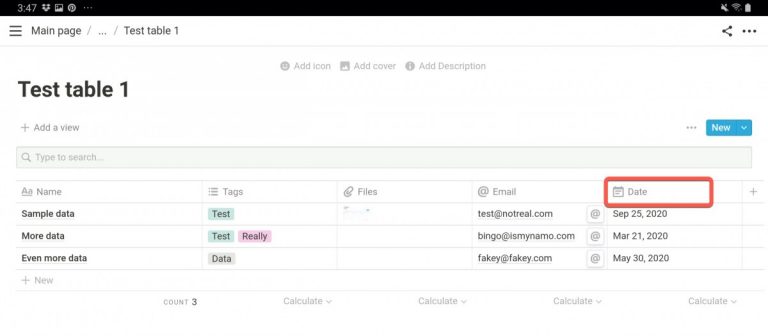
One of the cool things that JotForm does for every form you create is that JotForm creates a table for each form you create. When a user fills out your form, an entry is automatically added to the corresponding table in JotForm. To access your tables in JotForm, click on the carat (^) button as shown in the screenshot above and select “Tables” for the menu.
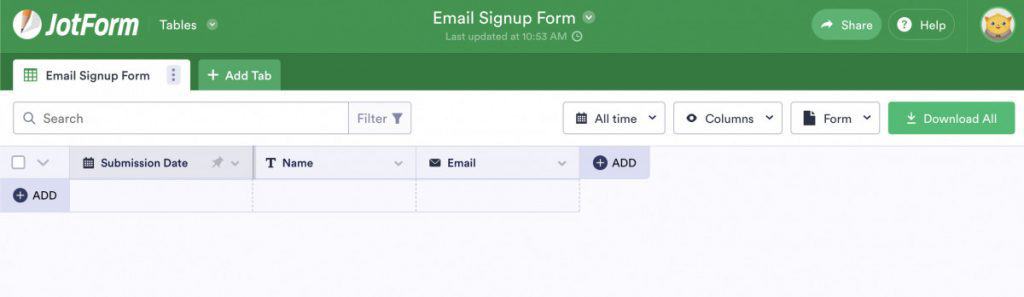
Once you have clicked the “Tables” button, you will be presented with a view of all the tables you have in JotForm. Click on the table you want to view. Your table will contain all the fields in your form setup as columns in your table. When a user fills out and submits your form, their form data will automatically be added to the table.
Integrating JotForms with Google Sheets
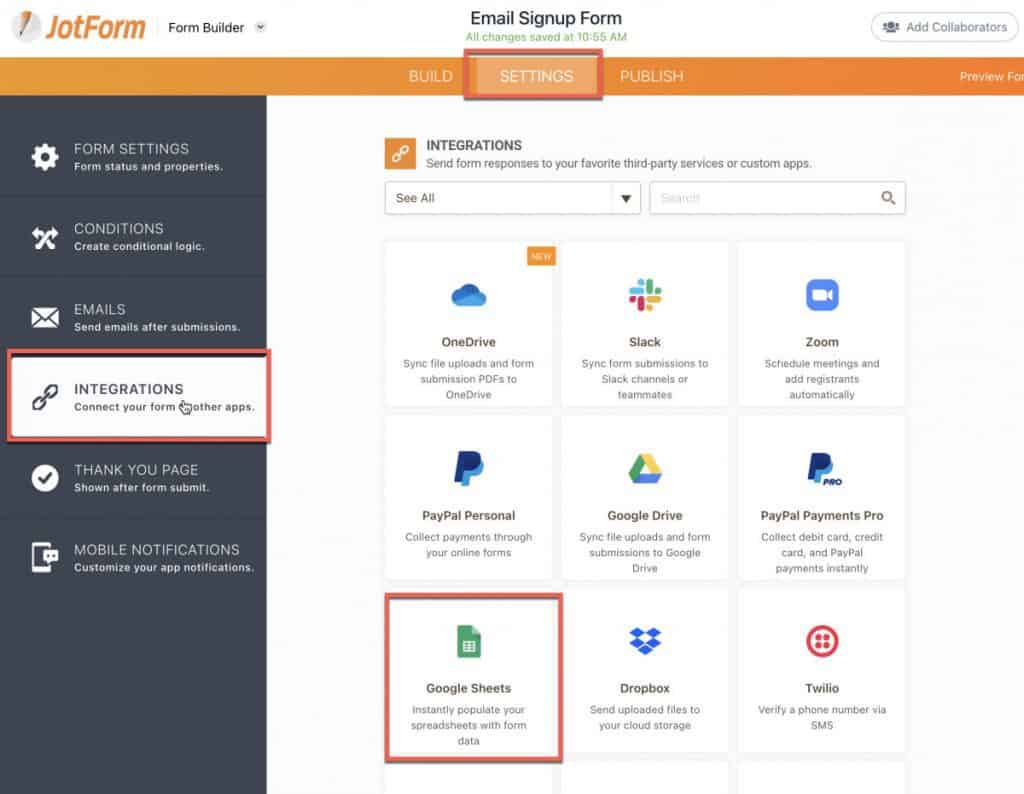
Having your form data auto-populate into a JotForm table is great but what if you want to use another service, like Google Sheets, to house your form data? No problem! JotForm is extremely flexible in terms of integrating into third-party services like Google Sheets. To enable integration to Google Sheets, open your form, click on the “Settings” tab and then click on the “Integrations” option in the left hand panel as shown in the screenshot above. You should see a list of integration options to various third party services. Select “Google Sheets” from the available options.
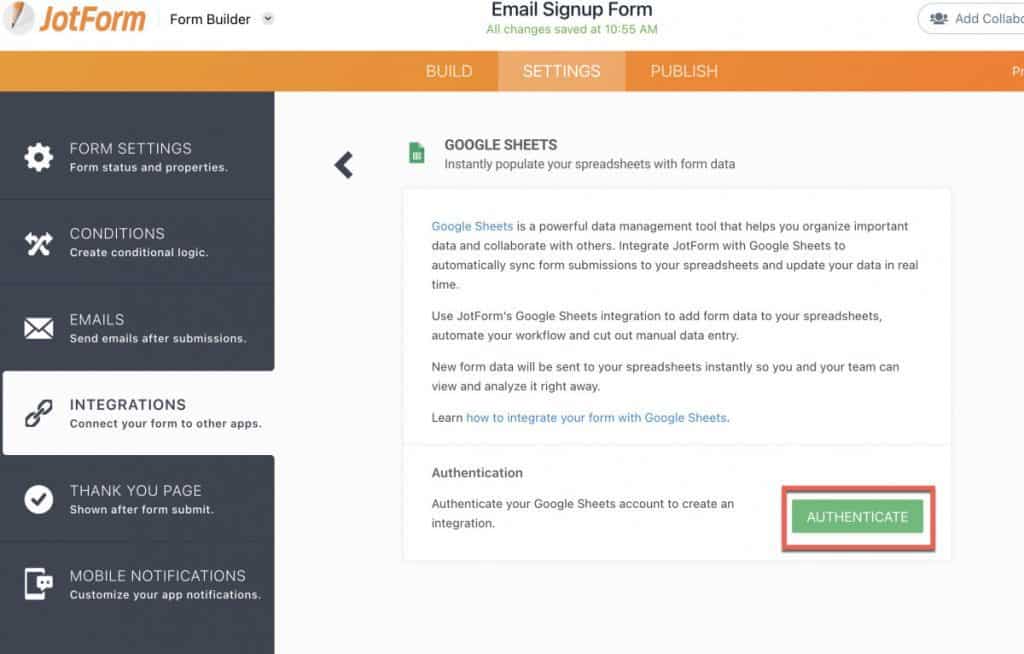
You should now see a Google Sheets screen like the one above that describes the integration between JotForm and Google Sheets. Click the “Authenticate” button to continue the setup.
If you have multiple Google accounts, you will be presented with a menu asking which Google account you want to use for the integration. Select the Google account you want to use for your JotForm integration.
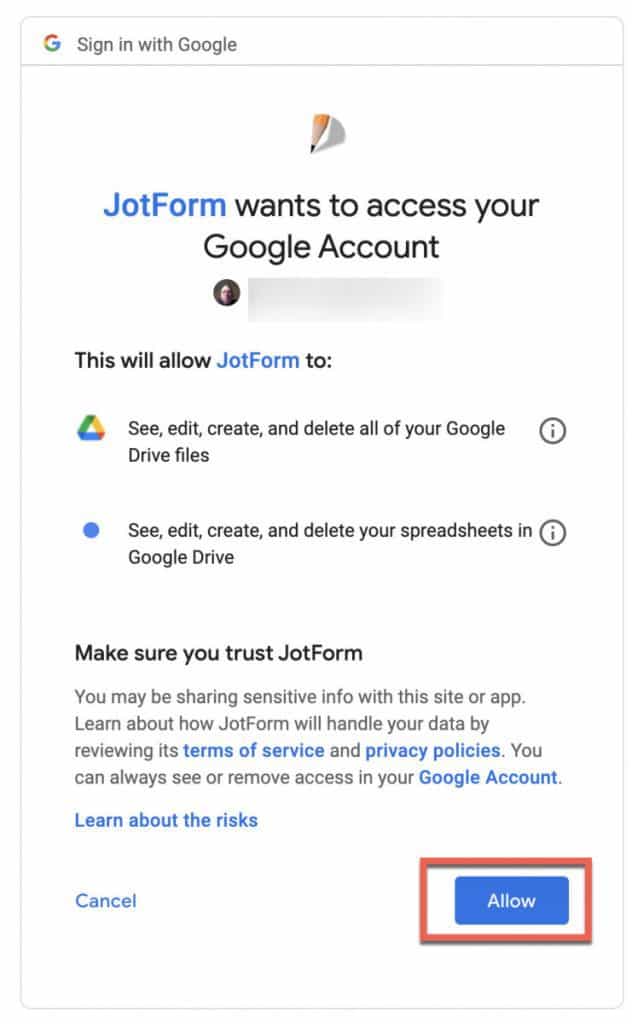
A screen will appear describing what level of access JotForm will have with your Google account. Review these and if you are comfortable, click the “Allow” button to give permission for JotForm to access your Google account.
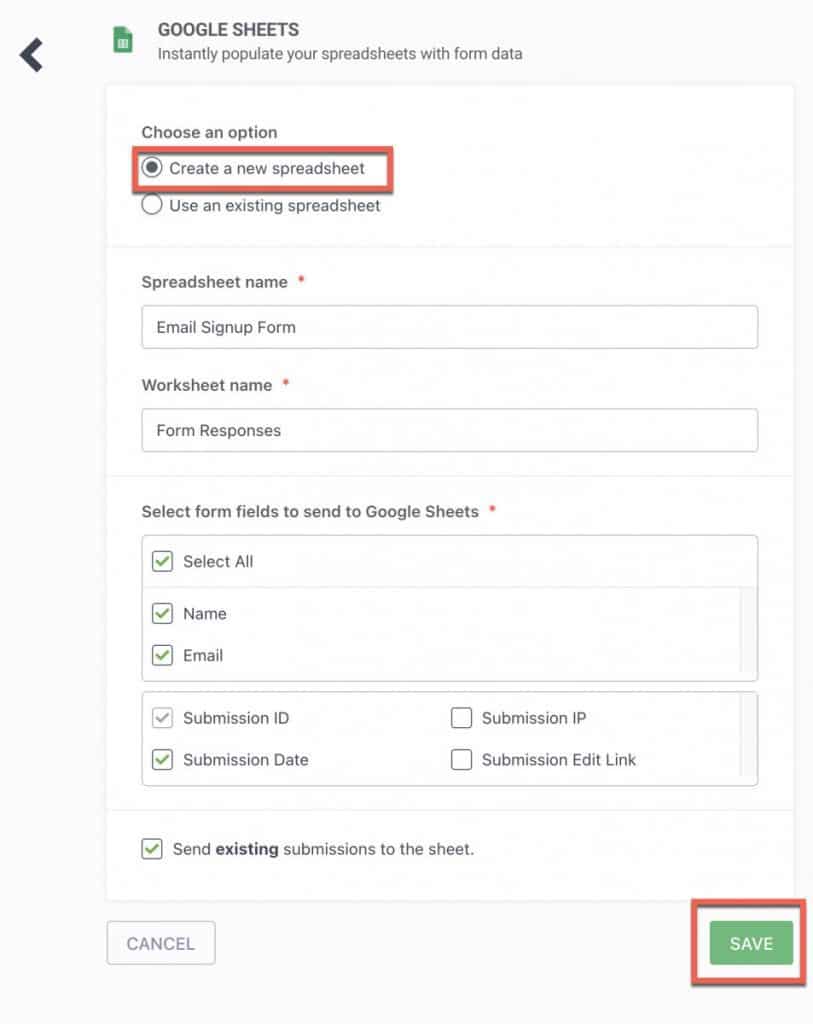
The next screen walks you through how to configure the integration between Google Sheets and JotForm. The main decision you need to set is whether you want to add the JotForm data to a new Google Sheet or an existing Google Sheet. I typically use a new Google Sheet so for this tutorial, I selected to create a new Google Sheet for my form data. Click the “Save” button to save your settings.
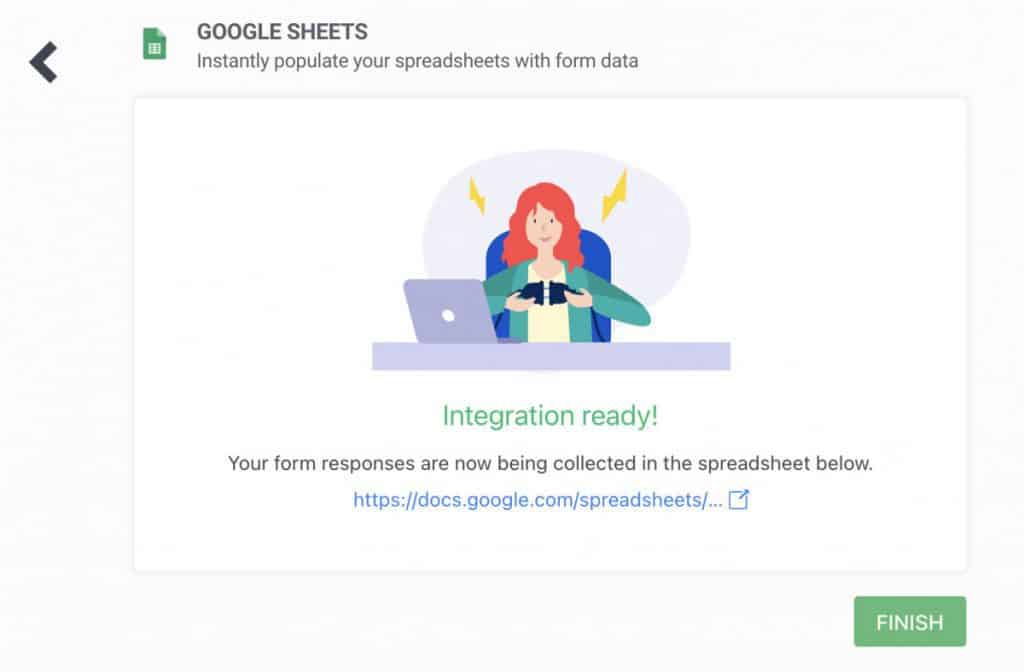
You should now see the integration confirmation screen. Click the “Finish” button to complete the integration setup.

To test the integration to Google Sheets, open your form in a browser and fill it in and click the “Submit” button.
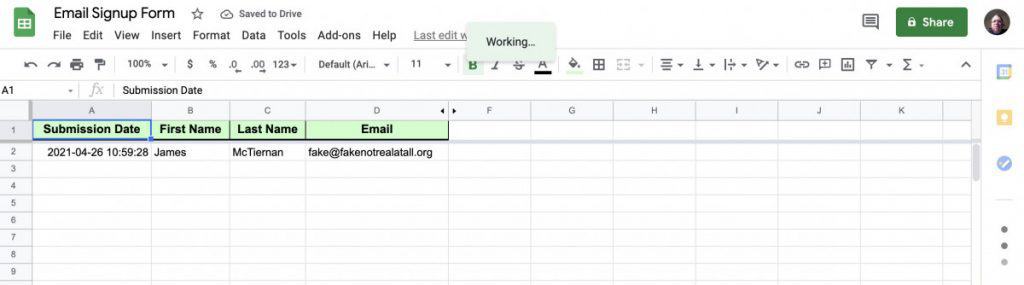
Now, go back to Google Sheets and confirm that your form data populated the Google Sheet successfully.
I hope this tutorial was helpful to you. Check out my blog for more tutorials. Good luck!
Want More Tips and Tricks? Subscribe to our Newsletter!
If you haven’t already subscribed, please subscribe to The Productive Engineer newsletter. It is filled with tips and tricks on how to get the most out of the productivity apps you use every day. We hate spam as much as you do and promise only to send you stuff we think will help you get things done.
Check Out Our YouTube Channel!
We have a YouTube channel now and we are working hard to fill it with tips, tricks, how-tos, and tutorials. Click the link below to check it out!
Check out our Resources Page
Check out our resources page for the products and services we use every day to get things done or make our lives a little easier at the link below:
Looking to Get Started Blogging or on YouTube?
Getting started can seem daunting and scary (I know it was for me) but it doesn’t have to be. I was very lucky to find a program that that has helped me grow my blog to over 100,000 page views and a Monetized YouTube channel that is growing month-over-month.
Project 24 by Income School is the program that I have used. I have been a member for over a year now and just renewed my membership. I cannot recommend Project 24 enough! For more information on Income School, click the link below:
Project 24 byIncome School – Teaching You How to Create Passive Income from Blogs and YouTube