The Complete Guide to Taskade with Video
Taskade is an all-in-one productivity service that combines task management, project management, kanban boards, and mind maps in one application. Given that there is a lot you can do in Taskade, it can be easy to become discouraged or to not be sure where to start. This step-by-step tutorial will teach you everything you need to know to get started being productive in Taskade.
Before we get started with the tutorial, if you are looking to learn more about apps like Notion, Todoist, Evernote, Google Docs, or just how to be more productive (like Keep Productive’s awesome Notion course), you should really check out SkillShare. Skillshare is an online learning platform with courses on pretty much anything you want to learn. To learn more about Skillshare and its vast library of courses and get 30% off, click the link below:
SkillShare – Online Learning Platform
Do you use the same password for multiple sites? Do you have trouble remembering all your passwords? You should try 1Password! 1Password is secure and allows you to log in to sites and fill forms securely with a single click. I use 1Password for all my passwords and it really makes managing all my passwords simple.
For more information on 1Password and to get a 14-day free trial, go to 1Password at the link below:
1Password – The world’s most-loved password manager
Now let’s get started with the tutorial!
Getting Started with Taskade
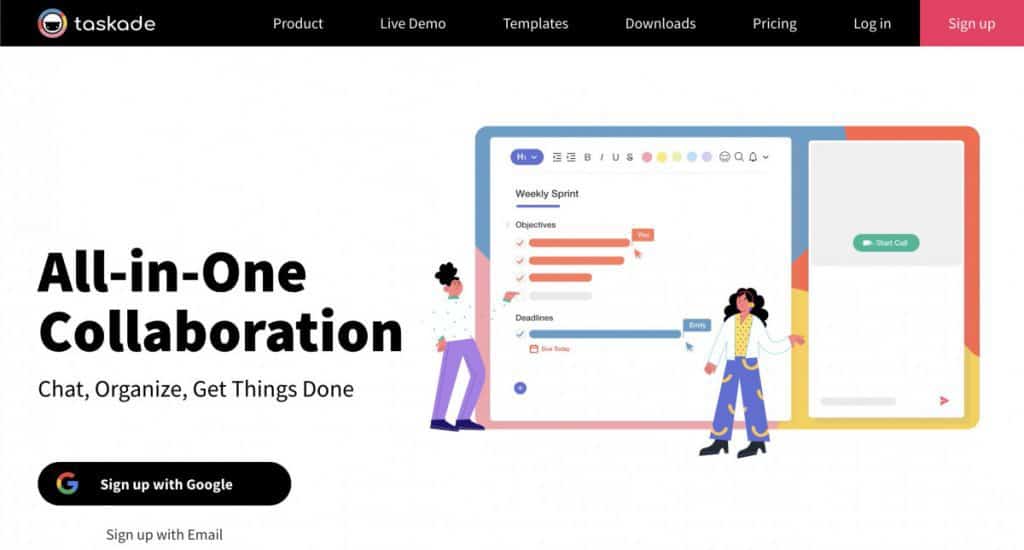
The first thing you want to do, if you haven’t done so already, is to sign up for Taskade. Simply go to the Taskade website and sign up. There are two ways to sign up for Taskade:
- Sign up with Google
- Sign up with Email
The “Sign up with Google” option allows you to sign up using your Google account while the “Sign up with Email” option uses your email address to create a Taskade account.
We will be using the Google signup option. Click the “Sign up with Google” button. You will now see the screen shown above. Enter your email address for Gmail and click the “Next” button.
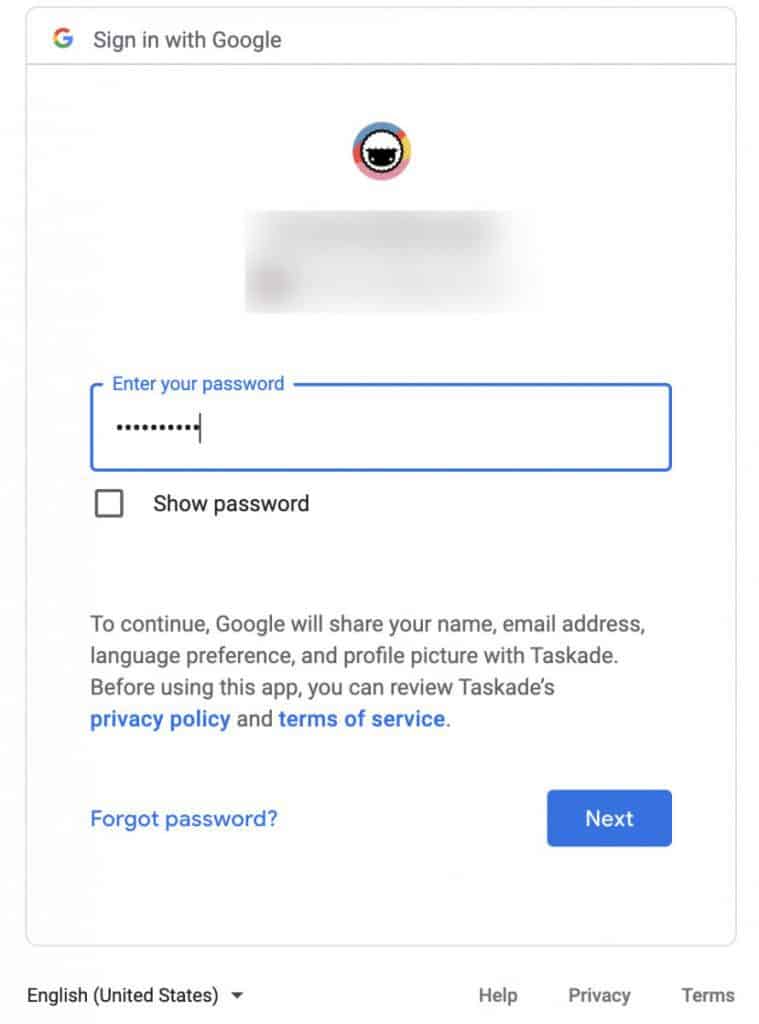
Next, enter your password and click the “Next” button.
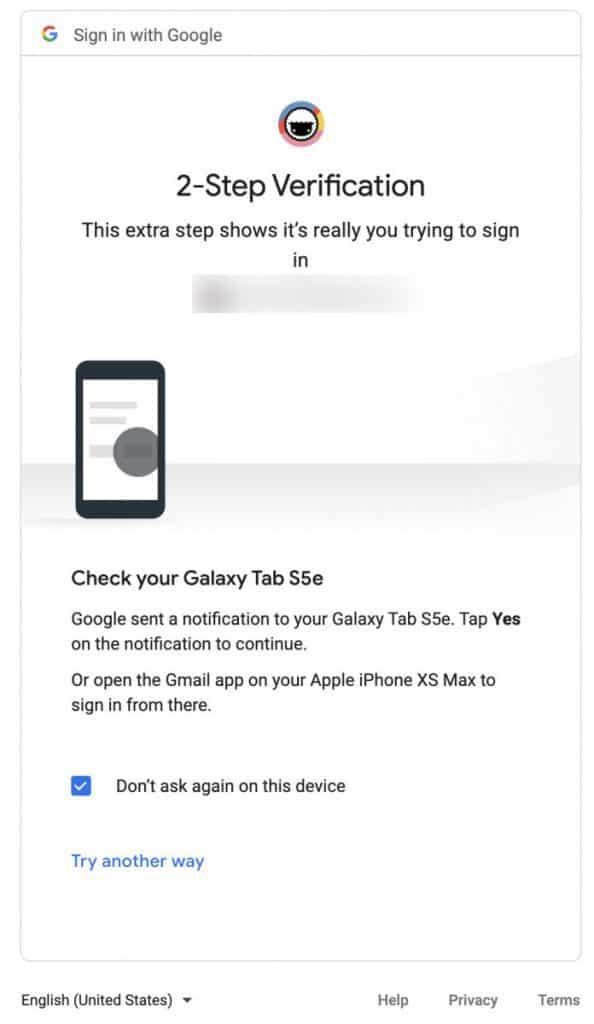
If you have two-factor authentication enabled on your Google account, go to the device you are using for two factor and allow the connection.
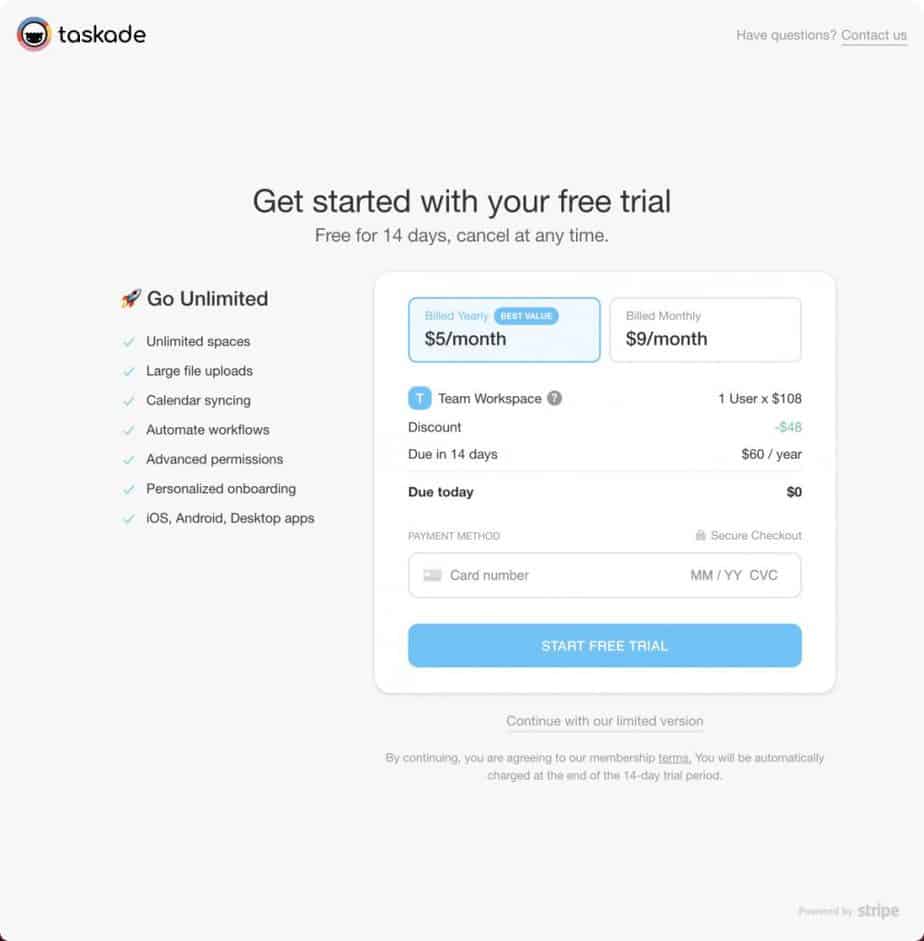
You will see the screen shown above. You can either pick the monthly or yearly billing option for the paid account or click the “Continue with our limited version” option to use the free option for Taskade.
You should now have your account completely setup and ready for use as shown in the screenshot above.
Creating your first Taskade Workspace
The first thing you will want to do is create a new workspace. Workspaces in Taskade are functional areas that can represent projects or common tasks that you (or your team) work on.

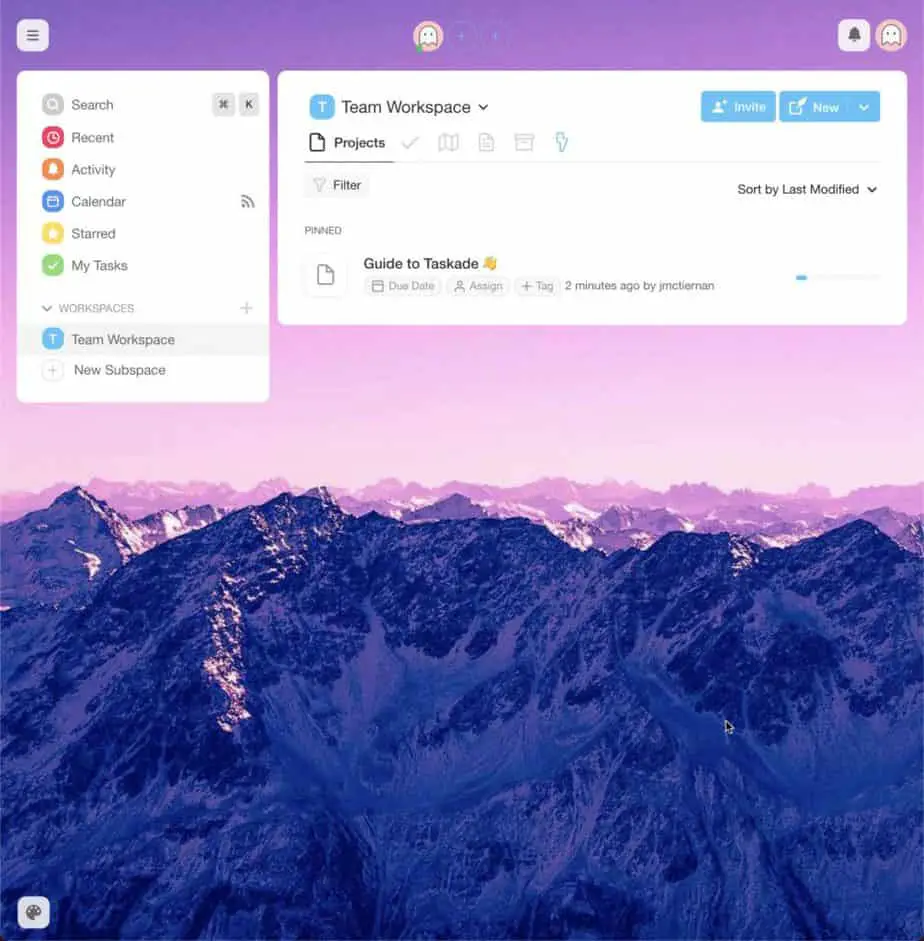
Creating a new workspace is easy. In the left panel, you should see a “Workspaces” column with a “+” plus button to the right. Listed in this column will be all of your workspaces. To create a new workspace, click the “+” button.
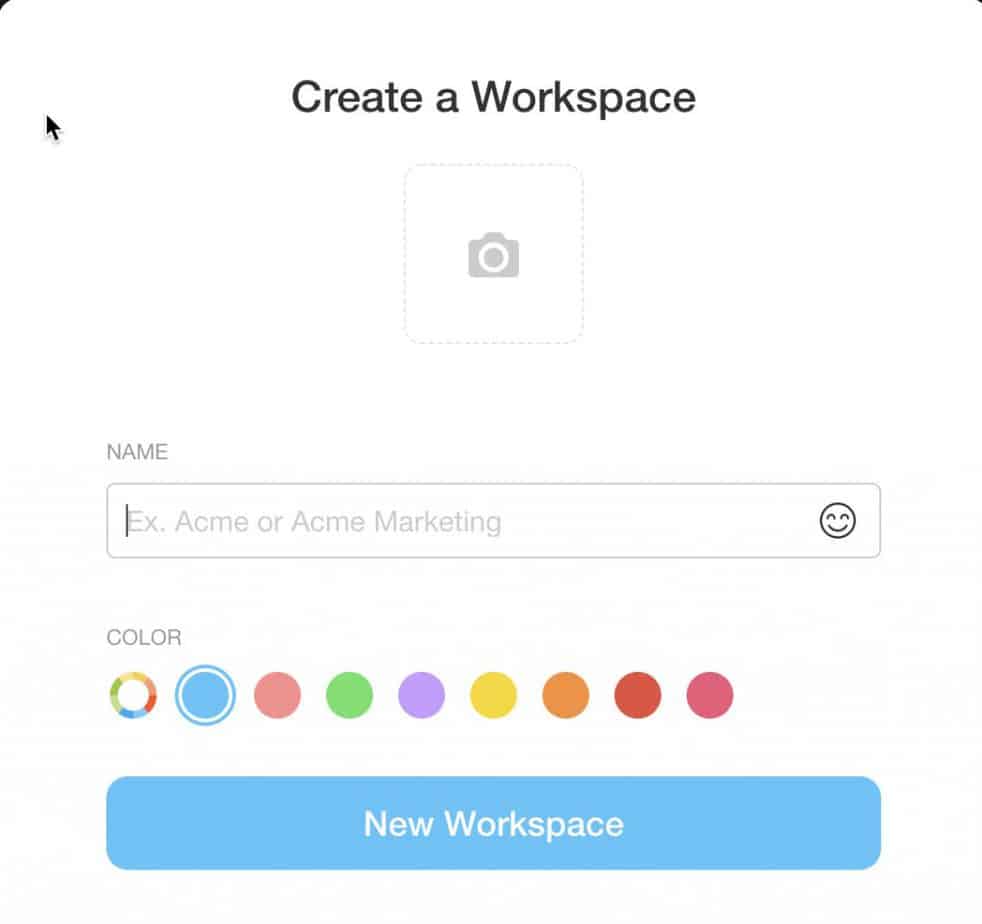
You should now see the “Create a Workspace” dialog box like the one shown above. Give your workspace a name and select a color. Once you have the name and color selected, click on the “New Workspace” button.
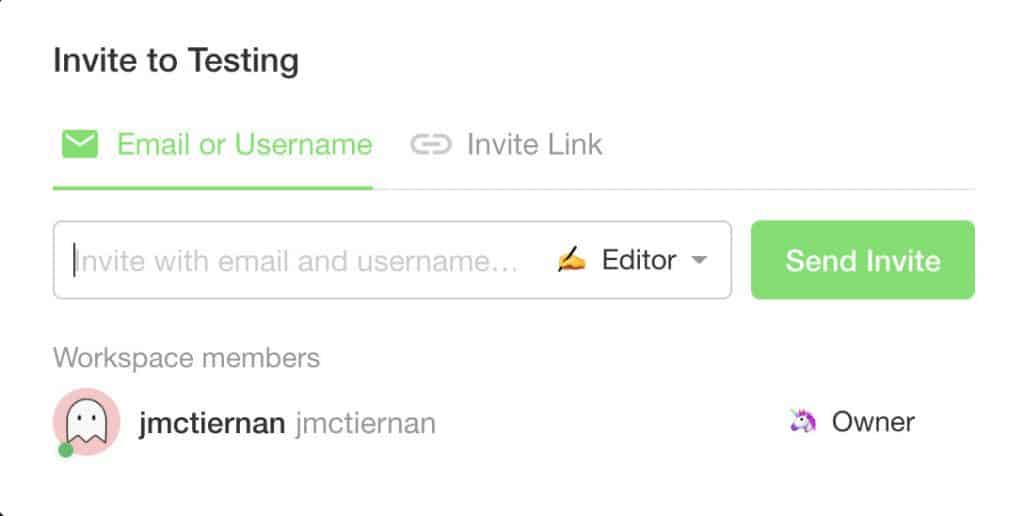
You will be presented with the option to share this workspace with others. You can share access to your workspace with others by inviting them via:
- Username if an existing Taskade user
- Invite Link
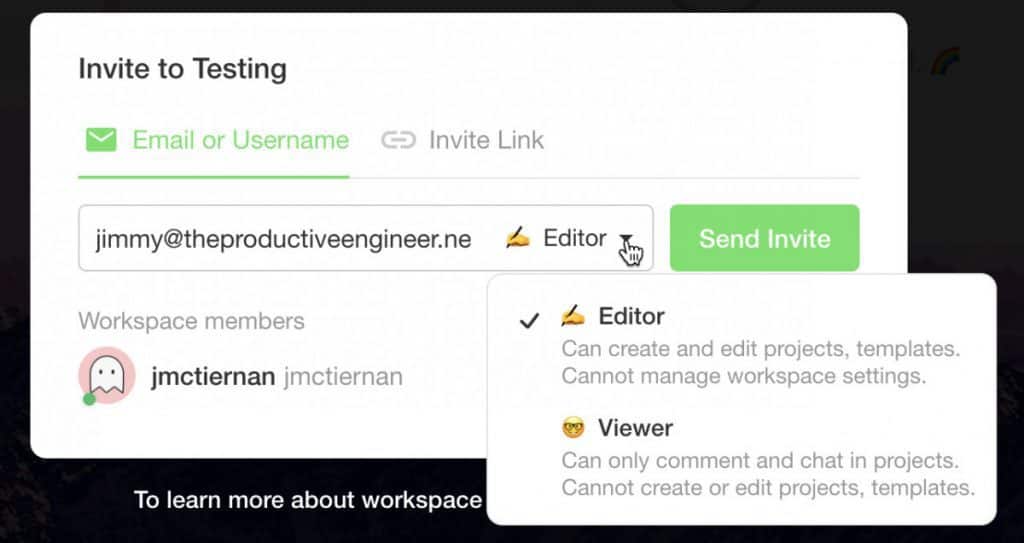
When sharing a workspace in Taskade, there are two levels of permissions you can give a user or group:
- Editor
- Viewer
Editors can create and edit projects, templates but cannot manage workspace settings (only the workspace owner can do that). Viewers can only comment and chat in projects. They cannot create or edit projects or templates.
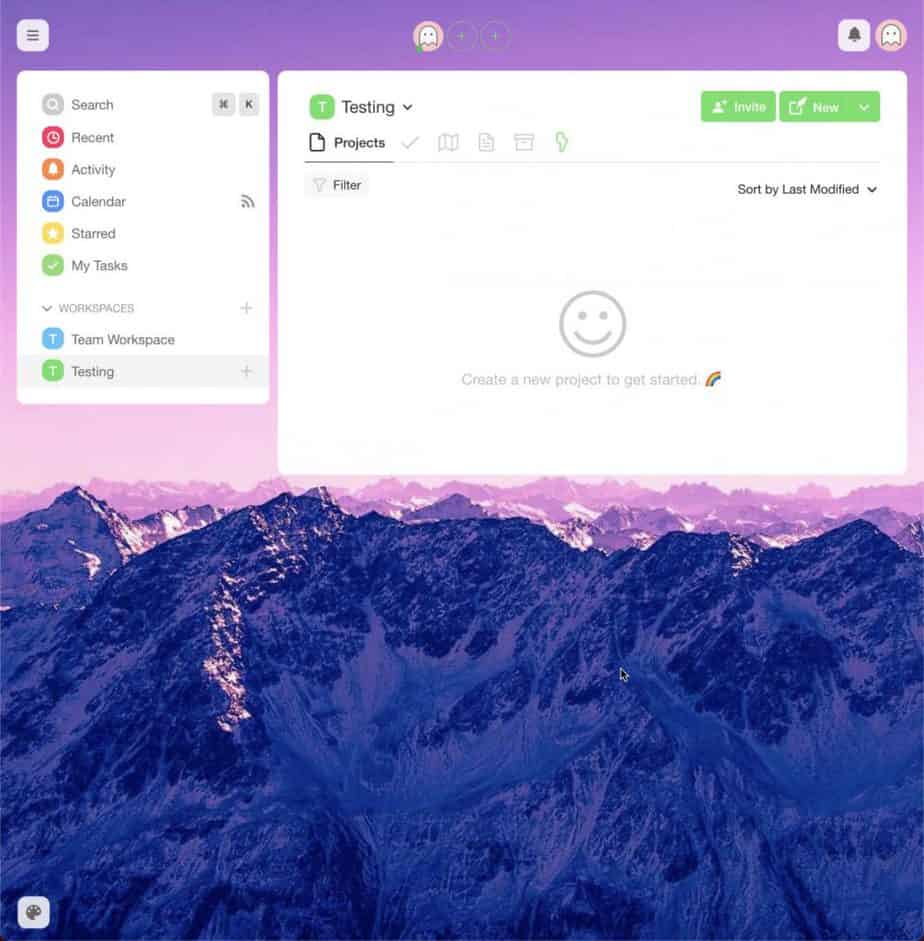
Once your workspace is created, you should see a screen like the one shown above. Now let’s learn how to add content to our workspace.
Add Projects to a Workspace in Taskade
Workspaces in Taskade hold projects. Anyone who is enabled for the workspace can see and potentially edit (if they are an Editor) any project in the workspace. That is why you need to be very deliberate on how you manage team members permissions and workspaces.
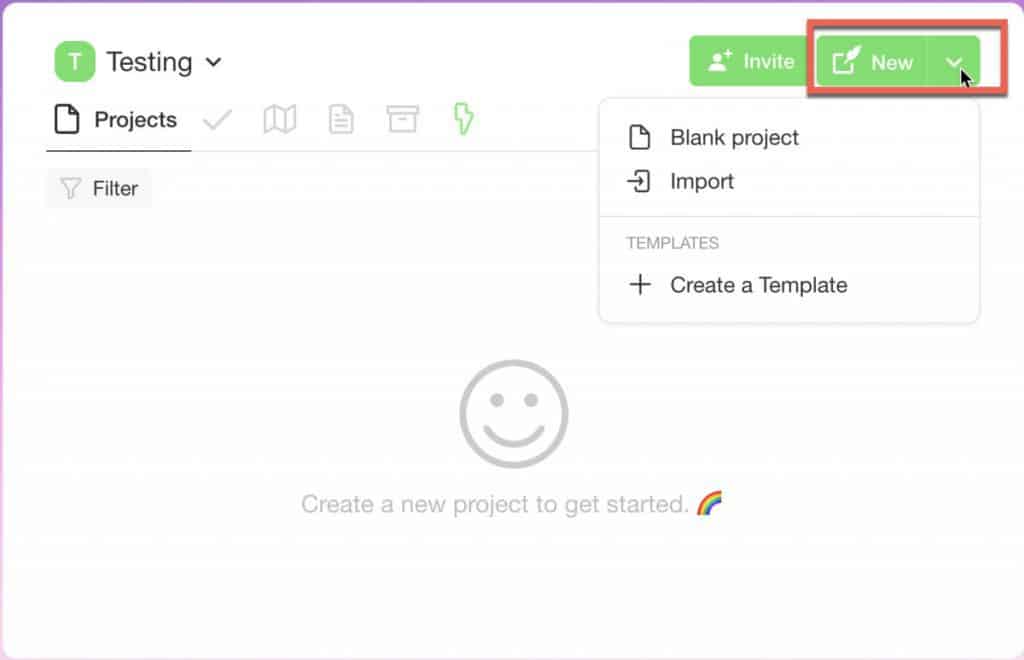
To add a new project in Taskade, click on the “New” button. If you click the drop-down arrow on the “New” button, you will see a couple of options:
- Blank Project
- Import
- Create a Templace
Most of the time, you will want to use a blank project. However, Taskade allows you create templates that you can reuse over and over for common projects. For our tutorial, we will use a blank project so click the “Blank Project” option to create the project.
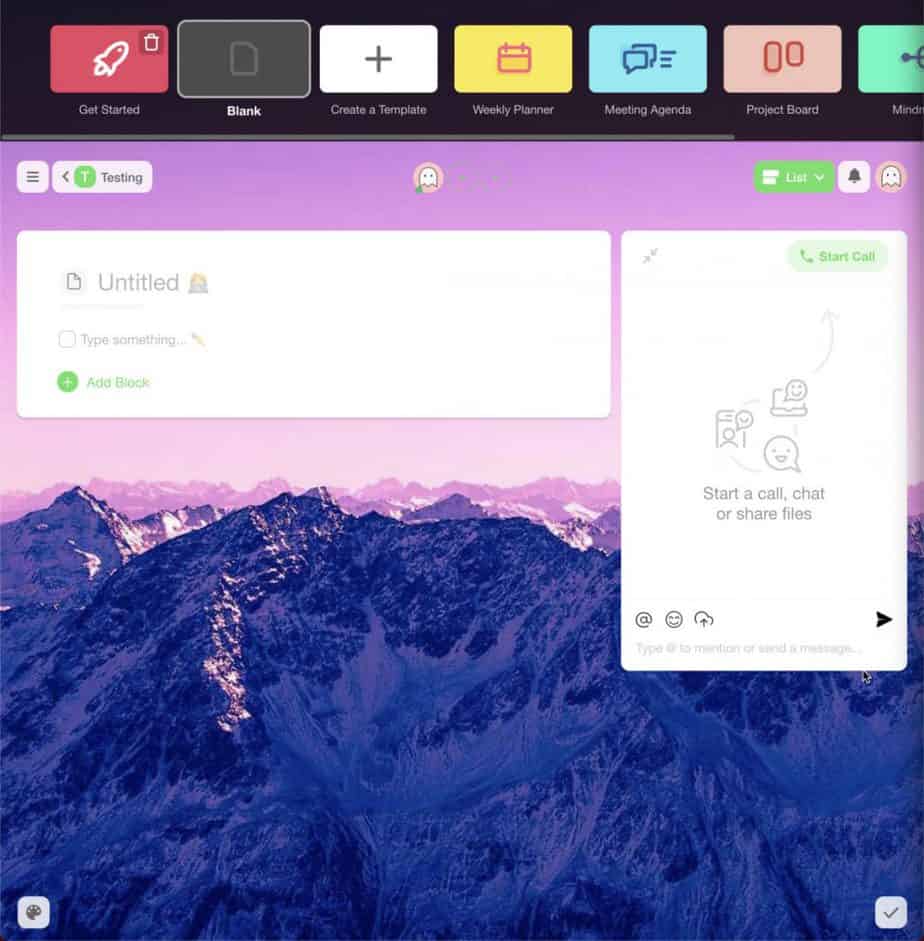
Your new project should look like the screenshot above. Notice the bar at the top of your Taskade project page. These are elements you can add to your project and include the following:
- Blank
- Create a Template
- Weekly Planner
- Meeting agenda
- Project Board
- Mindmap
- More (opens template page)

Let’s click the “More” option to bring up the Taskade pre-built templates page. I find that seeing the available pre-made templates can help come up with ideas for what to add to my project pages in Taskade.
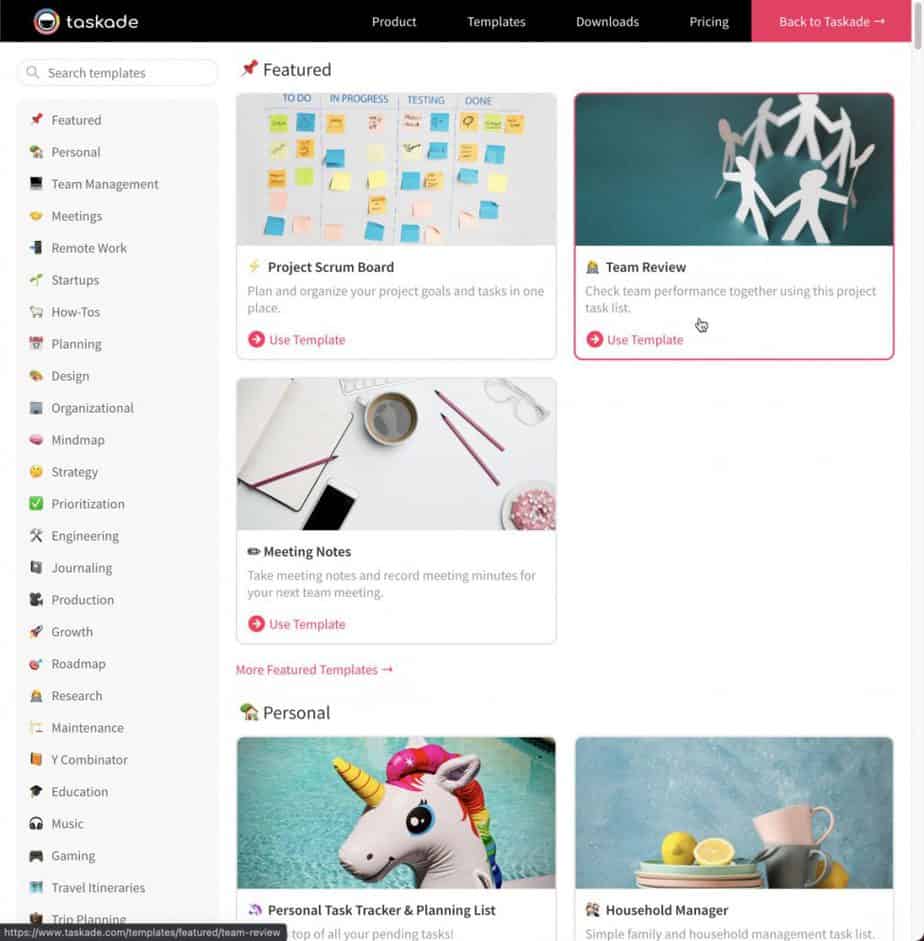
A new tab should have opened in your web browser with the Taskade templates page showing. Taskade has done an amazing job creating a wide variety of templates. Templates are organized by role in the left panel. You can also search for a template using the search option.
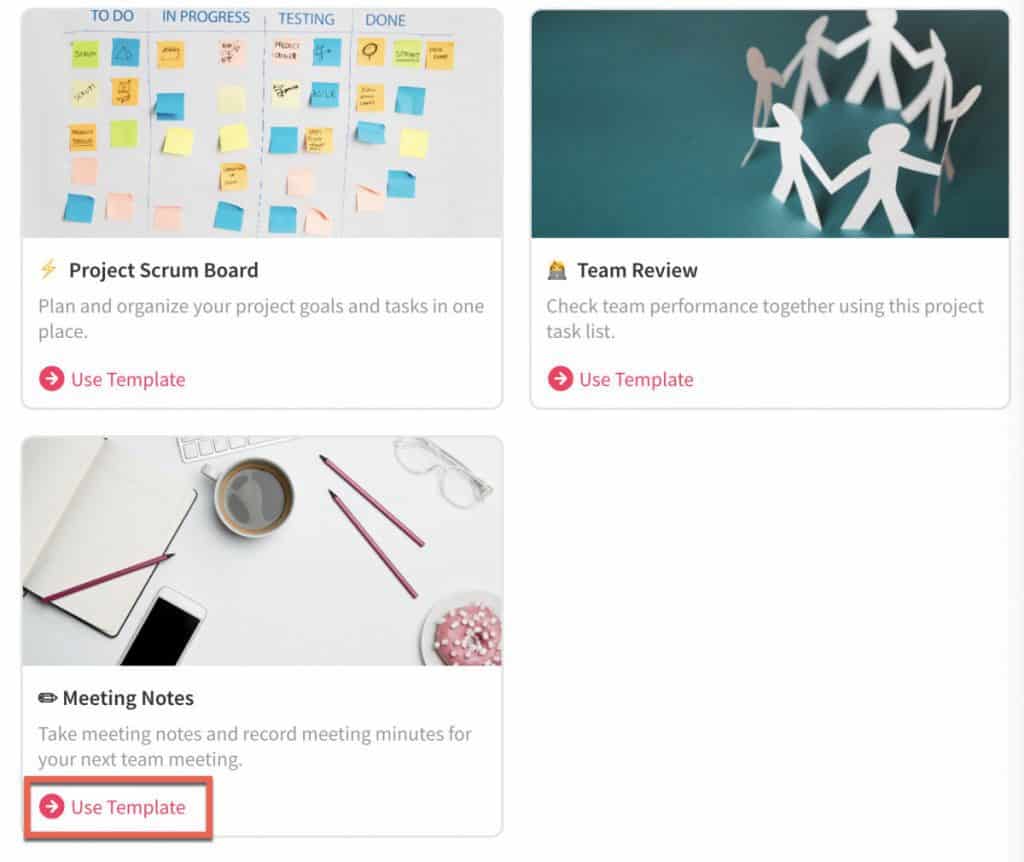
Picking a template in Taskade is easy. Once you find one you like, click the “Use Template” button at the bottom of the template box as shown in the screenshot above.
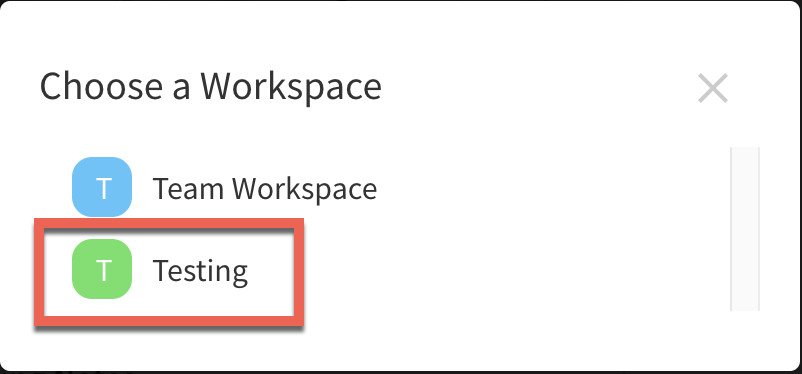
A dialog box will appear asking you to select which workspace you want to assign the template to as shown above. Select the workspace you want to add the template to.
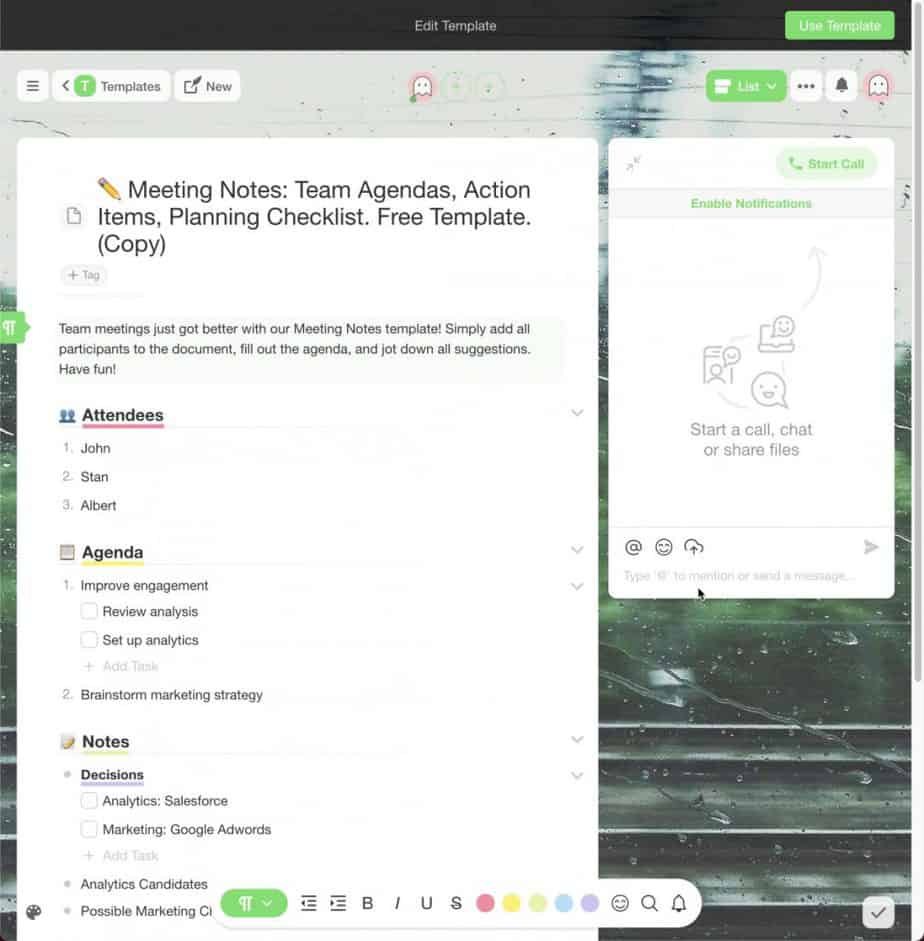
Your template is now added to your project. The cool thing about the templates in Taskade is that you can edit them to your heart’s content before using them in your project. Once you have the template to your liking and ready to be added to your project, click the “Use Template” button.
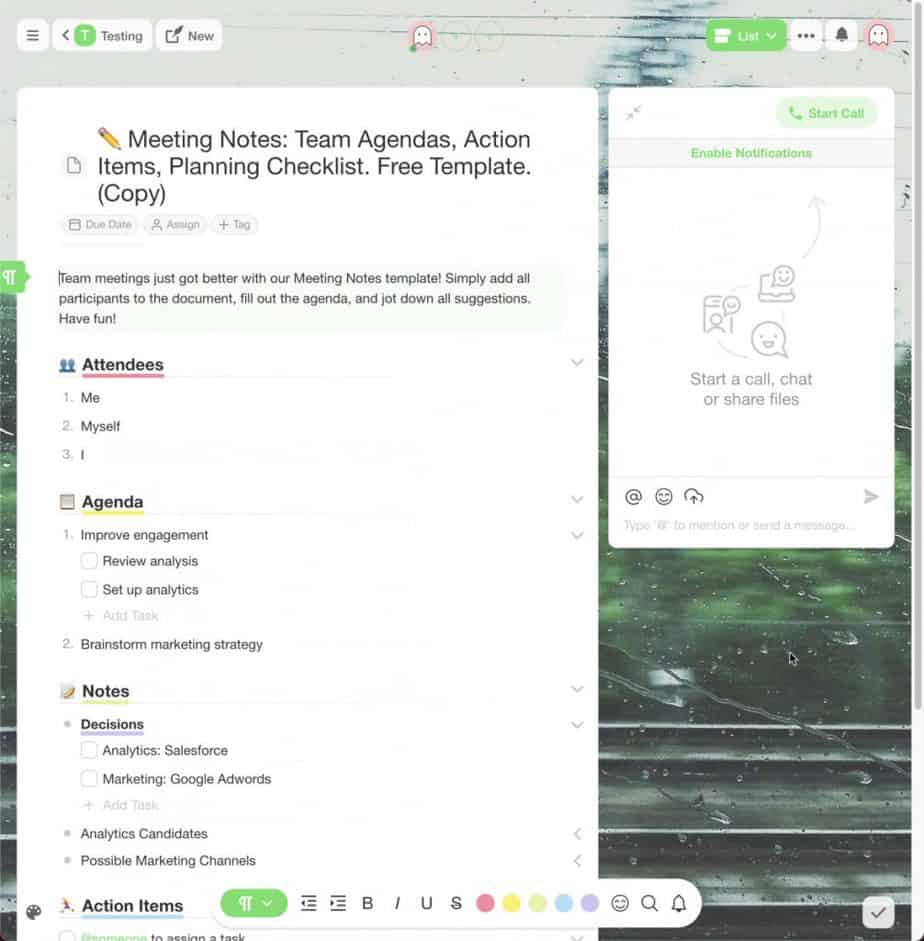
Your template is now added to your project. Click on the name of your workspace to go the top level view of your workspace.

You should see your project listed in the workspace. Now, let’s add another project by clicking the “New” button.
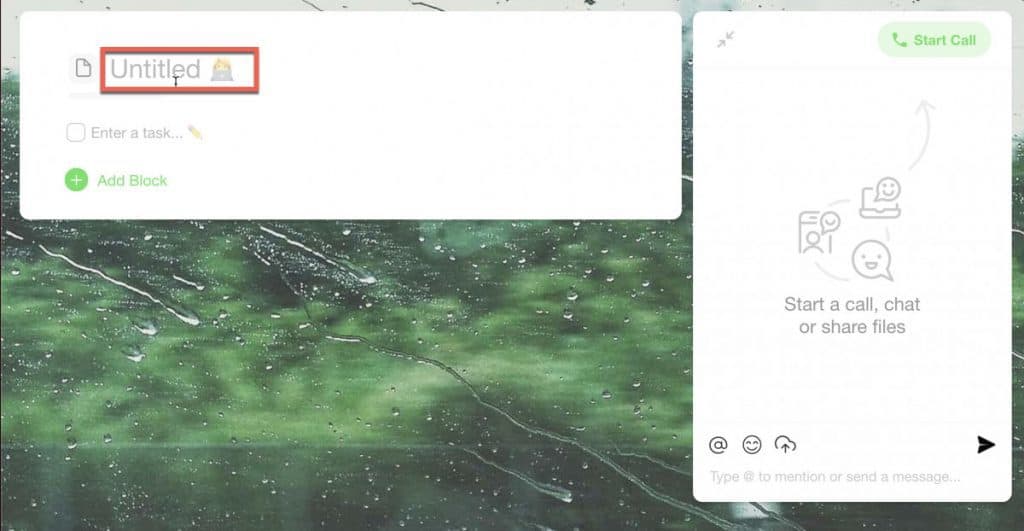
Click where it say “Untitled” and give your new project a name.
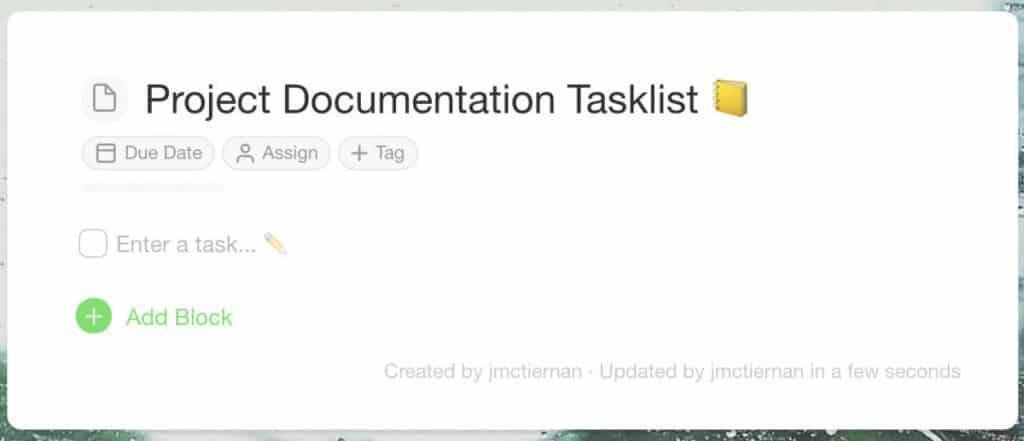
Next, let’s add some quick todos to our project by clicking where it says “Enter a task…” next to the checkbox and typing in the todo. Hit “Enter” to add another todo.
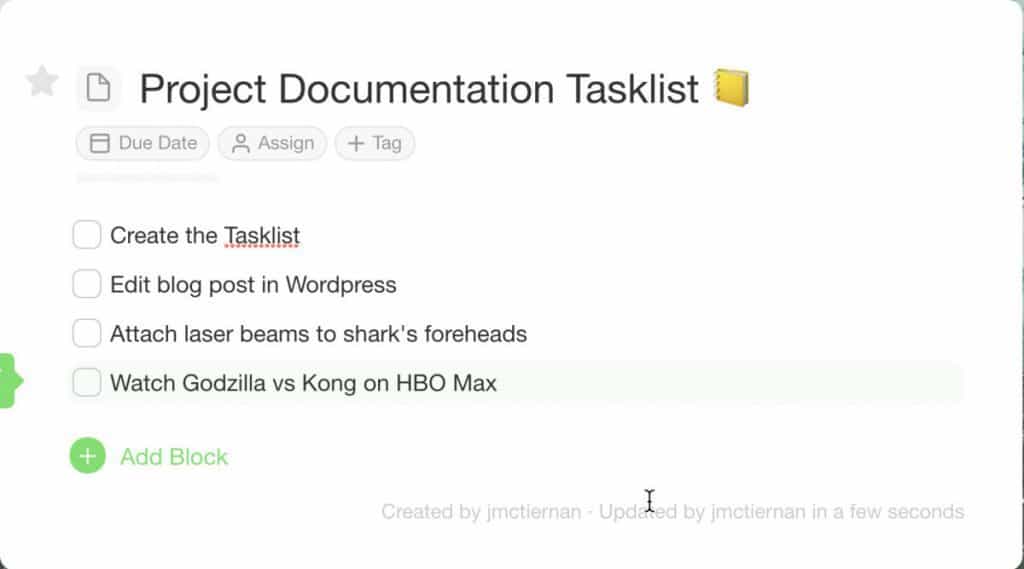
As you can see above, I added some todos to my project. Now let’s add some more stuff to the project by clicking the “Add Block” button underneath our todos.
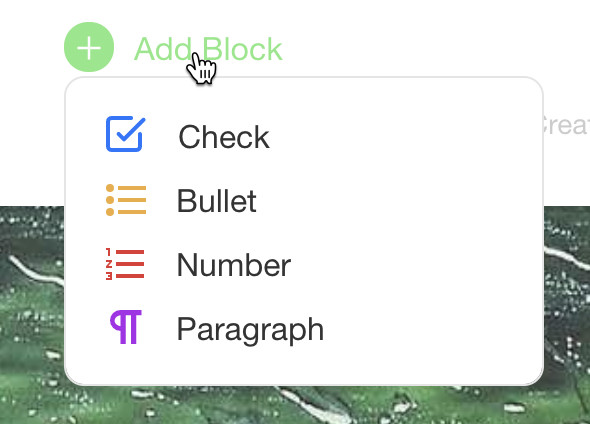
A pop-up dialog box should appear with the following options:
- Check
- Bullet
- Number
- Paragraph
Let’s create a bulleted list by selecting “Bullet” from the options provided.
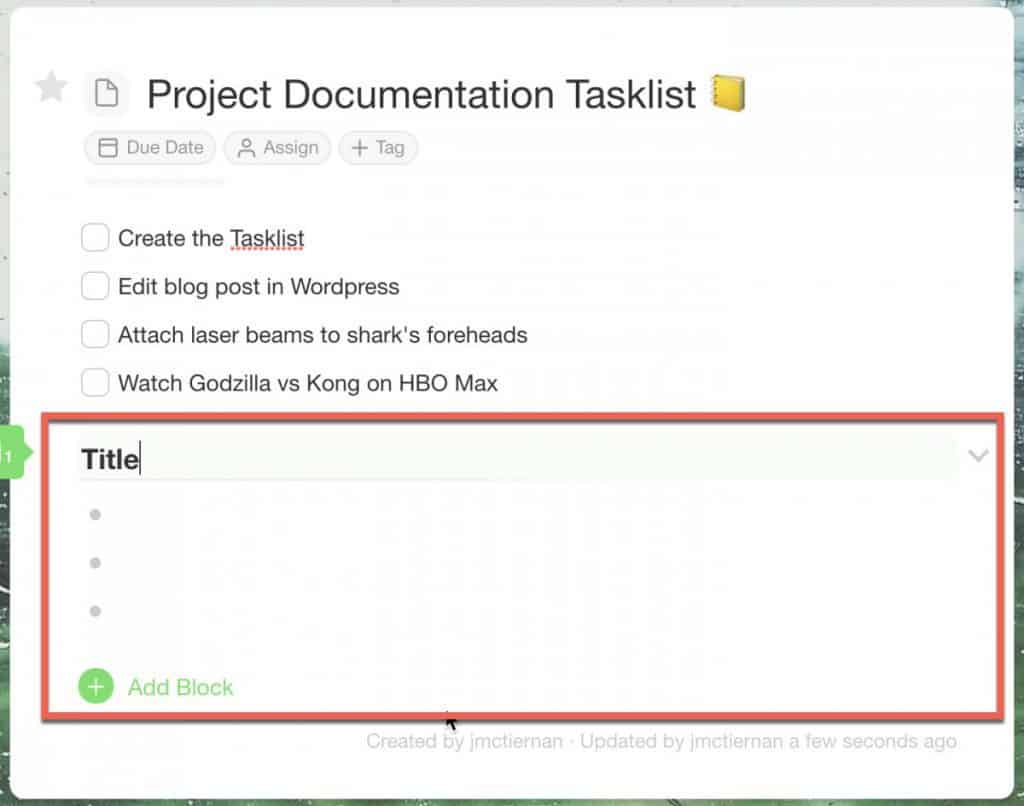
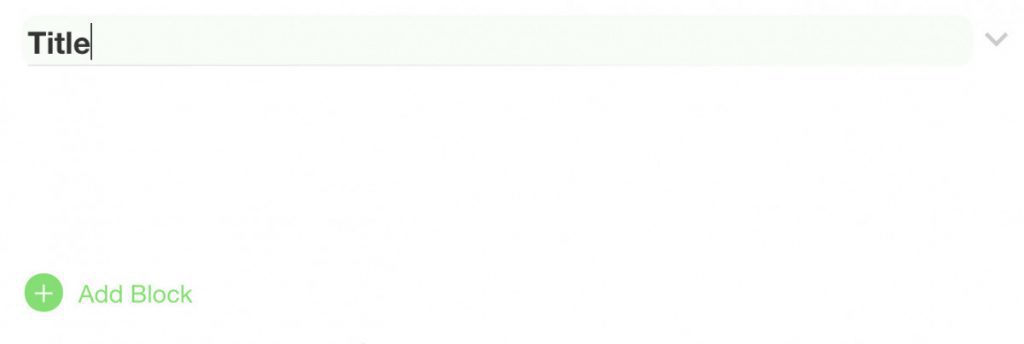
A bulleted list block will appear in your project. Give your list a name by clicking where it says “Title” and typing in your own name for the list. Add items to the list by clicking to the right of the bullet and typing in what you want for each bullet. Hit “Enter” to go to the next bullet.
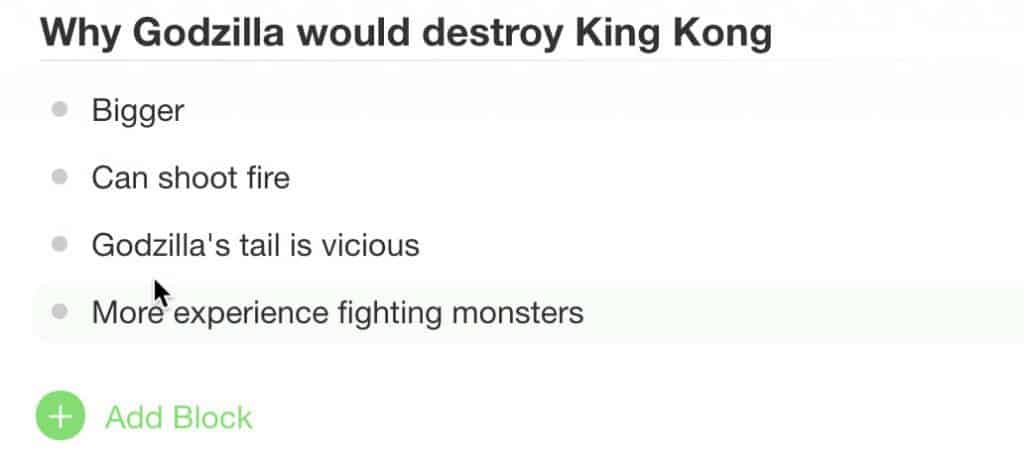
Your list should look similar to the one I created above (although perhaps not as epic 😁). Next let’s add a paragraph block to our project.
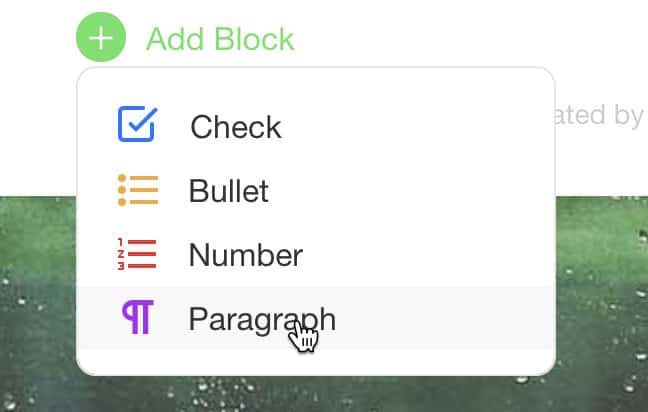
Click the “Add Block” button and select “Paragraph” as shown in the screenshot above.
Your paragraph block should now be in your project. Click where is says “Title” and type in the title of your paragraph block. Click underneath your title and start typing in your content.

Once you have typed in your content, use the text editing bar to add highlighting, bold, italics, indentation or links to your text.
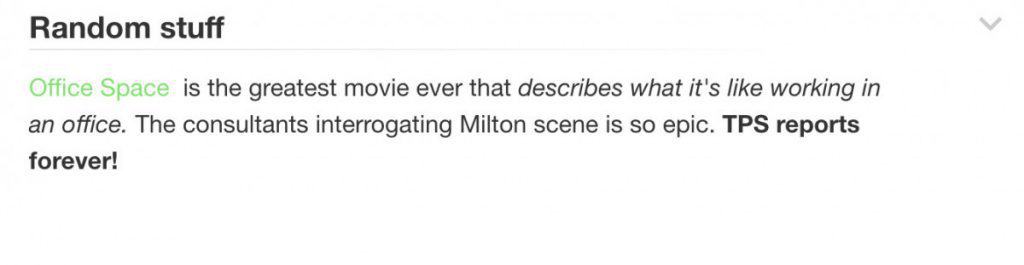
Your paragraph block should now be formatted the way you want.
Folding Blocks in a Project in Taskade
As you add more and more blocks to your project, you may find having everything showing to be distracting. Fortunately, Taskade allows you to fold blocks.
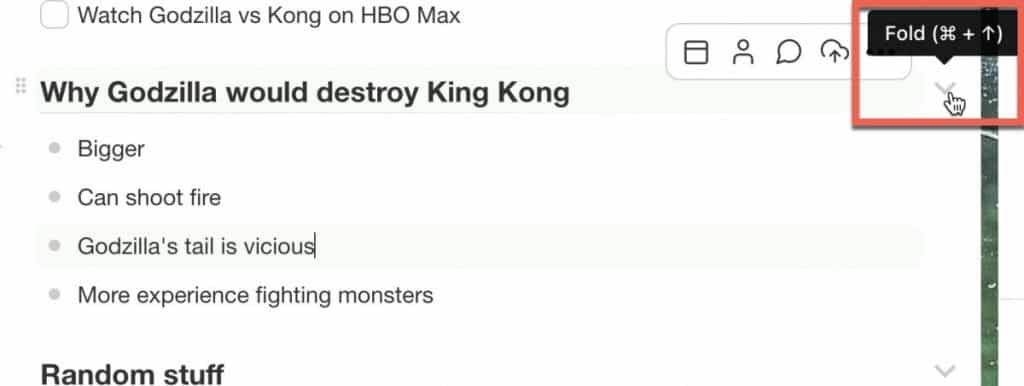
To fold a block in Taskade, simply click on the arrow to the right of the block as shown above.

Notice the arrow now points to the left and the content of the block is hidden. Pretty cool right? To unfold the block, simply click the arrow again.

The content of your block should now be visible.
Viewing Recent Changes in Taskade
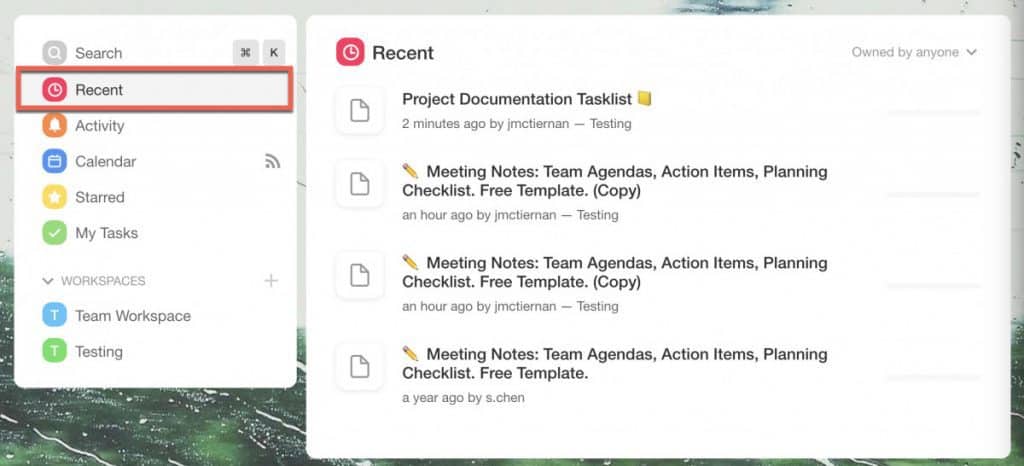
You can view all your recent changes in one place in Taskade by simply clicking the “Recent” option as shown in the screenshot above. You can then click on any of the items in the list to go to that page.
Viewing your Calendar in Taskade
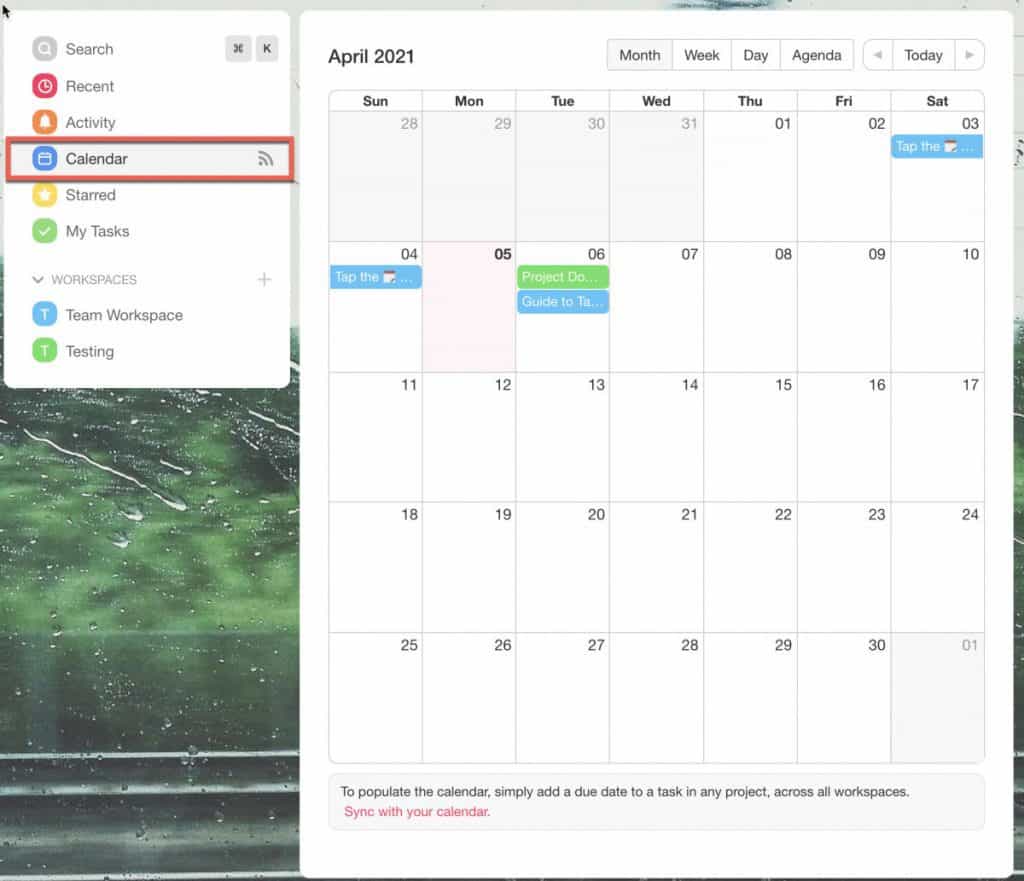
One of the cool features of the calendar in Taskade is that you can view all the tasks or items that have a due date assigned across all your projects and workspaces. This comes in quite handy. Simply click on the “Calendar” option to bring up the calendar view.
Assigning Items in Taskade to specific people
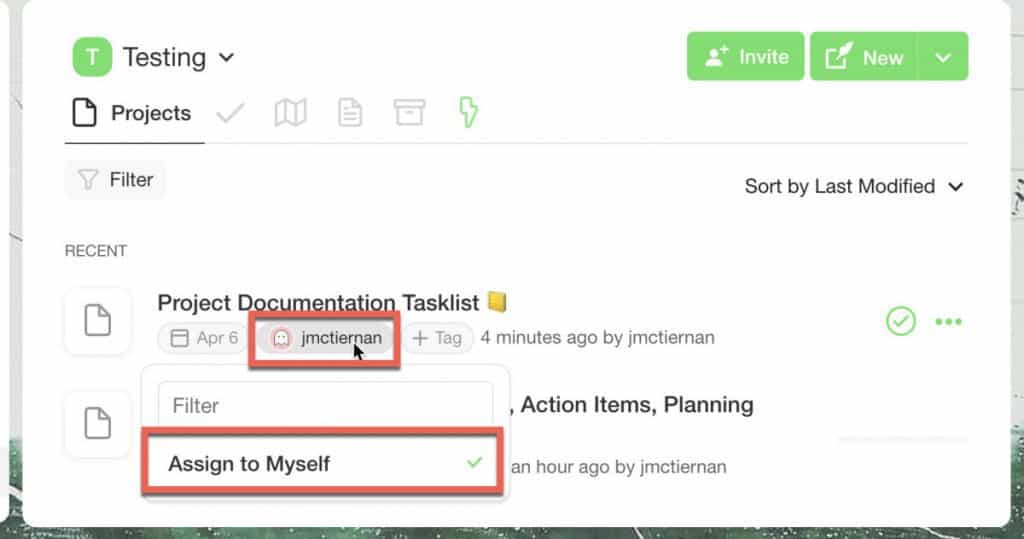
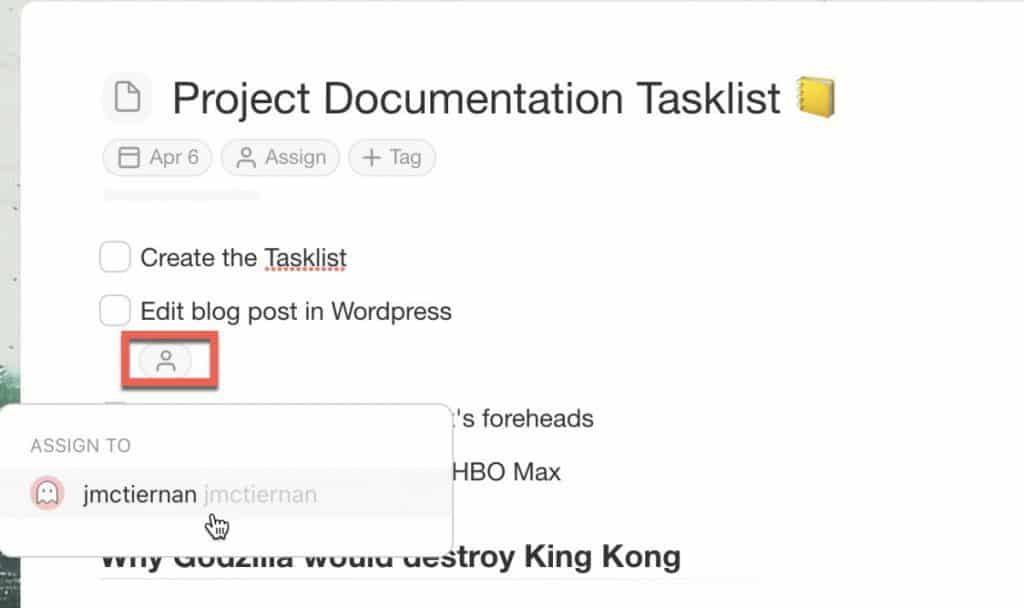
You can assign owners to any project or individual item in Taskade be simply clicking the “owner” button as shown above and selecting the user from the list.
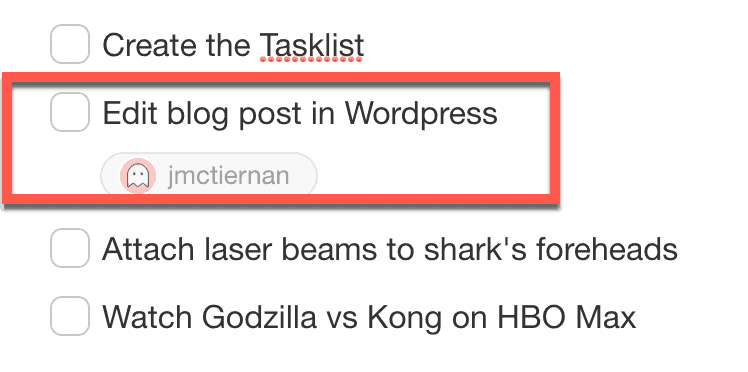
You should now see the assigned owner for the task you just edited similar to the screenshot above.
Viewing all Tasks assigned to you in Taskade
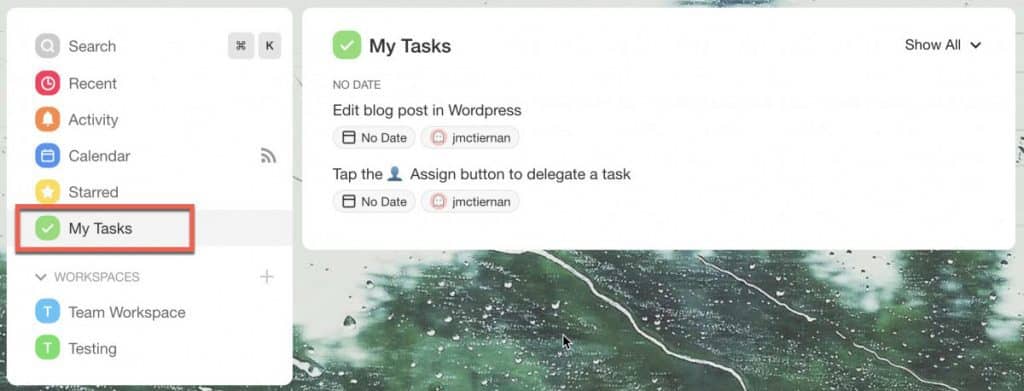
You can also view all the tasks assigned to you by clicking on the “My Tasks” option in the left panel as shown above.
Creating Project Boards in Taskade
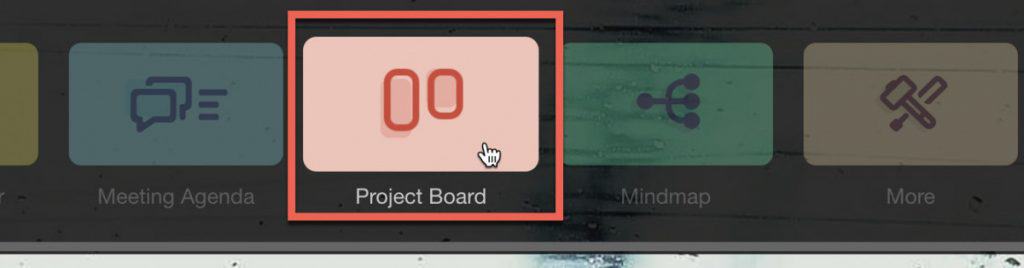
You can actually create kanban boards in Taskade. Kanban boards (called project boards in Taskade) allow you have a virtual pinboard of cards where each card is a block. Click on the “Project Board” button to add a project board.
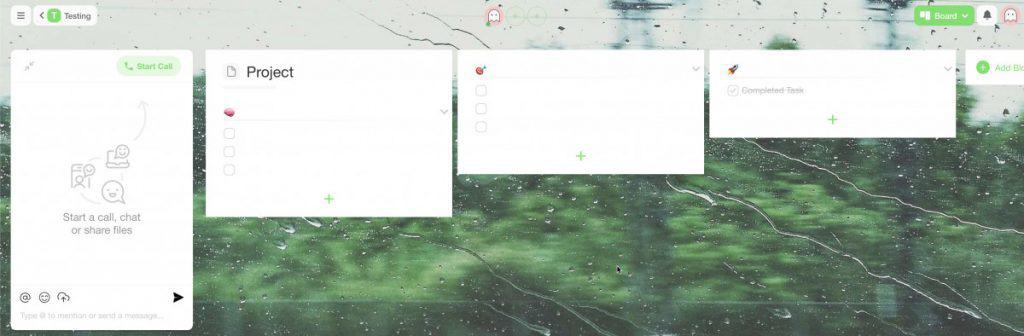
You should now see a blank project board containing a couple of blocks.
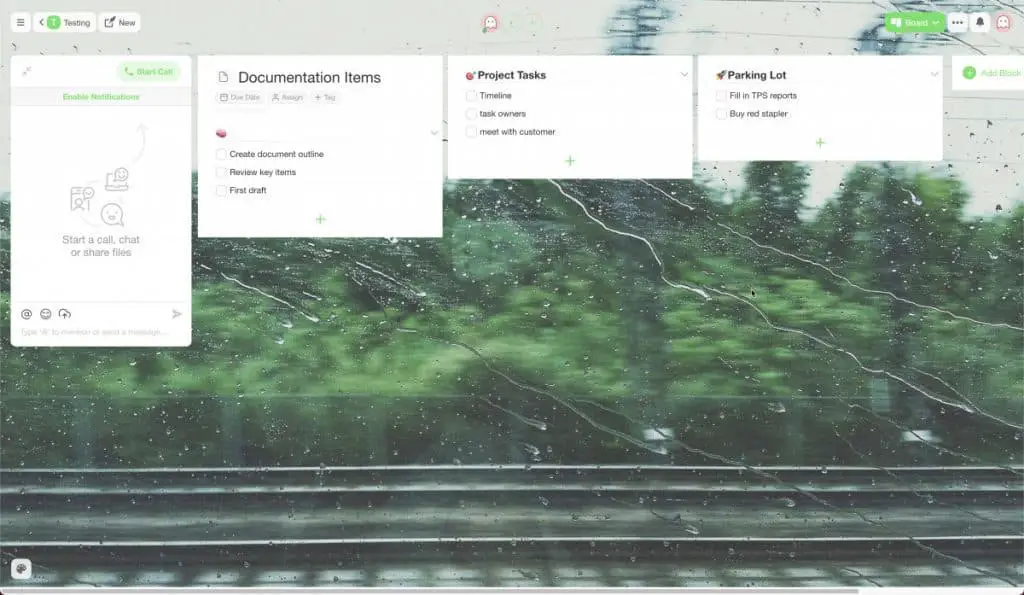
Fill in your project board by clicking in the block you want to edit and fill it in. You can add more blocks by clicking the “Add Block” button to the right of the board.
Creating Mind Maps in Taskade
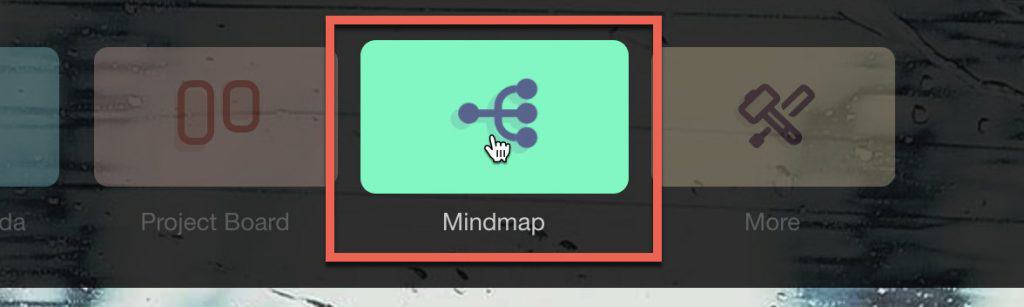
You can also add Mind maps in Taskade by clicking the “New” button and selecting the “Mindmap” button from the options on the top of the Taskade window.
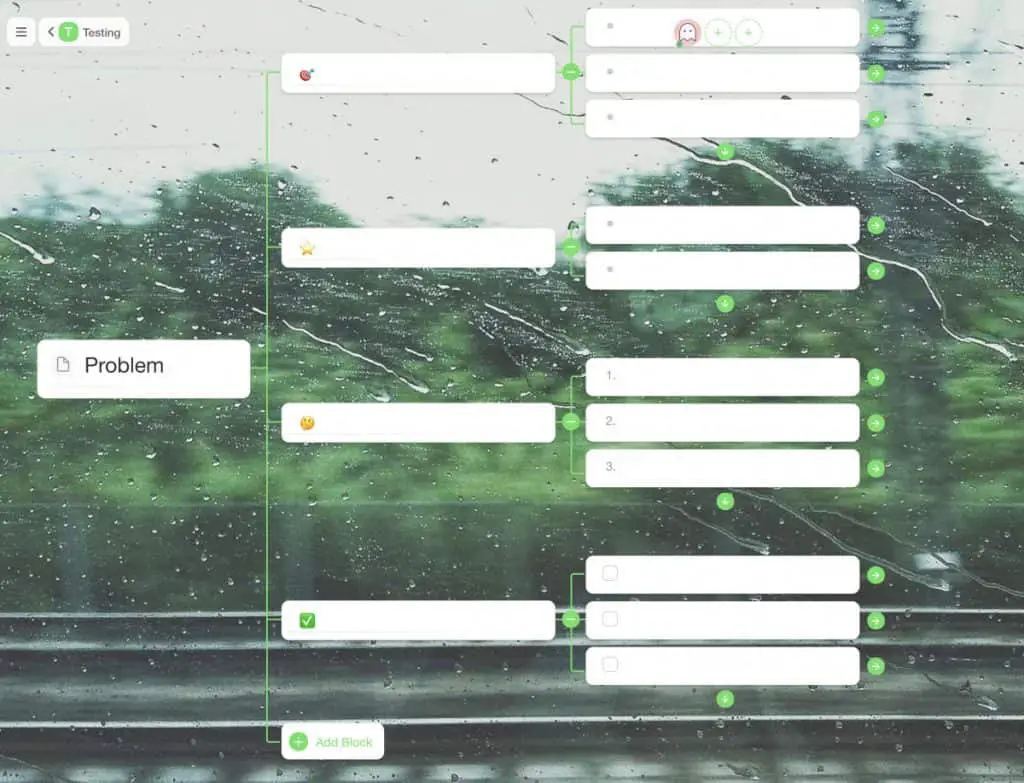
Taskade gives you several branches that you can fill in (you can delete the ones you don’t need). Fill in your mind map.
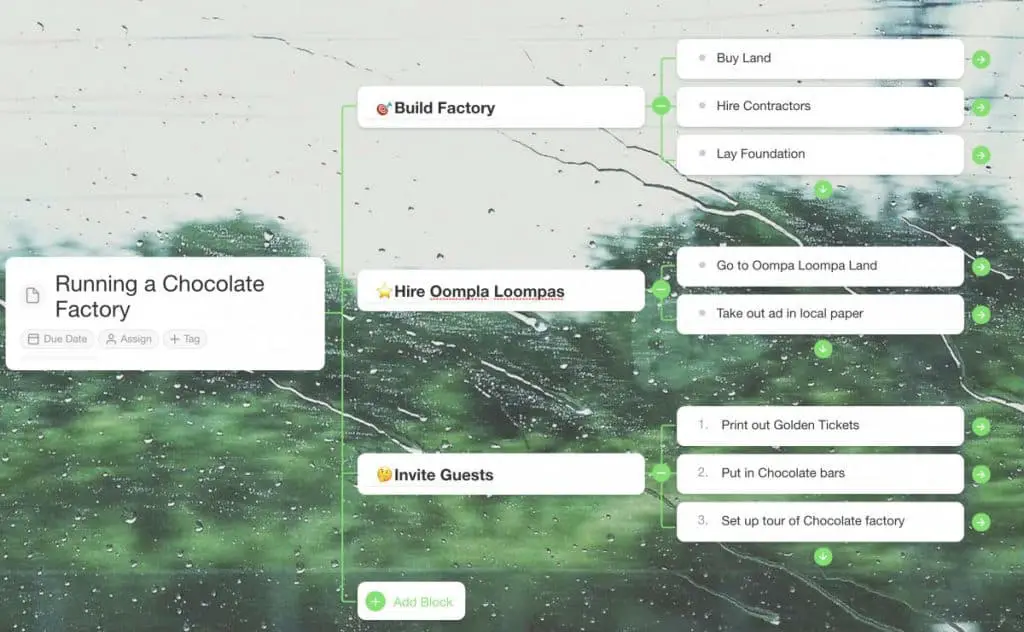
The mind map functionality in Taskade is really good. Very easy to set up and use.
Want More Tips and Tricks? Subscribe to our Newsletter!
If you haven’t already subscribed, please subscribe to The Productive Engineer newsletter. It is filled with tips and tricks on how to get the most out of the productivity apps you use every day. We hate spam as much as you do and promise only to send you stuff we think will help you get things done.
Check Out Our YouTube Channel!
We have a YouTube channel now and we are working hard to fill it with tips, tricks, how-tos, and tutorials. Click the link below to check it out!
Check out our Resources Page
Check out our resources page for the products and services we use every day to get things done or make our lives a little easier at the link below:
Looking to Get Started Blogging or on YouTube?
Getting started can seem daunting and scary (I know it was for me) but it doesn’t have to be. I was very lucky to find a program that that has helped me grow my blog to over 100,000 page views and a Monetized YouTube channel that is growing month-over-month.
Project 24 by Income School is the program that I have used. I have been a member for over a year now and just renewed my membership. I cannot recommend Project 24 enough! For more information on Income School, click the link below:
Project 24 byIncome School – Teaching You How to Create Passive Income from Blogs and YouTube