BenQ ScreenBar Monitor Light – Ultimate Review and Guide
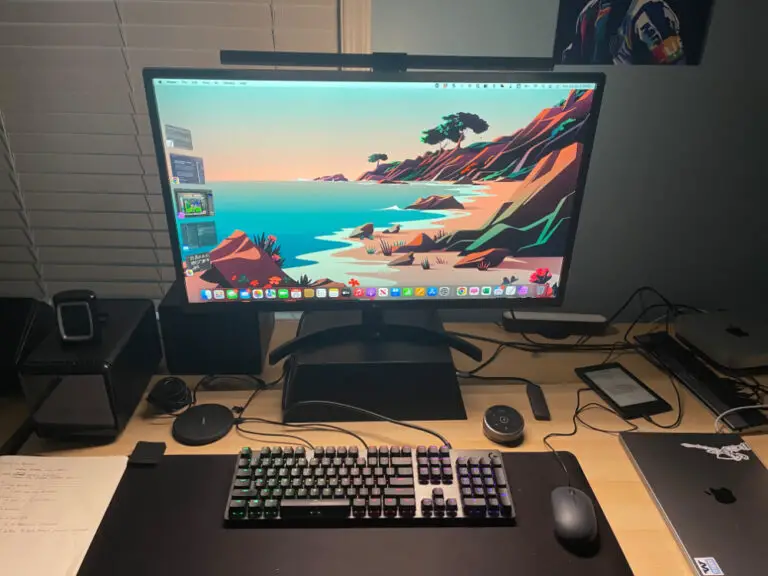
For those of us that spend a ton of time in front of our computer screens, eye strain and proper lighting are major challenges. BenQ believes that they have a solution to both of these challenges with its ScreenBar product. The BenQ ScreenBar is a top-down lighting solution that sits on top of your monitor. Does the BenQ ScreenBar do what it says it does? Well, BenQ sent me a unit to test and I put it through its paces to find out and this review will share with you my results.
Before we get started with the review, if you are looking to learn more about apps like Notion, Todoist, Evernote, Google Docs, or just how to be more productive (like Keep Productive’s awesome Notion course), you should really check out SkillShare. Skillshare is an online learning platform with courses on pretty much anything you want to learn. To learn more about Skillshare and its vast library of courses and get 30% off, click the link below:
SkillShare – Online Learning Platform
Do you use the same password for multiple sites? Do you have trouble remembering all your passwords? You should try 1Password! 1Password is secure and allows you to log in to sites and fill forms securely with a single click. I use 1Password for all my passwords and it really makes managing all my passwords simple.
For more information on 1Password and to get a 30-day free trial, go to 1Password at the link below:
1Password – The world’s most-loved password manager
Now let’s get started with the review!
What is the BenQ ScreenBar
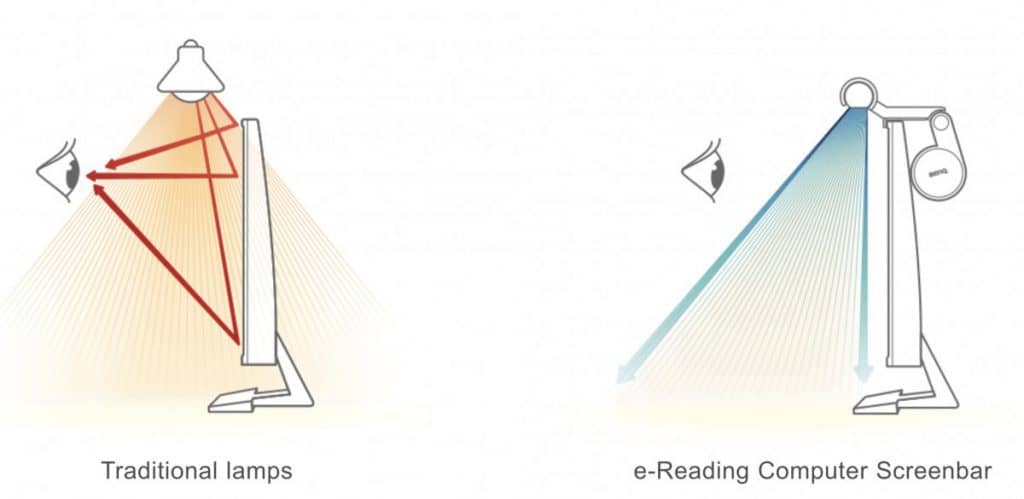
The BenQ ScreenBar is a light that clamps onto your computer monitor and shines light down onto your desk/work area. What makes the ScreenBar stand out compared to traditional desk lamps can best be illustrated by the image above. Traditional desk lamps shine light out to a wide diameter, which can bounce off of your monitor and to your eyes, which is not good and can cause eyestrain and create glare off the screen. Because the ScreenBar shines directly down onto your desk with a narrow cone of light, less light is reflected back at your eyes, reducing eye strain and eliminating/reducing glare.
Unpacking the BenQ ScreenBar

The BenQ ScreenBar comes in a long rectangular box with the installation instructions actually printed on the back.
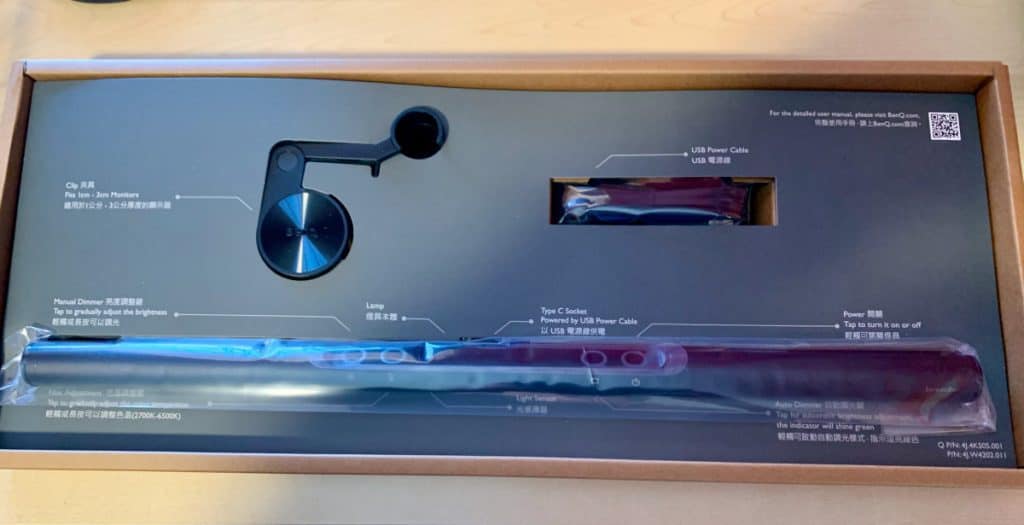
One of the things that impressed me was how cleverly BenQ packed the ScreenBar. As you can see from the image above from my unboxing of the unit, BenQ has laid out each component and labels for each item. Additionally, they also provide descriptions of each button on the unit itself, which made getting started with the ScreenBar much easier.
Installing the BenQ ScreenBar
Installing the ScreenBar was dead simple. There is a weighted clip that you clip to your computer monitor.
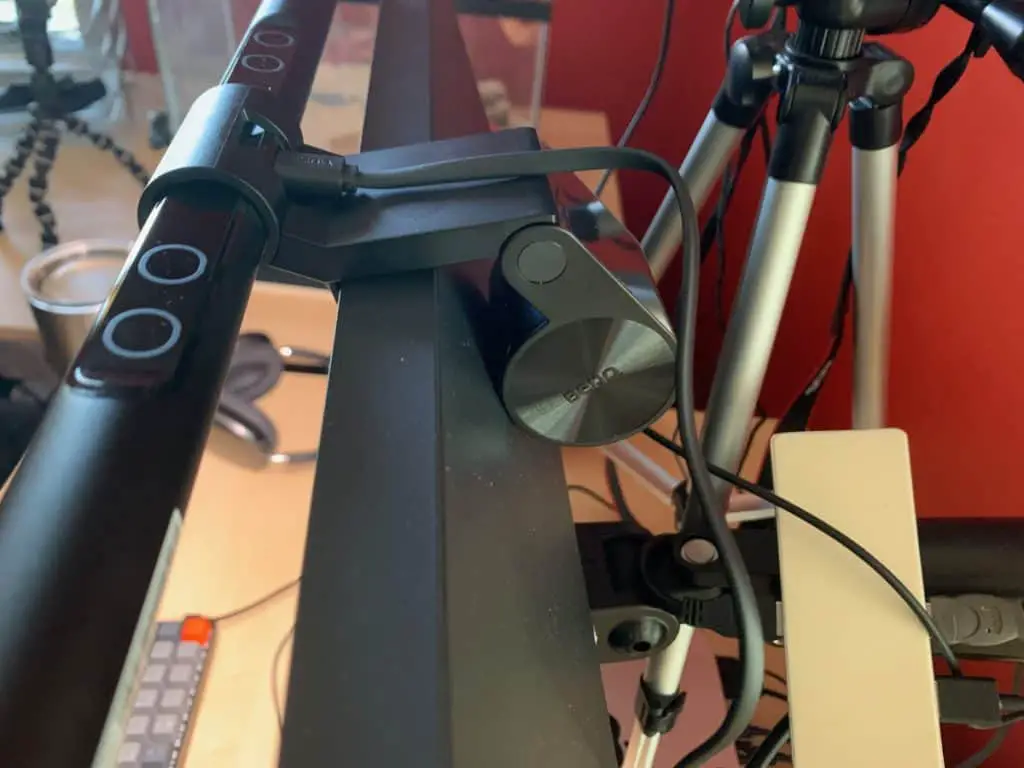
The ScreenBar clicks into the clamp and you mount the weighted end of the mount to the computer monitor. The mount is adjustable 10 degrees in each direction (up/down). This means that if your monitor is angled forward or back a bit, the ScreenBar mount can be adjusted.
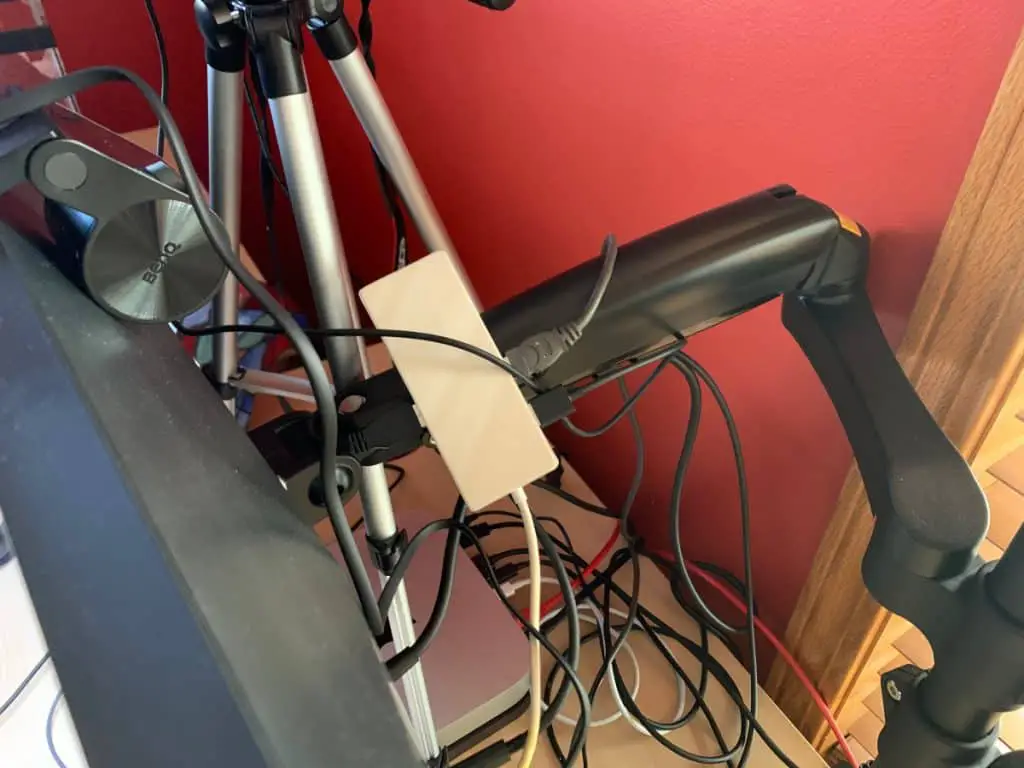
I have my monitor mounted using VESA arm mounts (as shown above) and my monitor leans forward a little bit no matter what I adjust the monitor arms. The adjustability of the ScreenBar’s lighting angle allows me to still light my desk properly despite my monitor not being perfectly parallel to my desk.
Another cool thing, in my opinion, is that the ScreenBar gets its power via USB versus a traditional power brick. There is a USB-C to USB-A cable included with the ScreenBar. You connect the USB-C end to the ScreenBar.
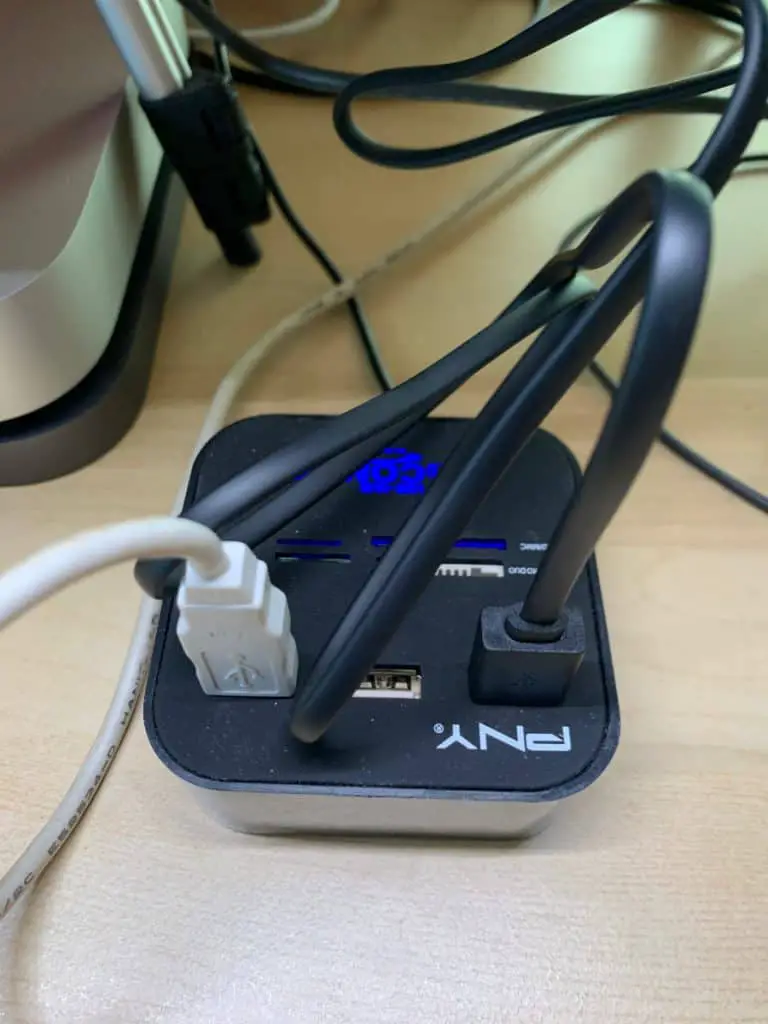
You then connect the USB-A connector to your computer (or USB hub as shown in the screenshot above). The ScreenBar should turn on as soon as you hook it up (at least it does for me 😀).
BenQ ScreenBar Specifications
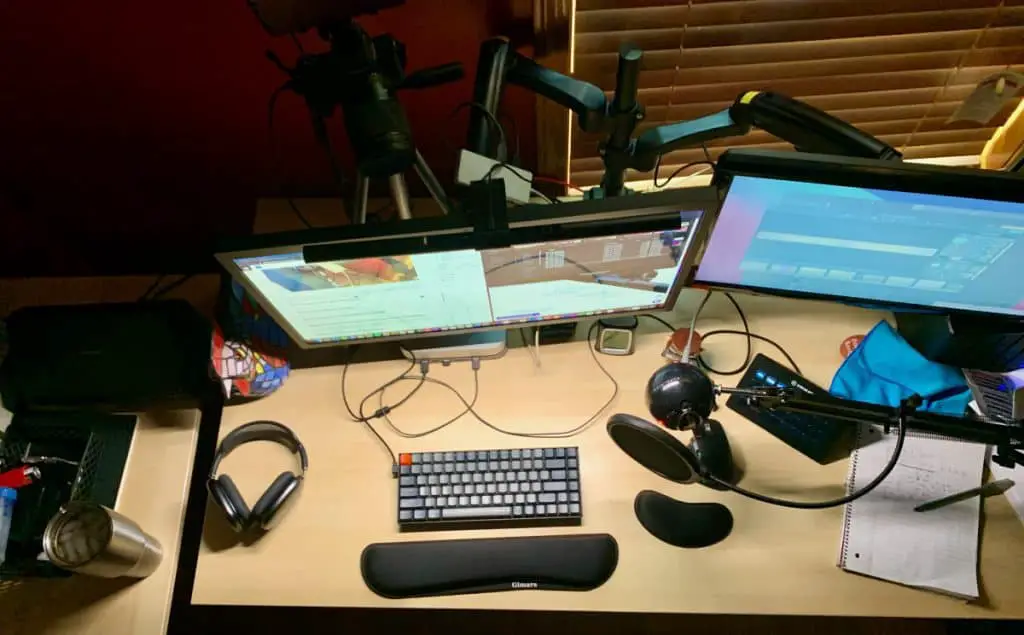
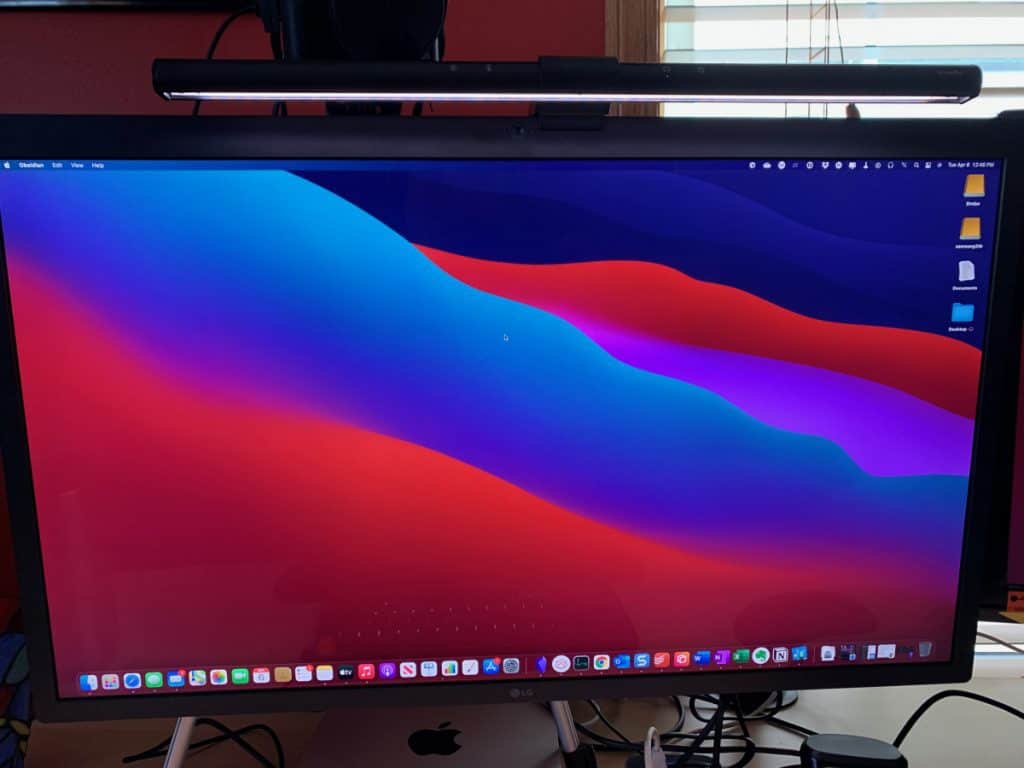
The BenQ website states that the ScreenBar provides a lighting area of up to 35cm x 74cm and my testing confirms that as accurate. As you can see from the image above of my very messy desk, the ScreenBar provides a large lighted area on my desk. The ScreenBar supports up to 500 lux of light. Lux is a unit of measurement that describes how much light falls on a certain area (source).
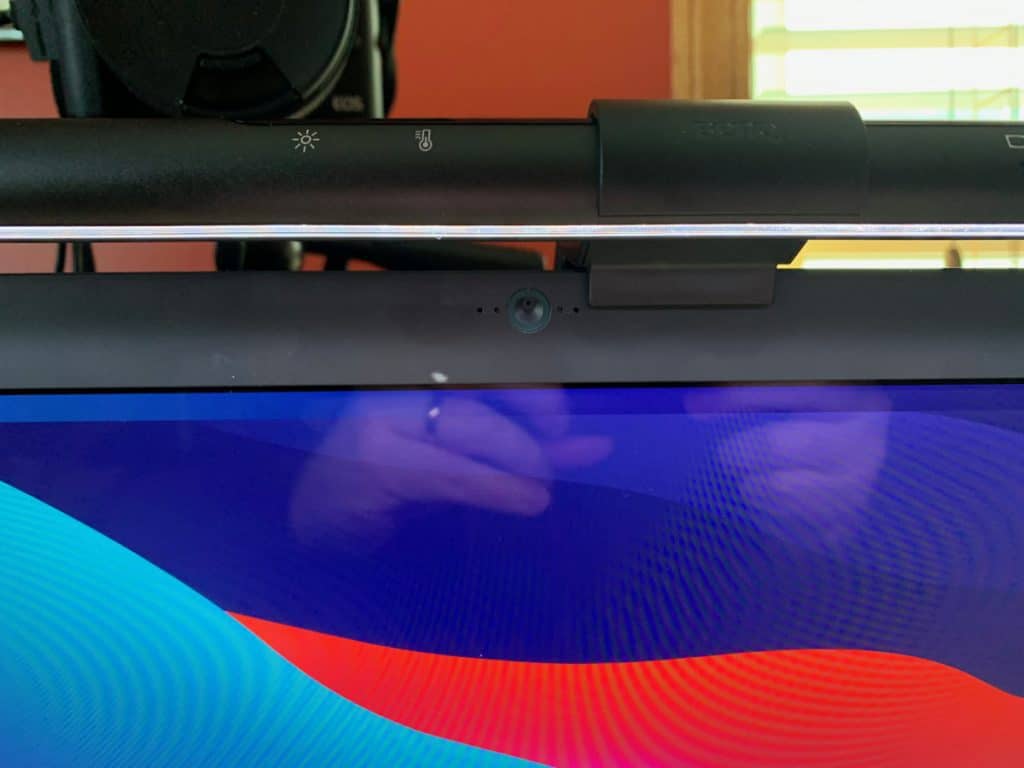
In my testing, the desk area gets a good level of consistent light with no flickering. The light sensor (shown above) does a great job of determining how much light the ScreenBar should generate. I haven’t really had to fidget with the lighting or color temperature as I have found the sensor works well.

The ScreenBar is capable of supporting from 2700k to 6500k temperature range of light and provides 8 colors of light in that range. To my eye, there is definitely are range of light where you can set the ScreenBar to be warmer in darker rooms where you just want to use the ScreenBar for light versus cooler light when you are in a well lit room.
If you are concerned with blue-light hazard, BenQ states that an IEC/TR 62778 assessment deemed that there is no blue-light hazard from the ScreenBar.
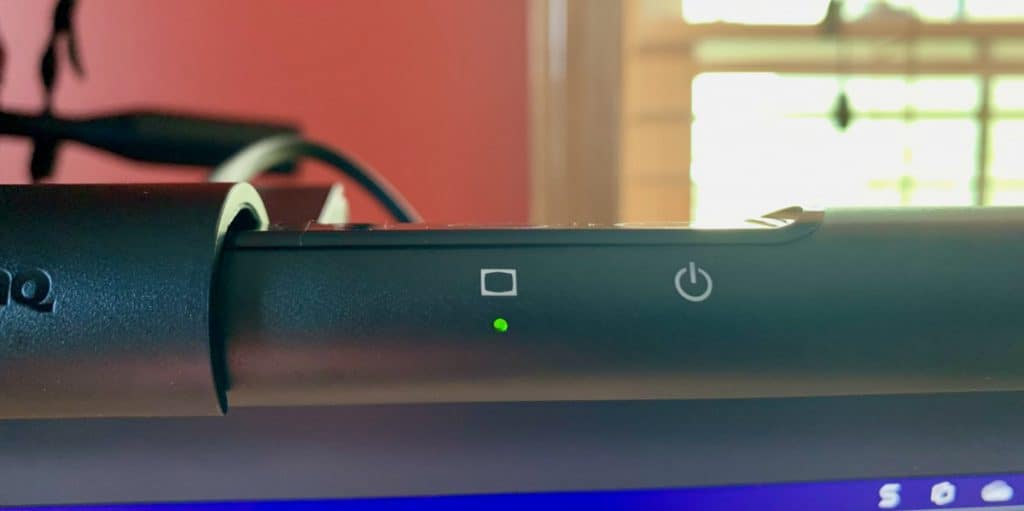
BenQ ScreenBar Controls
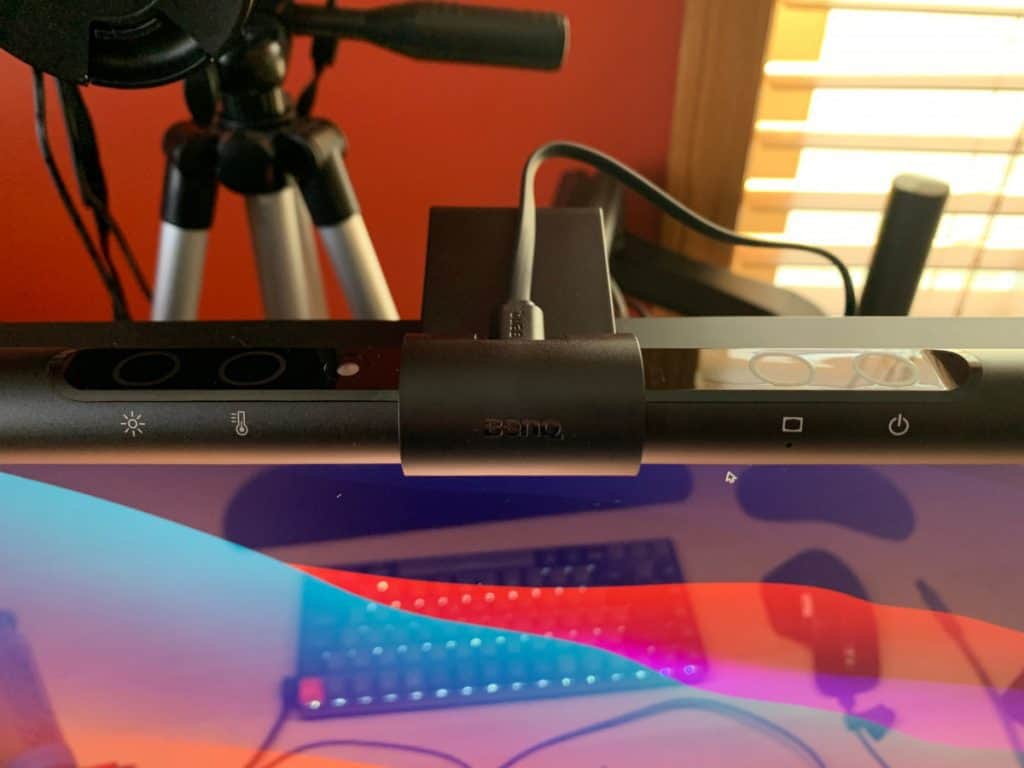
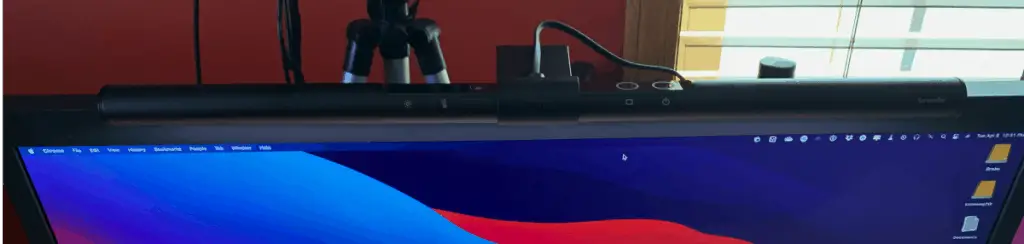
The light controls for the ScreenBar are at the top of the unit as shown in the image above. Working from left to right, you have the following controls:
- Manual Dimmer Button
- Hue Adjustment
- Auto-Dimmer Button
- Power Button
To use the manual dimmer, you simply press and hold the manual dimmer button to your desired dimming level. The same goes for the hue adjustment button. Press and hold it and the ScreenBar will cycle through the light temperature settings. The auto-dimmer button works by simply tapping the button. The light sensor will determine how much light is need from the ScreenBar and will set it appropriately. Finally, tap the power to turn the unit on or off.
My Impressions of the BenQ ScreenBar
Based on my extensive testing, the BenQ ScreenBar lives up to its claims. It provides a clean, consistent light source that illuminates my desk area without screen glare. I am not an optometrist so I can’t be sure about the eye strain claims but I haven’t noticed any eye strain when using the ScreenBar. I do use the auto-dimmer mostly to manage the light as it works really well and I don’t want to spend my time fidgeting with the controls too much.
A ScreenBar is not something I admittedly would have thought to use. However, after testing this one by BenQ, it definitely works for my desk workspace setup. I like the option to have a desk light that doesn’t glare against my screen will still allowing me to light up my workspace.
The adjustability of the both the angle of the unit on my monitor and the range of warmth/coolness of the light itself makes the unit versatile and fits into my environment. I would definitely recommend the BenQ ScreenBar if you are looking to add a versatile desk lighting option that doesn’t add glare to your monitor.
For more information on the BenQ ScreenBar, click this link to learn more. Thanks for taking the time to read this review. I hope you found it helpful!
Want More Tips and Tricks? Subscribe to our Newsletter!
If you haven’t already subscribed, please subscribe to The Productive Engineer newsletter. It is filled with tips and tricks on how to get the most out of the productivity apps you use every day. We hate spam as much as you do and promise only to send you stuff we think will help you get things done.
Check Out Our YouTube Channel!
We have a YouTube channel now and we are working hard to fill it with tips, tricks, how-tos, and tutorials. Click the link below to check it out!
Check out our Resources Page
Check out our resources page for the products and services we use every day to get things done or make our lives a little easier at the link below:
Looking to Get Started Blogging or on YouTube?
Getting started can seem daunting and scary (I know it was for me) but it doesn’t have to be. I was very lucky to find a program that that has helped me grow my blog to over 100,000 page views and a Monetized YouTube channel that is growing month-over-month.
Project 24 by Income School is the program that I have used. I have been a member for over a year now and just renewed my membership. I cannot recommend Project 24 enough! For more information on Income School, click the link below:
Project 24 byIncome School – Teaching You How to Create Passive Income from Blogs and YouTube