How to Use Notion for Android – A Detailed Guide
I love Notion. There, I said it. I spend a lot of time in it and it has really helped me optimize my workflow. I normally spend most of my time in the desktop version of Notion but lately, I have been using the mobile app versions of Notion. This guide will teach you how to use Notion for Android to get things done.
Before we get started, if you are looking to learn how to use apps like Notion, Evernote, Todoist, Google Docs or others, you really should check out Skillshare. Skillshare is an online learning service that offers amazing courses on just about anything from the leaders in those areas.
For example, Francesco D’Alessio from Keep Productive has an awesome Notion course on Skillshare that I highly recommend you check out. For more information about Francesco’s Notion course on Skillshare, click the link below:
If you are looking for a beginner’s guide to Notion, we have you covered with our extensive beginner’s guide to Notion, which you can find at the link below:
Beginner’s Guide to Using Notion with Screenshots – The Productive Engineer
If you are already familiar with Notion and simply looking for power tips to help improve your use of Notion, check out our article that contains fourteen great tips to help you use Notion more efficiently at the link below:
14 Amazing Notion Tips You Must Know! – The Productive Engineer
Now, let’s get started with the tutorial!
Working with Pages in Notion for Android
Pages are the core unit of Notion. Everything happens on a page in Notion. Thus, it is essential to learn how to generate and use pages.
Create a Page in Notion for Android
The easiest way to get started with this tutorial is to create our first page in Notion. To create a new page in Notion for Android, do the following:
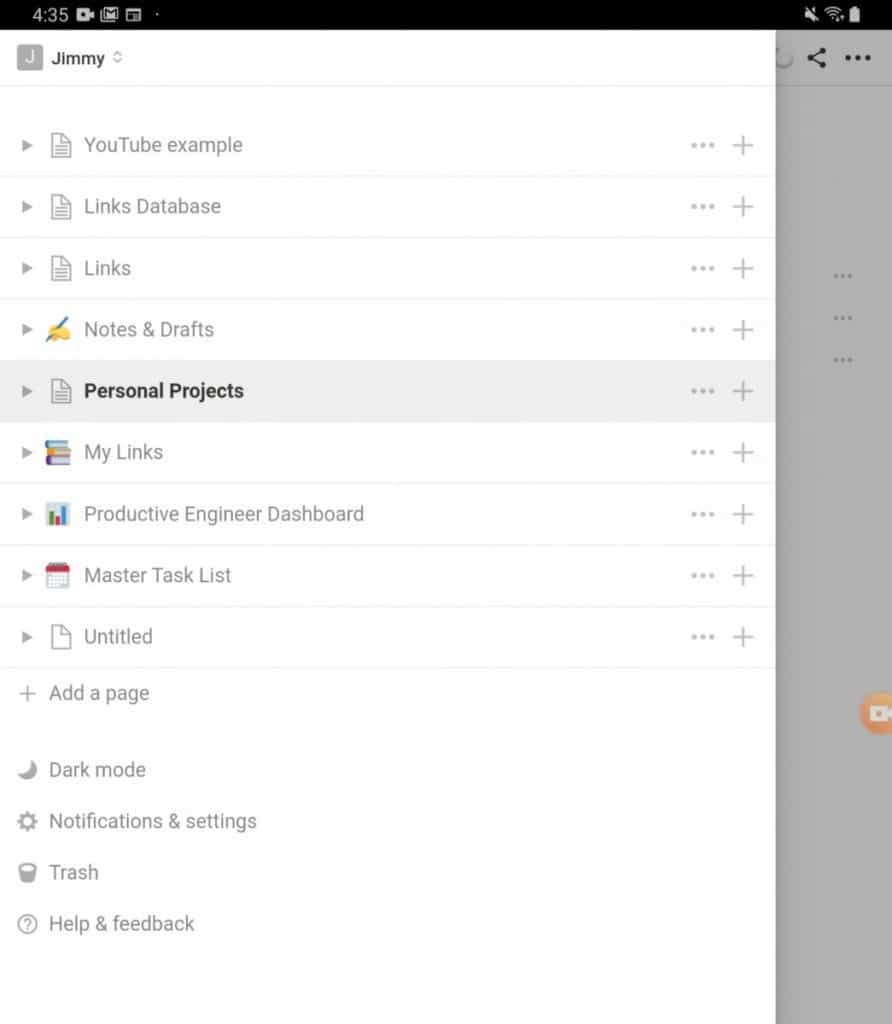
Open up Notion on your Android device. Once you have it open, swipe from the left side of the screen to open the side panel.
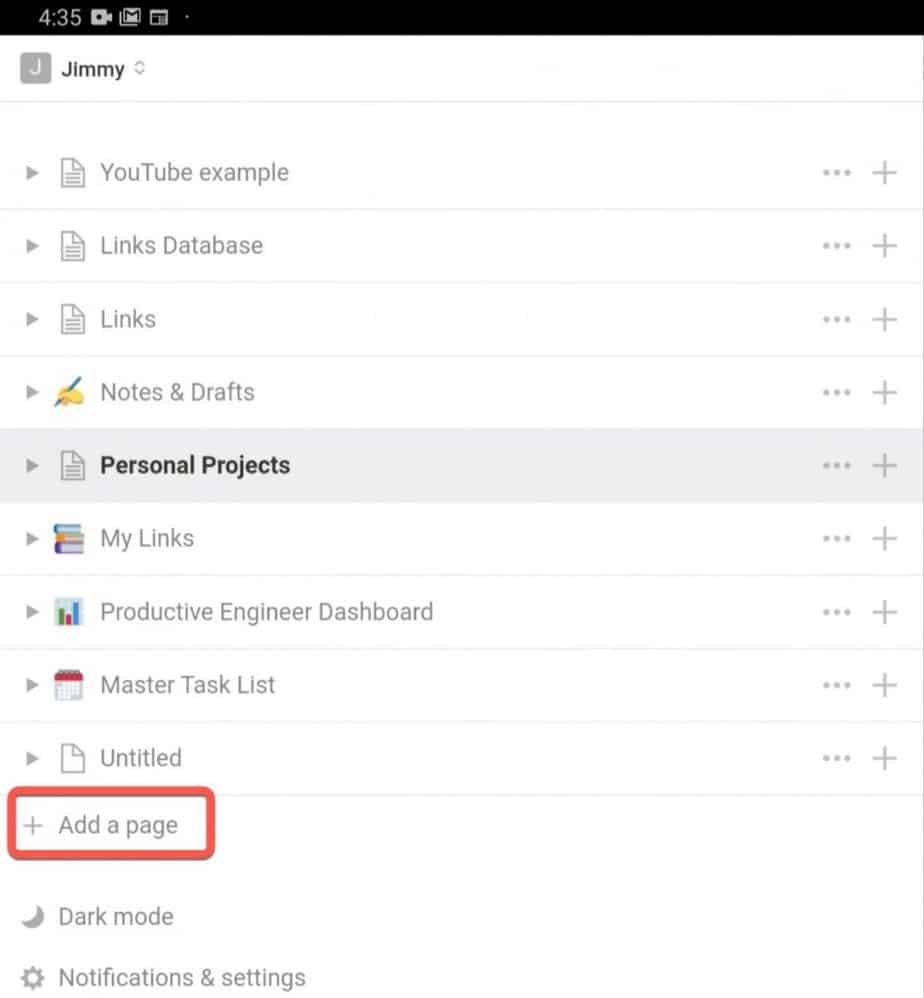
Click on the “+ Add a page” button to create a new page.
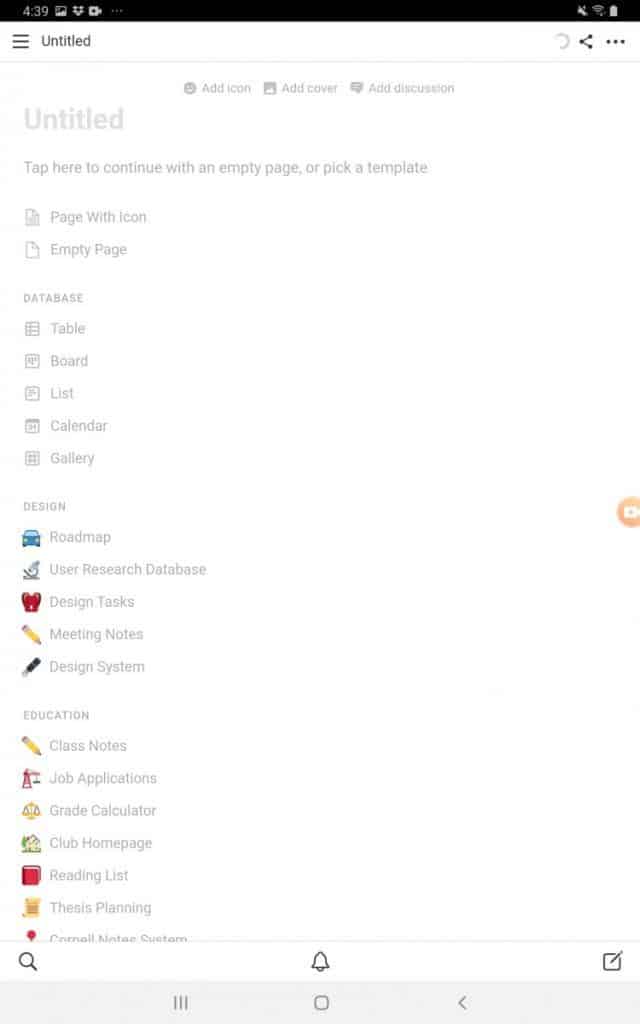
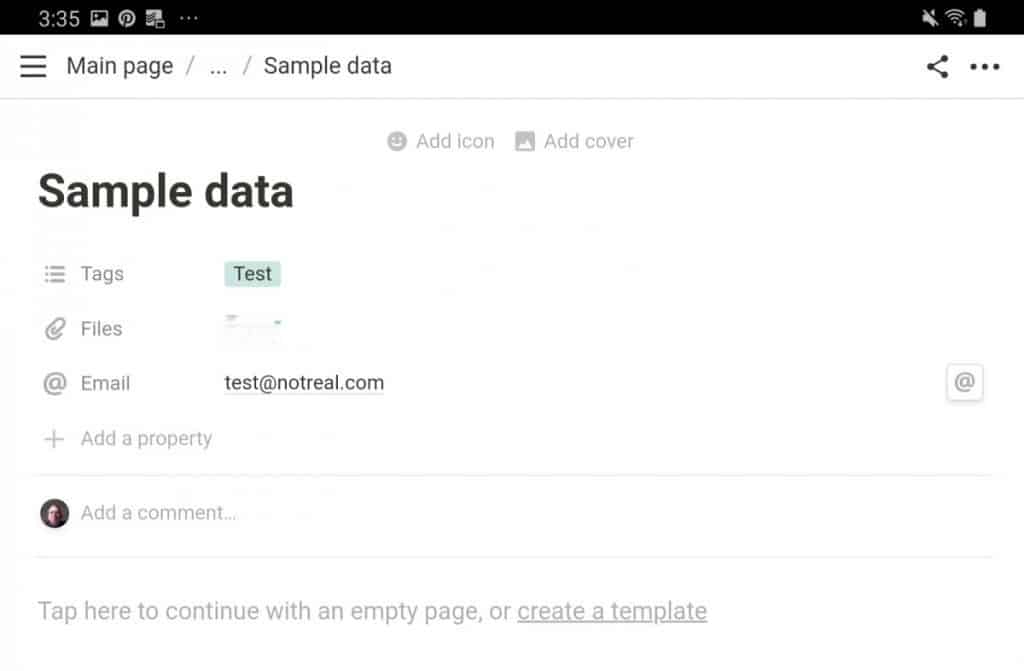
Your new page will appear in the Notion window. As you can see from the screenshot above, there is a whole list of functionality and templates you can add to your page, which is exactly what we will do in this tutorial!
Add a Subpage to a Page in Notion for Android
Notion uses a page hierarchy structure similar to web pages and is analogous to the file -> folder structure our computers use. In Notion, you create subpages for content that is related to the main page but requires it’s own page.
To create a subpage to the current page in Notion for Android, do the following:
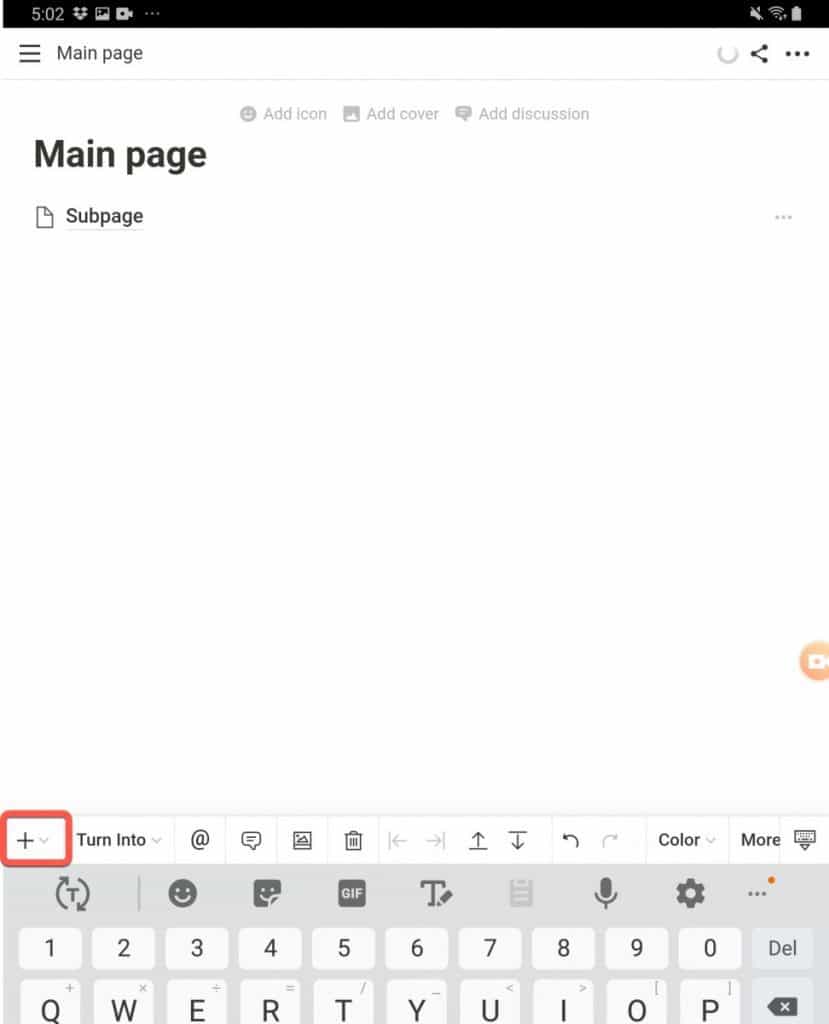
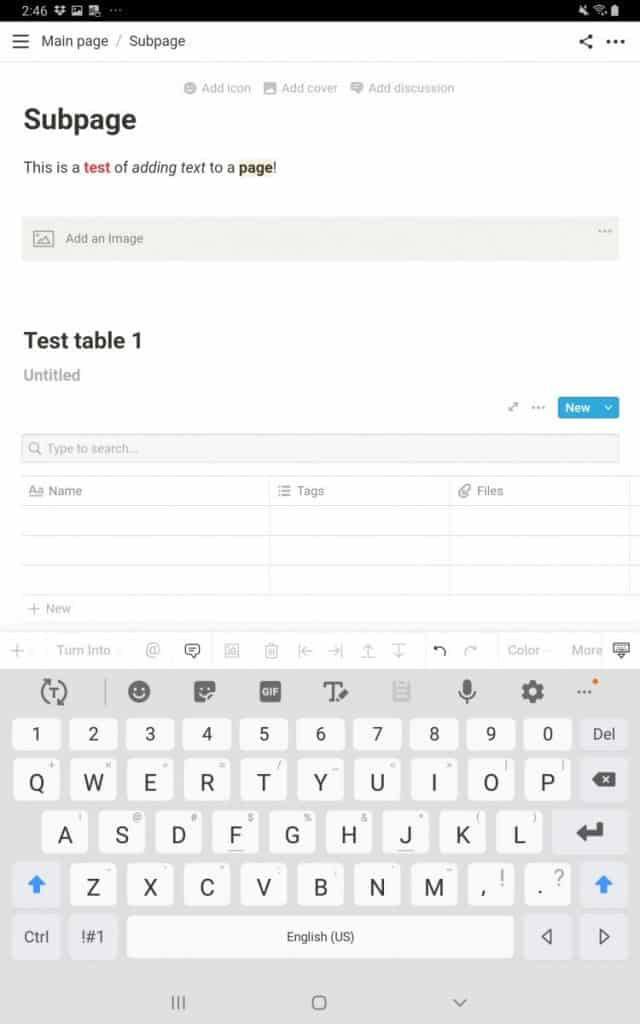
Navigate to your page in Notion and tap on the body of the page. Press the “+” button in the upper-left corner of the keyboard as shown in the screenshot above.
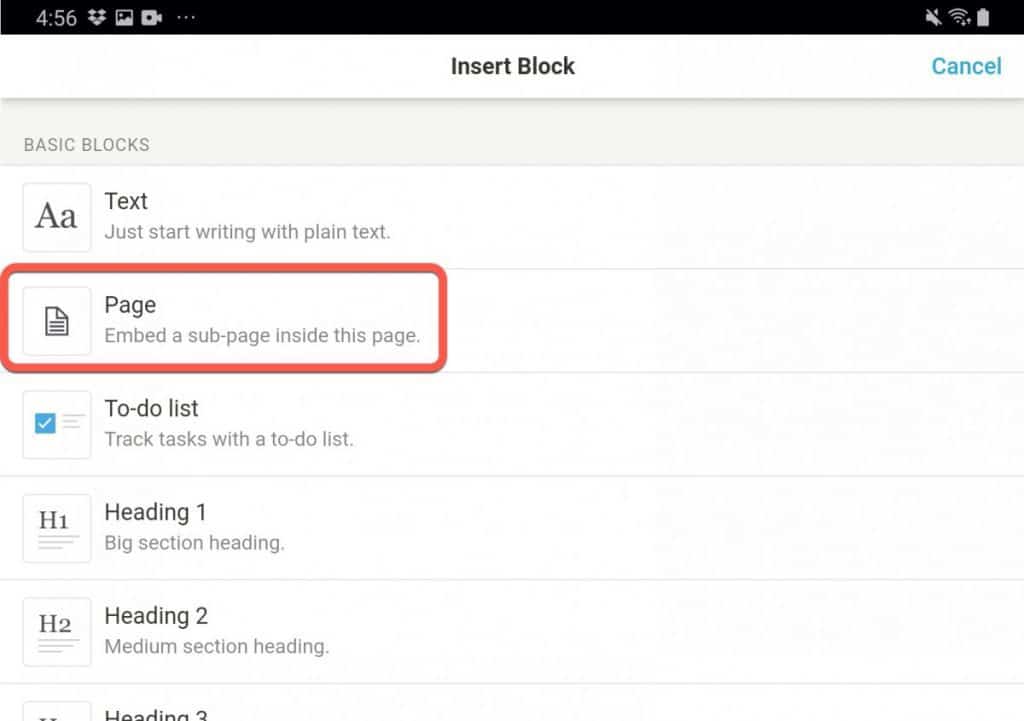
The content block menu will appear. Select the Page block from the menu.
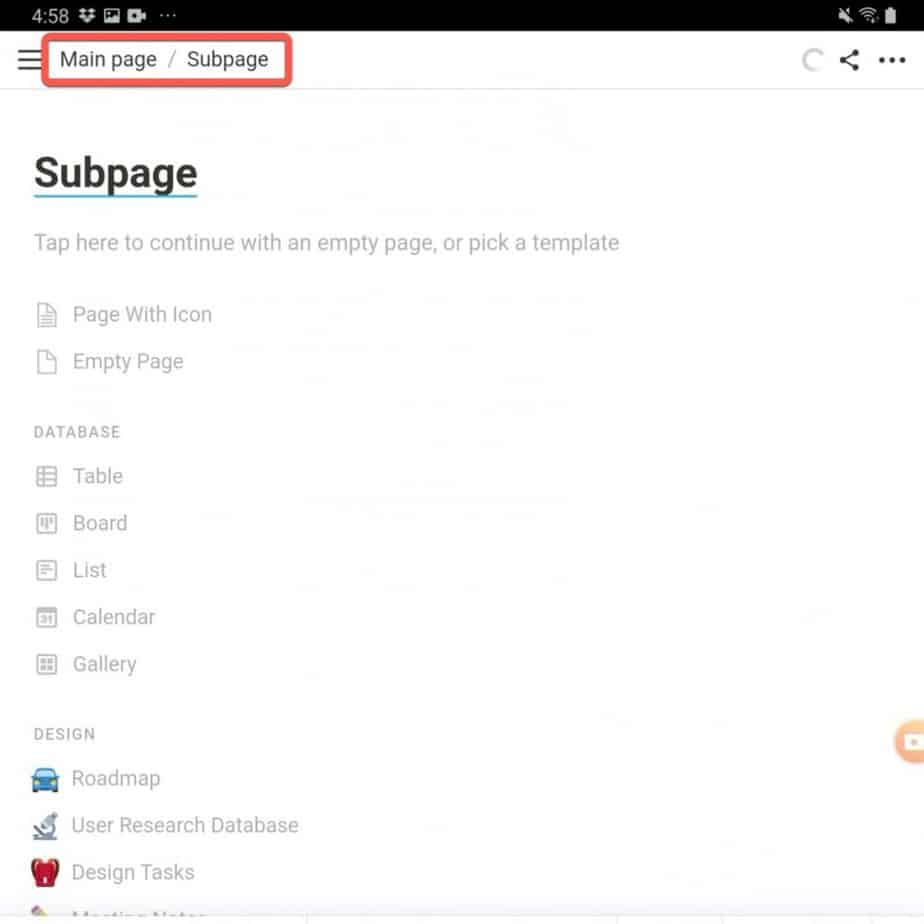
Your subpage will appear. Give it a title (like my super-creative title of subpage). Notice that your page shows the page/subpage relationship at top of the Notion window (I circled it on the screenshot). You can navigate back to the main page simply by clicking its title at the top of the page.
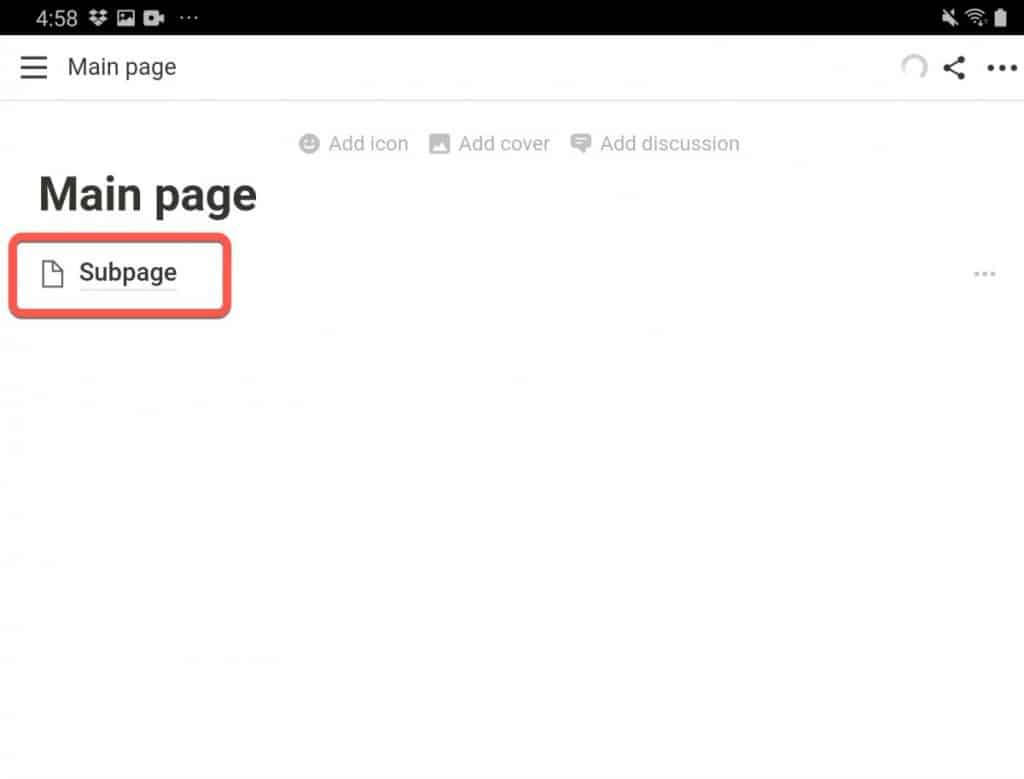
When you navigate to the main page, you should see your subpage with a page icon next to it listed. For more information on how to work with pages in Notion, check out my article at the link below:
How to Create and Manage Pages in Notion
Adding Content to a Page in Notion for Android
The method uses to add content, as we saw when we added a subpage earlier, is to insert content blocks onto the page. Content blocks are very powerful in Notion and allow you to do a variety of things.
In the next couple of sections of this tutorial, we will cover how to add various content blocks to a page in Notion.
Working with Text in Notion for Android
Working with text in Notion is pretty straight-forward. To add text to a page in Notion simply press on the page. A cursor will appear. Start typing.
Editing Text in Notion For Android
To edit text in Notion, do the following:
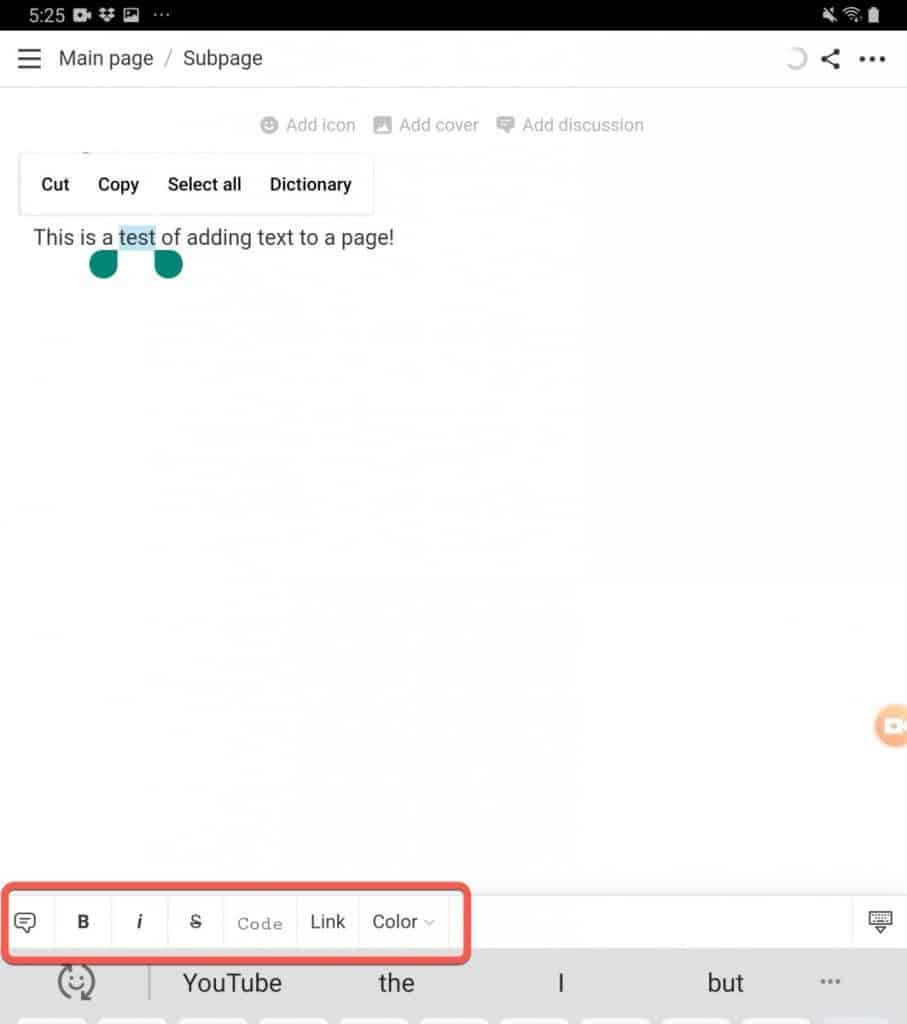
Highlight the text you want to edit. You should notice on the top of the keyboard some editing options above the auto-suggest bar. The available options are:
- Comment -> adds a comment to the selection
- Bold
- Italic
- Strikethrough
- Code -> formats text in a code block
- Link -> allows you to make the text a hyperlink to a web page
- Color -> allows you to change both the text and background of the text colors
Choose the formatting options you want.
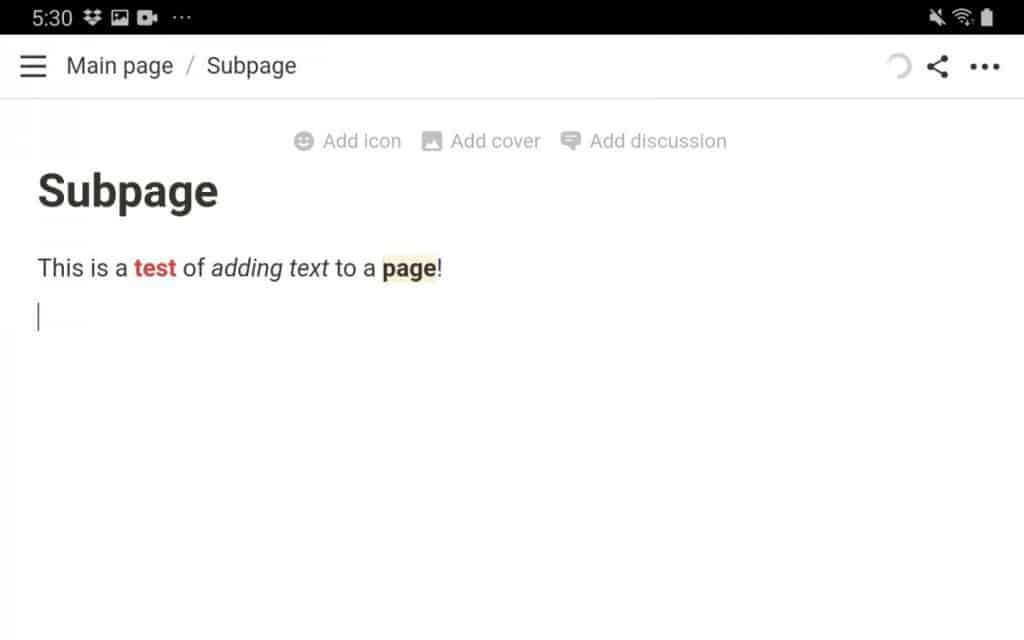
As you can see from the screenshot above, editing text is very simple to do in Notion for Android!
Working with Tables in Notion for Android
The table functionality is awesome in Notion. Tables (also referred to as databases) provide the ability to store a variety of data types while also providing granular filtering abilities. If there is one place where you should really spend your time working with Notion, it is with creating tables and table views using filters.
Creating a Table in Notion for Android
To create a table in Notion, do the following:
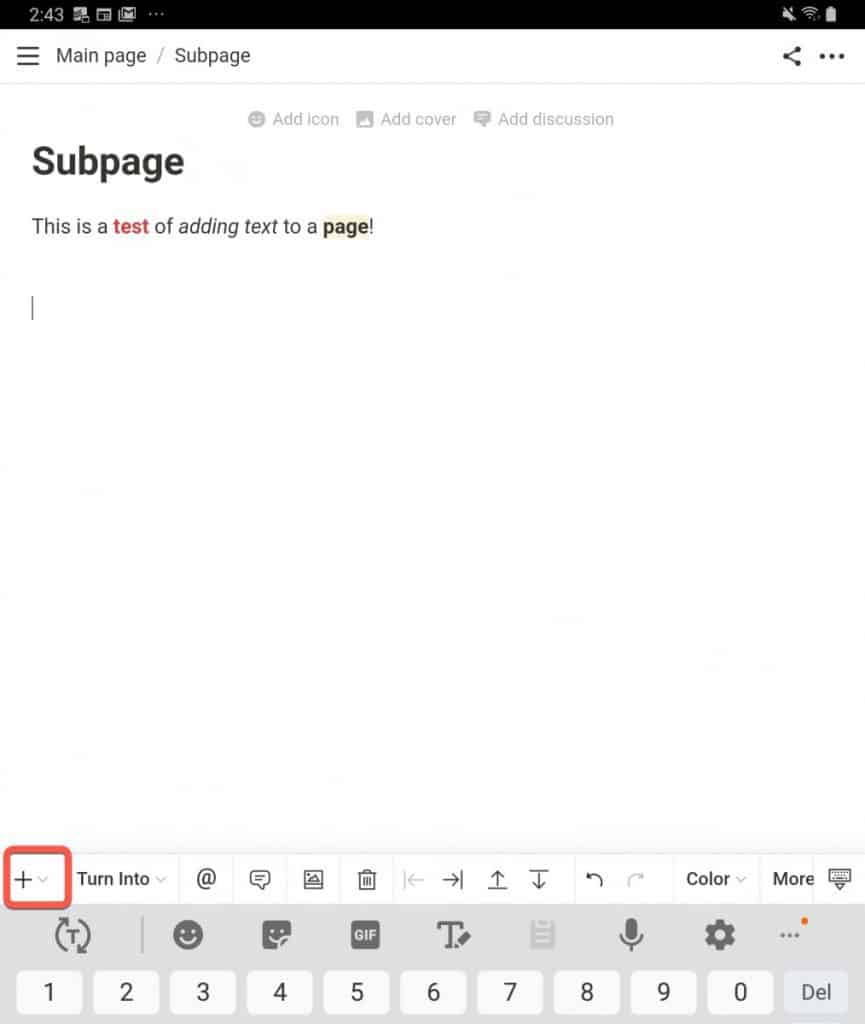
Press in the body of your page. The editing keyboard and toolbar will appear. Press the “+” button to bring up the context block menu.
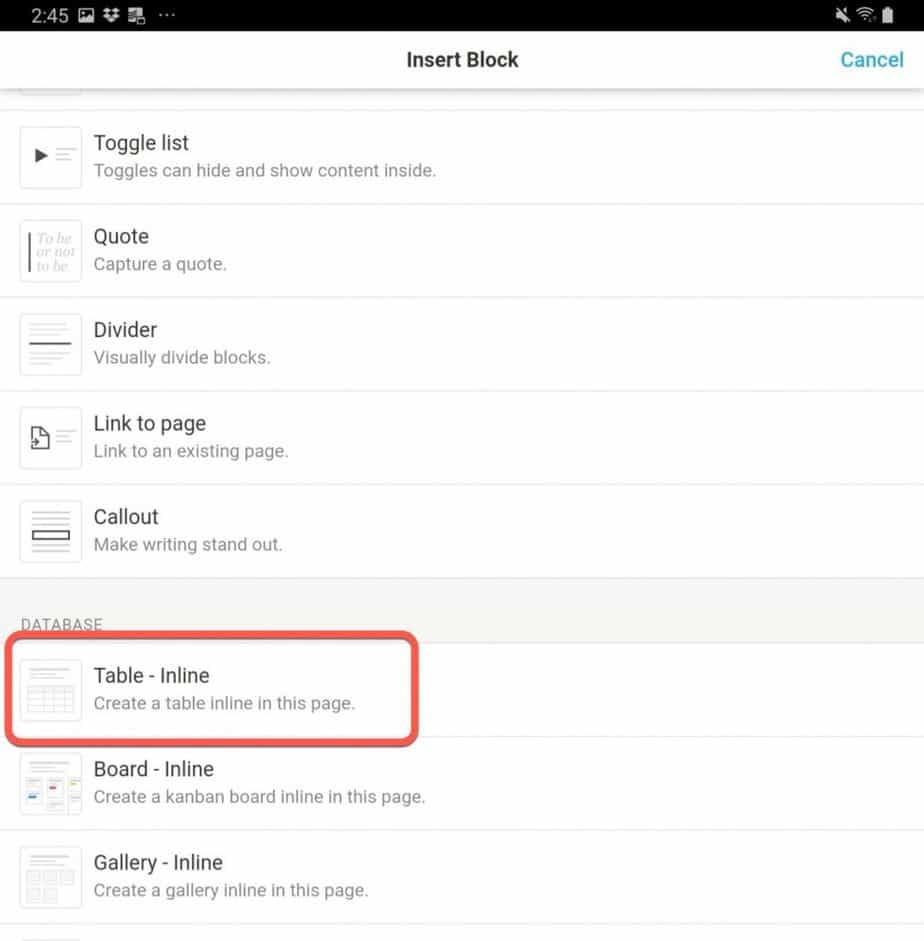
Scroll down to the “Database” section. Select the “Table – Inline” option to create a new table on the current page.
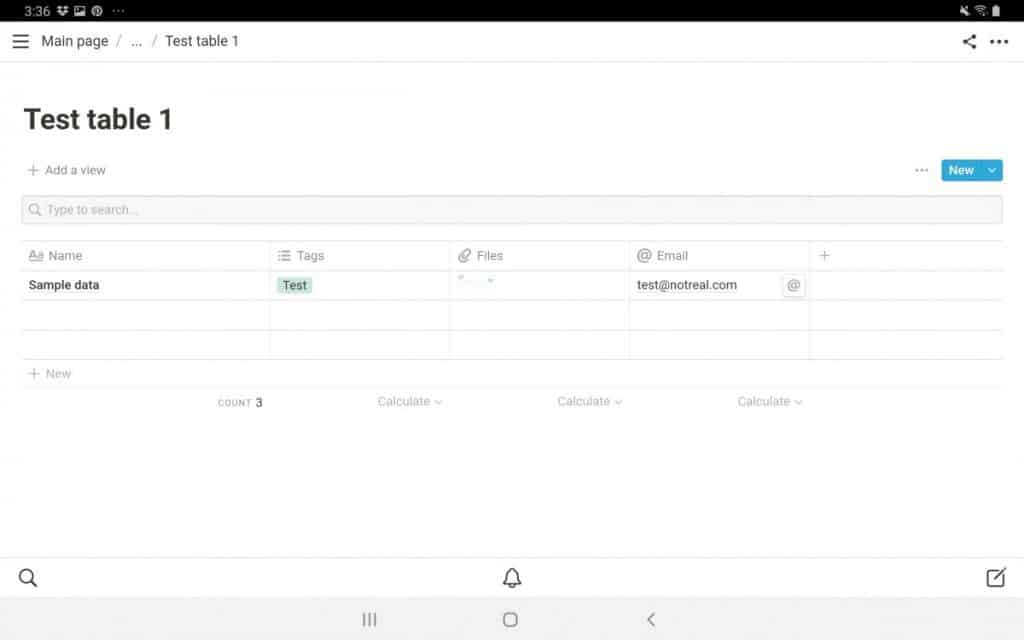
A new table will be added to the current page.
Editing a Table in Notion for Android
Editing a table in Notion is straight-forward to do. Let’s start with editing the columns of a table.
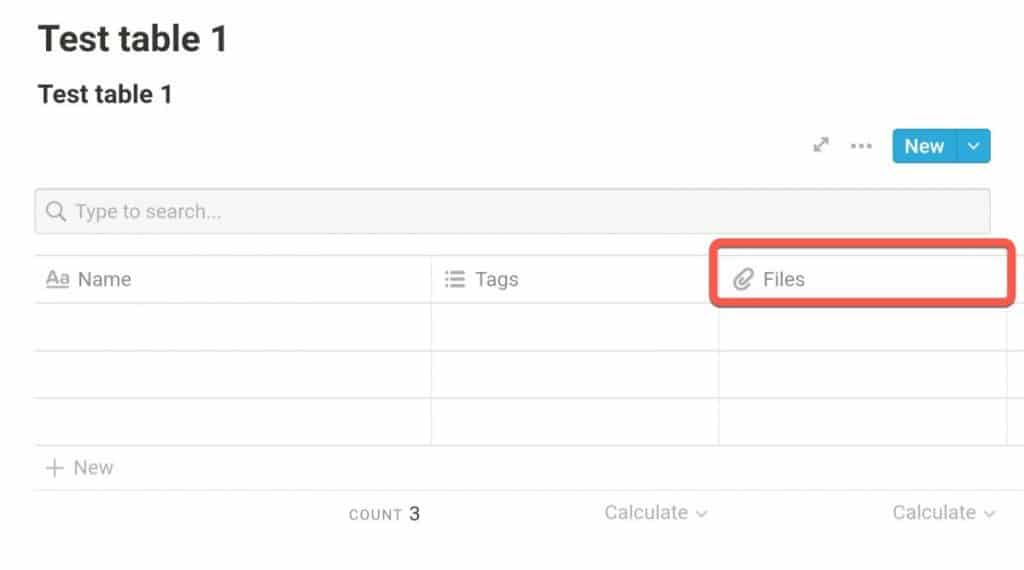
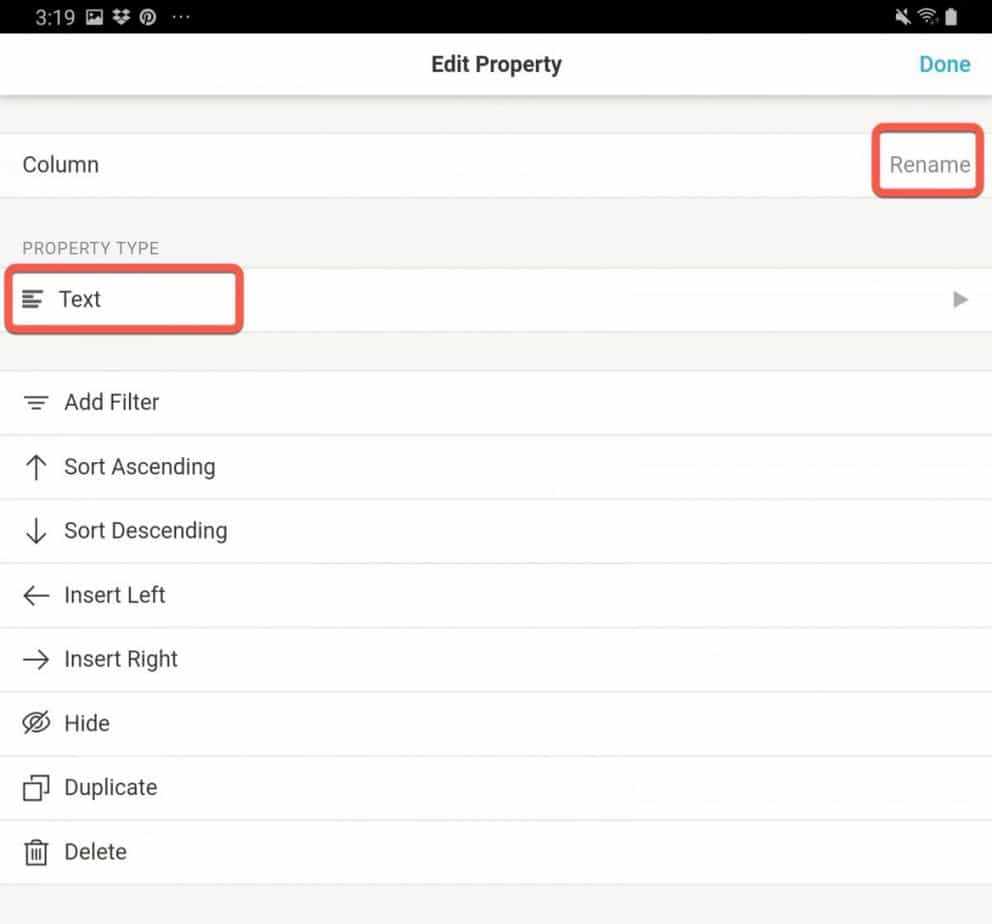
Open the page with your table. Press on the column you want to edit.
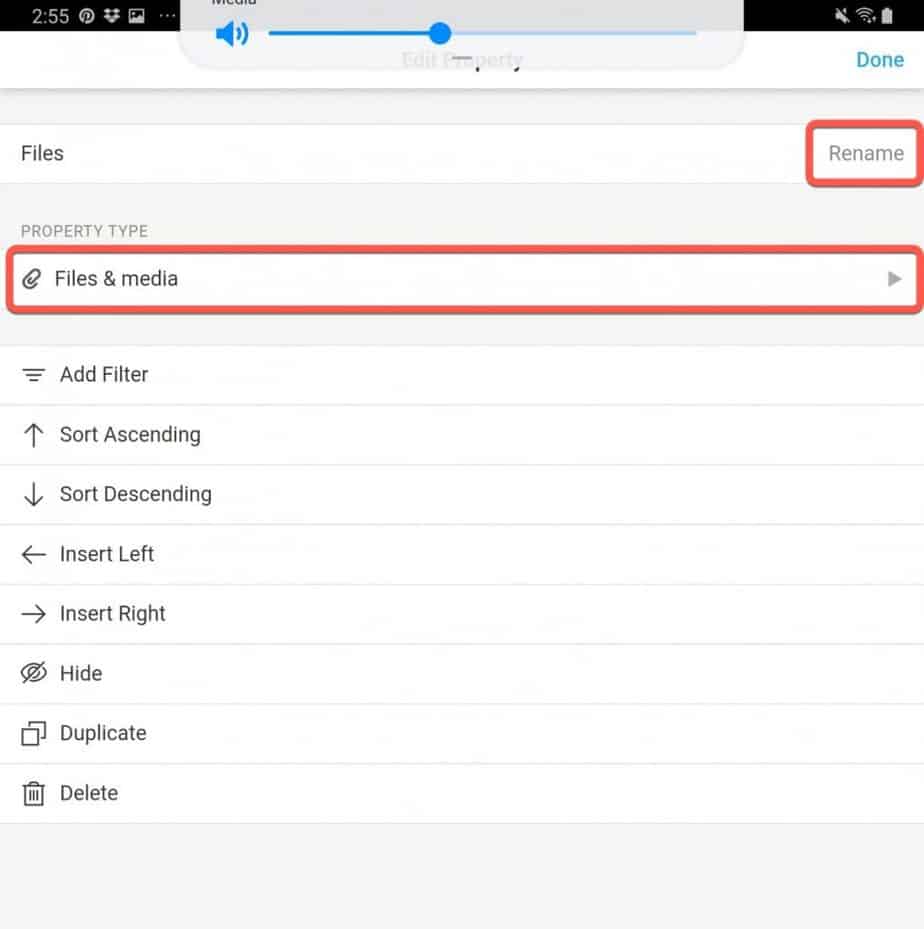
First, give your column a name by pressing where it says “Rename” and typing in your new column name. Next, click on the “Property Type“ (in this case, Files & media).

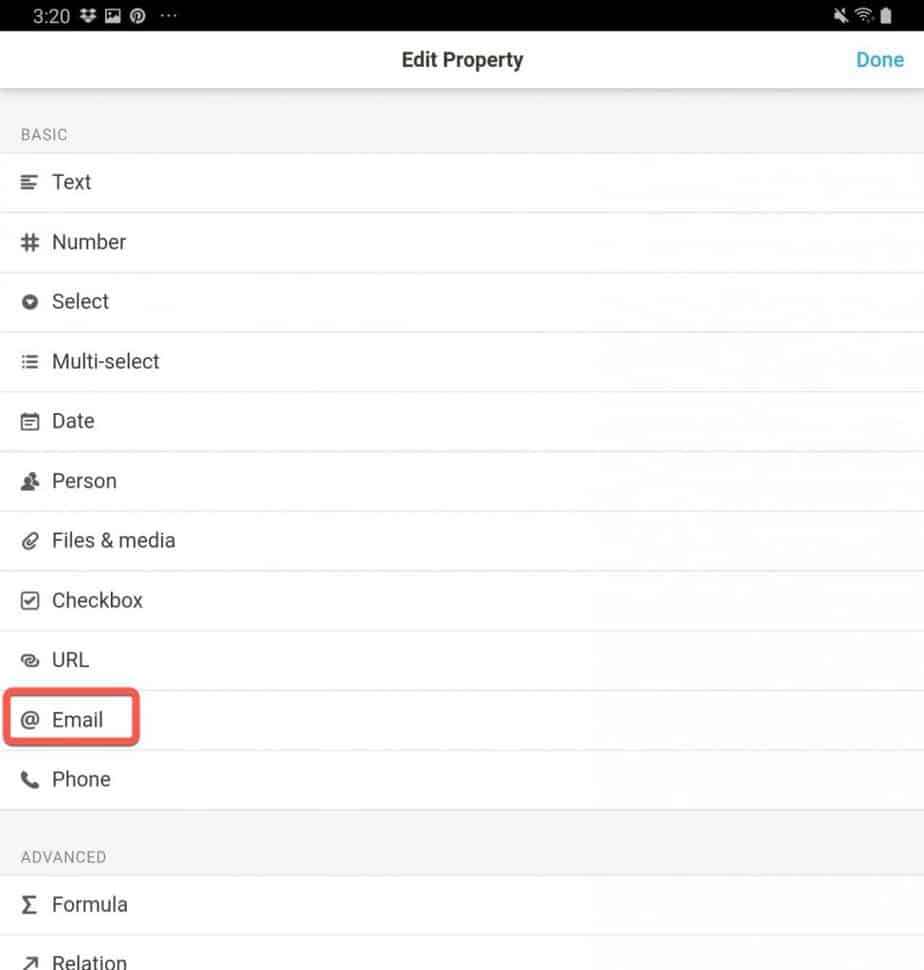
Select the property type you want for the column (in this case, I chose the Date property).
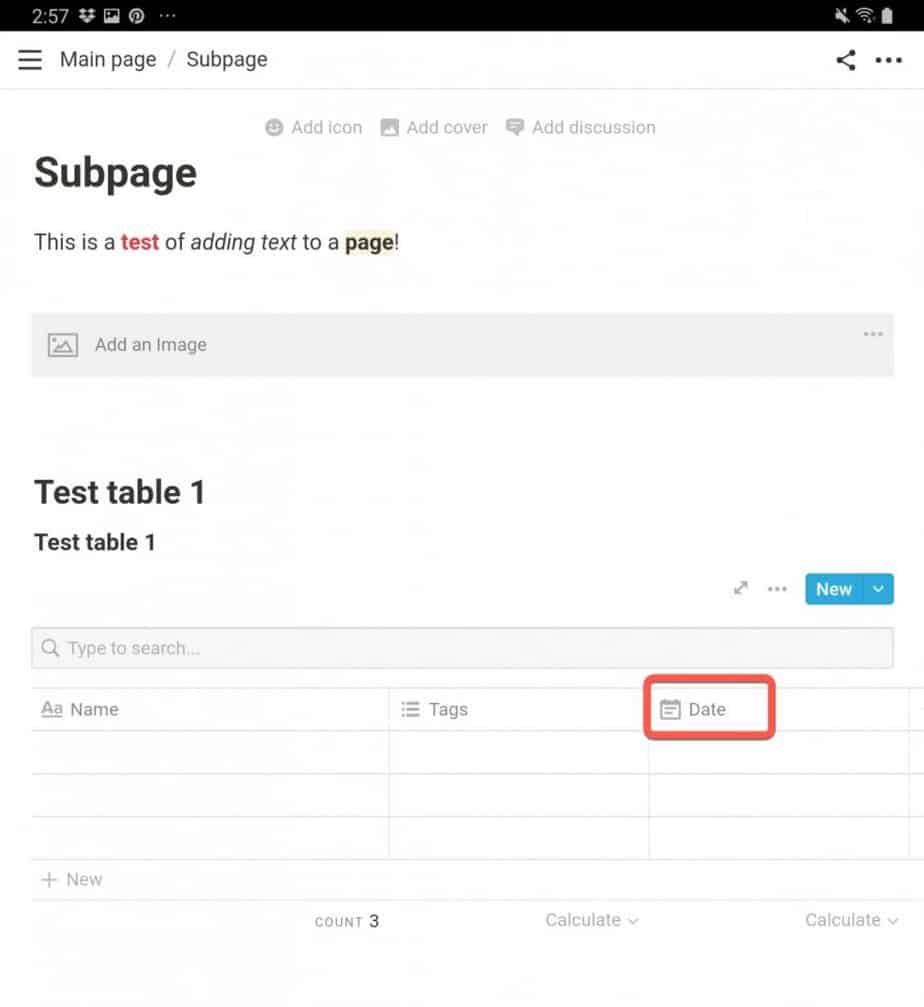
The column should now contain both the new name and the new data type you specified.
Add a New Column to a Table in Notion for Android
Sometimes, you will need to add a new column to your table. To add a new column to your table in Notion for Android, do the following:
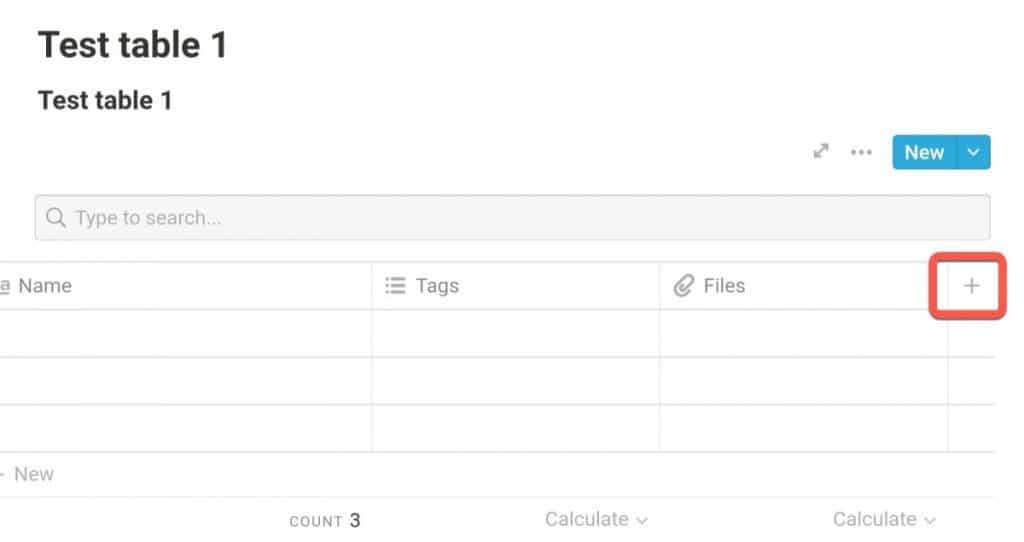
Open Notion to the page that contains your table. Scroll to the right of the table and press the “+” sign.
Give your new column a new by pressing on the “Rename” area and typing in your new column name. Then, press on the “Property Type” to bring up the list of potential property types.
Select the property type you want for your new column. I chose “Email” for this tutorial.
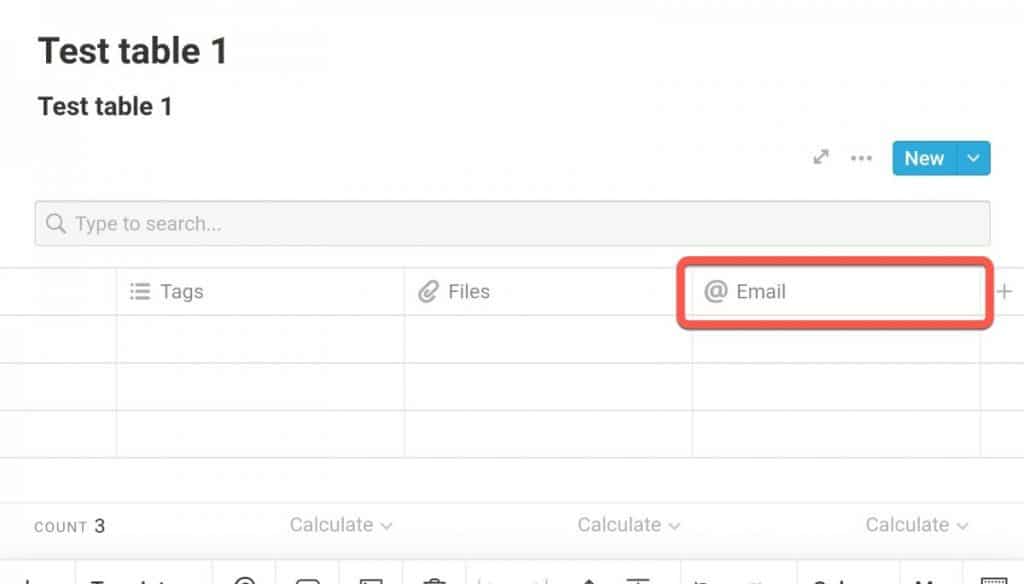
Your new column will appear in your table with the title you provided and the property type you specified.
Adding Content to a Table in Notion for Android
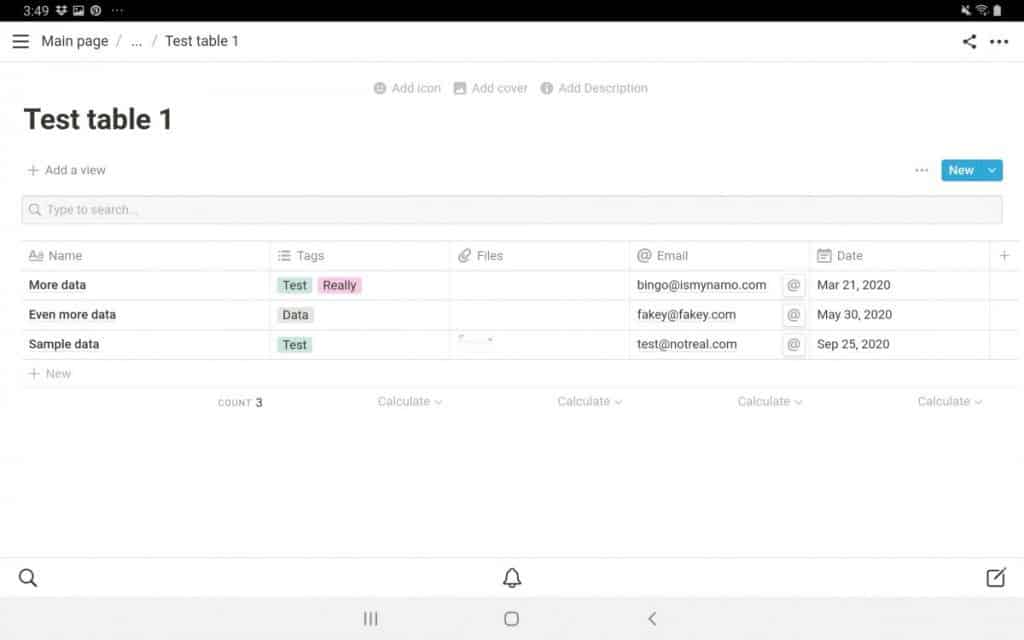
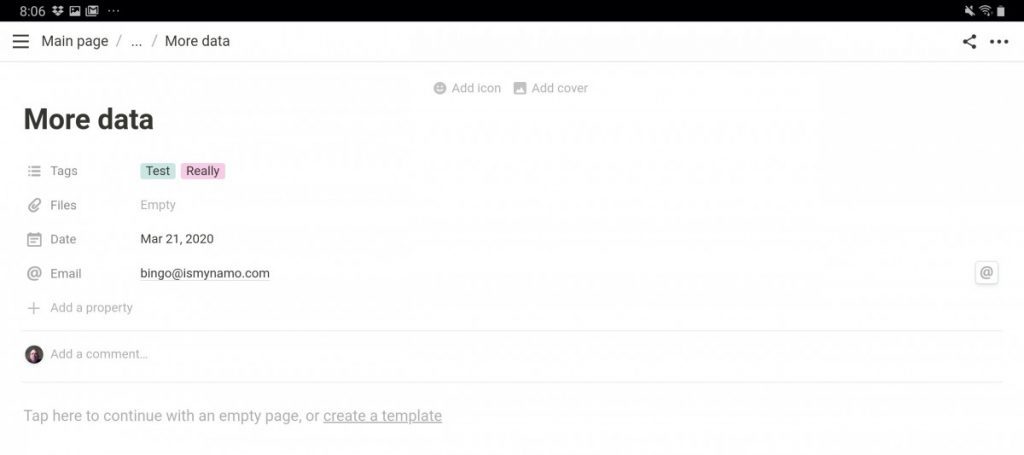
Adding content to a table in Notion is very simple to do. Simply click on the cell you want to edit. Depending on the property type, you may get to edit the cell directly or be taken to the page for the row of your table (remember, everything in Notion is a page). Fill in the data.
You should see your newly populated data in your table.
Sorting Tables in Notion for Android
You can sort your tables in Notion for Android by column. To sort a table in Notion for Android, do the following:
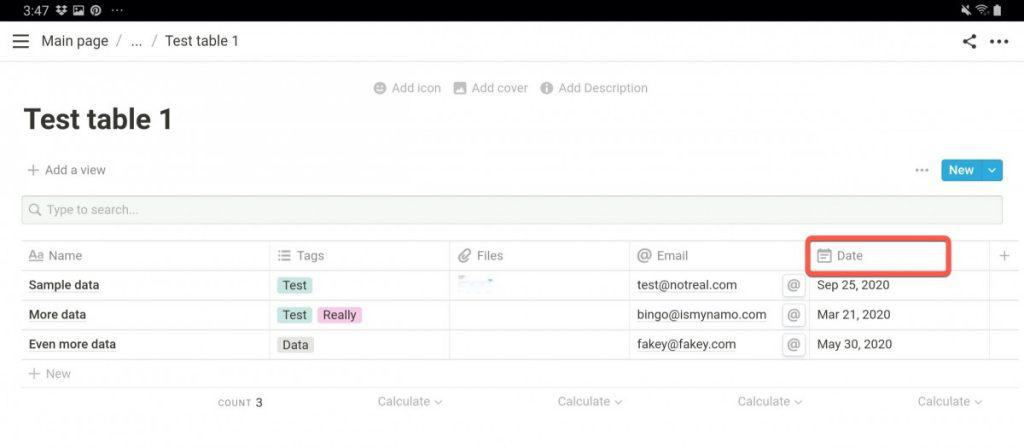
Open Notion to the page that contains your table. Press on the column heading of the column you want to sort. In the case of this tutorial, I pressed the “Date” column heading.
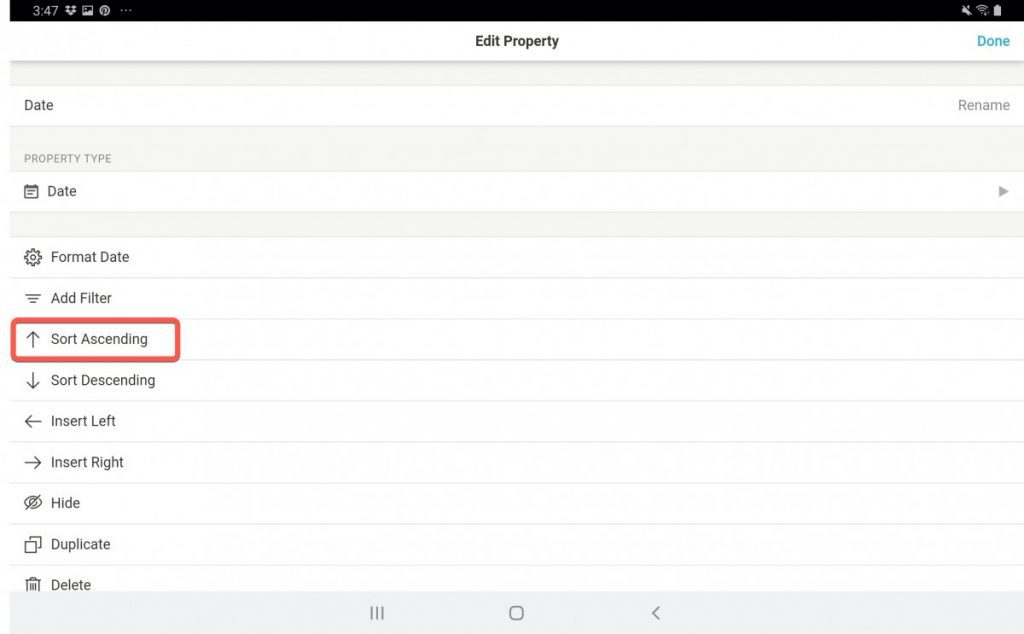
The Edit Property menu will appear. Select “Sort Ascending” from the menu.
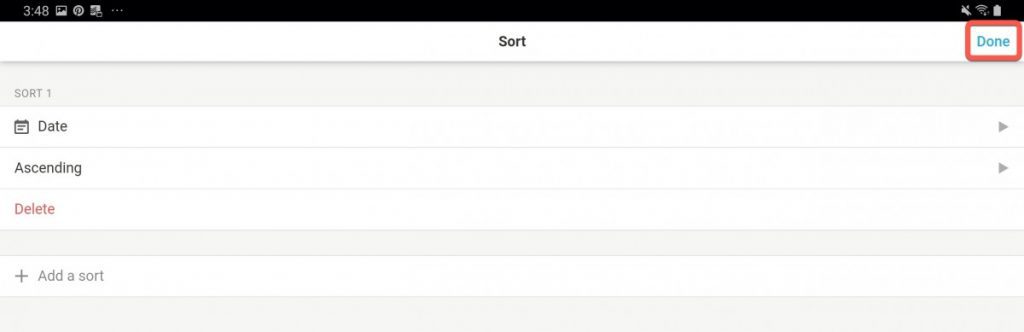
Press “Done” to complete the sort configuration.
As you can see from the screenshot above, the rows are now sorted by date from closest to farthest out.
Creating a Board in Notion for Android
Boards in Notion are great for project and task management. The boards in Notion are based on Kanban. Kanban is a project management system based on Agile that is very visually oriented with cards and columns.
To create a board in Notion for Android, do the following:
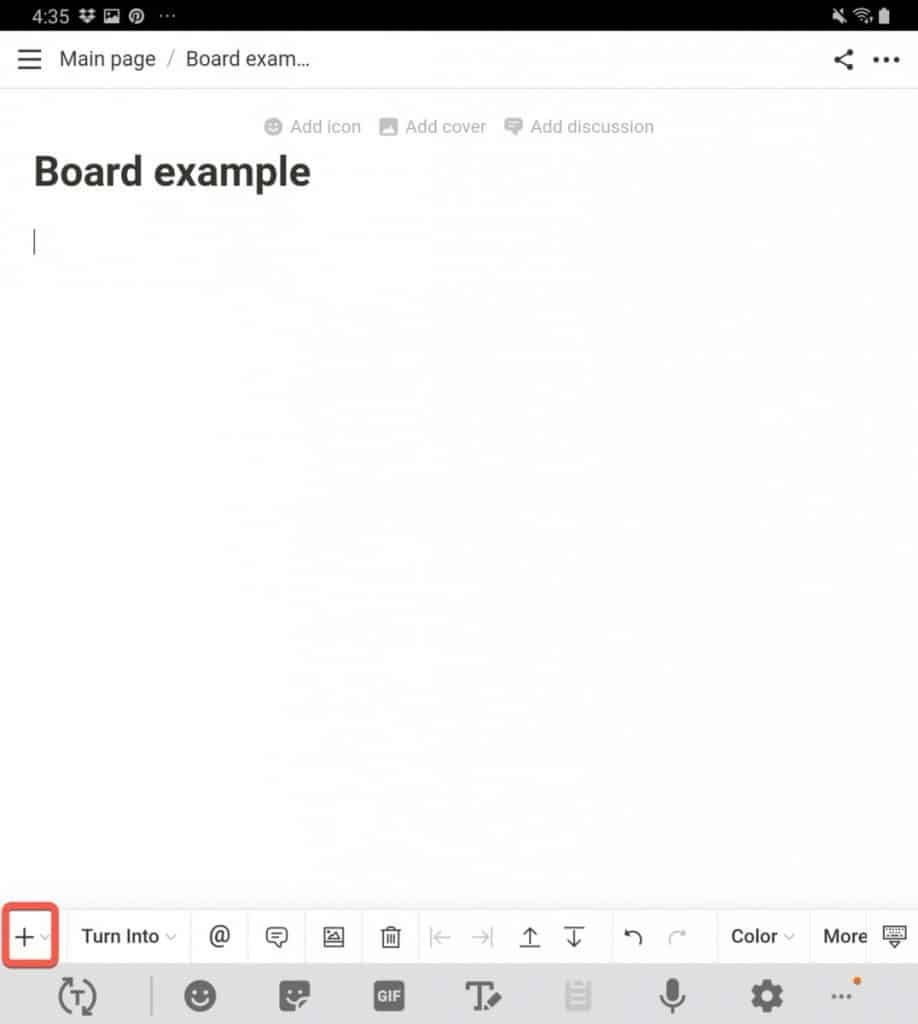
Open the page that you want to add a board to. Press the “+” button.
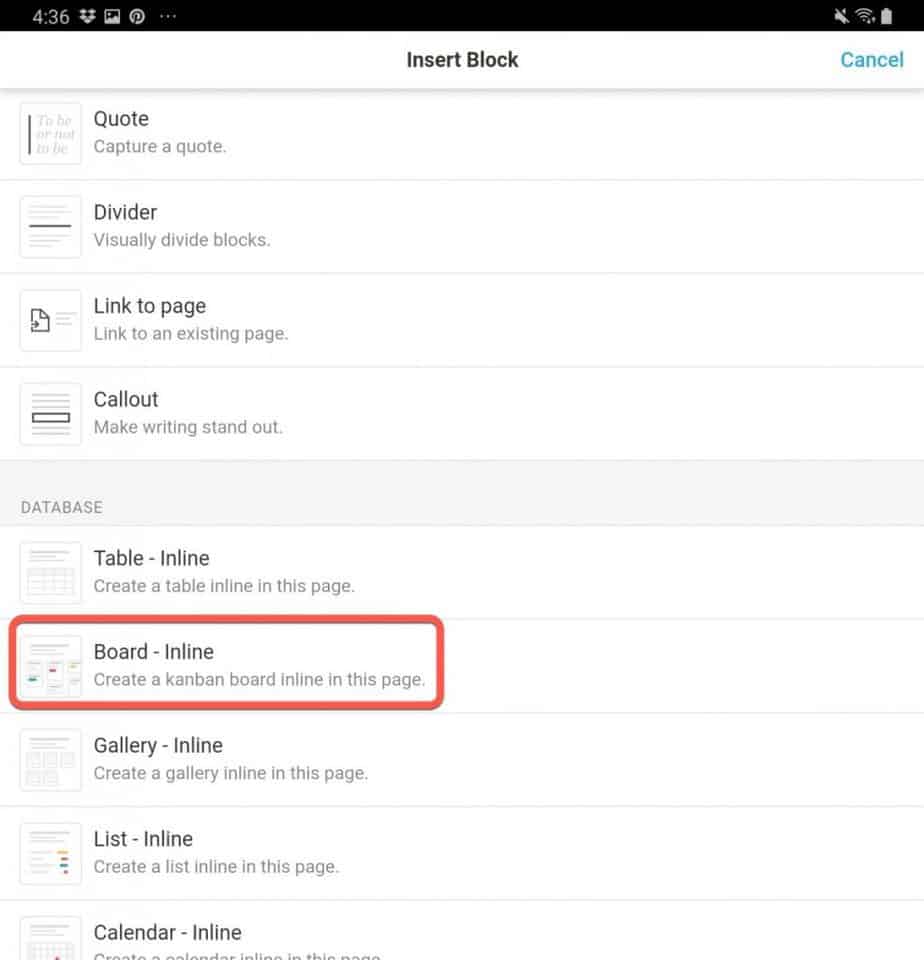
Scroll down to the “Database” section of the menu and select “Board – Inline“.
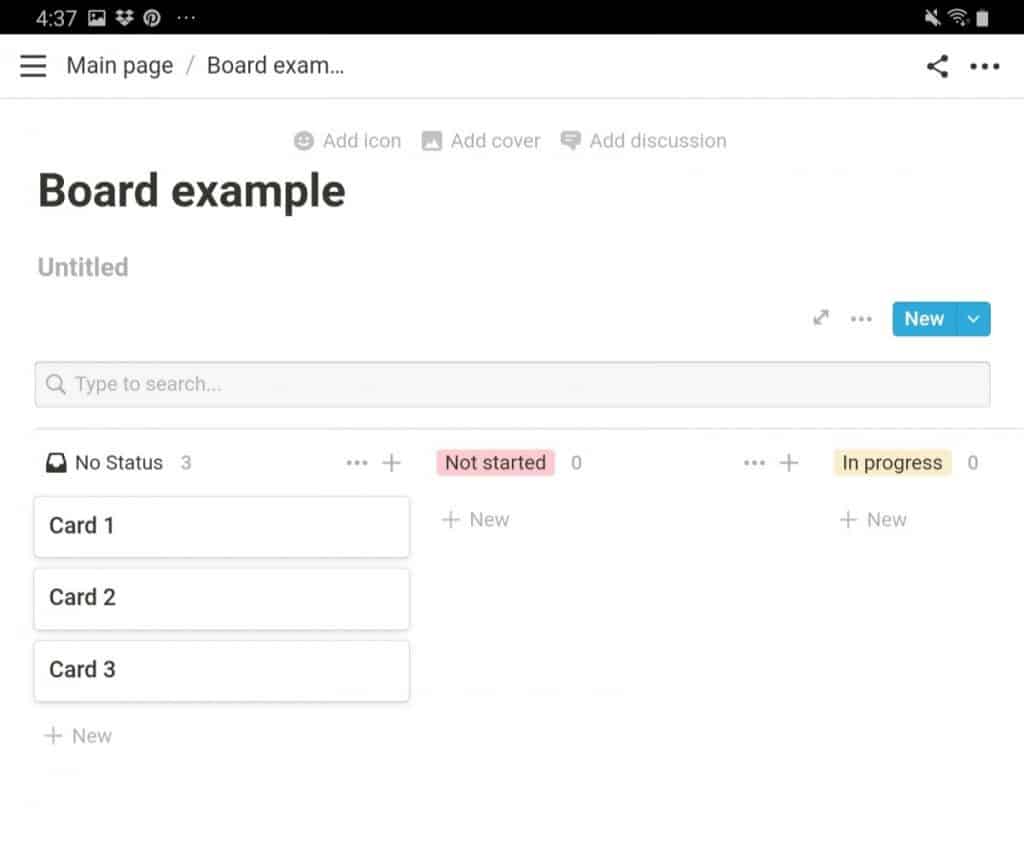
A new board will appear on the page. If you would like to learn more about how to use boards in Notion, check out my in-depth video below:
I also have an article on this as well at the link below:
How to Bullet Journal in Notion with Screenshots
Adding a Board View to An Existing Table in Notion for Android
One of the cool things about Notion is the ability to add multiple views to a table. One of the views you can add to a table is a board view. To add a board view to a table in Notion for Android, do the following:

Open Notion to the page that contains your table. Press the “+ Add a view” button.
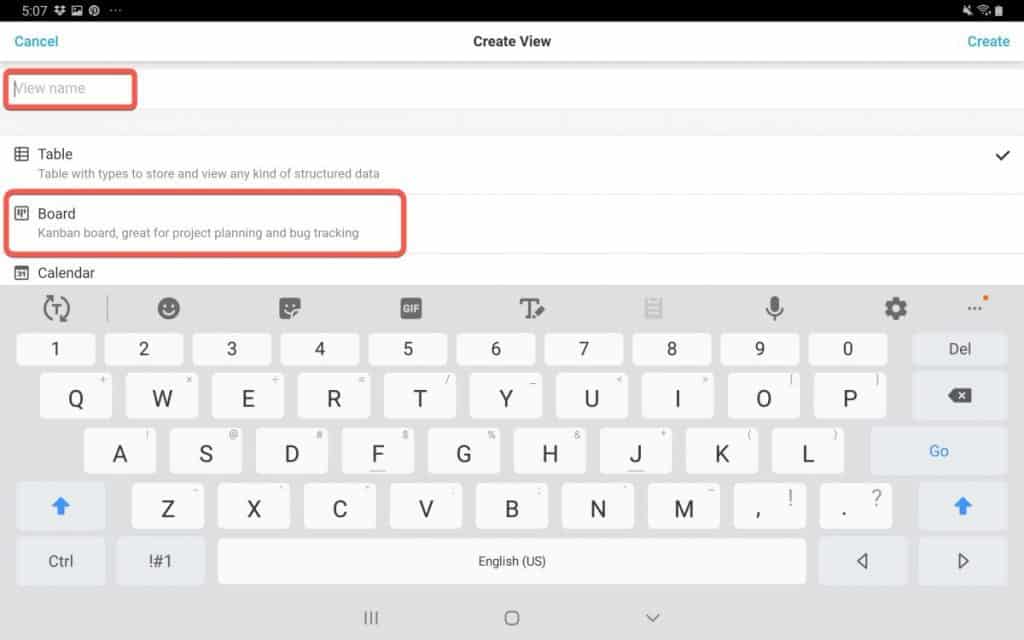
Type in the name for your view in the text box marked “View name“. Select “Board” from the menu and press “Create” to create the view.

Your table will now appear as a board on your page. To change the view back, simply press the name of the view and select the view you want to see.
Adding a Calendar View to An Existing Table in Notion for Android
You can create a calendar view the same way you made a board view. To create a calendar view of a table in Notion for Android, do the following:
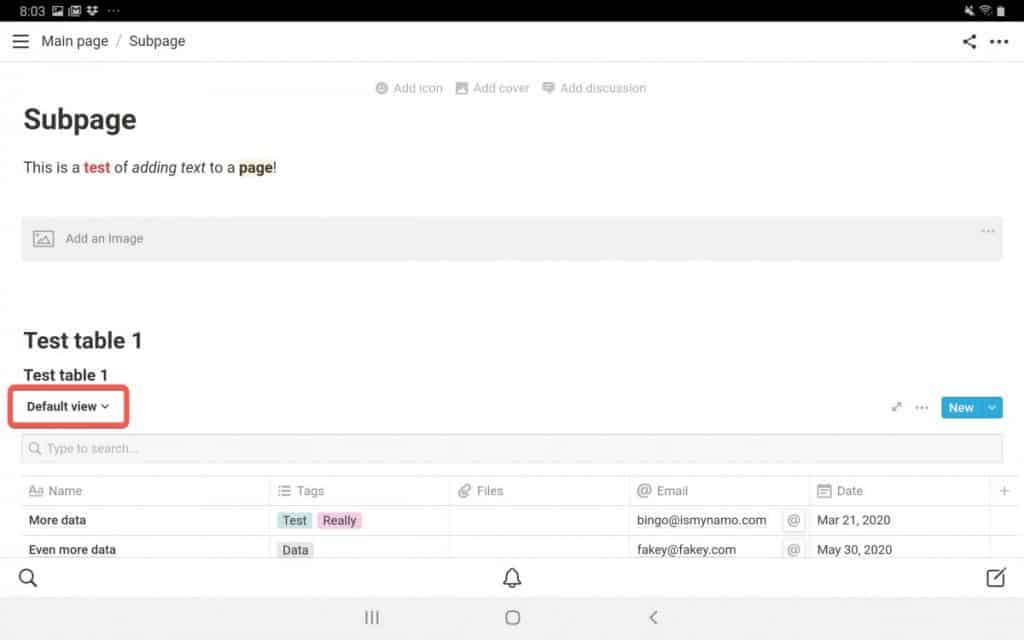
Open Notion and navigate to the table that you want to add a calendar view to. Click on the View drop-down menu.
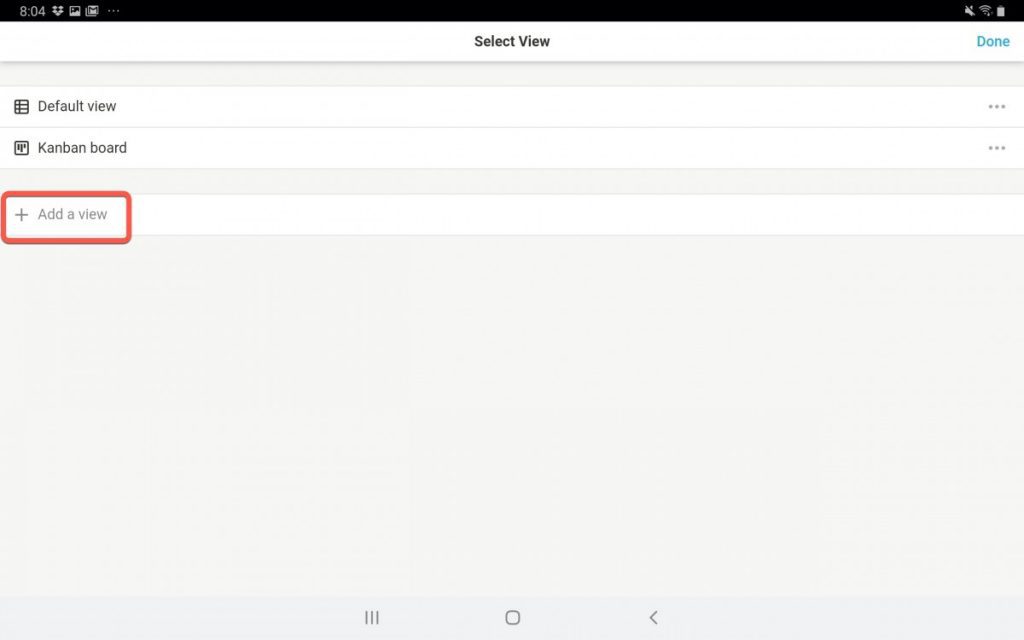
You should see a menu with a list of all the views currently available and a “+ Add a view” button. Press the “+ Add a view” button.
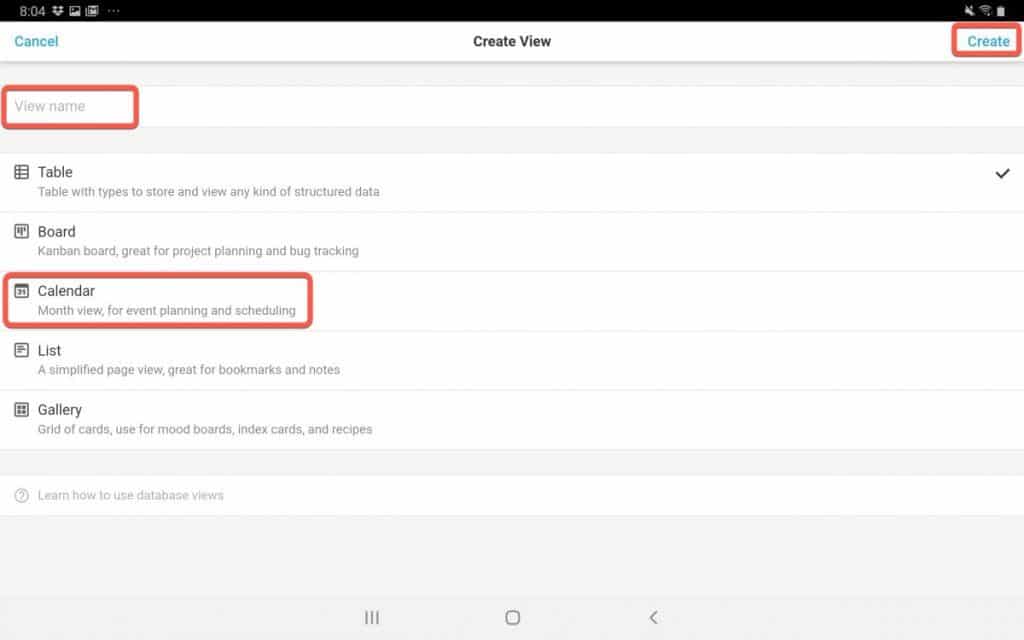
Type in the name you want to assign to the view in the “View name” text box. Select “Calendar” from the menu and press “Create“.
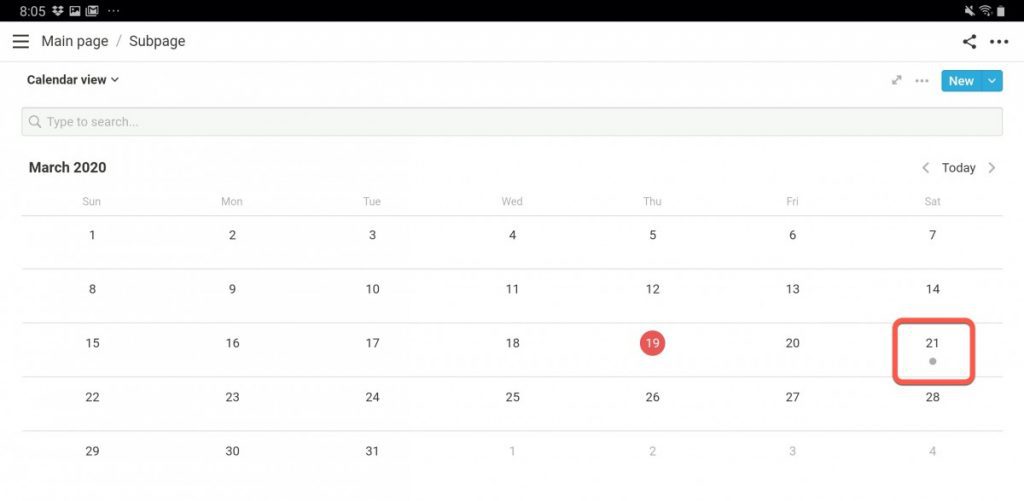
Your table should now be in a calendar view. Any dates that have a table entry assigned to it will have a dot under the date. To view the entries for a date on the calendar, press on the date.

You will see a menu with a list of all the table entries for this date. Press the table entry to bring up its page.
As you can see, you can access any entry in your table in a calendar view.
Creating a Linked Database in Notion for Android
Linked databases in Notion is where you really harness the power of Notion. Linked databases allow you to create multiple custom views of an existing table.
To create a linked database in Notion for Android, do the following:
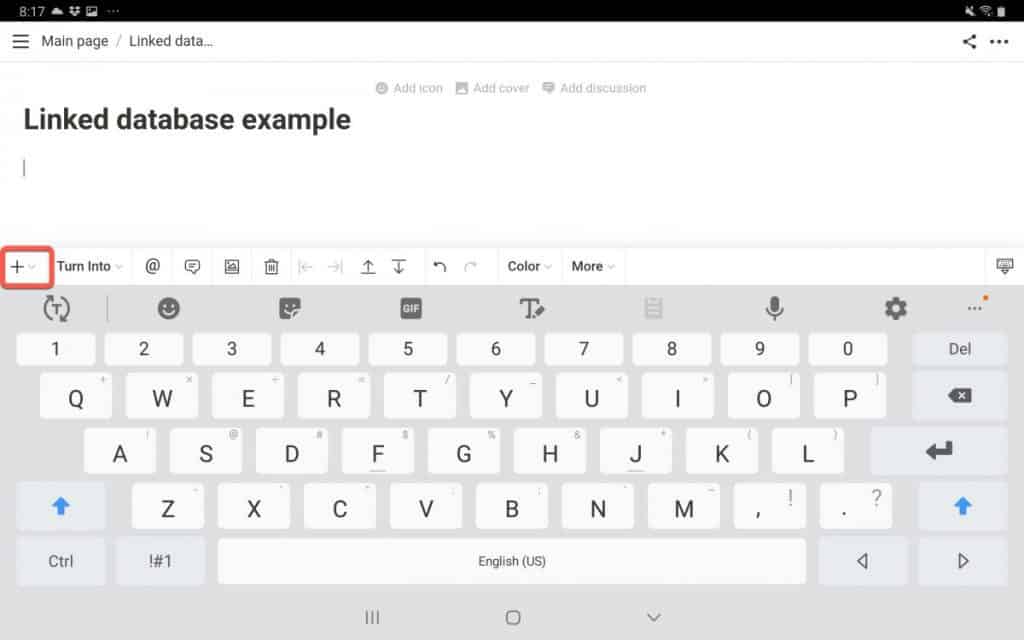
Open Notion and navigate to the page you want the linked database to appear on. Press the “+” button.
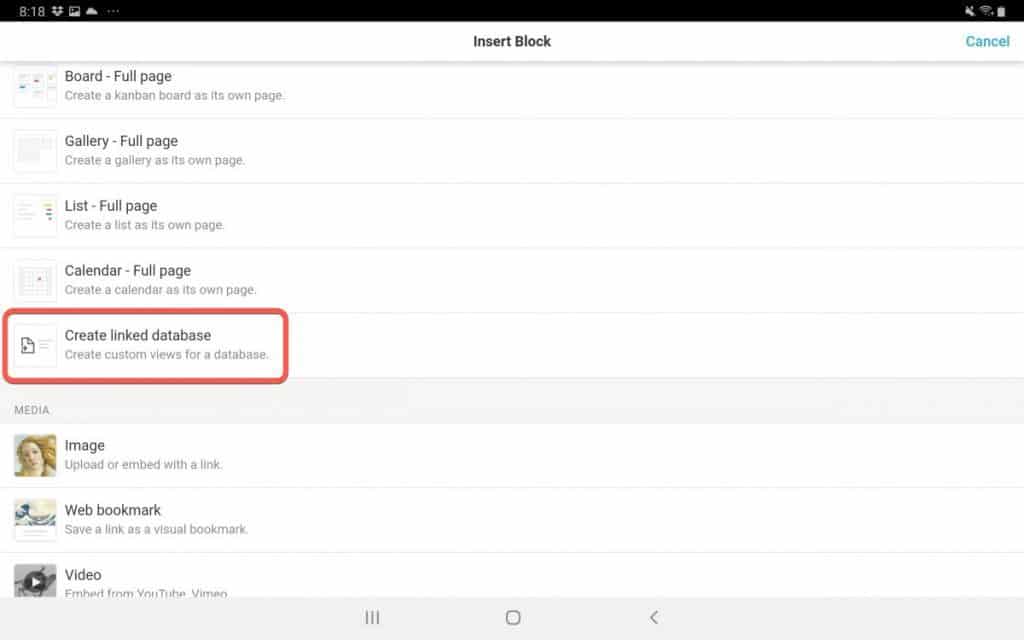
Scroll down and select the “Create linked database” option.
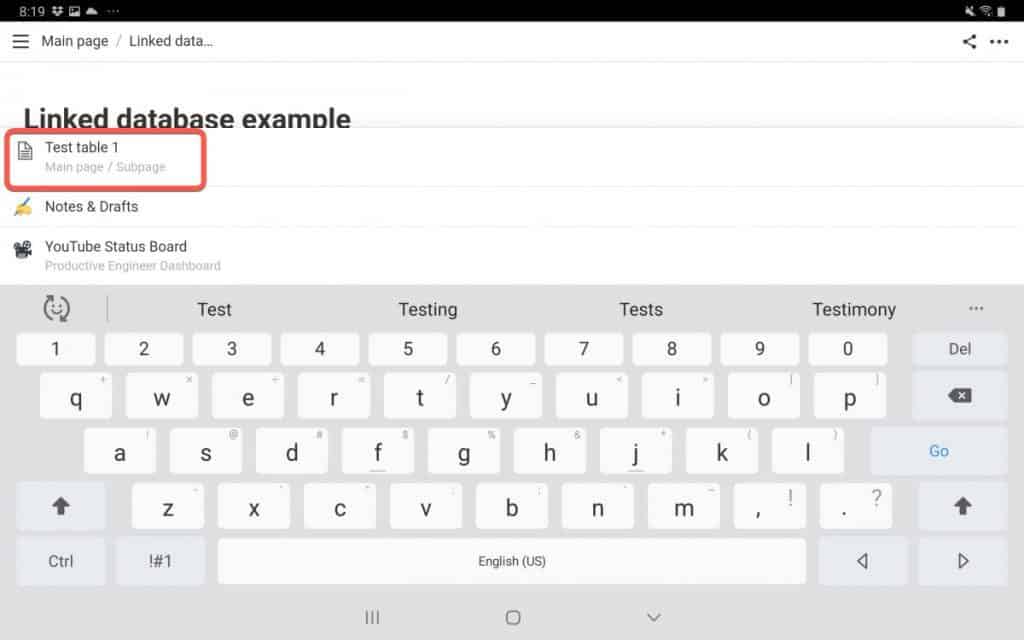
A list of all the tables you have in Notion will appear. Start typing in the name of the table you want to use and it will appear. Select the table.
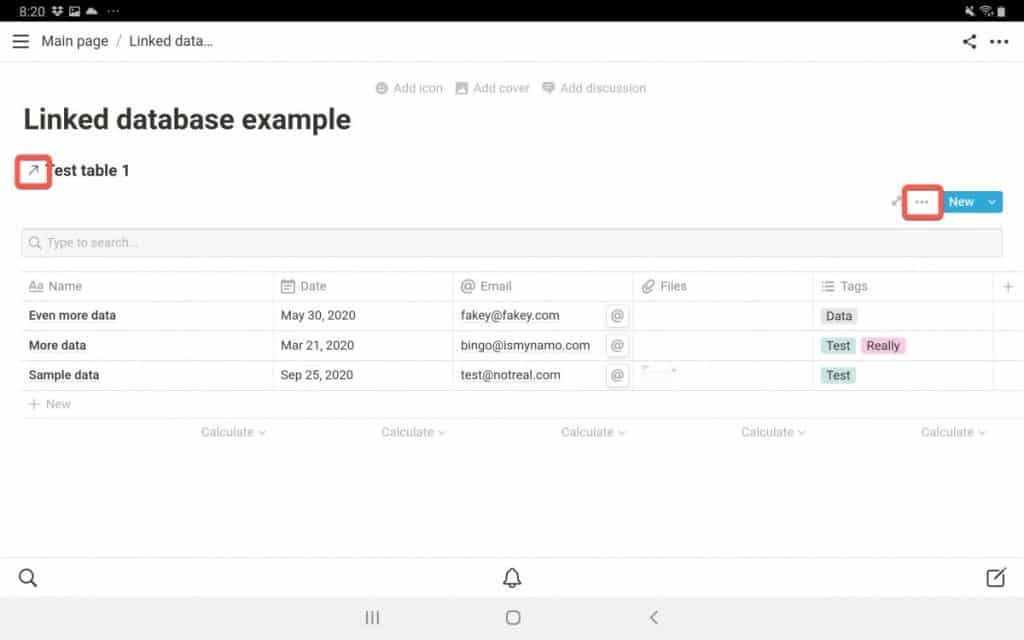
A copy of your original table will appear with a slight difference. Notice the arrow before the name of the table. This arrow denotes that this is actually a linked database that gets its data from the referenced table. Now we need to add a filter to create our custom view. For this tutorial, we will create a filter that only shows us the entries that have the “really” tag. Press the ellipsis (…) button.
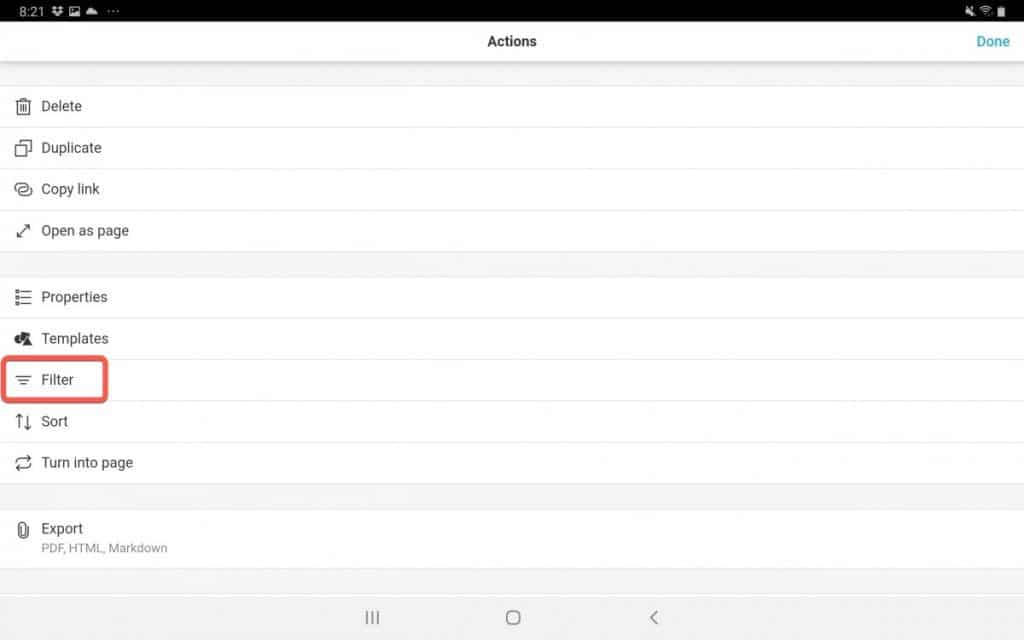
The Actions menu will appear. Press the “Filter” button to start creating your filter.

The Filter screen will appear. This screen contains the filter criteria you will use to create your filter. For this tutorial, press on the first row and select “Tags“. Leave the next row at “Contains” and press the third row and select the “Really” tag. Press the “Done” button.
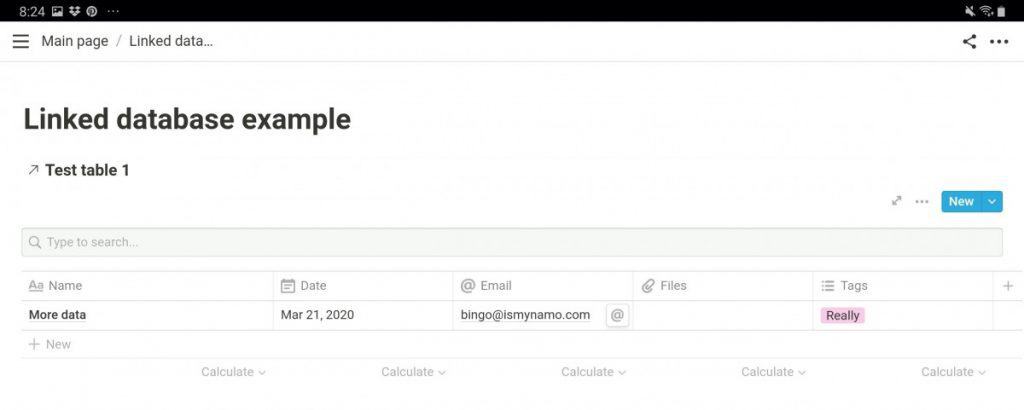
Your linked database will now only show you entries that match your filter criteria.
Adding Web Page Content to Notion for Android
Sometimes you want to grab content from a webpage and save it to Notion. You can do this in the Android version of Notion by doing the following:
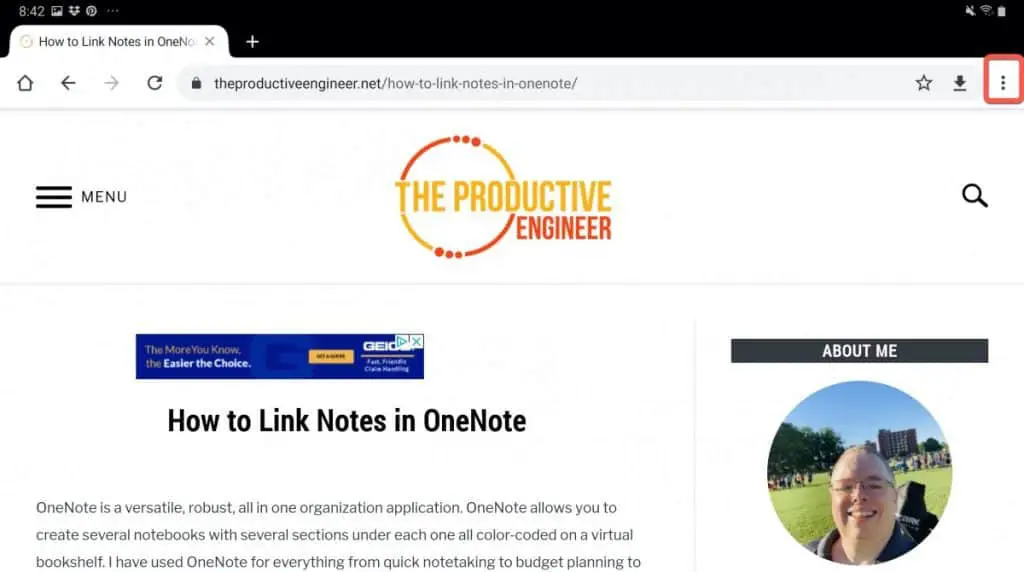
Open your web browser and navigate to the page that you want to clip content from. Press the ellipsis (…) to bring up the menu.
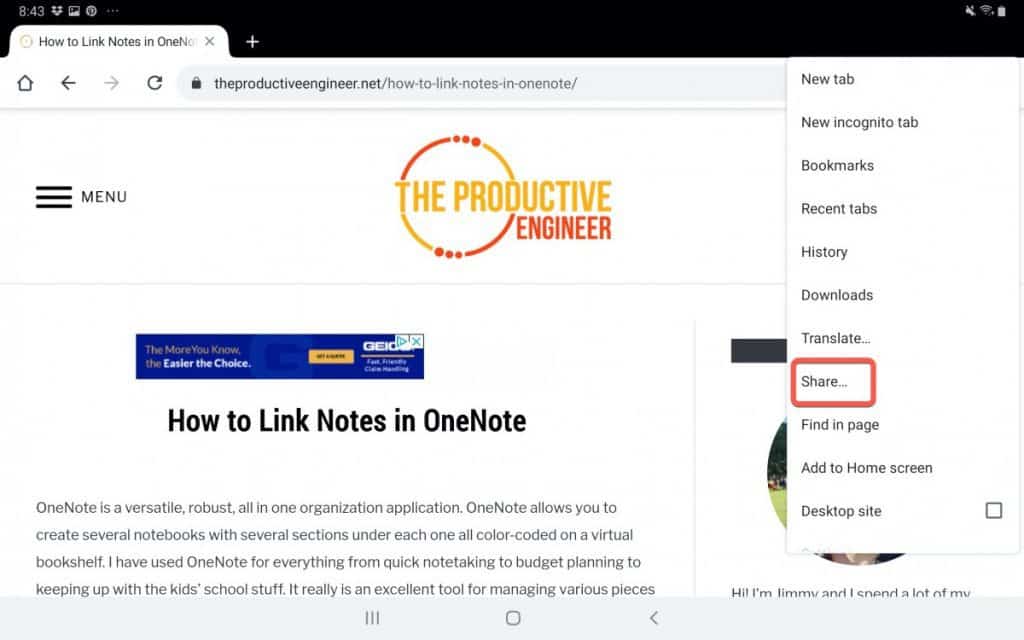
Select “Share…” from the menu.
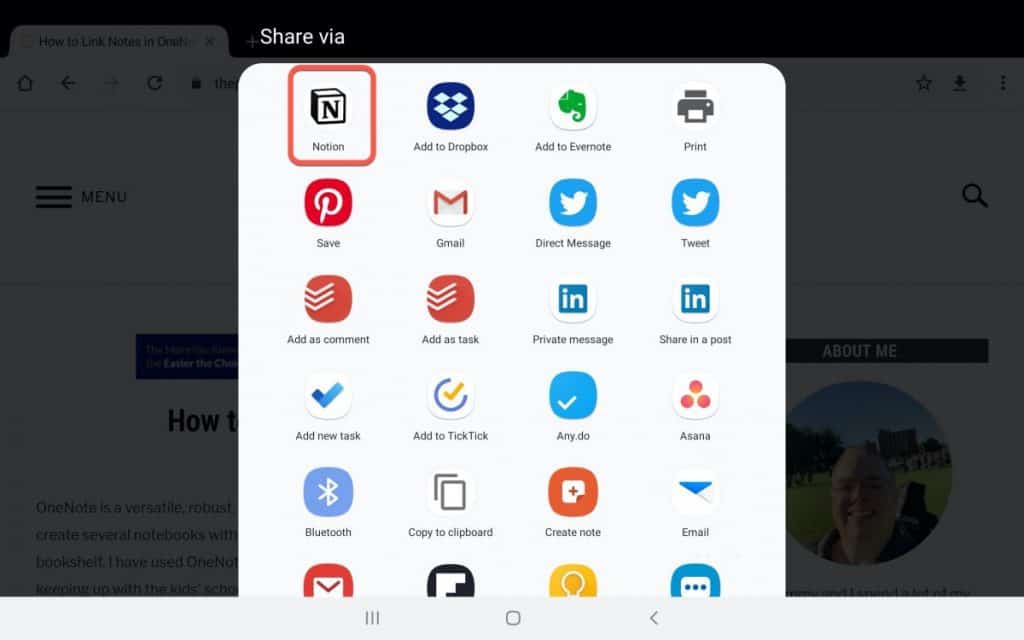
Select Notion from the list of options.
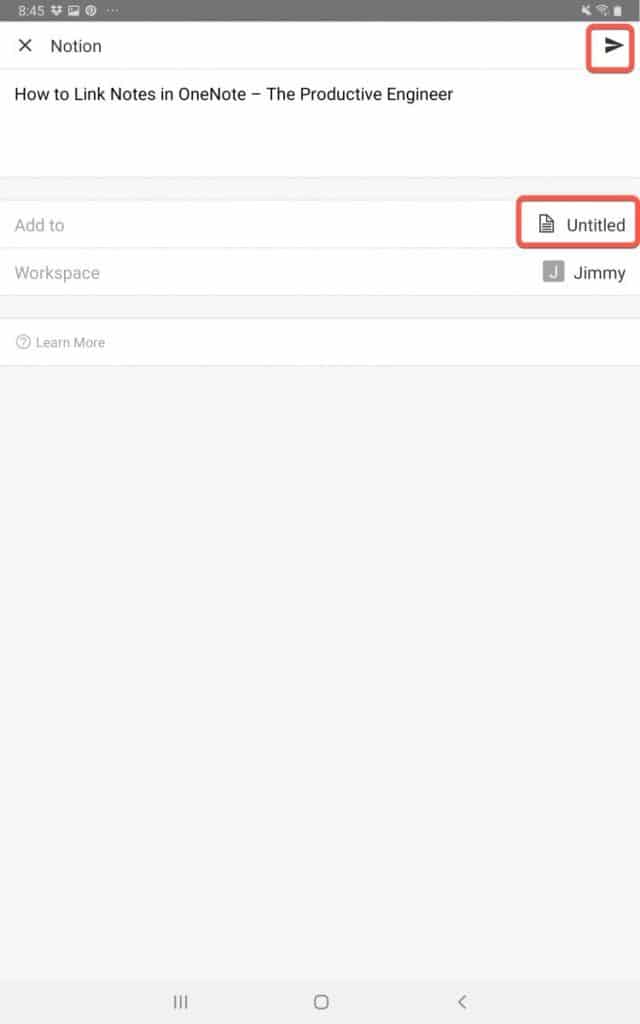
The Notion share dialog will appear. Select the page you want to save the content to and press the “Send” button.
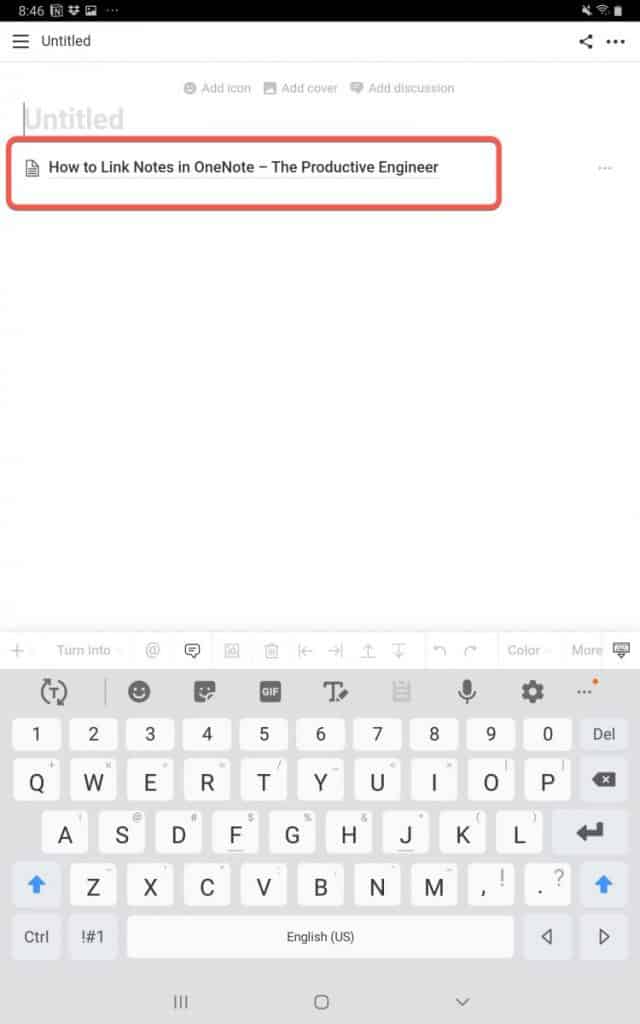
Notion will create a subpage that contains the web content. Press on the link to view the content.
Your clipped content should now be visible.
Summary
Notion is a great service and the Android app allow you to still leverage the power of Notion when on the go. I hope this tutorial was helpful to you. Good luck!
Want More Tips and Tricks? Subscribe to our Newsletter!
If you haven’t already subscribed, please subscribe to The Productive Engineer newsletter. It is filled with tips and tricks on how to get the most out of the productivity apps you use every day. We hate spam as much as you do and promise only to send you stuff we think will help you get things done.
Check Out Our YouTube Channel!
We have a YouTube channel now and we are working hard to fill it with tips, tricks, how-tos, and tutorials. Click the link below to check it out!
Check out our Resources Page
Check out our resources page for the products and services we use every day to get things done or make our lives a little easier at the link below: