How to Add Columns in Notion
Ever see someone’s cool Notion page with multiple columns and wonder how they do it? Well wonder no more! This step-by-step guide will teach you how to create multi-column Notion pages quickly and easily.
So how do you create columns on a Notion page? Enclosed below are the steps to create columns on a Notion page:
- Create a New Notion Page or Open existing page
- Hold down the “Shift” key and select all the content you want in your second column
- Click and Drag the content to the far right of the content that you want to be the first column
- Release the Mouse Button to Set Your Second Column in place
- Repeat prior steps for additional columns you want to add
Before we get started with the tutorial, if you are looking to learn more about apps like Notion, Todoist, Evernote, Google Docs, or just how to be more productive (like Keep Productive’s awesome Notion course), you should really check out SkillShare. Skillshare is an online learning platform with courses on pretty much anything you want to learn. To learn more about Skillshare and its vast library of courses and get 30% off, click the link below:
SkillShare – Online Learning Platform
If you are just starting out with Notion and aren’t sure where to get started, you really need to check out my comprehensive beginner’s guide to Notion. It goes through all things you need to know to get started the right way. Enclosed below is the link to the guide:
Link to Beginner’s Guide to Using Notion With Screenshots
Looking for some information on the power of Notion? Check out our article containing tips to help you become a power user of Notion at the link below:
Create a Page in Notion
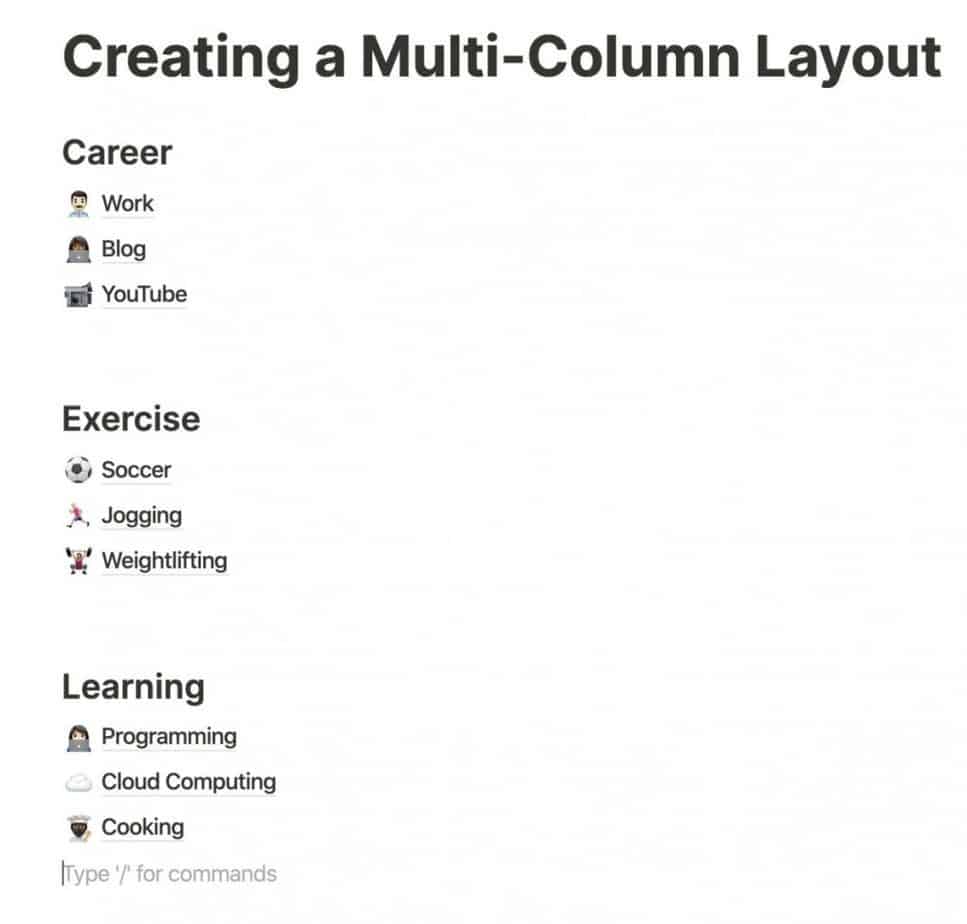
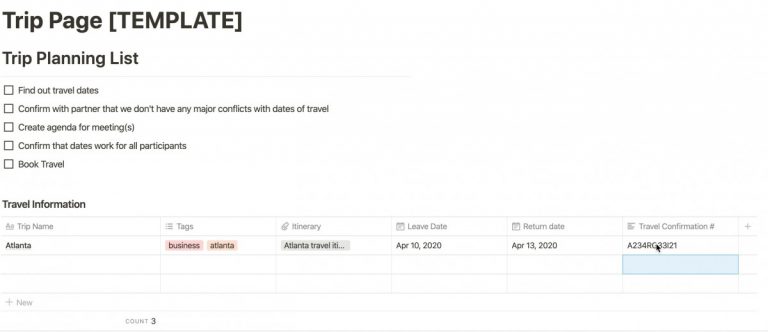
Navigate to a Notion page that you want to setup columns with. If you don’t have one, create a new Notion page like the one in the screenshot above. In our example, we have a single column that contains three headings, each with three pages underneath them.
Decide How Many Columns You Want to Have
The next step is to decide how many columns you want to have and how you want to divide up your content. In our tutorial, we will be dividing up our page into three (3) columns:
- Career
- Exercise
- Learning
Each column will have three pages assigned to it.
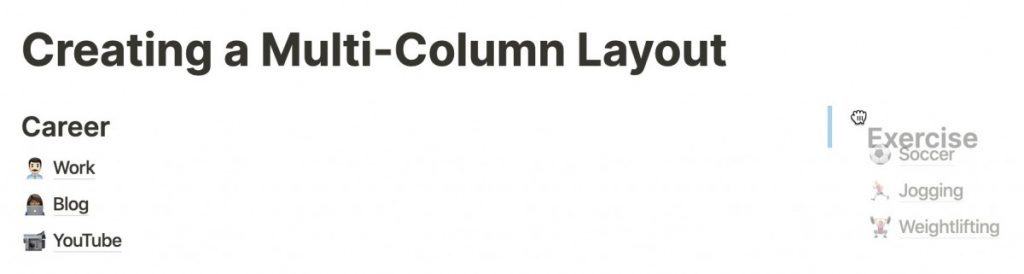
Hold Down the “Shift” Key and Select all the Content for Your Second Column
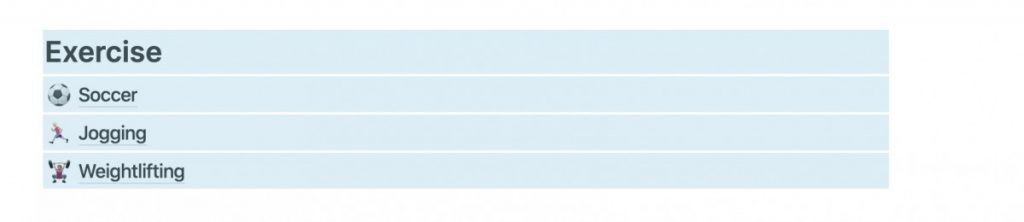
Now we want to move one of the sections and create a second column. The way we do this is to select the section. Do this by holding down the “Shift” key, click and drag your mouse to select the section as shown in the screenshot above.
Drag Selected Content to the Far Right of the First Content
Next, drag the section up and to the far right of the existing column as shown above. Make sure you see the vertical blue bar as shown in the image above as this indicates that you are adding a new column.
Release the Mouse Button to Set Your Column in the Row
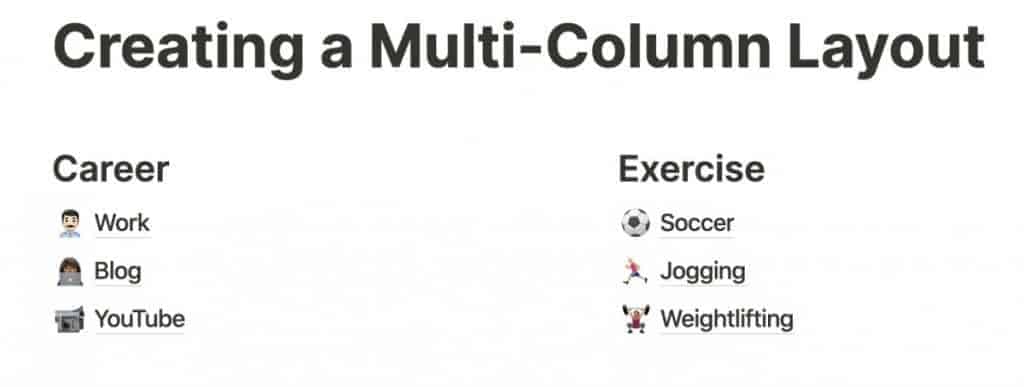
Once you see the blue bar, release the mouse button to place your section into its new home in a newly created second column.
Repeat Prior Steps to Add More Columns to Same Row

To create a third column, simply select the content you want to be in the third column by holding down the “Shift” key, clicking and dragging your mouse.
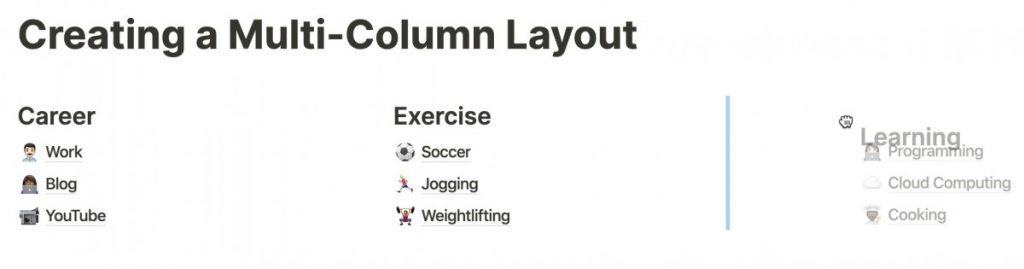
Next, drag your section to the far right as shown in the screenshot above. Once you see the vertical blue line, release the mouse button to place your content.
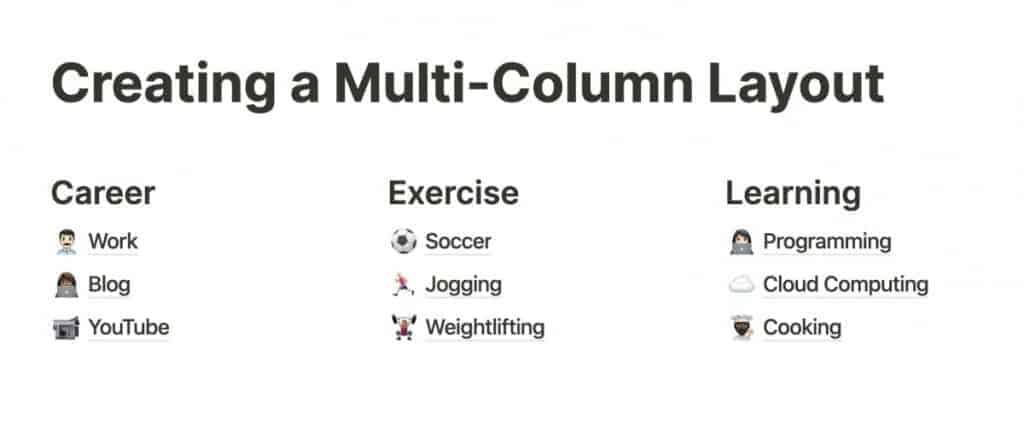
You should now see your content in a third column. Using columns really makes your Notion page look more visually appealing.
I hope this tutorial was helpful to you. Good luck!
Looking to learn more about synced blocks in Notion? Check out our Ultimate Guide to Synced Blocks in Notion!
Check Out Our YouTube Channel!
We have a YouTube channel now and we are working hard to fill it with tips, tricks, how-tos, and tutorials. Click the link below to check it out!
Do You Ever Need to Edit or Annotate PDFs?
If the answer is yes, you should really PDF Expert! PDF Expert is my go-to app for editing and marking up PDF documents. It is easy to use, has a ton of features and is very cost effective compared to other options out there. For more information on PDF Expert, click the link below:
PDF Expert – Fast, robust and beautiful PDF editor
Looking to Get Started Blogging or on YouTube?
Getting started can seem daunting and scary (I know it was for me) but it doesn’t have to be. I was very lucky to find a program that that has helped me grow my blog to over 60,000 page views and a Monetized YouTube channel that is growing month-over-month.
Project 24 by Income School is the program that I have used. I have been a member for over a year now and just renewed my membership. I cannot recommend Project 24 enough! For more information on Income School, click the link below:
Project 24 by Income School – Teaching You How to Create Passive Income from Blogs and YouTube