How to Use Portals in RemNote
RemNote is a great tool for that combines note-taking, knowledge base and spaced repetition to help you learn. One of the key concepts in RemNote is the concept of portals. Portals allow you to create pieces of information that you can easily add to multiple documents without having to create duplicate versions of that information. Once you have mastered portals, RemNote will become much more useful to you.
So, how do you use portals in RemNote? Enclosed below are the steps required to create a portal in RemNote:
- Open a document in RemNote
- Go down to the “Add a Portal to an Existing Rem” textbox
- Type in the name you want to assign your new portal
- Click “Create Rem” to create the portal
Before we get started with the tutorial, if you are looking to learn more about apps like Notion, Todoist, Evernote, Google Docs, or just how to be more productive (like Keep Productive’s awesome Notion course), you should really check out SkillShare. Skillshare is an online learning platform with courses on pretty much anything you want to learn. To learn more about Skillshare and its vast library of courses and get 30% off, click the link below:
SkillShare – Online Learning Platform
If you are just getting started with RemNote or just looking to brush up on your RemNote skills, check out my Beginner’s Guide to RemNote as it covers everything you need to know to be productive in RemNote quickly. Click the link below to view the guide:
Beginner’s Guide to RemNote – The Productive Engineer
Let’s get started with the tutorial 😀.
What is a Portal in RemNote?
A portal is a view to a piece of information that you can add to any page. The beauty of portals is that you can create a visual reference to a piece of information to multiple pages. The concept may seem a bit abstract right now but let’s review a couple of examples of portals to make it more clear.
How to Create a Portal in RemNote
There are three ways to create a portal in RemNote:
- Press Ctrl, Shift and Enter
- Use the Portal Search Box at the bottom of the RemNote window
- Press Ctrl and i
The easiest way, in my opinion, is to simply use the portal box at the bottom of the RemNote window.
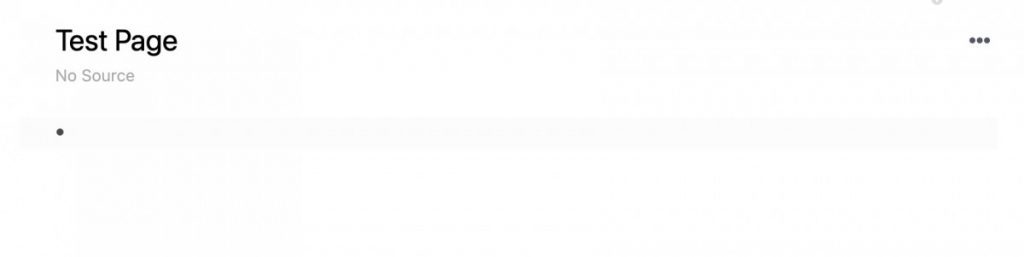
Open a page that you want to add a portal to. In this first example, we will create a brand new portal.
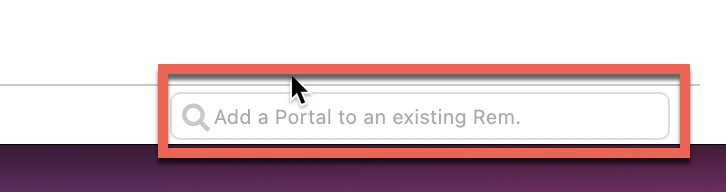
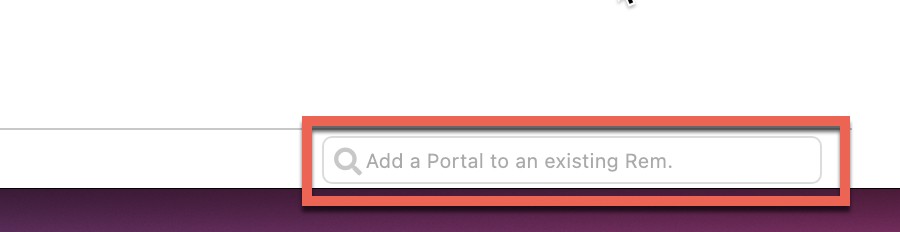
Go down to the bottom of the page and look for a text box marked “Add a Portal to an existing Rem.”

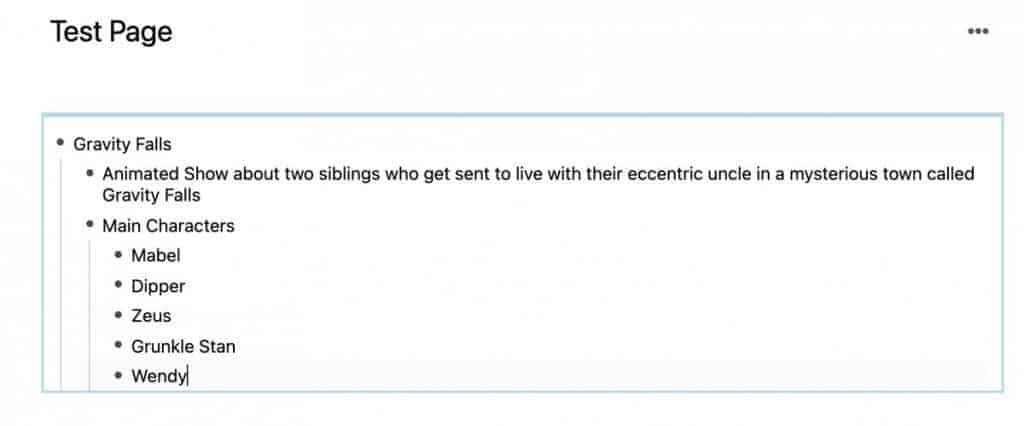
In our example, I want to create a portal for the tv show Gravity Falls. I click on the text box and type in Gravity Falls. As I don’t already have a portal named Gravity Falls, the only option I am presented with is “Create Rem“. This option will create a Rem for Gravity Falls and will add a portal of the Gravity Falls Rem to the current page (in our example, Test Page). Click “Create Rem” as shown in the above screenshot.

You should now see a blue box on your page with the name of your new portal (in our example, Gravity Falls) as the first bullet. You can add content in this portal to the Gravity Falls Rem by clicking inside the blue box and typing in content as I have done below:
The amazing thing about portals is that they are a view to a piece of information that you can edit and have those edits appear:
- In the Rem that the portal is for (in our example the Gravity Falls Rem)
- Any page that has a portal to the Gravity Falls Rem
The second bullet is the amazing part. Let’s say I have 20 pages that have a portal reference to my Gravity Falls Rem. I can go into the rem or the portal of that rem on any of the pages that have it and add or make edits and those changes will auto-populate anywhere that has a portal to that information. Pretty cool, right!
To illustrate this concept, let’s create another document and add a portal to our Gravity Falls Rem.
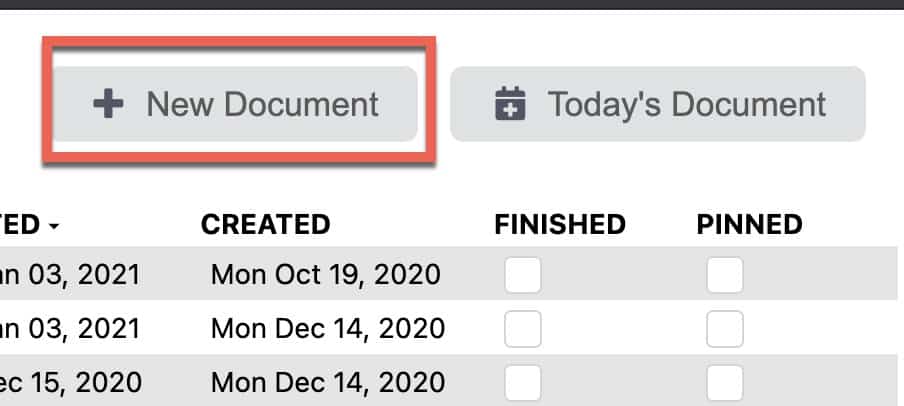
Go to the “Documents” area in RemNote and click the “New Document” button as shown above.

Give your new document a name. Go down to the bottom of the page and type in the name of your existing rem that you want to create a portal to on this page (in our example, Gravity Falls).
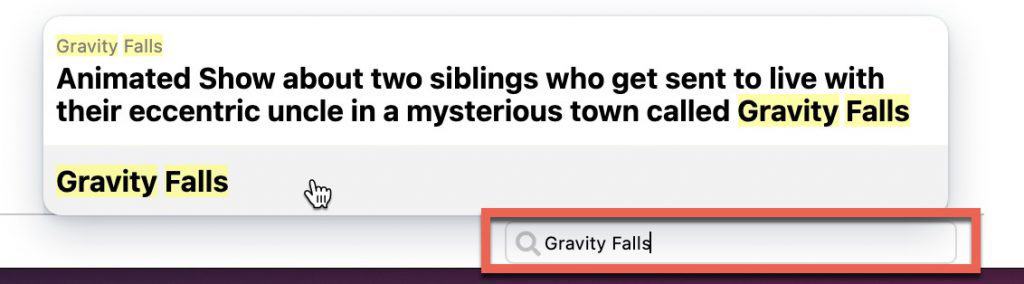
Click on the Rem once it appears as shown in the screenshot above.
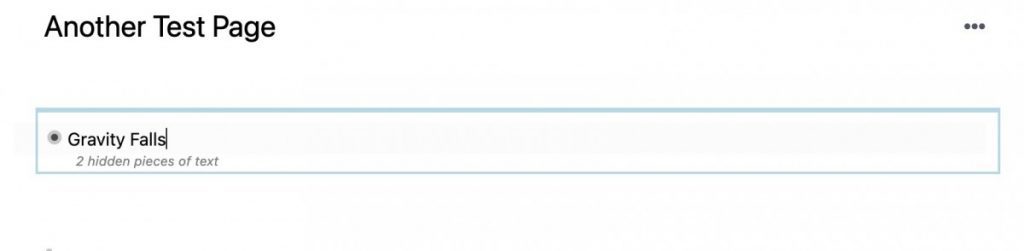
You should now see a blue box with the Rem in it. Whenever you see a blue box on a RemNote page, that blue box is a portal to a Rem. Notice that underneath the name of your Rem is some text stating “x hidden pieces of text” where x is the number of pieces of text currently hidden from view (in our case, 2).
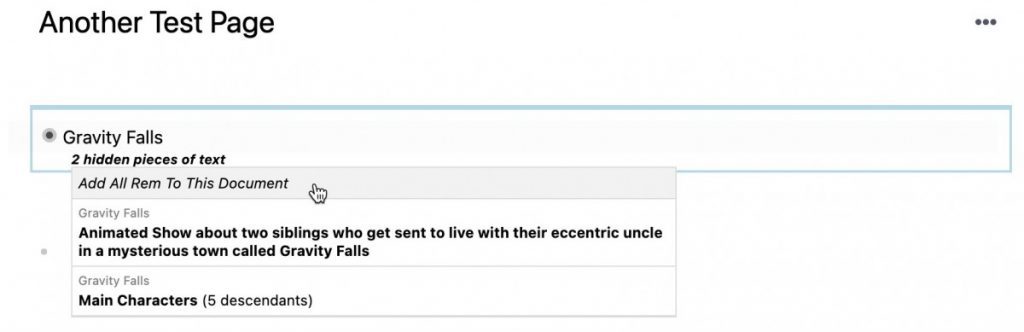
You can click on that “hidden pieces of text” text to reveal the missing sections of text as well as an option to add all pieces of the Rem to the portal. This is really cool. You can customize each portal to show only the piece of information in that Rem that are relevant to the page you are adding it to. This reduces clutter and duplication.
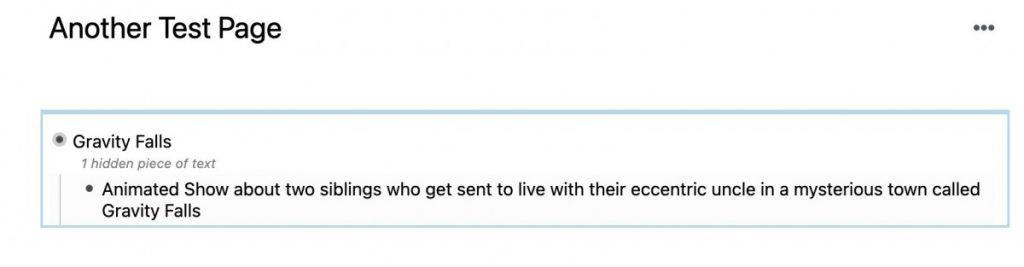
Click on the content you want to add to the portal and should now see only that content in your portal. For our example, notice that when I chose to only add the show description that the main characters section is not visible. Instead the show description is visible while RemNote indicates that there is 1 hidden piece of text, which is the main characters section.
I realize this example was a more playful on than functional so let’s look at another example.
I am taking a web development course on Udemy and I am using RemNote to take notes on what I am learning. I have a Rem called “HTML” that I want to add to this page.
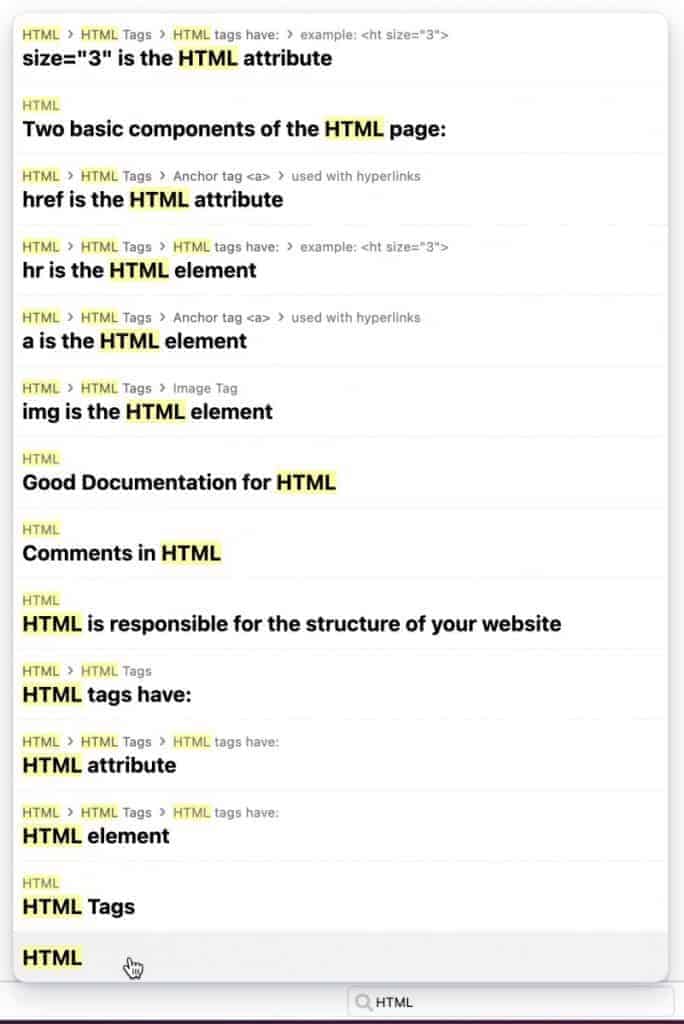
Just like the first example, I click in the text box marked “Add a Portal to an existing Rem” and type in the name of my Rem, in this case HTML. As you can see, RemNote presents everything that has HTML in it with the Rem we are looking for at the bottom of the list. Click on the Rem to add a portal to that Rem in your page.
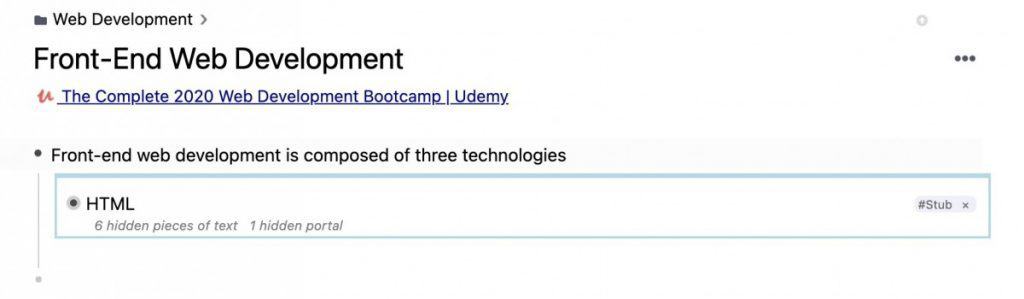
As you can see, I now have a portal to my HTML Rem. Also notice that there are 6 hidden sections. Click on the “hidden pieces of text”.

Click on the “hidden pieces of text” as shown above.
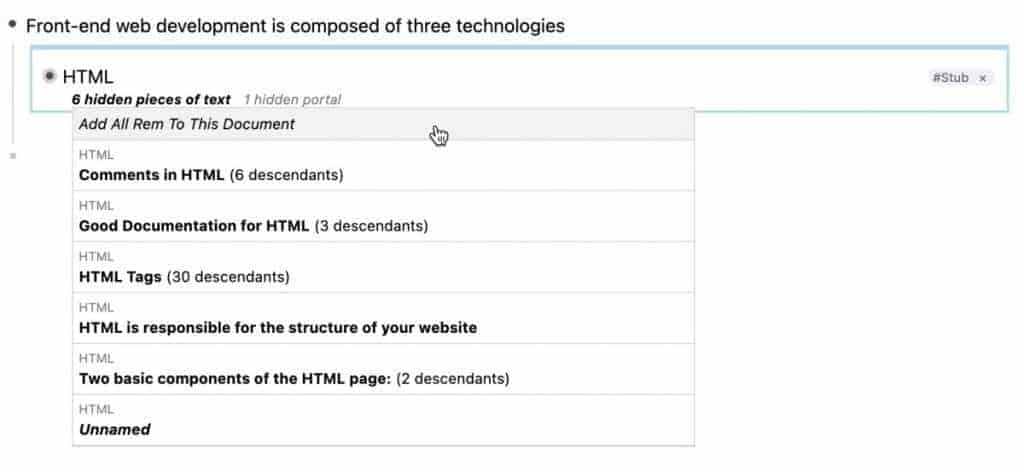
You should see a drop-down containing each section and an option to add all of the Rem to your portal. Let’s choose that option.
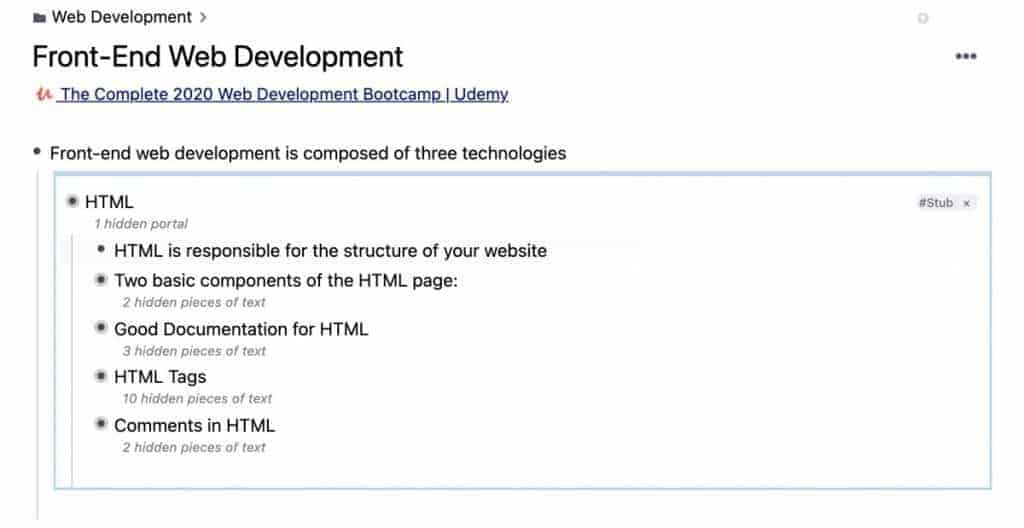
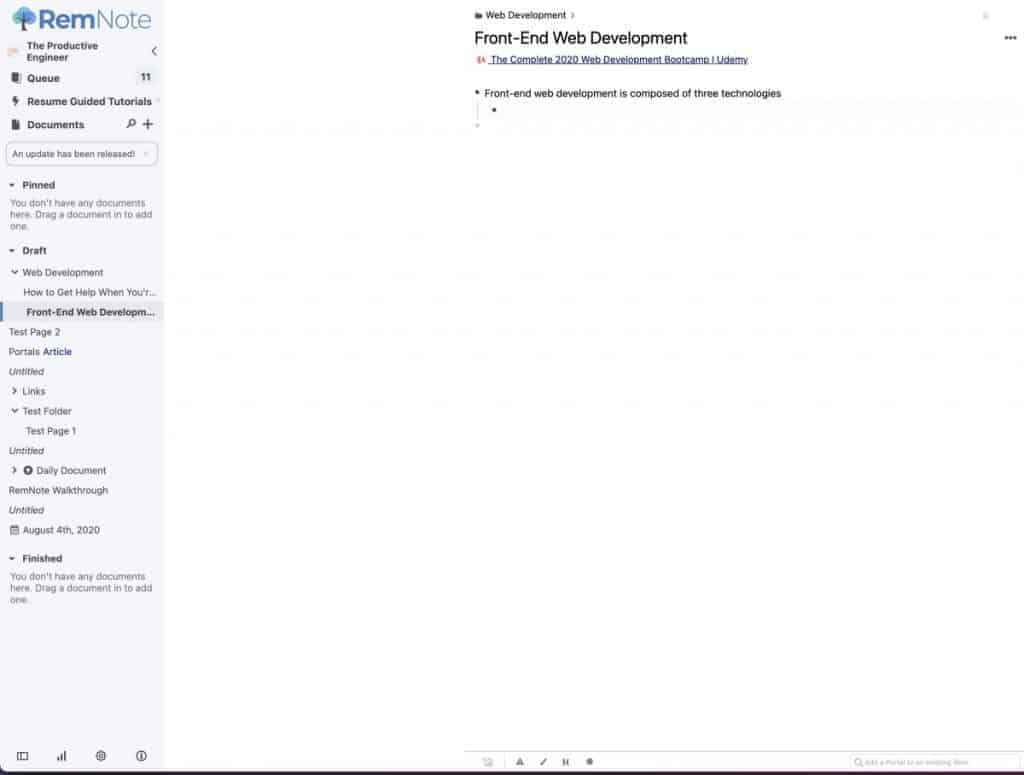
As you can see, the contents of the HTML Rem now appear in a portal on my “Front-End Web Development” page. I can add content to this portal and the HTML Rem will be updated automatically as will any other portals to the HTML Rem that appear on other pages/documents in RemNote.
Benefits of Using Portals vs Creating a Document
- Allows you to include the same rem in multiple documents
- Can create an in document queue with your portal
I hope this tutorial was helpful to you in learning how to create and use portals in RemNote. Good luck!
Check out our Resources page
Check out our resources page for the products and services we use everyday to get things done or make our lives a little easier at the link below:
Check Out Our YouTube Channel!
We have a YouTube channel now and we are working hard to fill it with tips, tricks, how-tos, and tutorials. Click the link below to check it out!
Do You Ever Need to Edit or Annotate PDFs?
If the answer is yes, you should really PDF Expert! PDF Expert is my go-to app for editing and marking up PDF documents. It is easy to use, has a ton of features and is very cost effective compared to other options out there. For more information on PDF Expert, click the link below:
PDF Expert – Fast, robust and beautiful PDF editor
Looking to Get Started Blogging or on YouTube?
Getting started can seem daunting and scary (I know it was for me) but it doesn’t have to be. I was very lucky to find a program that that has helped me grow my blog to over 60,000 page views a month and a Monetized YouTube channel that is growing month-over-month.
Project 24 by Income School is the program that I have used. I have been a member for over a year now and just renewed my membership. I cannot recommend Project 24 enough! For more information on Income School, click the link below:
Project 24 byIncome School – Teaching You How to Create Passive Income from Blogs and YouTube