How to Create a Template in Todoist – An Illustrated Guide
Todoist (link to Todoist website) is a highly flexible, web-oriented task management service offered by Doist (link to Doist website). Todoist is available across all platforms.
As you start to use Todoist regularly, you may find that you want the ability to create a template of tasks you do regularly. For example, you may have projects you do for clients that have the same tasks that need to be completed. Rather than having to create these tasks from scratch every time, having a pre-built project full of the tasks would be much easier. Fortunately, Todoist does support the creation and reuse of templates (you do need to be subscribed to the Todoist Premium subscription in order to make your own templates). This blog post will walk you through, step-by-step, how to create and use templates in Todoist.
If you are a Google Calendar user, check out my guide to connecting Google Calendar to Todoist. This allows you to bi-directionally sync Todoist with Google Calendar and allows you to have your tasks and updates sync between Todoist and Google Calendar.
Before we get started with the tutorial, if you are looking to learn more about apps like Notion, Todoist, Evernote, Google Docs, or just how to be more productive (like Keep Productive’s awesome Notion course), you should really check out SkillShare. Skillshare is an online learning platform with courses on pretty much anything you want to learn. To learn more about Skillshare and its vast library of courses and get 30% off, click the link below:
SkillShare – Online Learning Platform
What are Projects in Todoist?
Projects are nothing more than a collection of tasks and subtasks that you define. If you were working on a project to remodel your kitchen, for example, you might create a project in Todoist called “Kitchen Remodel” that would contain all of the tasks and subtasks required to complete the remodel.
What are Templates?
Templates are exactly what they sound like: a skeleton of a project complete with all the tasks and subtasks already populated. Leveraging the kitchen remodel example, you might have a remodel template with all the tasks needed to do a remodel. Creating a template requires a couple of steps to complete, which we will go through step-by-step.
How to Create a Templates
Creating a template in Todoist starts by creating a project and filling it with tasks and subtasks. It is really simple to create projects and tasks in Todoist.
Create a New Project
To create a project in Todoist:
Open Todoist and Press the “+” button
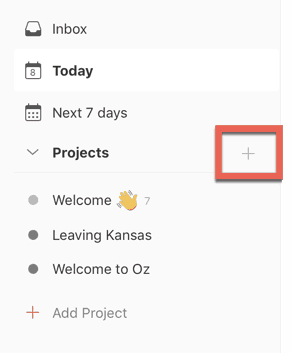
Open up Todoist. You should see a panel on the left with the word “Project” in bold with a “+” sign to the right. Click the “+” sign.
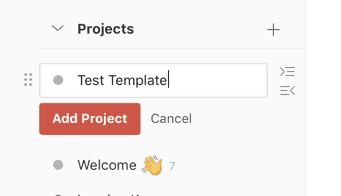
Give your project a name and click the “Add Project” button. Your new project name should appear in the list of projects. Next click on the new project. Your new project should now appear in the main window to the right of the panel.
Add Tasks and SubTasks to Project
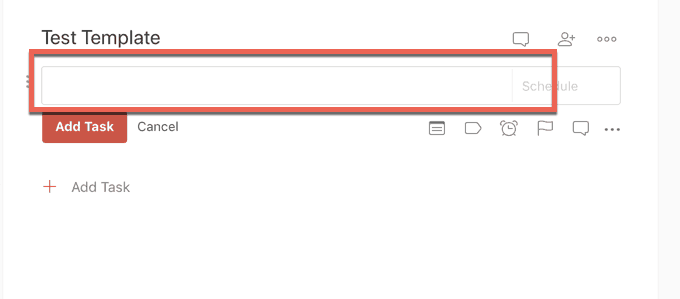
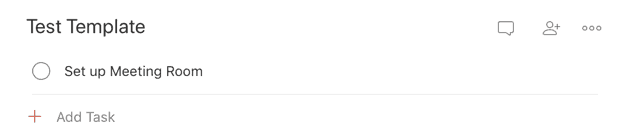
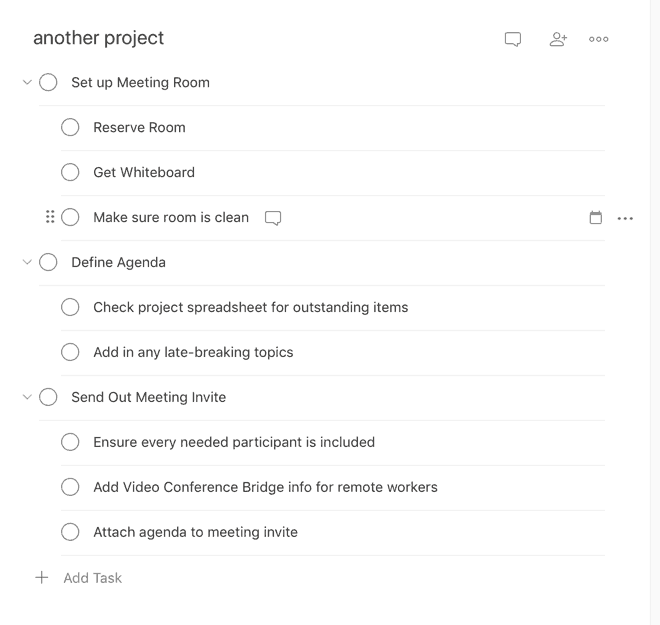
The next thing you want to do is to add tasks and subtasks to your project. To add a task, simply press the “Add a Task” button in the main area underneath the project title.
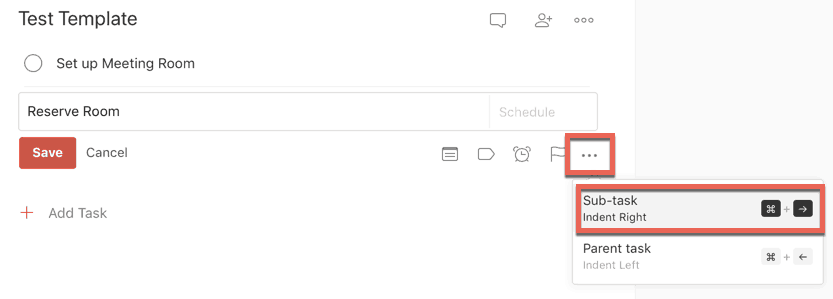
To create a subtask, create a new task using the steps mentioned earlier. Click on the task and then click the ellipsis and choose subtask from the drop-down menu (or just use the keyboard shortcut Command/Right Arrow Key).

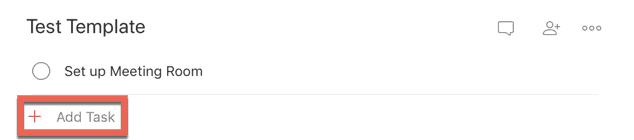
Continue adding tasks and subtasks until your project task list is complete.
Exporting Your New Project as a Template
There are two ways to export your new project as a template:
- As a CSV file
- As a Shareable Link
A CSV file is a comma-delimited file that is openable in applications like Microsoft Excel and Apple Numbers. A shareable link is a URL that you can use to create a new project with your template.
Export to CSV file
Exporting your project as a CSV file is pretty straight-forward.
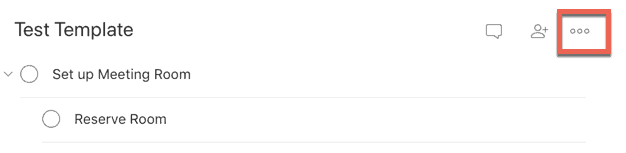
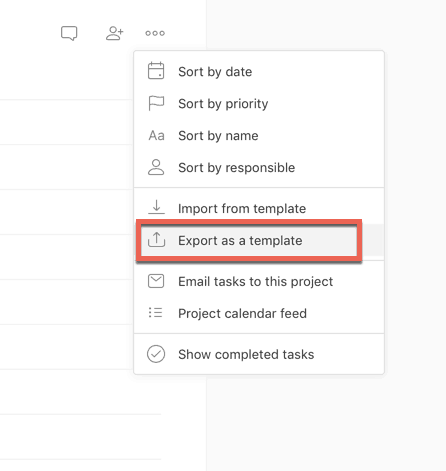
To start, select your project and click on the ellipsis to the right of the project name.

Select “Export as a template” from the drop-down menu.
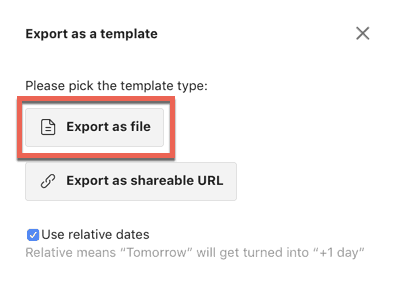
A pop-up window will appear labeled “Export as a template”. Click the button marked “Export as file”.

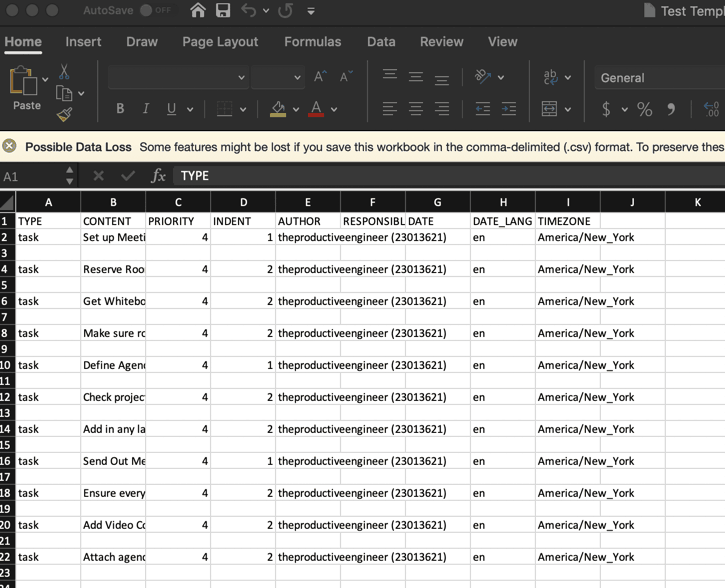
A CSV file with the title of your project will download to your Downloads folder. Put this file in a safe place on your computer.
Export to Shareable Link
Exporting to a shareable link follows some of the steps we took when we exported to a CSV file.
To export to a shareable link:
To start, select your project and click on the ellipsis to the right of the project name.
Select “Export as a template” from the drop-down menu.
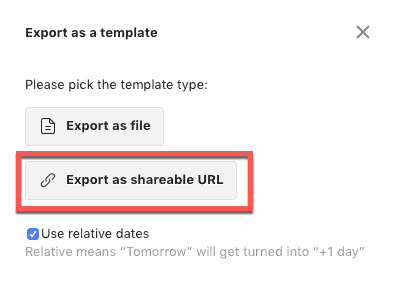
Click the “Export as shareable URL” button
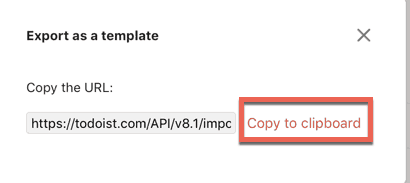
You will see a new pop-up menu labeled “Export as a Template” with the URL of your template and a “Copy to Clipboard” button to the right of the URL. Click the “Copy to Clipboard” button and paste it in your note-taking application or a document you can easily find and reference later. You want to keep this URL handy as you will be referencing it over and over again.
How to Use a Template You Created
Now that you have your template saved, importing it is relatively easy.
To Import a Template from CSV File
To import your template from a CSV file, follow the steps below:
Create a new project and give it a name.
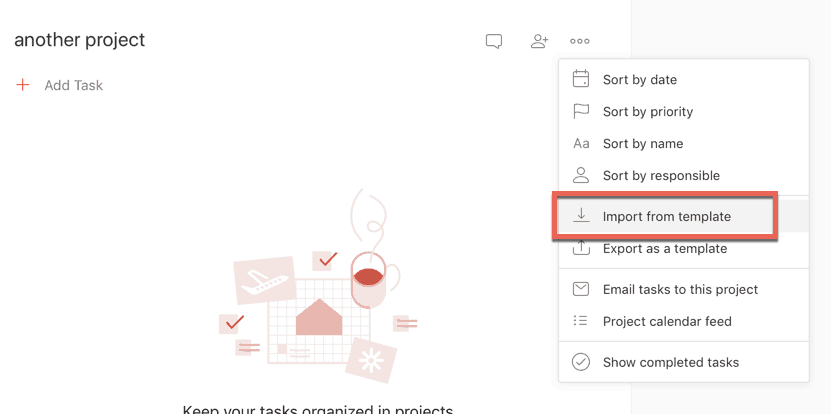
Click the ellipsis to the right of the project name and select “Import from template” from the drop-down menu.
A pop-up window will appear labeled “Import from template”. Drag your CSV file to the dotted-line box or click the “select one file from your computer…” button and select your CSV file.
Your new project should now contain all of the tasks and subtasks from your template.
To Import a Template from a Shareable Link
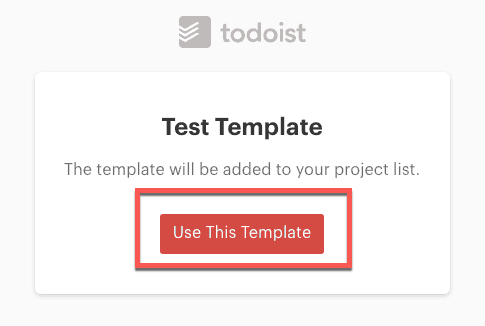
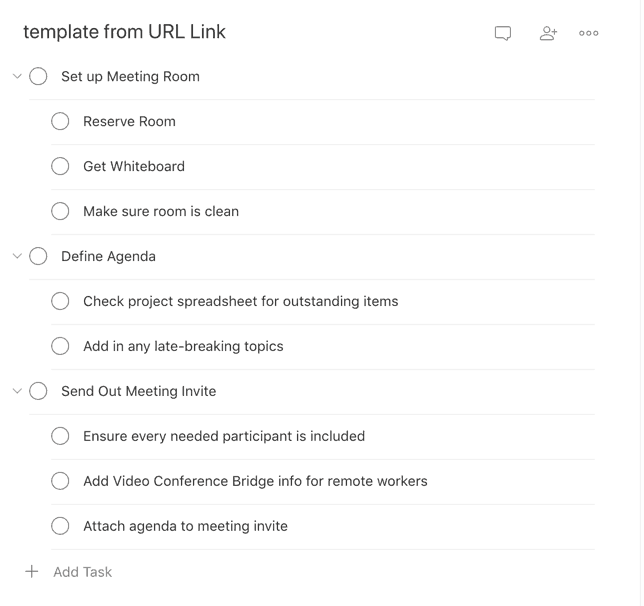
Using the shareable link option for importing your template is very easy. Simply log into Todoist in your web browser. Once logged in, copy your shareable URL from your saved note or document you made earlier in this tutorial and paste it into the URL text field of your browser. You should see a pop-up window labeled with the name of your template and a red button labeled “Use This Template”. Press the “Use This Template” button. Your template will appear with all of the tasks and subtasks populated.
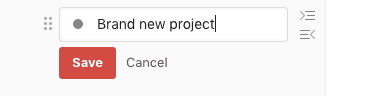
You will want to change the name to your new project name. To do this, in the left panel, click the ellipsis to the left your new project and select “Edit project”.

Type in the project name into the text field and press “Save”. Your new project should be ready to use.
Todoist Pre-Made Templates
If you are looking for pre-made templates that you can use or modify to your needs, you are in luck. Todoist has created a bunch of very nice pre-made templates that you can use. The templates can be found at the link below:
link to Todoist Pre-Made Templates
There are all types of templates spread across several categories:
- Marketing & Sales
- Design & Product
- Development
- Support
- Management
- Creative
- Work
- Education
- Personal

To use one of the pre-made templates, simply click on the template you want to use and click the “Use template” button.
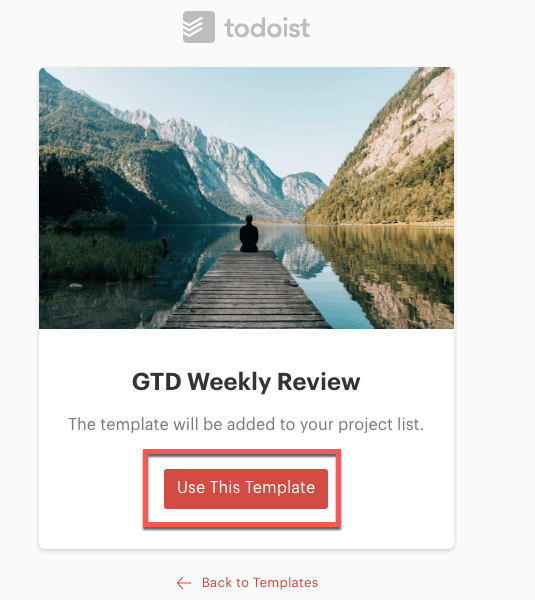
You will be directed to a webpage with a title of the template you chose and a “Use This Template” button. Click the “Use This Template” button.
The pre-made template will now show up in your Todoist main window. You can edit it, remove and add tasks and subtasks as necessary and save it. Once you have customized the template to fit your needs, you can then save it as a template using the steps outlined earlier in this blog post.
Summary
Todoist is a great task management application aimed at users who love automation and cross-platform support. Todoist integrates to pretty much every web service you could want and has a simple interface that doesn’t take long to master. Creating and using templates helps to reduce the time it takes to manage projects in Todoist.
Please Subscribe to our Newsletter
If you like the content on this site, please subscribe to our newsletter. We promise not to be spammy!
Subscribe Form
Check out our Resources page
Check out our resources page for the products and services we use everyday to get things done or make our lives a little easier at the link below:
Helpful Links
Todoist Main Webpage
link to Todoist website
Todoist Premium
link to Todoist premium webpage
A Tour of Todoist
link to Todoist tour webpage
Todoist Pre-Made Templates
link to Todoist Pre-Made Templates
Todoist sub-reddit on Reddit
link to Todoist subreddit on Reddit
Other Articles You Might Be Interested In
What iOS To-Do App Should I Use?
link to What iOS to-do app should I use blog post
How to Create a Mind Map on a Mac
link to How to Create a Mind Map on a Mac
Microsoft To-Do App for MacOS – An Illustrated Guide
Microsoft To-Do App for MacOS – An Illustrated Guide
How to Use Tags in Bear
link to How to Use Tags in Bear