
How To Protect Cells In Excel – The Ultimate Guide
If you work with spreadsheets in Microsoft Excel, you may have noticed that cells can sometimes be accidentally deleted or overwritten. How frustrating, especially if you’ve spent hours entering data into a spreadsheet…or crafting the perfect formula! Fortunately, there is a way to protect Excel cells so they can’t be accidentally deleted or overwritten.
So, how do you protect cells in Microsoft Excel? Here’s how to protect cells in Excel in 5 easy steps:
- Select the cells you want to protect
- Right-click the highlighted cells
- Click “Format Cells”
- Click the “Protection” tab
- Check the “Locked” checkbox
In this article, you will discover the different steps to protecting individual cells, columns, rows, and the entire sheet. You will also learn how to apply worksheet protection to just one cell and prevent accidental edits without protecting the whole worksheet. By the end, you will know everything you need to know to avoid accidental and intentional modifications.
How to Protect Cells in Microsoft Excel
In this section, we will go over the specific steps you must take to protect cells in Excel.
Pro-Tip: Did you know that you can also hide Excel cells?
These steps assume that worksheet protection is not enabled. If it is already enabled, disable it and follow the steps below. If it is a fresh spreadsheet, you can start with step one.
Step 1 – Open the Specific Spreadsheet
Protecting the sheet requires opening the Excel document. Protecting specific cells follows the same process for the most part. The difference is only in the cells selected for protection.
When you protect an entire sheet, all cells are locked by default. But when you start by selecting only a few cells, you can confine the protection mechanism to only the selected cells.
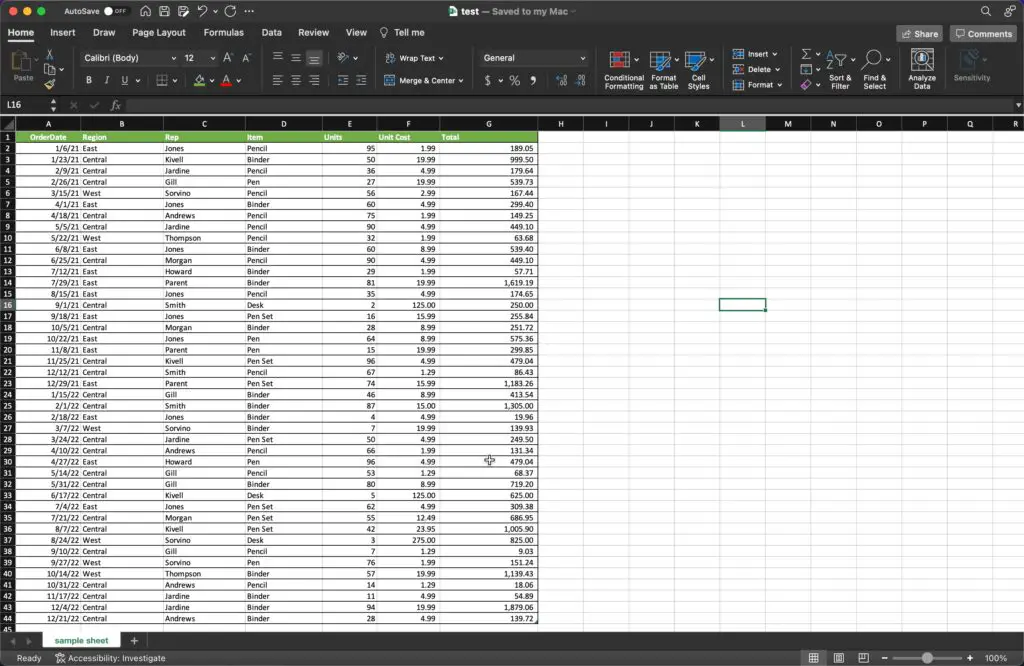
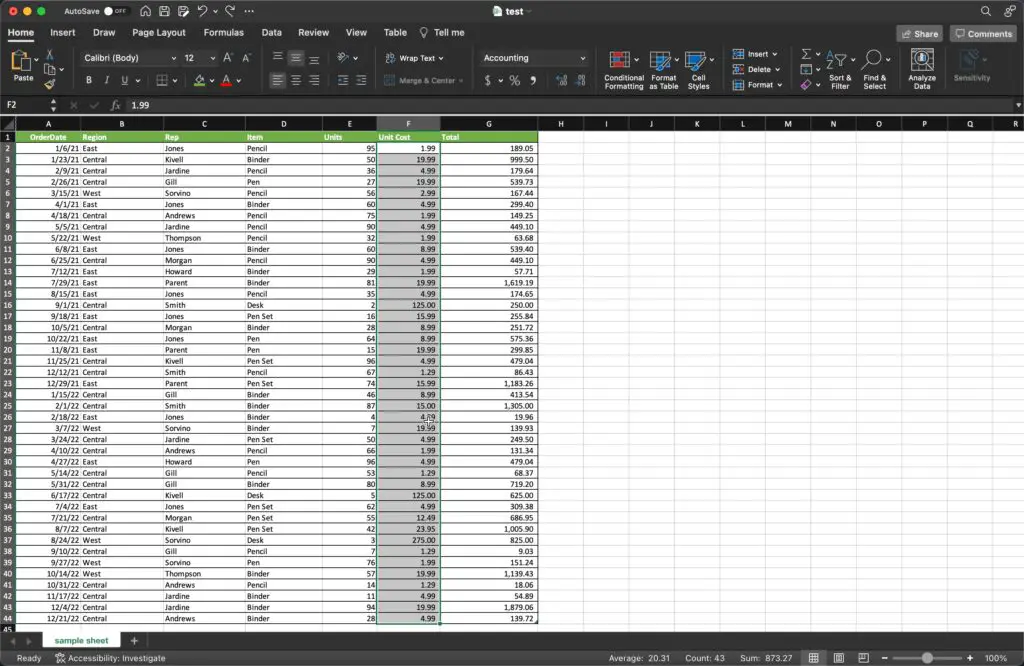
Step 2 – Select the Cells You Want To Protect
Once the sheet is open, you have to start by selecting the individual cells you want to protect.
The selection functionality of your computer limits this step. Most computers allow the selection of multiple cells using:
- the Ctrl button on Windows
- the Command button on MacOS
Hold Ctrl (or Command on MacOS) and click on the cells you want to protect. You can also hold the Shift button to highlight multiple cells between two clicks.
Finally, you can highlight an entire row or column by clicking the left or top banner.
The following video explains cell selection in Microsoft Excel.
Step 3 – Select the “Format Cells” Option
Once you have selected the cells you want to protect, you need to open the “Format Cells” window.

Simply right-click your selection and click the “Format Cells” option as shown in the screenshot above.
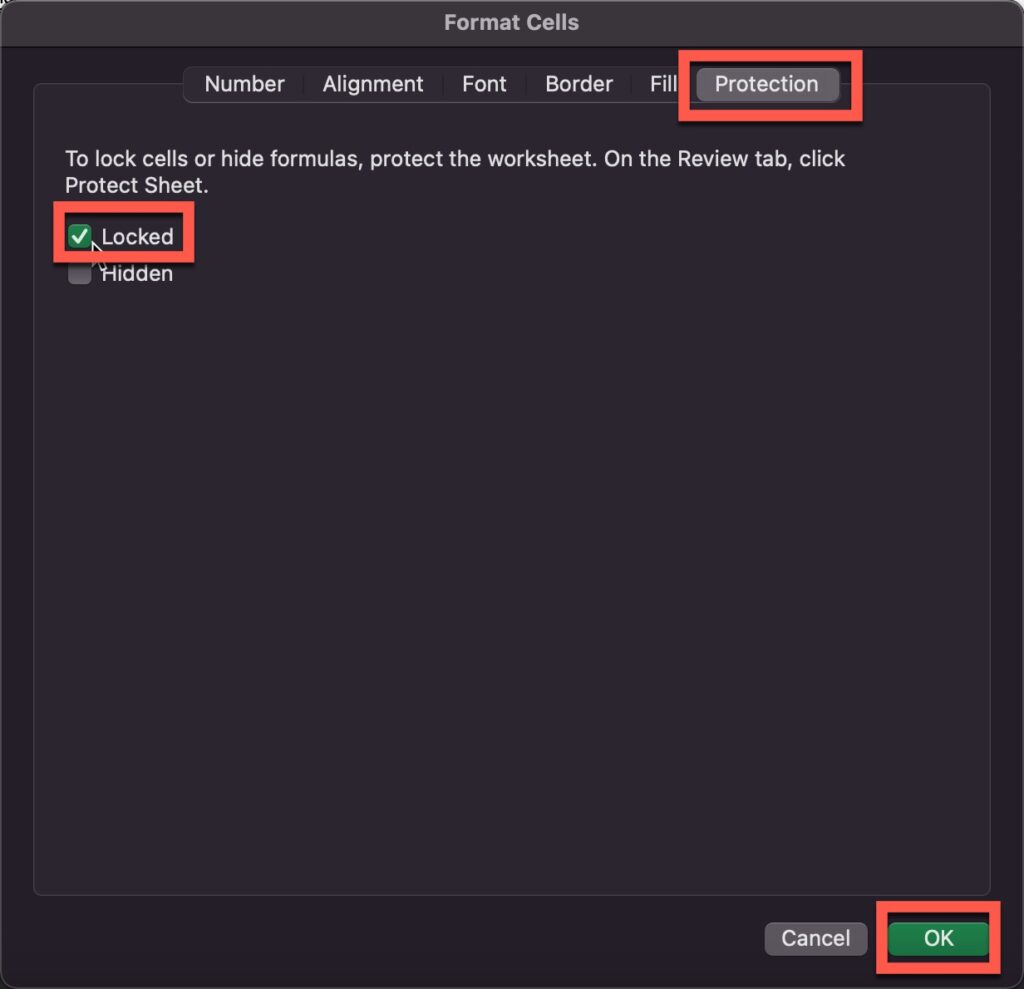
Step 4 – Check “Locked” in the Protection Tab
You will find the protection tab on the right in the formatting window. When you click it, one of the most prominent options is “Locked”, directly above “Hidden.” When you check “Locked.” The cell will become uneditable as shown in the screenshot below:
Step 5 – Navigate to the “Review” Group and select “Protect Worksheet” or “Protect Workbook”
Next, navigate to the “Review” group as shown in the screenshot below:

Once you close the “Format Cells” window, you simply need to go to the “Review” tab.
The “Protect” group of options is relatively easy to spot — it is where the protection features are located.
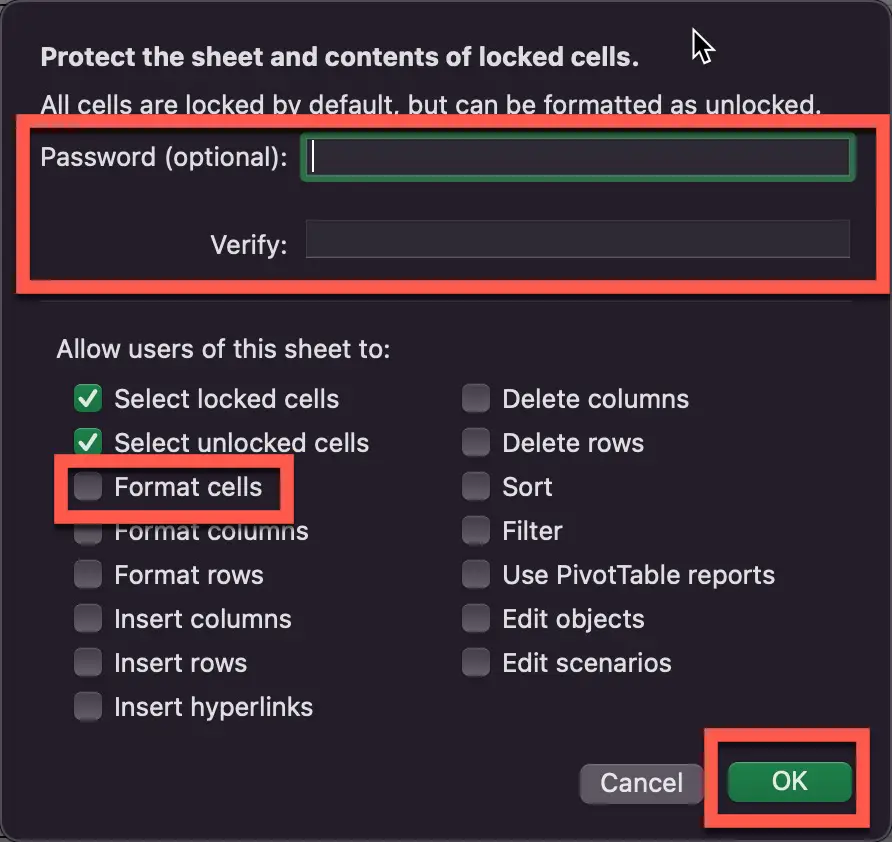
Step 6 – Make Sure “Format Cells” is unchecked and Create a Password and click “OK”
In the “Protect” group, you will have the option to protect your worksheet or the entire workbook.
The sheet refers to the specific page within the Excel document, while the workbook refers to the entire Excel file. Generally, you would want to apply the protection/password at the highest level.
Select:
- “Protect Worksheet” if you want to protect the page
- “Protect Workbook” if you want to protect all the pages in the document.
What matters is that you apply a password that keeps third parties from editing your Excel document.
Note: Microsoft has no official explanation, but different users have reported different outcomes. While some find locking specific cells sufficient for selective protection, others complain that protecting the worksheet locks all cells.
If you find that all the cells have become uneditable after enabling worksheet protection, you can make specific cells editable or turn the entire sheet editable and relock specific cells.
Let’s explore the specific steps for that.
How Do I Allow Users To Edit Cells In A Protected Sheet?
To allow users to edit cells in a protected worksheet, you need to follow the steps below:
- Select the cells you want to be editable
- Right-click the cells
- Click the “Format Cells” option
- Navigate to the “Protection” tab on the right
- Uncheck “Locked” and click “Okay.”
The above steps can remove protection from the cells that are supposed to be edited by a third party. You can use the Ctrl button to select multiple cells at once.
If you want to protect only a few cells but protecting the worksheet has locked all the cells, you can simply use the “Ctrl” + “A” buttons to select all the cells.
Then right-clicking and unchecking “Locked” from the format cells’ protection tab will make every cell editable. You can follow the steps in the cell-protection section early in this post to make specific cells editable.
How to Lock A Cell Without Protecting the Sheet
Locking a cell without protecting the sheet is possible only if you want to protect the cell against accidental edits. There are two ways to approach this. Let’s explore the options.
To lock a cell without protecting the sheet in Excel, you have to:
- Right-click a cell
- Click “Format Cells”
- Open the “Protection” tab
- Check “Locked”
This will make the cell uneditable unless it is unlocked from the “Format Cells” option.
If you want the cell to be protected from intentional edits, you need to protect the worksheet. But if you hesitate to protect the worksheet because you want the rest of the cells to remain editable, you can follow these steps.
To apply worksheet protection to specific cells in Excel, you should:
- Use the Review tab to protect the worksheet
- Use “Ctrl” and “A” buttons to select all the cells
- Right-click while the cells are highlighted and open the “Format Cells” pop-up.
- Go to “Protection” and uncheck “Locked.”
- All the cells are unlocked.
- Now, you can select the individual cells you want to protect
- Right-click while the cells are highlighted
- Click “Format Cells”
- Check “Locked” to apply protection
- Now, the sheet protection is confined to the individual cell
Final Thoughts
Protecting cells in Excel requires two things: locking the cells and enabling a password that keeps others from unlocking them.
To protect cells in Excel, you need to right-click them and check “Locked” after you click “Format Cells” and “Protection,” respectively. Then you need to apply a password to the entire sheet with the “Protect Worksheet” option on the “Review” tab.
The password has to be applied to the entire sheet, but you can selectively lock and unlock cells by right-clicking and navigating to the “Format Cells” option.