Detailed Guide to Creating a Table of Contents in Notion
Sometimes when working in Notion, you have a long page where you might keep a ton of data. The challenge with pages like this is that as your Notion page grows, navigating it and getting to the section you want can be a challenge. This is why Notion created the table of contents block.
So how do you create a table of contents block in Notion? Enclosed below are the steps required to set up a table of contents on a Notion page:
- Open your Page in Notion
- Make sure the page is structured using headings blocks
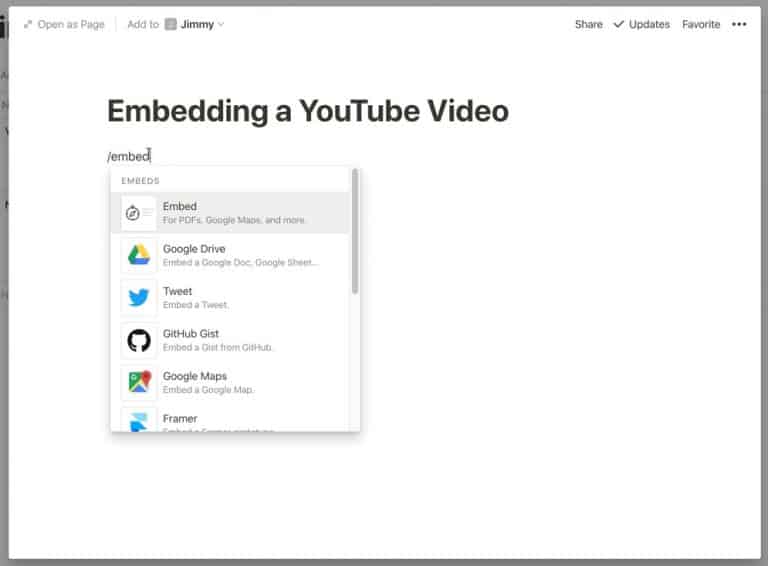
- Click in the body of your page and type “/” and select Table of Contents from the “Advanced Blocks” section of the menu
Before we get started, if you are looking to learn even more about Notion or other apps, Skillshare is a great resource to check out. Skillshare has courses on Notion, Evernote, Todoist, Things 3, Trello and more. In fact, there is a great Notion course by Francesco D’Alessio on Notion that you can check out at the link below:
Link to Notion Course on Skillshare
If you are just starting out with Notion and aren’t sure where to get started, you really need to check out my comprehensive beginner’s guide to Notion. It goes through all things you need to know to get started the right way. Enclosed below is the link to the guide:
Link to Beginner’s Guide to Using Notion With Screenshots
Looking for some information on the power of Notion? Check out our article containing tips to help you become a power user of Notion at the link below:
Let’s get started with adding a table of contents to a page in Notion.
Open Notion
The first thing we want to do is open up Notion to the page where we want to add the table of contents. I recommend only adding a table of contents to a page with a lot of content.
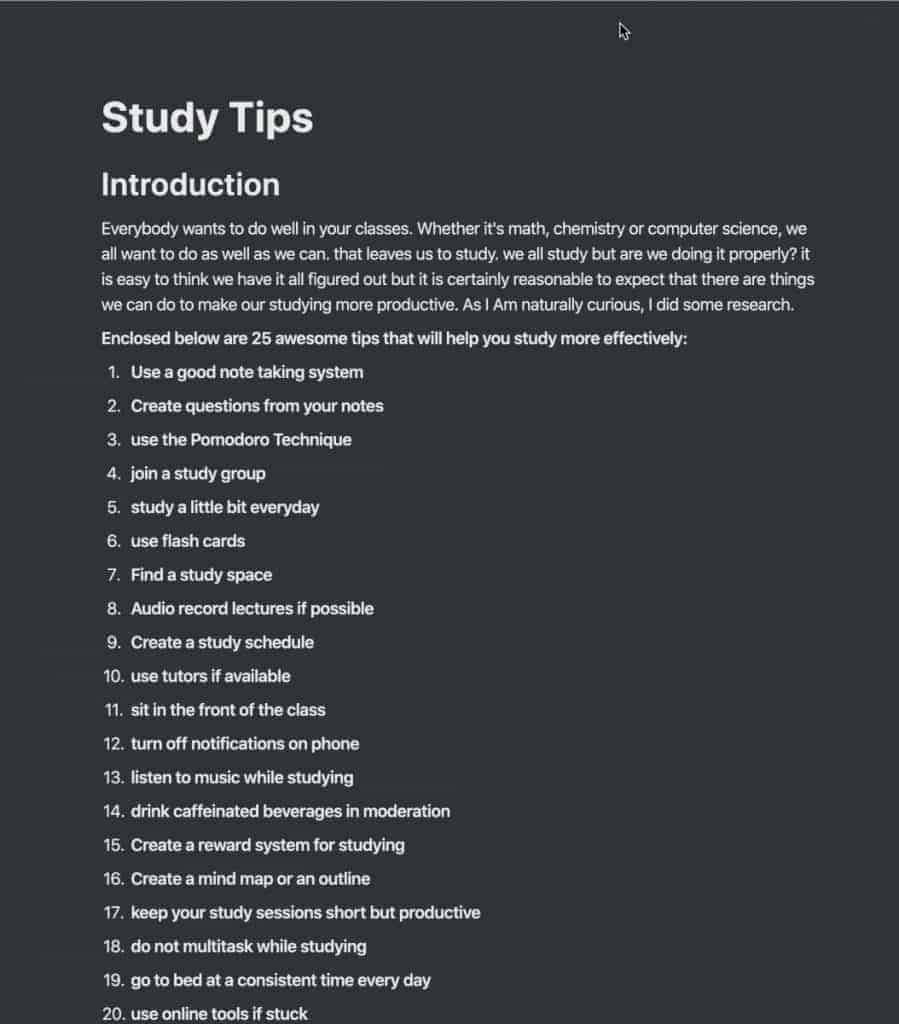
Make Sure Your Page is Structured using Headings
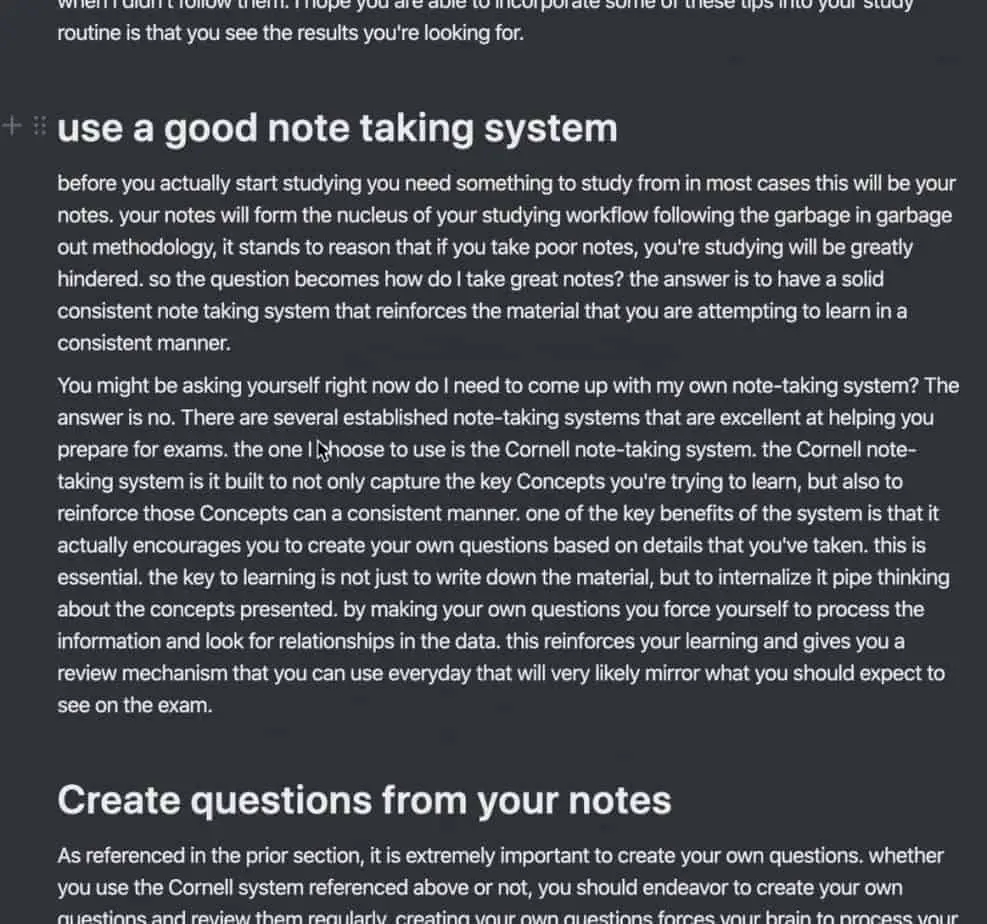
The Notion page I chose had over five thousand words. The page was structured using heading blocks like H1, H2, H3. This is essential for Notion to know how to create and structure your table of contents for the page.
Add a Table of Contents Block to your Page
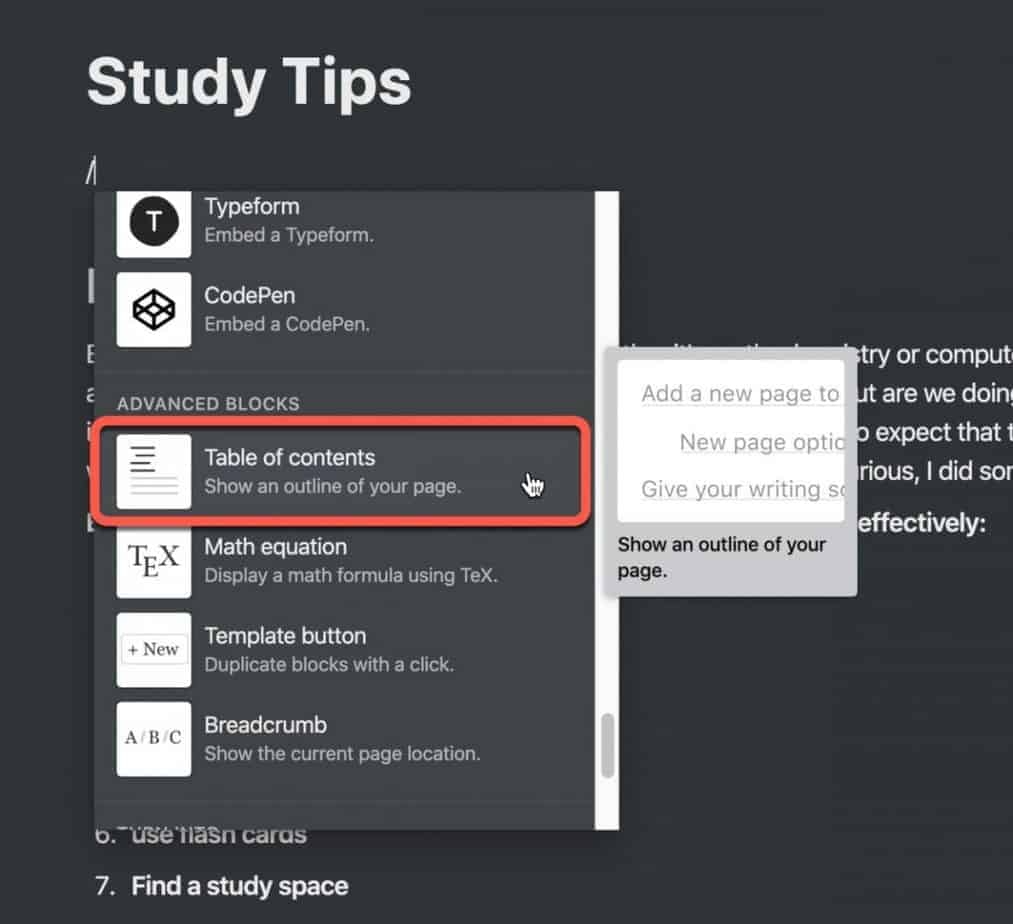
Click in the body at the top of your Notion page and type “/“. The block menu will appear. Scroll down to the “Advanced Blocks” section of the menu and select “Table of Contents“.
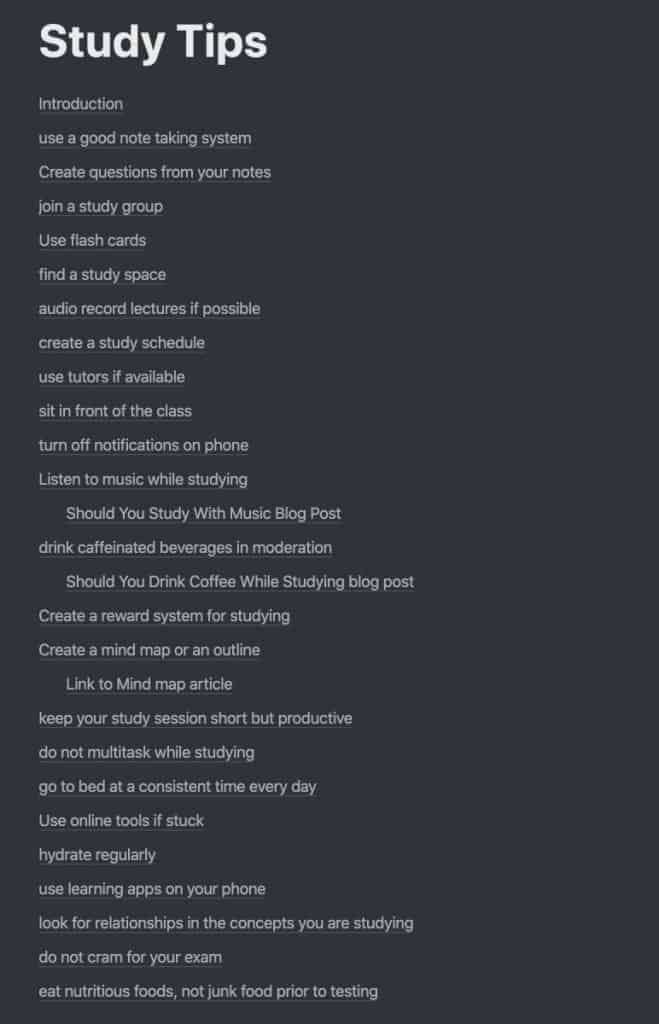
As you can see, Notion generates a structured listing of all the headings in my Notion page as individual anchor links. Anchor links are links that allow you to jump to a specific section of a web page. It is easy to forget that a Notion page is essentially a wiki page and works functionally a lot like a web page.
Navigating a Notion Page using a Table of Contents
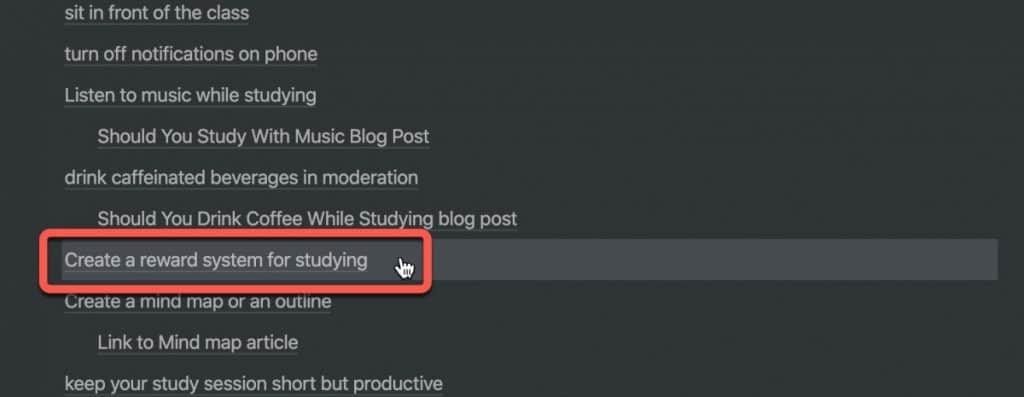
To navigate to a specific section of your Notion page, simply click the link of the section you want to navigate to (in the case of the image above, the “Create a reward system for studying” section.
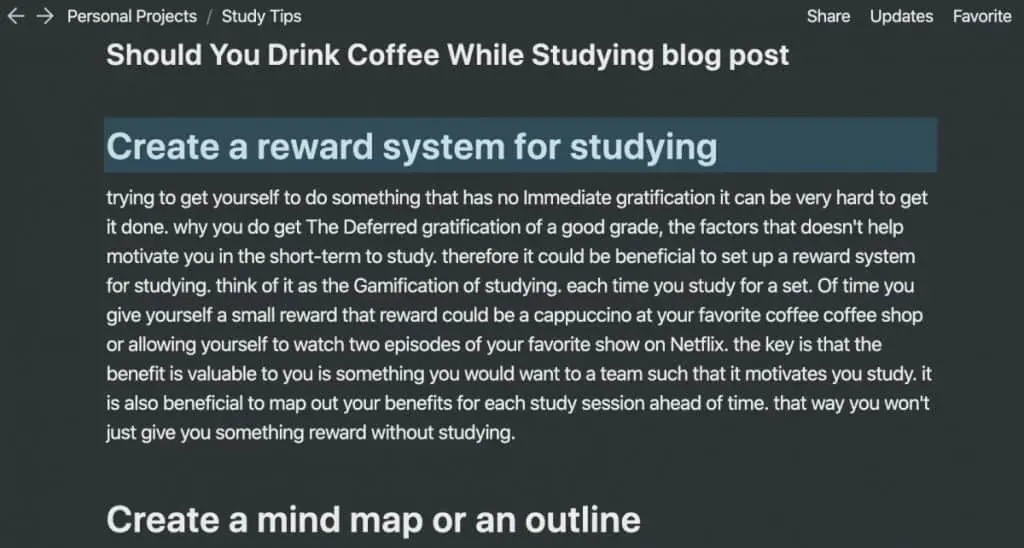
Once you click the link, you will be taken to the exact point in the page where that section begins on your Notion page.
Moving the Table of Contents Block around your Notion Page
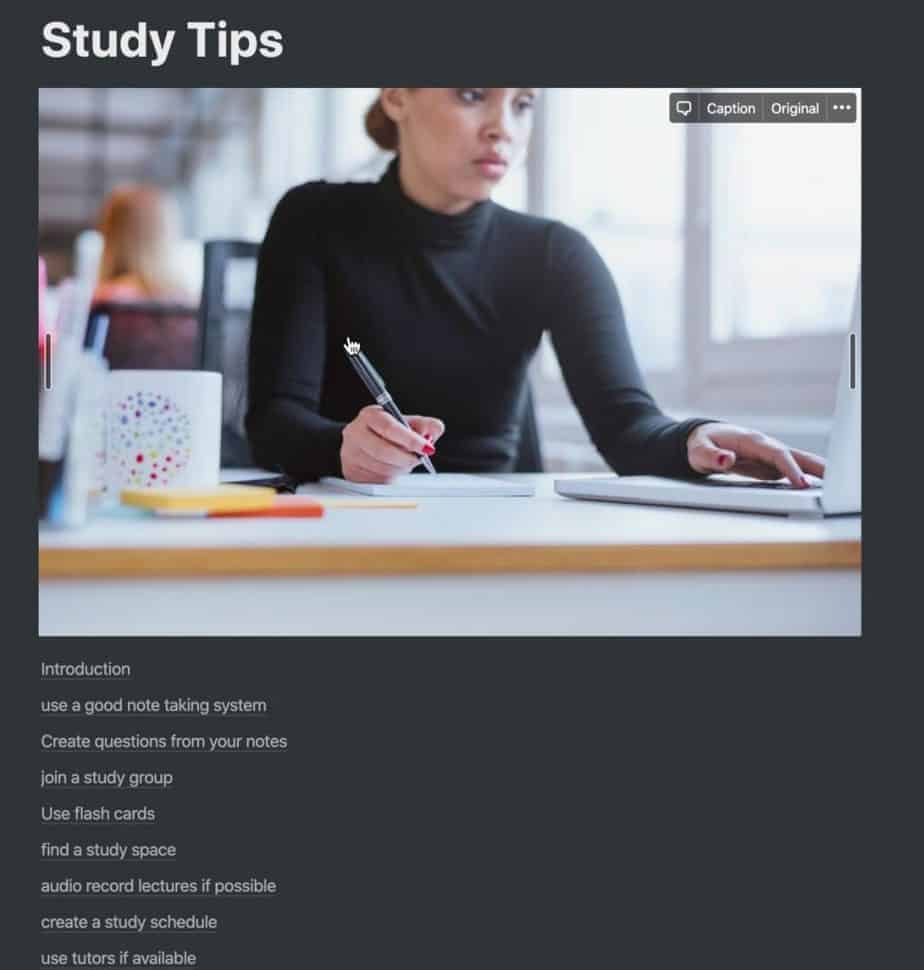
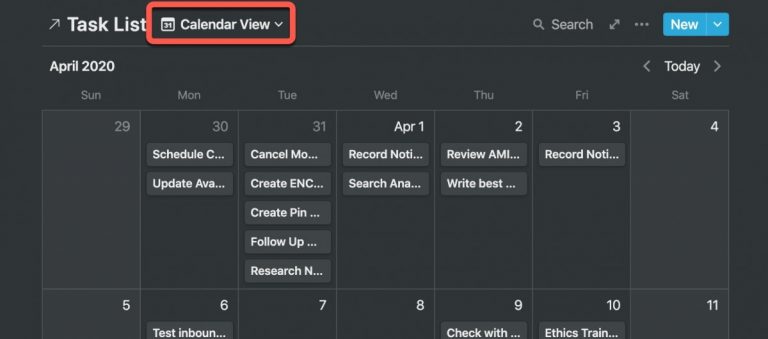
The table of contents block is a content block like any other and, thus, you can move it around your Notion page. While I still recommend that you keep it at the top of your Notion page, there still may be situations where you want something next to it, like a chart or an image.
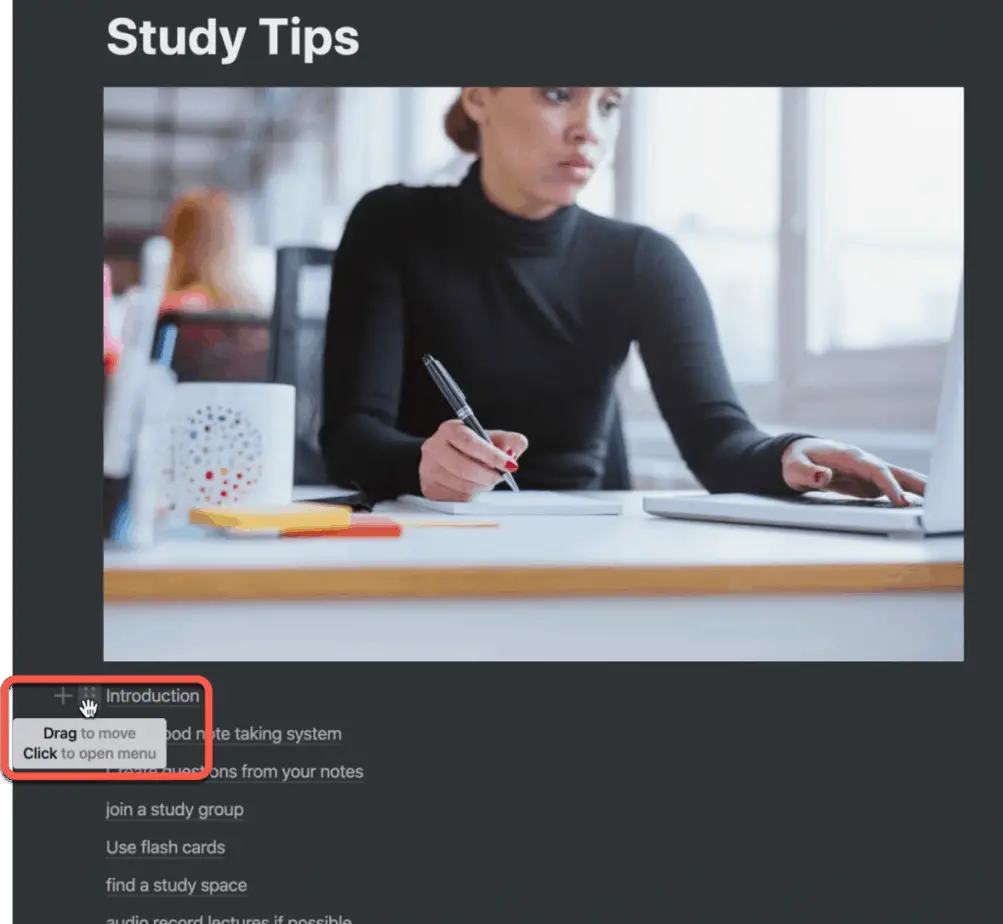
Moving your table of contents block is easy.
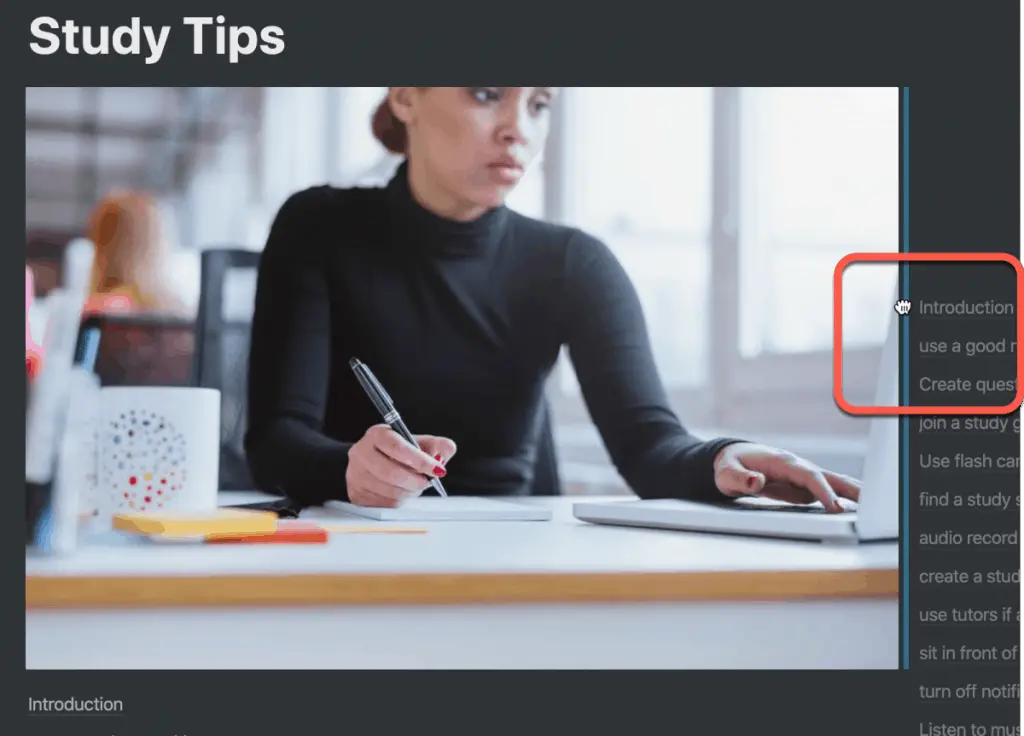
Simply move your cursor to the left of the block, click and drag it to the position you want it and release the mouse button.
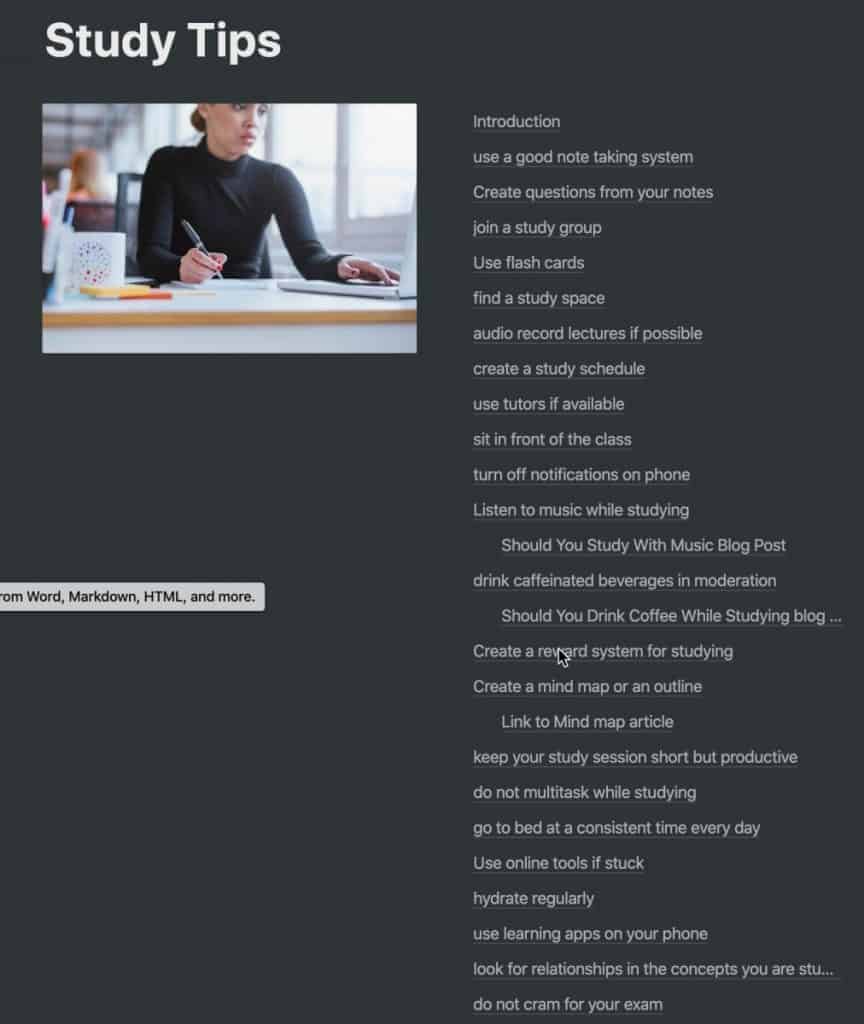
As you can see, the table of contents is now aligned to the right of my image.
Summary
Adding a table of contents to a page in Notion is straight-forward. The key thing is to make sure you structure you page using headings and subheadings. I hope you found this tutorial on using table of contents in Notion helpful. Good luck!
Want More Tips and Tricks? Subscribe to our Newsletter!
If you haven’t already subscribed, please subscribe to The Productive Engineer newsletter. It is filled with tips and tricks on how to get the most out of the productivity apps you use every day. We hate spam as much as you do and promise only to send you stuff we think will help you get things done.
Check Out Our YouTube Channel!
We have a YouTube channel now and we are working hard to fill it with tips, tricks, how-tos, and tutorials. Click the link below to check it out!
Check out our Resources Page
Check out our resources page for the products and services we use every day to get things done or make our lives a little easier at the link below: