How To Take a Screenshot on Google Docs – Complete Tutorial
Ever needed to take a screenshot of your Google Doc but didn’t know how? Well, you’ve come to the right place because we’ll walk you through how to use this handy tool. This will ensure you can easily capture your necessary information quickly.
So, let’s take a look at the complete process of how to take a screenshot of Google Docs on different types of devices.
How to Take a Screenshot on Google Docs Using a MacBook
Enclosed below are the steps required to take a screenshot in Google Docs using a Mac:
- Open Google Docs to the document you want to screenshot
- Press Command-Shift-4 to begin the screenshot process
- Click on the screenshot thumbnail in lower right-hand corner of screen
- Click the “Circle Pen” button to edit screenshot
- Click “Done” to save screenshot
Open your Google Doc
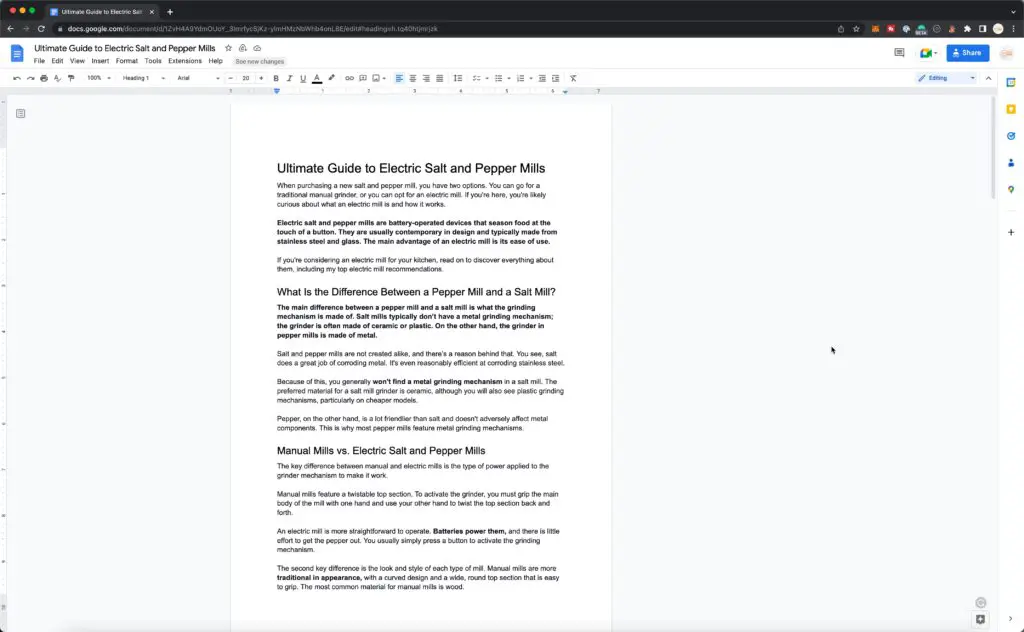
Navigate to Google Docs and open the document you want to take a screenshot of.
Press Command + Shift + 3 to take a screenshot of the entire screen
Once you’re ready to take your screenshot, press the Command + Shift + 3 keys on your keyboard.
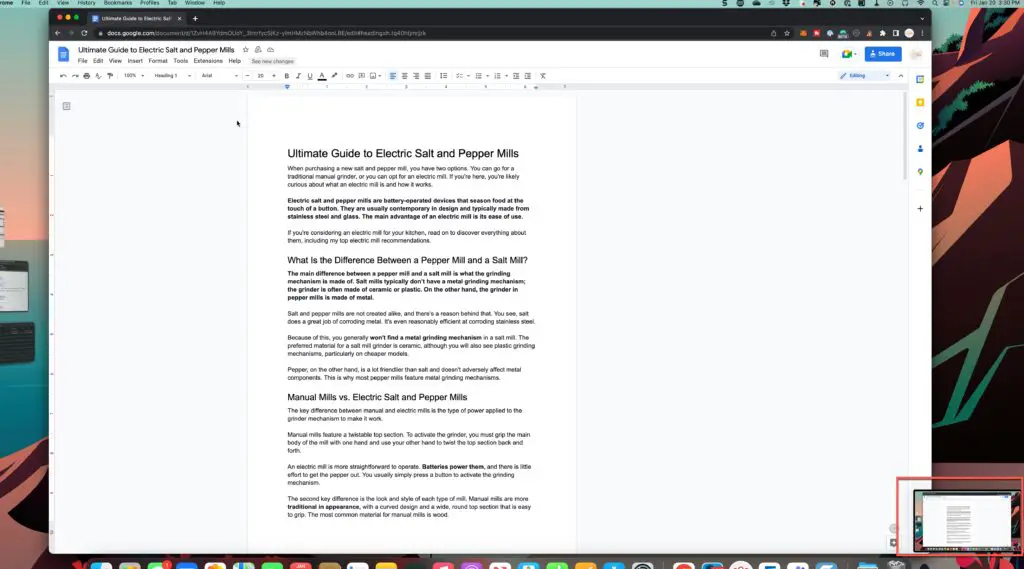
When the shot has been taken, your Macbook will instantly bring up an image of your screenshot in the lower left-hand corner of the screen, as shown in the screenshot above.
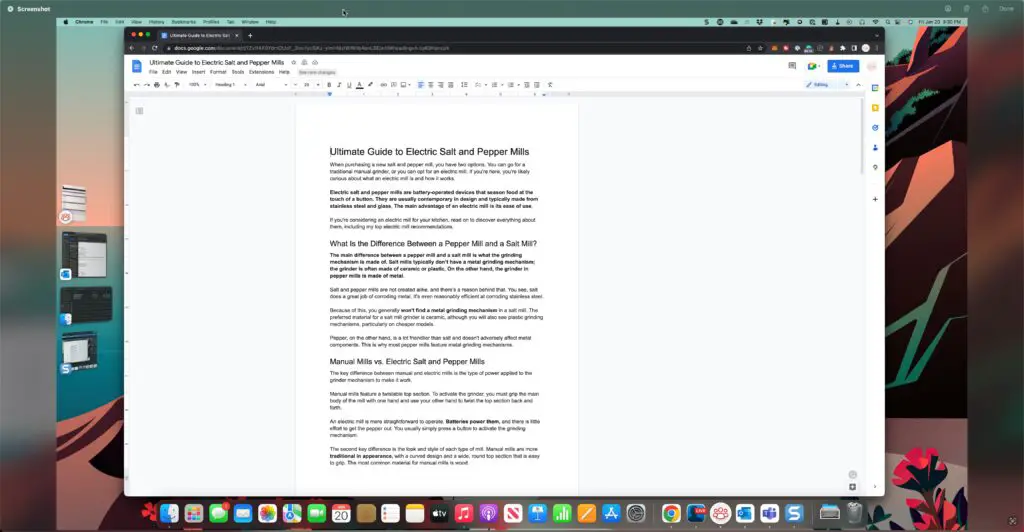
Click on the screenshot image to edit or save it. You should see a screen like the one above.
Edit your screenshot by clicking the “circle pen” button
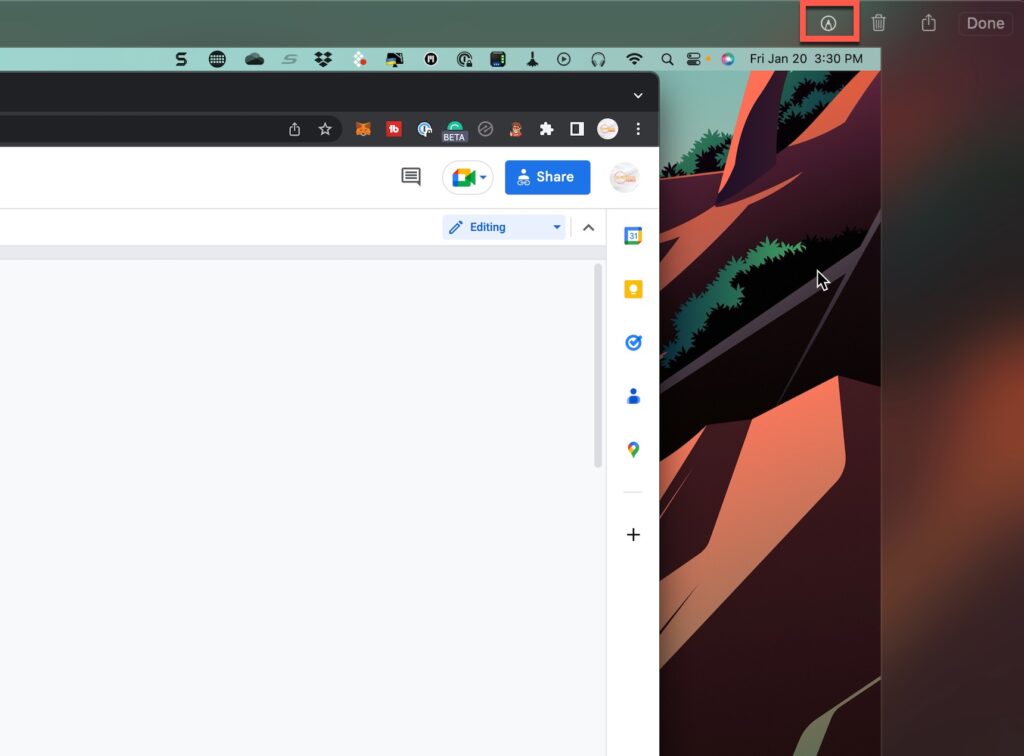
You’ll have the option to crop the image, add notes, add your signature, and other functions by clicking the pen button in the upper right corner of the screen, as shown in the screenshot above.
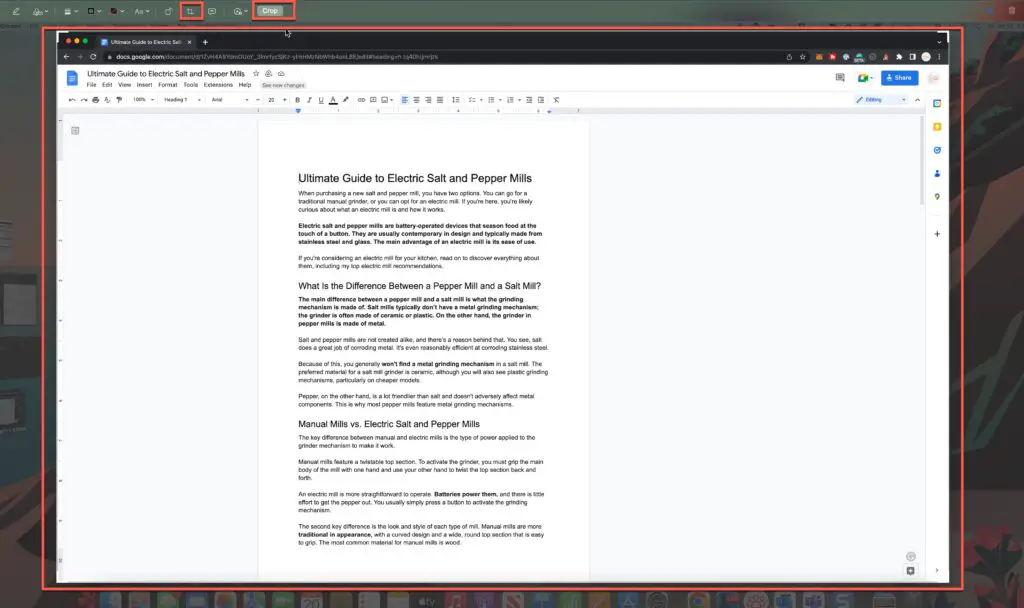
You should now see the editing toolbar as shown in the screenshot above. If you want to crop the screenshot, clip the “Crop” tool and drag the edge of the screen until you have it the way you want then press the “Crop” button as shown in the screenshot above.
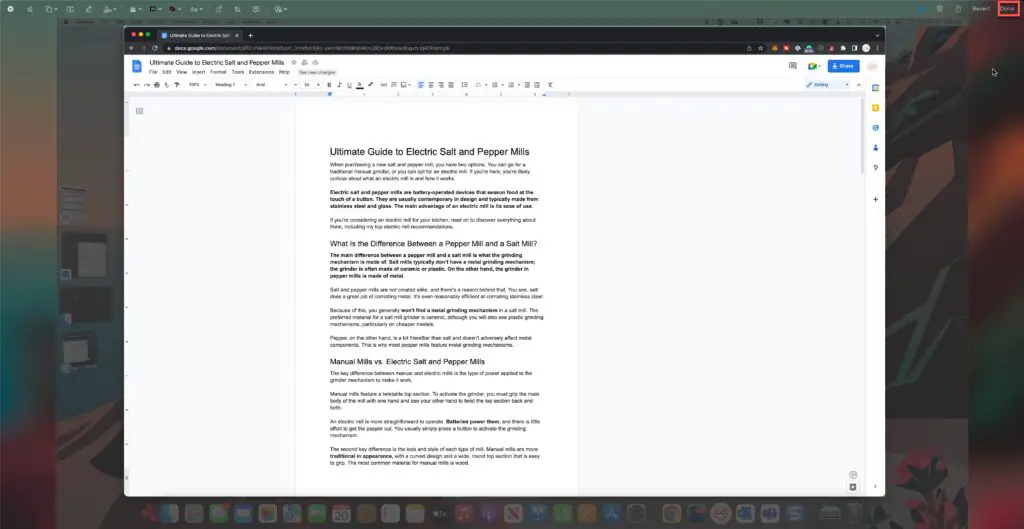
Your screenshot will now appear cropped as shown above.
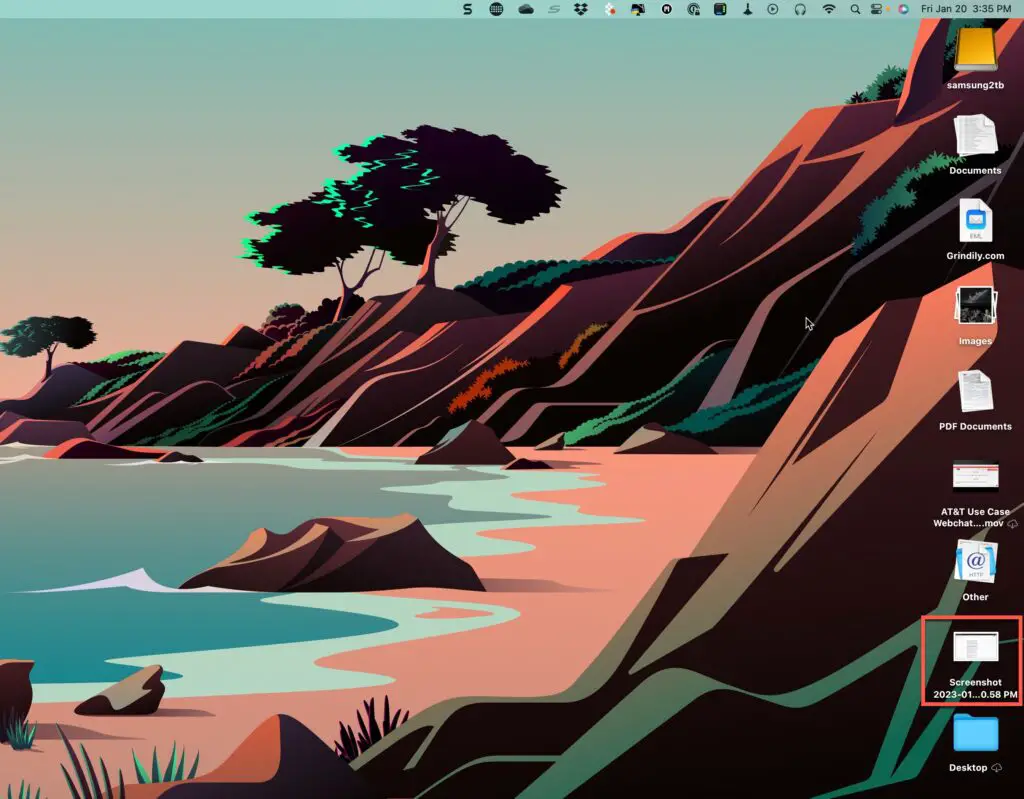
You should now see your screenshot on your desktop. The desktop is where MacOS saves screenshots by default.
Alternatively, you can press Command + Shift + 4 to take a screenshot of a specific part of the screen.
This will allow you to crop the screenshot as you take it. With this, after pressing the screenshot shortcut key, you will use your cursor to draw a rectangle highlighting the area you want to screenshot.
Press done. Once you are happy with your screenshot, you can press done. It will then save to your desktop or gallery under a name such as Screen Shot 2019-08-25 at 12.23.41.
How to Take a Screenshot on Google Docs Using A Windows PC
Open Your Google Doc. Have the correct document you are going to take a screenshot of.
Aim the screenshot. You can only take one screenshot at a time, so make sure to get the exact sections you’re needing to take with the screenshot in the frame of your PC.
Press the PrtScn Key. When you’re going to take your screenshot, you’ll press the PrtScn key which is located on the top row of your keyboard. This then takes a screenshot of your monitor screen, and it will copy to your clipboard.
Open the Paint App. Once you’ve taken a snap of the screen and it has been automatically copied to your clipboard, you’ll need to open your Paint app and paste the screenshot here. You’ll then save this as a PNG file to your PC and save it to your designated area.
How to Take a Screenshot on Google Docs Using An iPad
Open your Google Doc. Have your document open on the Google Docs app that you would like to screenshot.
Take aim. You will only be able to take a screenshot one by one, so to get the exact sections you’re needing into the frame, make sure to align it with everything you’re needing visible on the screen.
Press the Home button and the top button simultaneously. When you’re ready to take your screenshot of the Google Doc on your iPad, it takes two hands to take the screenshot. With one hand, press the Home button and with the other simultaneously press and release the top button.
Or
Press the top button and a volume button simultaneously. If your iPad is a model that doesn’t have a Home button, you will press the button on the top-right of the edge, and simultaneously press one of the volume buttons and release them. It doesn’t matter which volume button you press.
Edit the screenshot. As soon as the screenshot has been taken a small window to preview and edit your shot will pop up in the bottom left corner of the iPad.
Press done. Once you have edited your screenshot, press the ‘done’ button. It should save to your gallery under a name like a Screenshot 2019-08-25 at 12.23.41.
How to Take a Screenshot on Google Docs Using a Windows PC
If you’re using a Chromebook, taking a screenshot of your Google Doc is similar to using a Macbook or Windows PC, but it will require you to press different keys.
Have your Google Doc open. First, ensure you have the correct Google Doc open that you will take a screenshot of.
Aim your screenshot. Line up your screen to get the specific sections you need to take with the screenshot in the screen’s frame.
Hold the Ctrl and Switcher/F5 simultaneously. Holding these two keys simultaneously will take a picture of your entire screen. Your screenshot will automatically save to your downloads file.
A small window will appear at the bottom right section of your screen. If you click on this, it will allow you to view your screenshot to ensure it has captured your desired shot.
Final thoughts
Being able to take screenshots on Google Docs is a highly convenient tool. Whether you need to view or edit something urgently or save the information for later. Taking a screenshot is perfect for capturing your Google Doc. Depending on the device you use, your Google Doc will determine what method you need to use when taking a screenshot. But no matter which device you use, this skill is still valuable when working with your Google Docs.
Sources
https://docs.google.com/document/preview?hgd=1&id=1Bzb6JUIys3Y7LOrPAA5B7d45YxxWWoPeSYGylk8FsAo

