How Do I Remove Myself From A Shared Google Slide Quickly and Easily
Google Drive has been lending a helping hand to several professionals in working with files on the go. Even if you don’t own a particular file, you can still request access rights and alter the file. However, when it’s time to eliminate shared files from your drive, you need to know how to do it properly. What if you want to remove yourself from a shared Google Slide?
- Open the presentation.
- On the top right of the window, click Share.
- A dialog box opens with a list of users sharing the file.
- To the right of your name, you can see your editing permission.
- Click Editor and then select Remove Access.
If you’d like to get further help in removing yourself from various Google Drive folders, scroll below.
How To Remove Yourself From A Shared Google Slide
It’s incredibly easy to remove yourself from a shared file or folder and save some storage space to accept new files. To remove yourself from a shared Google Slide, do the following:
1. Open the shared presentation.

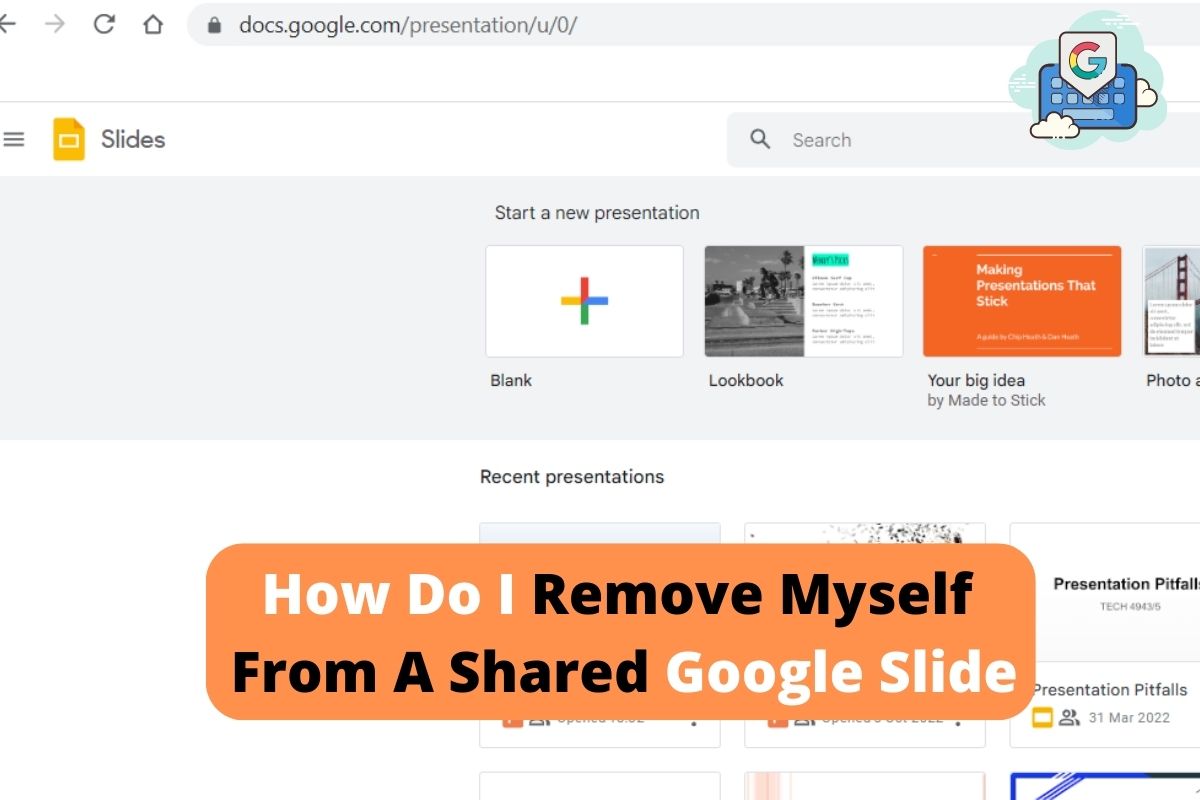
First, open up Google Slides in your web browser. Next, open up the shared presentation.
2. On the top right of the window, click Share.

In the upper-right-hand corner of the Google Slides window, you should see the “Share” button. Click it.
3. A dialog box opens with a list of users sharing the file
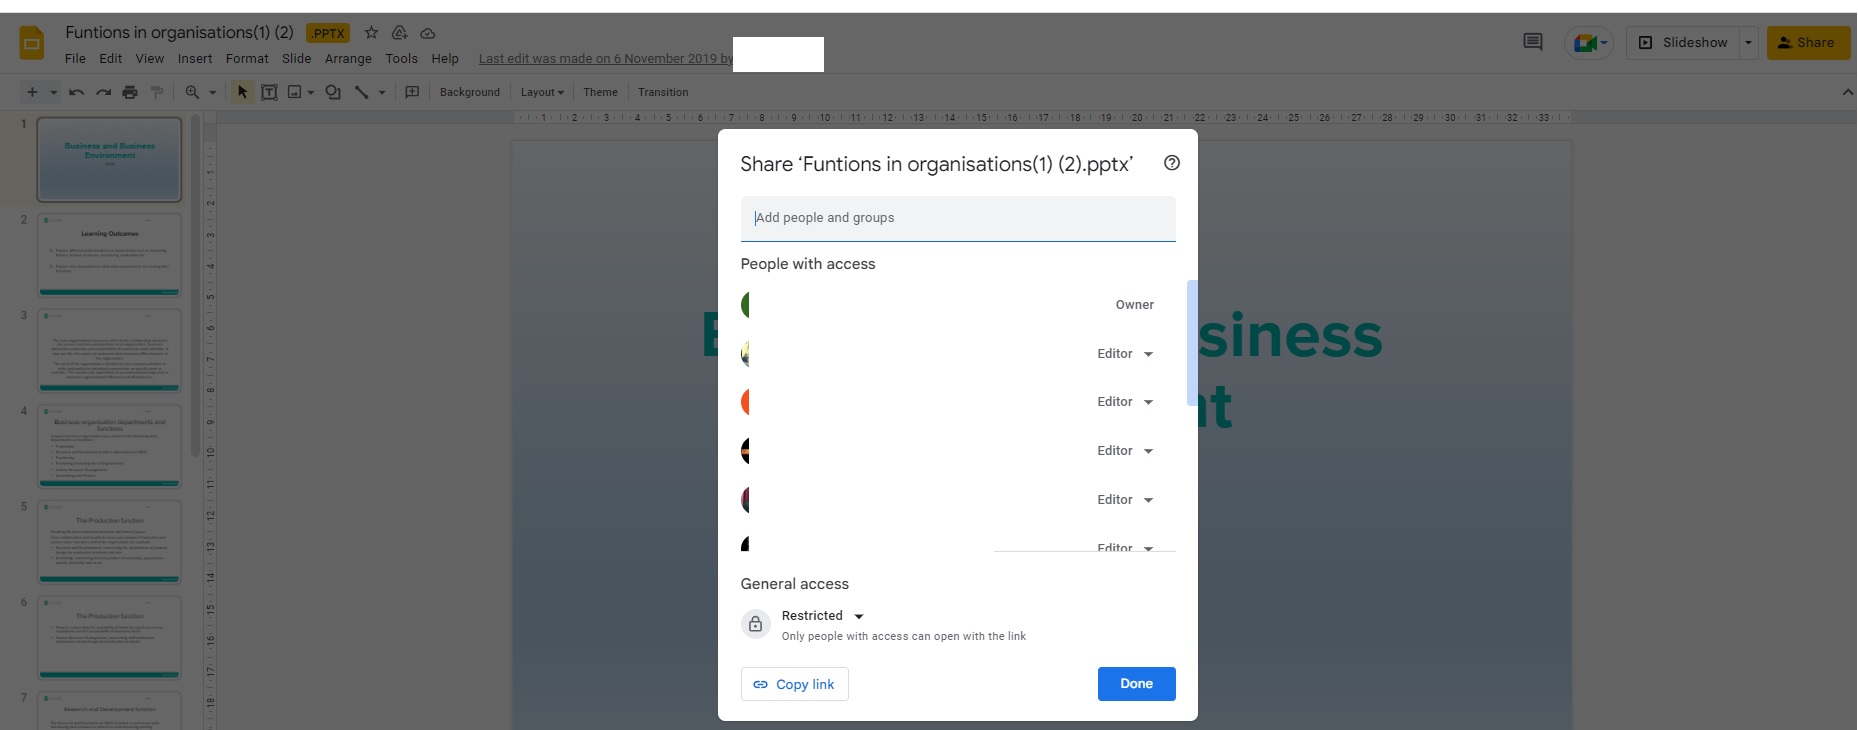
You should now see a dialog box like the one shown above that displays all of the users with access to the presentation and their level of permission. Scroll until you find your name.
4. Click Editor and then select Remove Access.
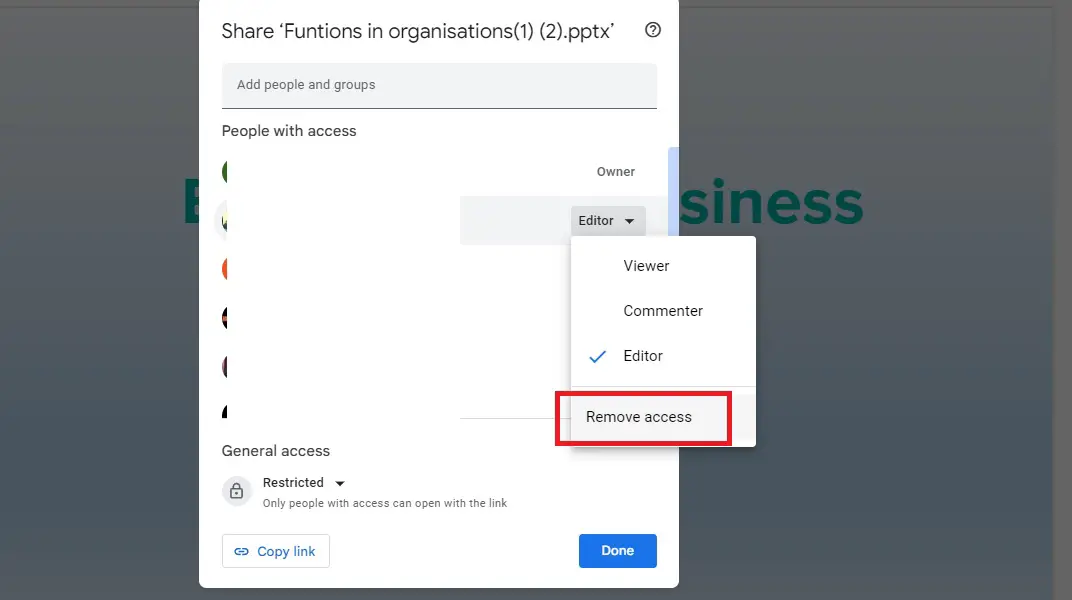
To the right of your name, you can see your editing permission. Click Editor and then select Remove Access. Click the “Done” button to share your changes.
You can repeat the same steps for as many files on Google Slides as you wish.
How To Remove Myself From A Shared File on Google Docs
Removing yourself from a shared file on any Google application is easy and quick. The steps are almost the same.
Let’s look at the steps for Google Docs, in particular.
- Open the shared document.
- On the top right of the window, click Share.

3. A dialog box opens with a list of users sharing the file.
4. To the right of your name, you can see your editing permission.
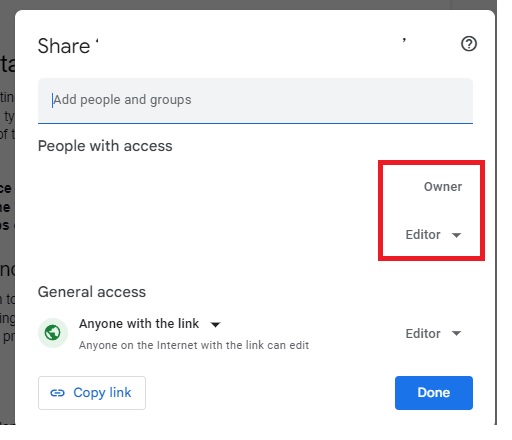
5. Click Editor and then select Remove Access.
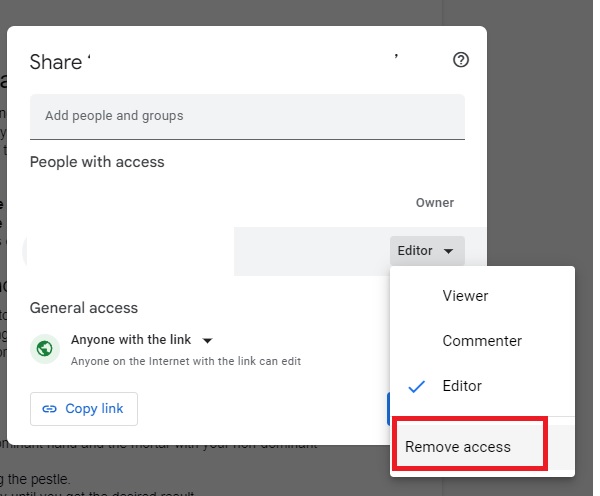
Didn’t you find it easier to get your account sorted with this quick fix?
How To Remove Myself From A Shared Google Sheet
Removing yourself from a shared Google Sheet takes less than a minute. Here are the steps to get it right.
- Open the shared spreadsheet.
- On the top right of the window, click Share.

3. A dialog box opens with a list of users sharing the file.
4. To the right of your name, you can see your editing permission.
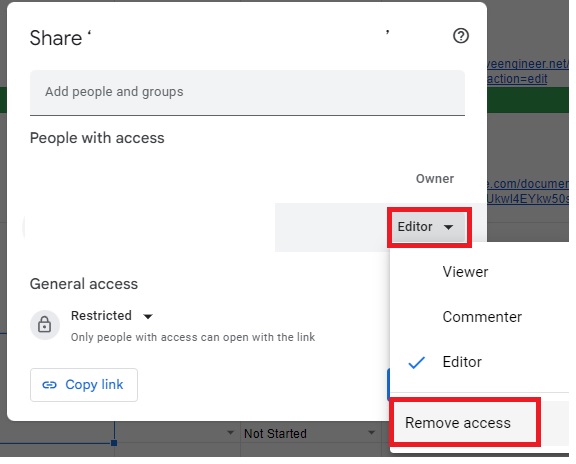
5. Click Editor and then select Remove Access.
Google Drive Can’t Remove Shared With Me
When you’re unable to remove yourself from a shared file, it means that the document is either open to all or only viewable or already in your bin folder. You need to check access permissions before you re-attempt the removal process.
It’s not uncommon to forget the ownership of a shared file or folder. If you’ve already removed the file, it can remain in the trash. Alternatively, when there’s no option to edit or if you aren’t added to the file, you may not have the option to remove yourself as well.
Final Thoughts
The advantage of using files on Google Drive is that you can grant or revoke permissions to files. When you remove yourself from a file, remember to double-check, or you may lose access and repent later.

