How To Layer Images in Google Docs – Complete Guide
Layering can be a good way of creating visually stunning images, helping you stand out from the pack. This can also be used to help you create logos or document headings. To do this, you will need to merge two photographs or add some text to your image.
Other platforms make layering your images easy. But it can be a little trickier to do this in Google Docs. The good news is that there are a few techniques you can use. Keep reading to learn how to create layered images in Google Docs.
Layering Images in Google Docs
You can use the Drawing section to help you layer two images over each other. Here are the steps to follow during this process:
- Select Insert -> Drawing -> New
- Click and Drag the First Image onto the Drawing Window
- Click the Image Button to Add a Second Image
- Position your images. Once you have the image, you can edit the way it appears. For example, you can re-size it and change the orientation. This will ensure that the overlay looks the way you want it to.
- Save the new image. Once you are happy with the way it looks, you can use the Save And Close button. This will merge the two in your document. If you want to make more adjustments, you can double-click on the image. This will take you back to the drawing tab.
Step One: Select Insert -> Drawing -> New

In the main menu, select Insert -> Drawing -> New to add a new drawing object to your Google Doc.
Step Two: Click and Drag the First Image onto the Drawing Window
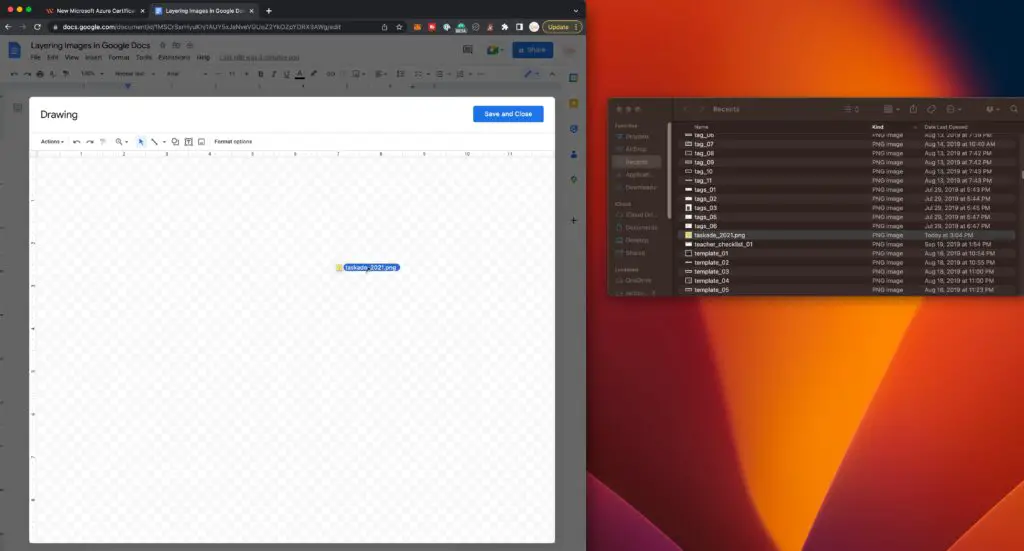
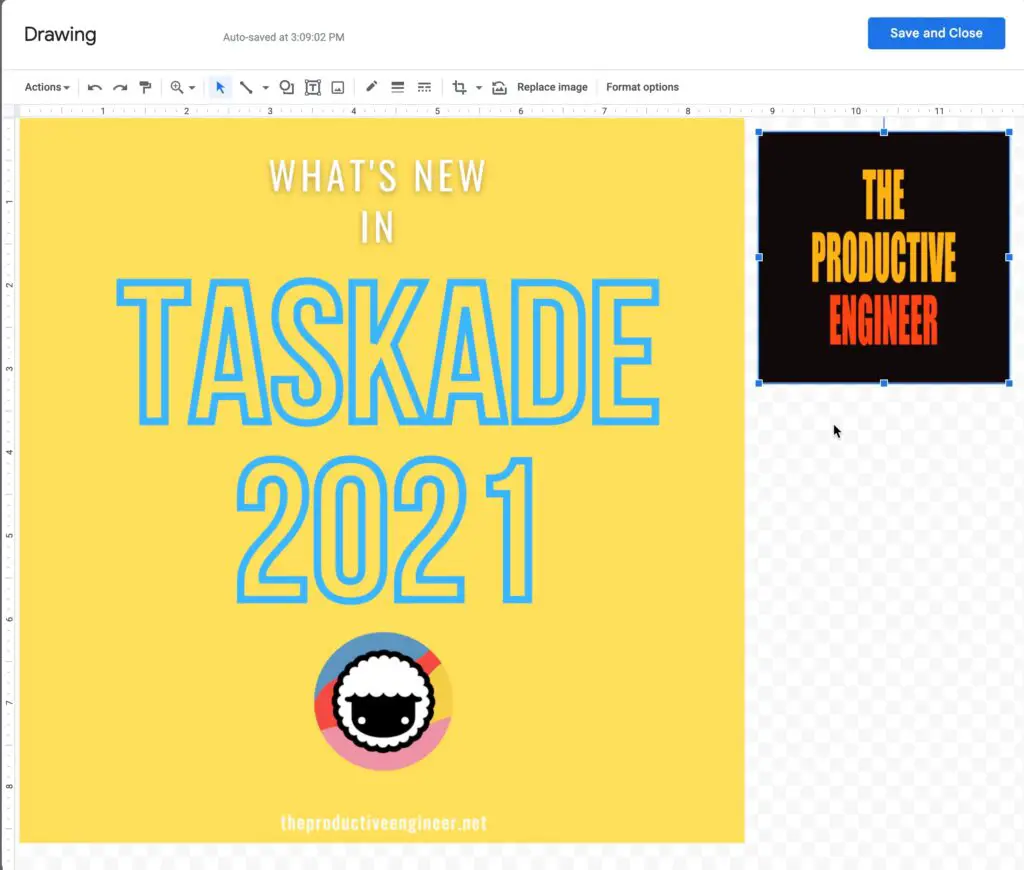
Next, click and drag the first image onto the drawing window as shown in the screenshot above.
You should now see your first image in the window like the one shown above.
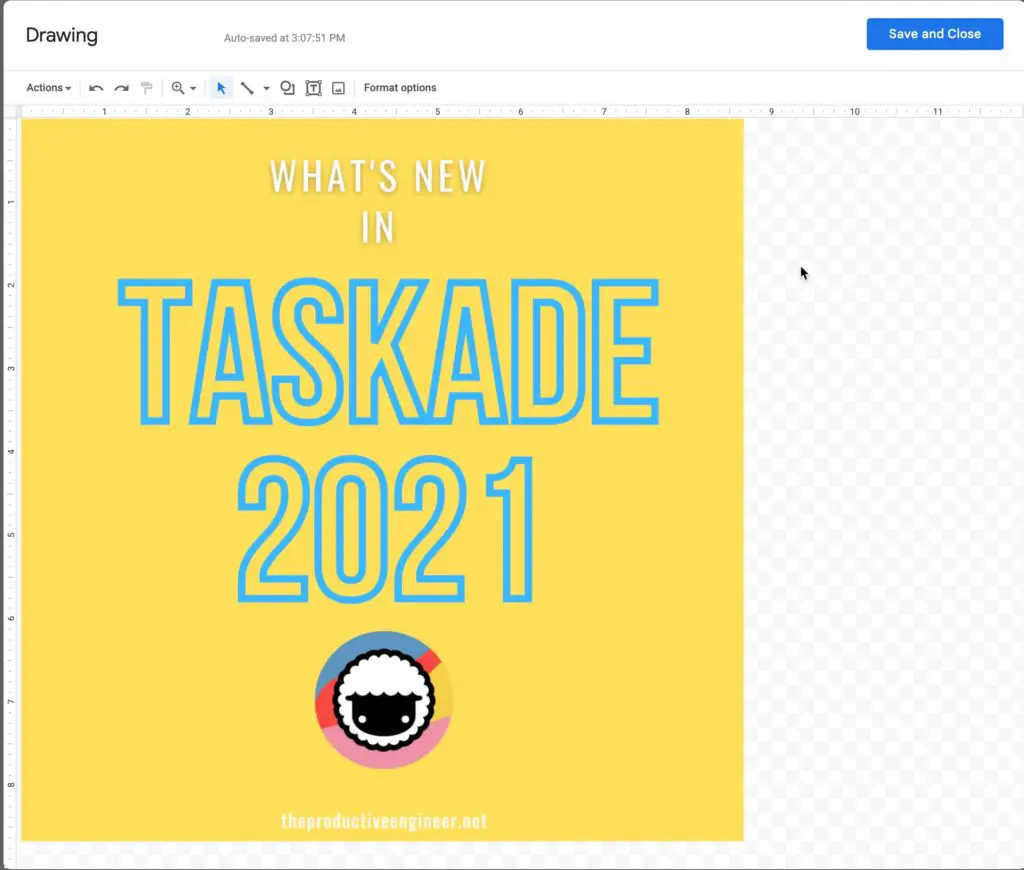
Step Three: Click the Image Button to Add a Second Image
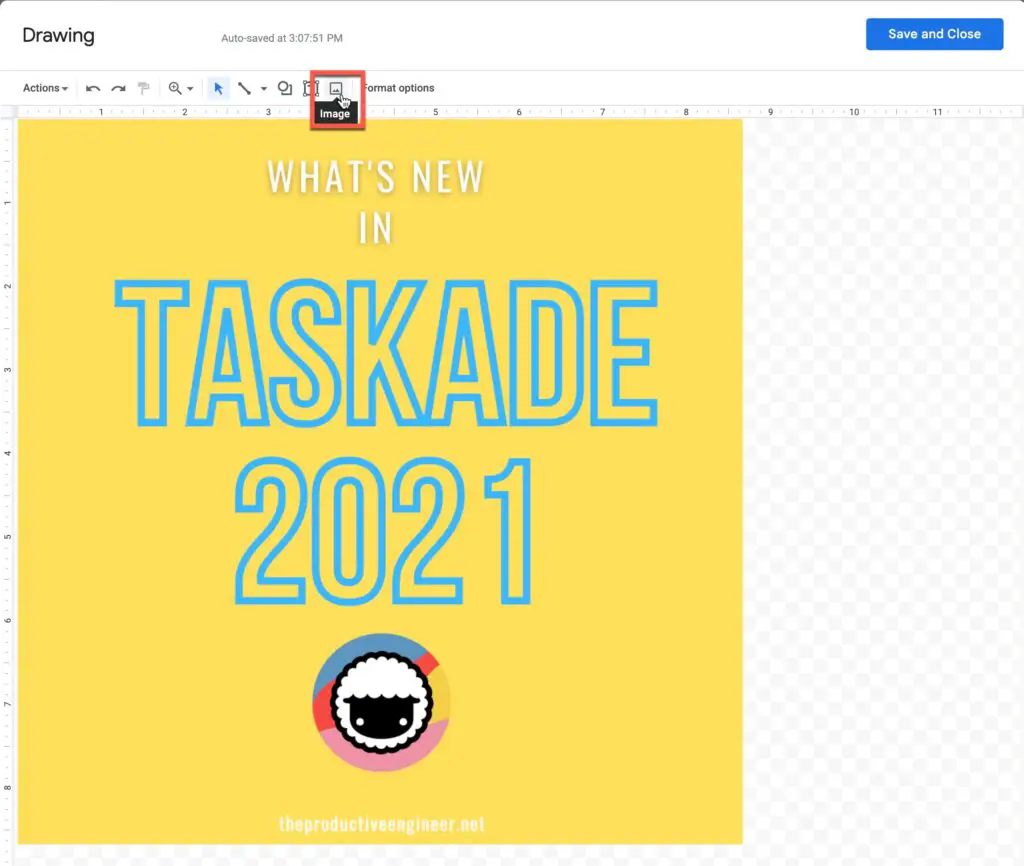
In the toolbar above the image canvas area, click the “Image” button as shown in the screenshot above to add a second image to your google doc.
Step Four: Drag Your Second Image into the Insert Image Box
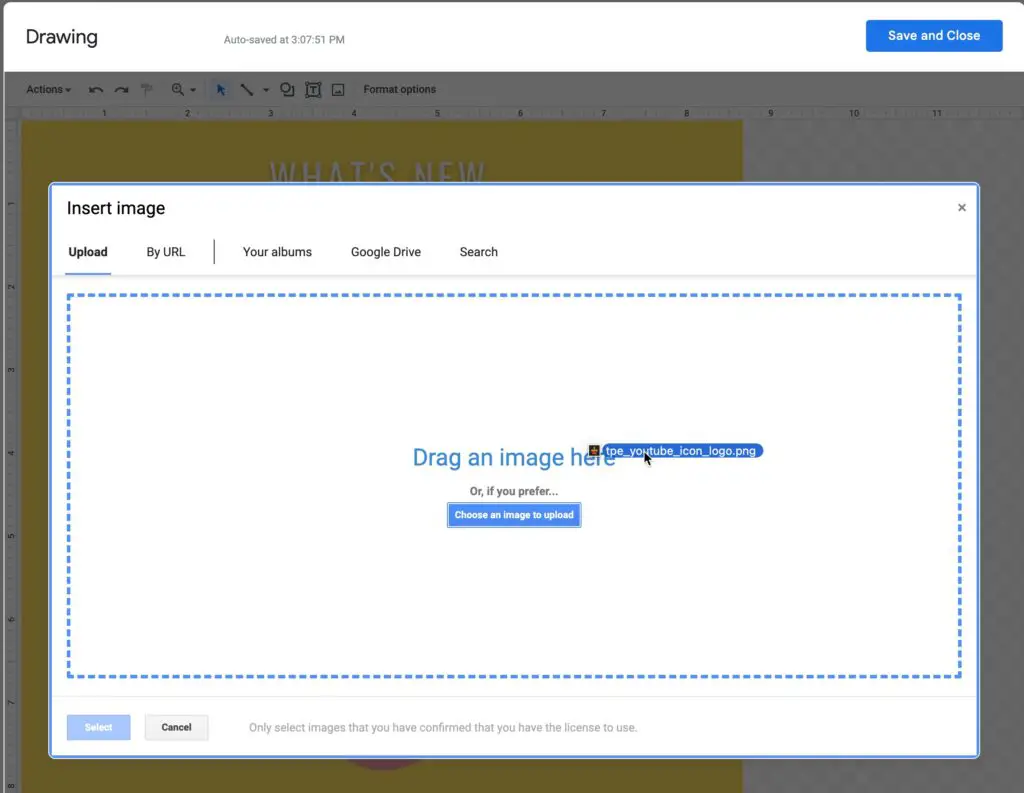
The Insert Image dialog box should now show, as shown in the screenshot above. Click and drag the image you want to layer into the Insert Image box.
Step Five: Select the Image You Want on Top and Select Actions -> Order -> Bring to Front
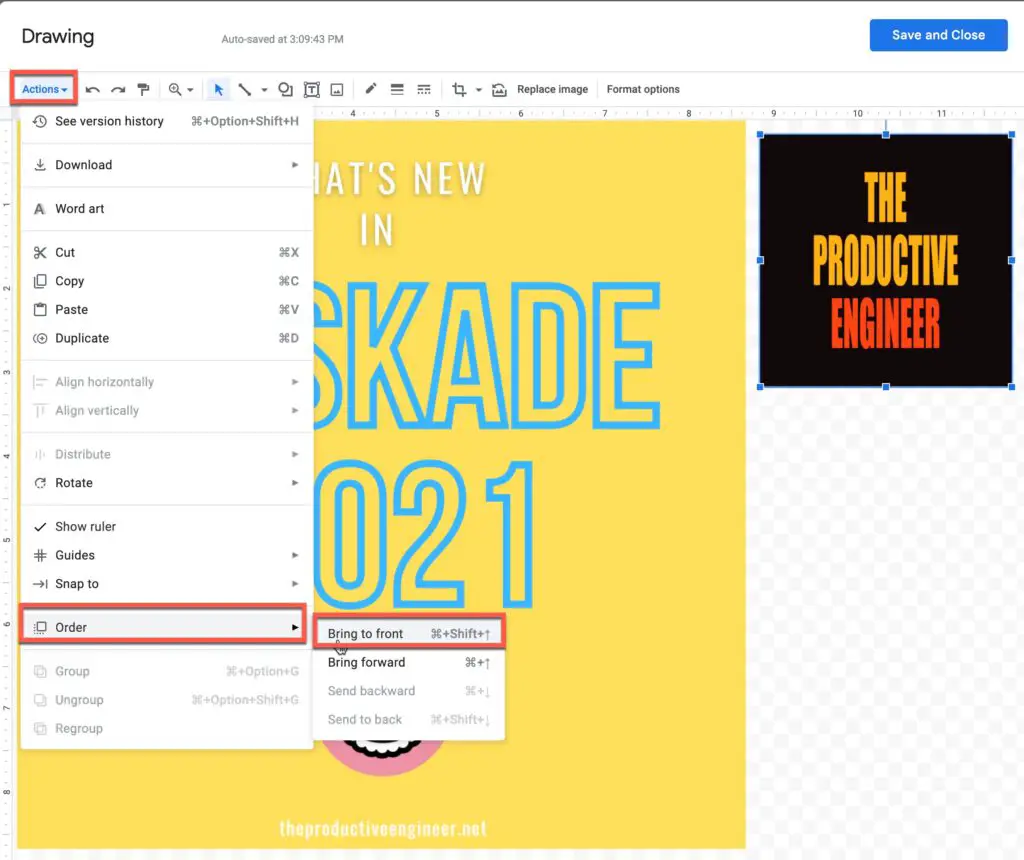
Next, click on the image you want to be “on top”. Go to Actions -> Order -> Bring to Front as shown in the screenshot above.
Step Six: Drag your “top” image over the bottom image
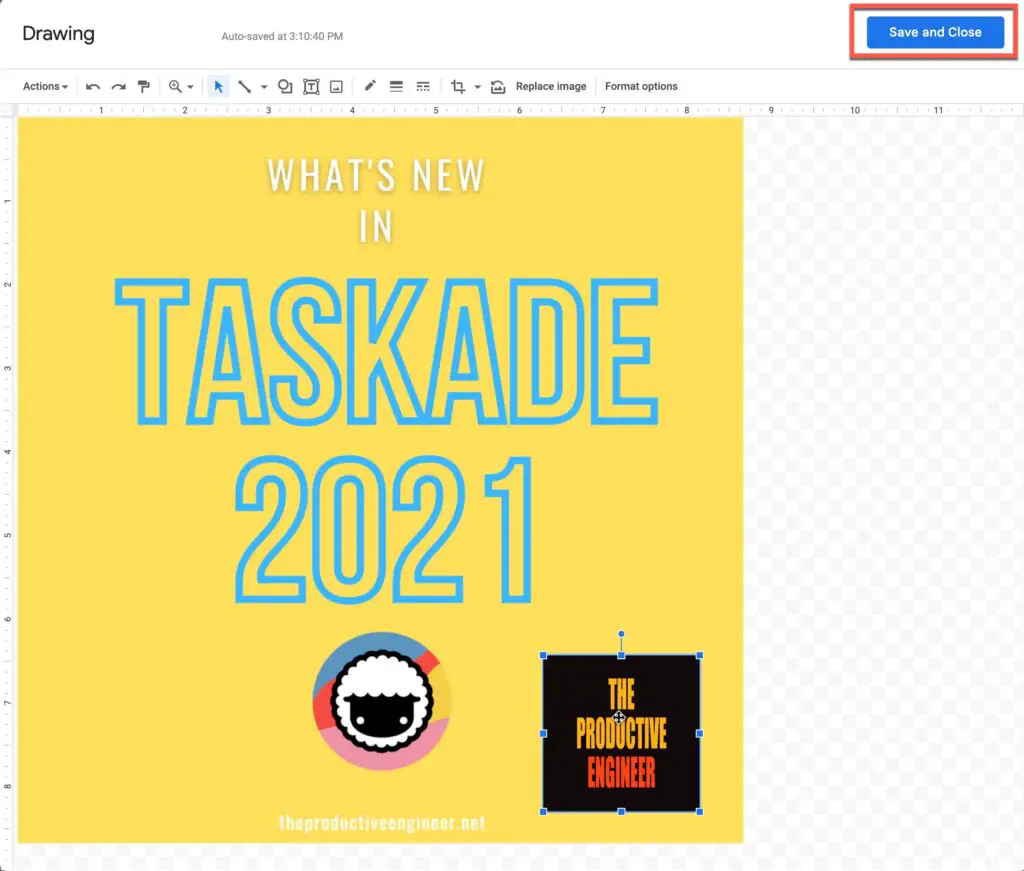
Drag the image you want to layer on top of the other image onto the image you want to be on the bottom. Click the “Save and Close” button as shown in the screenshot above to save your images.
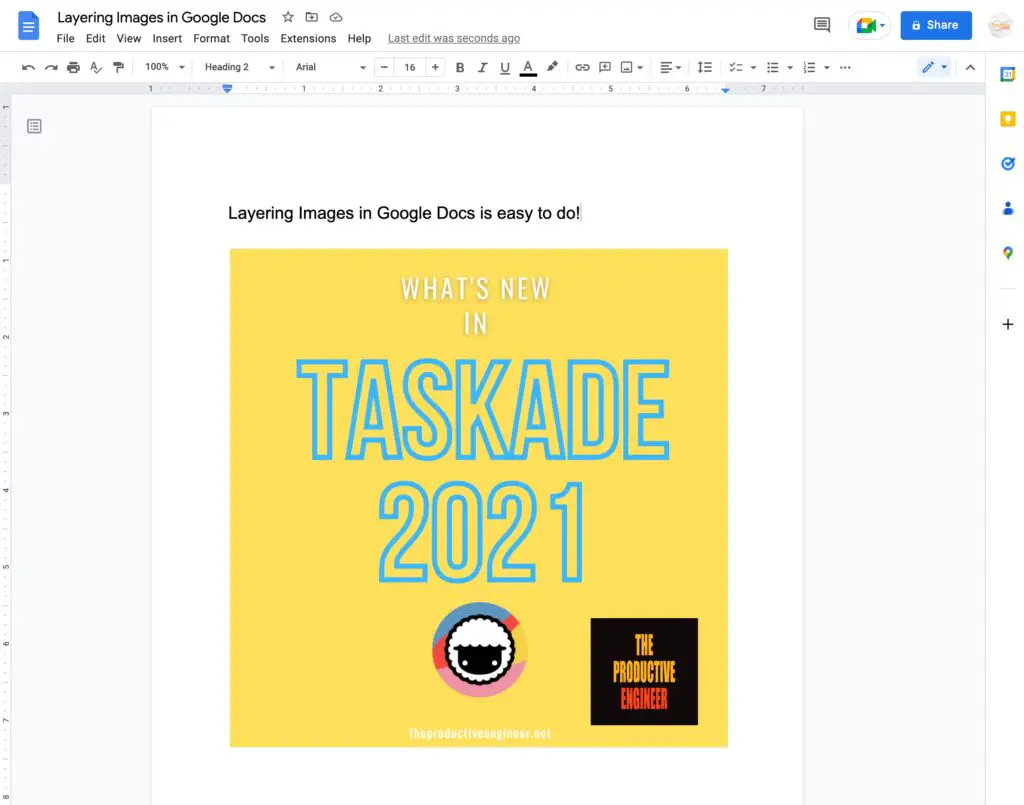
Your images should now show in Google Docs.
Layering Images or Text With Wrap Text in Google Docs
Most people prefer to use the Drawing section to create overlays. But there is another option that you can explore. This is known as layering images. Here are the steps you will need to follow:
- Insert Image. At the top of the page, you will see the Insert tab. In the dropdown menu, you’ll need to choose Image. Then, you will need to find and select the file. This will bring it into the file.
- Add a second image/text box. If you want to overlay two images, you will need to find and insert that file. If you want to overlay text, you will need to create a Text Box. This can be found in the Insert tab.
- Wrap Text. To manipulate your images or text boxes, you will need to set them to Wrap Text. To do this, you will have to right-click on the image. When you do this, you will get the settings. On the right side, there will be three dots in a vertical line. Clicking on these will open a drop-down menu. Select All Image Options. This should open a panel on the right side of the screen. In the Style section, click the Wrap Text option.
- Manipulate the images. You should then be able to easily re-size the pictures or text boxes, by right-clicking on them. This will allow you to manipulate the images until you have the desired overlay. If you want, you can change the picture settings. This will allow you to adjust things like the margins.
Final Thoughts
Learning how to layer your images is an important skill, which can help your documents stand out. Thankfully, the process of layering through Google Docs is relatively straightforward. But you will need to be prepared to play around a little to get the right image positioning.
Can’t Remember Your Passwords? You Need 1Password!
Sources
https://www.picmonkey.com/blog/use-layers-in-your-designs-and-photo-editing
https://support.google.com/docs/answer/97447?hl=en&co=GENIE.Platform%3DDesktop
https://www.wikihow.com/Overlay-Pictures-in-Google-Docs
https://www.groovypost.com/howto/layer-images-in-google-docs