Using Labels (Tags) in Todoist – A Complete Guide with Screenshots
Organizing and sorting your tasks in Todoist is much easier and more powerful when you use labels. Labels in Todoist are the equivalent of tags in other applications. Labels are pieces of metadata you can add to your task that allow you to categorize, search, and sort your tasks.
So how do you create a label and assign it to a task in Todoist? Enclosed below are the instructions for adding a label to a task in Todoist:
- Open the task in Todoist
- Click on the “Add Label” button
- Type in the name of your label
- If the label does not already exist, click “Create [NAME OF LABEL]”
- Click the checkbox to assign the label to the task
This tutorial will teach you how to create and add labels to your tasks as well as how to filter your tasks based on labels.
Before we get started with the tutorial, if you are looking to learn more about apps like Notion, Todoist, Evernote, Google Docs, or just how to be more productive (like Keep Productive’s awesome Notion course), you should really check out SkillShare. Skillshare is an online learning platform with courses on pretty much anything you want to learn. To learn more about Skillshare and its vast library of courses and get 30% off, click the link below:
SkillShare – Online Learning Platform
If you are looking for Todoist tips and tricks, check out my top Todoist tips and tricks at the link below:
Ten Great Tips for Using Todoist
Now let’s get started with the tutorial!
How to Create a Label in Todoist
Creating a new label in Todoist is easy. Create your first label in Todoist by performing the following steps:
Open the Task You Want to Add the Label
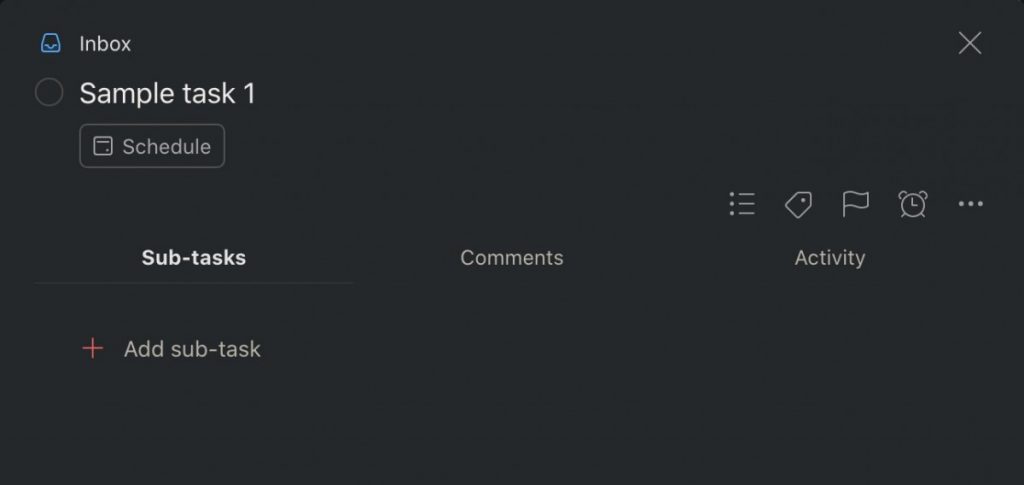
Open up Todoist to the task that you want to create a label for. Note that once you create the label, it will be available as a selectable option going forward in Todoist.
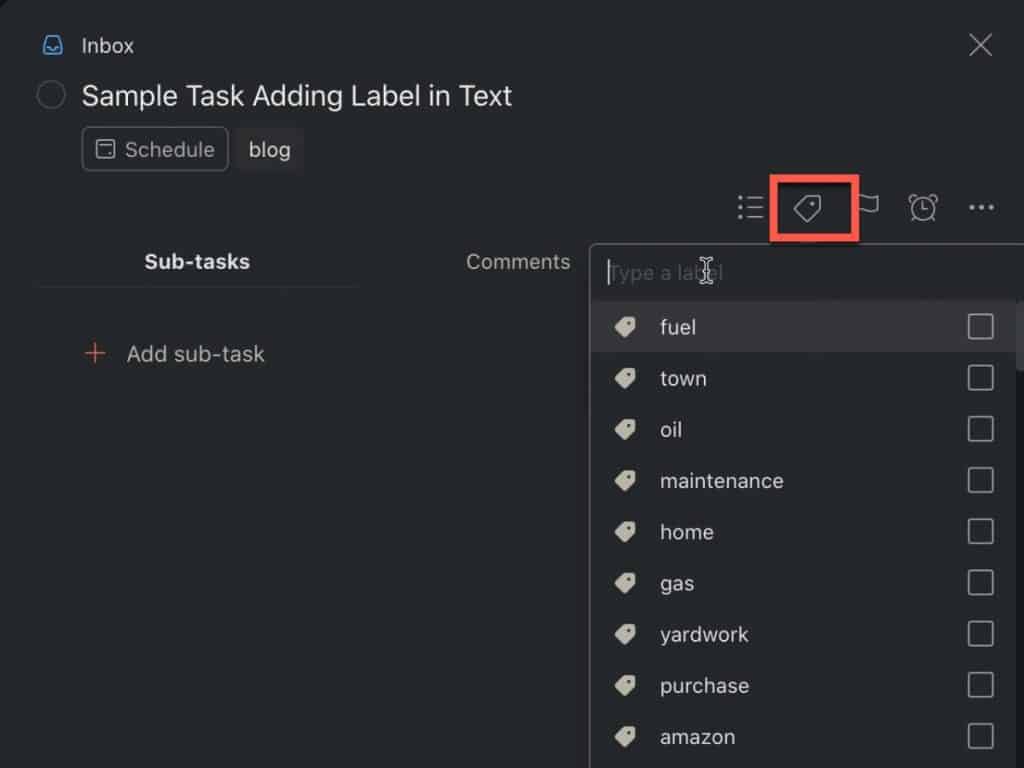
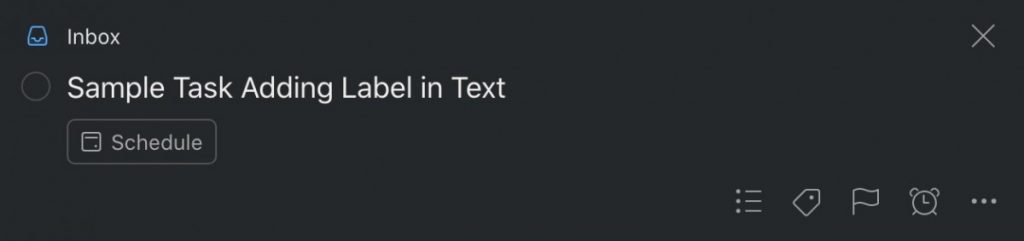
Click on the “Label” Button
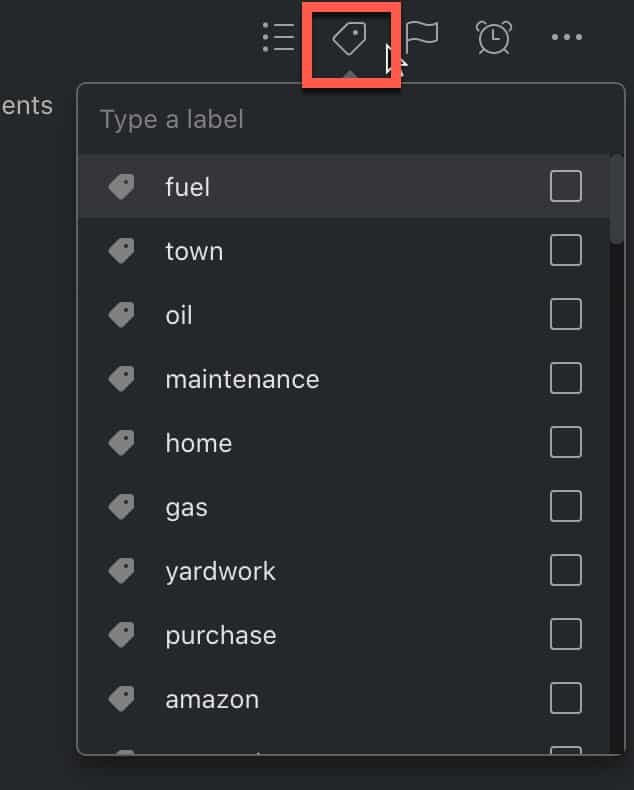
Once you have the task open, click on the “Label” button as shown in the screenshot above.
Type in the Name of Your Tag
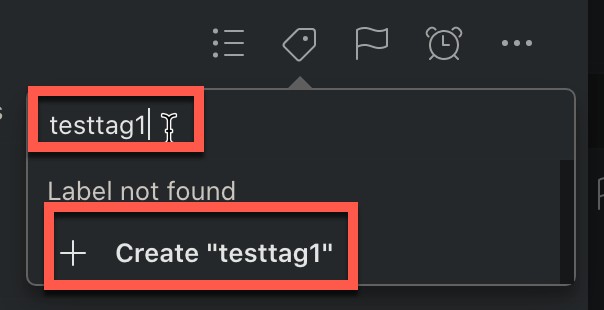
Type in the name that you want for the label in the text box. As this is a new label that you are creating, you should see “Label not found” with a button appearing below that stating “+ Create “[text you typed in text box]”. Click that button.
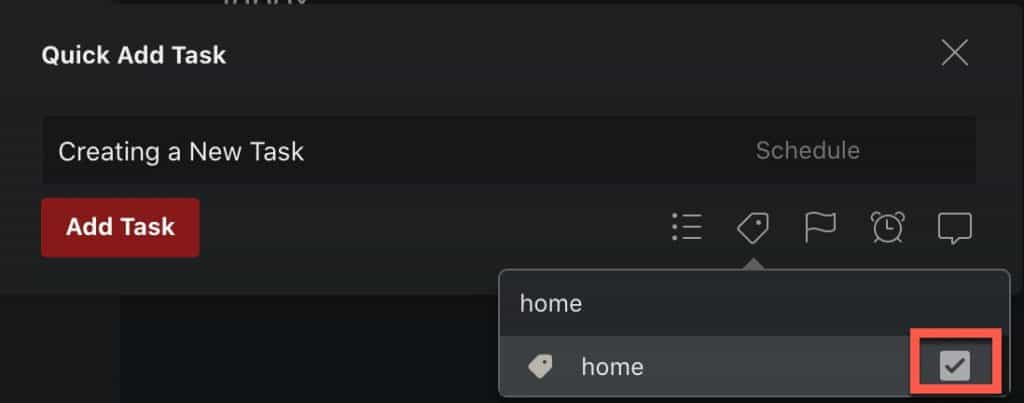
Click the Checkbox to Assign Label to Task

Your screen should look like the screenshot above. Click the checkbox to assign the new label to your task. Note that if you do not click the checkbox, the label will be created but not assigned to your task.
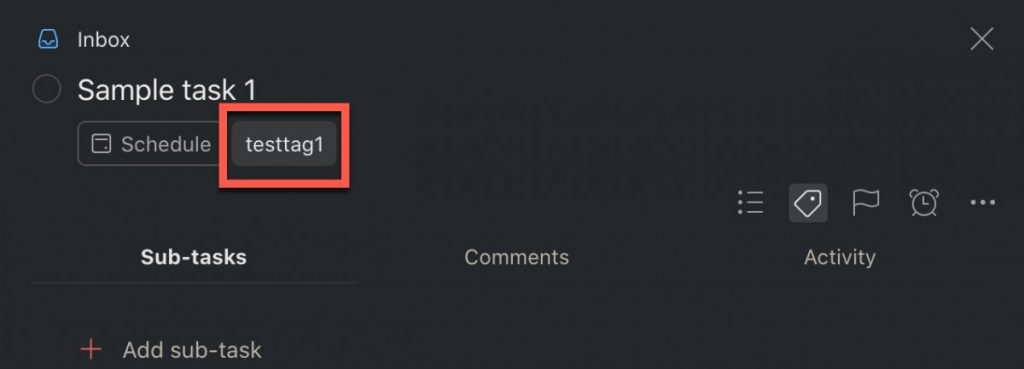
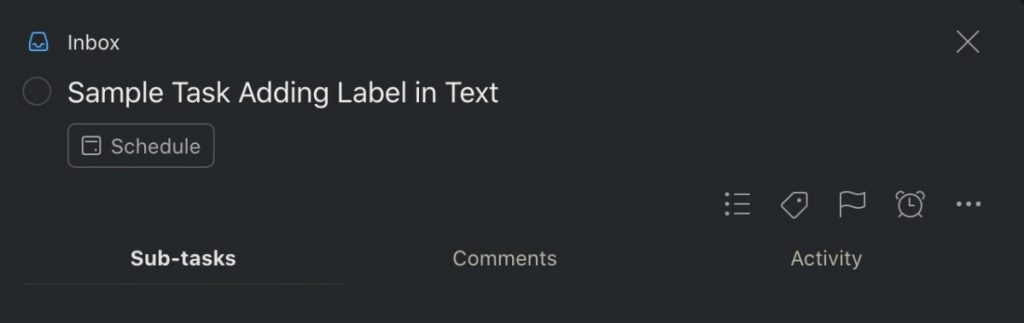
Close your task. You should now see your new label assigned to the task as shown in the screenshot above.
How to Add an Existing Label to a Task in Todoist
Adding a label to an existing task is very similar to adding one to a new task.
Create a New Task

Open Todoist and create a new task by clicking the “+” button.
Type in the Name of Your Task
Click in the text box and type the name of your task. Assign any due dates or priority levels.
Click the Label Button
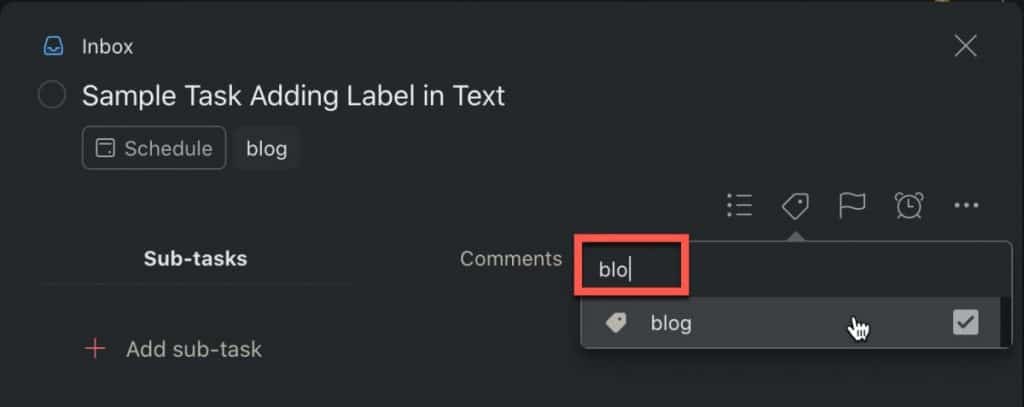
Click on the “Label” button. Start typing the name of your task as shown above.
Check the checkbox next to the label.

Your label should now show up in the text box of your task. Click the “Add Task” button to finish creating the task.
How to Add a Label to a New Task in Todoist Without Having to Click the Add Label button (Quicker)
If you are creating new task, there is a quicker way to add tasks.
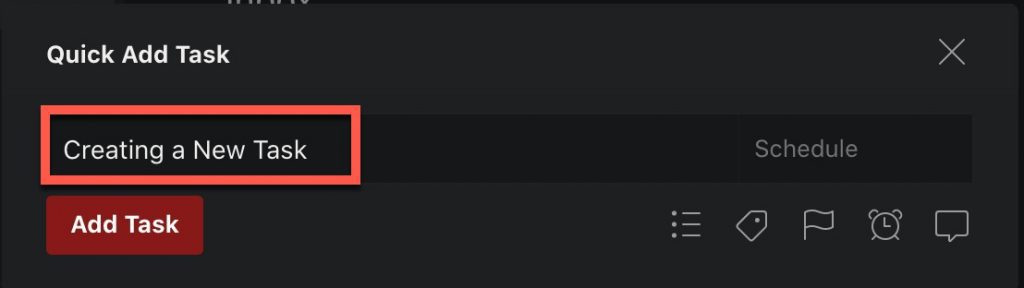
Click the “+” Button to Bring up the Quick Task Add dialog
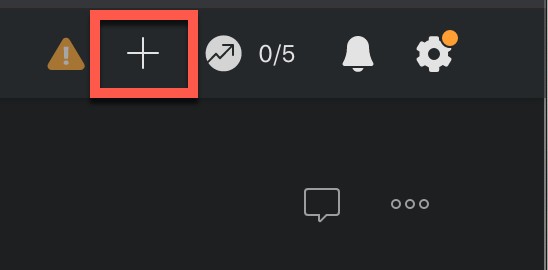
Just like before, click the “+” button to create a task.
Type in Task and Type “@” to Add or Create Label
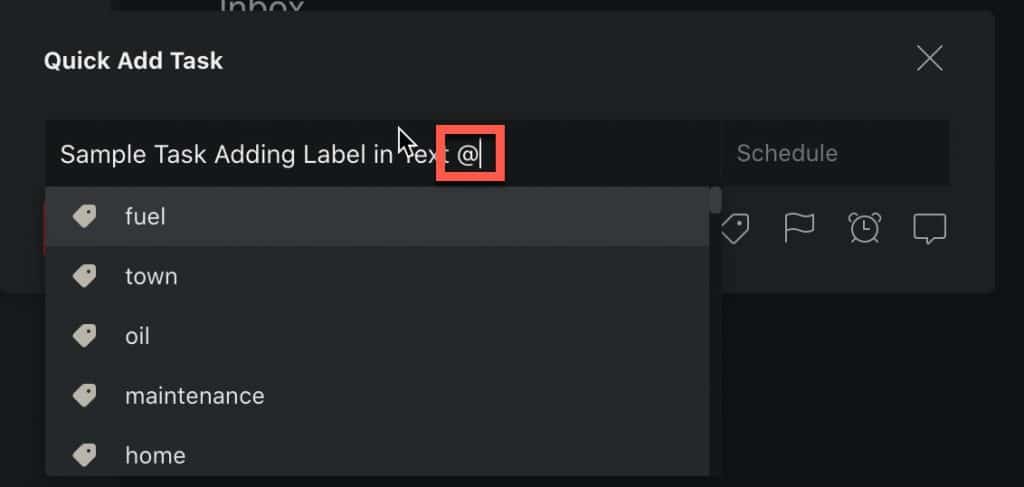
Type in your task. Then type “@”. This will bring up a drop down menu listing your tasks.
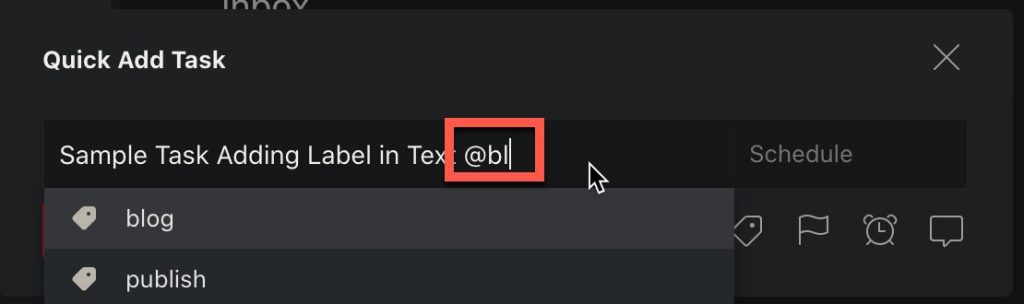
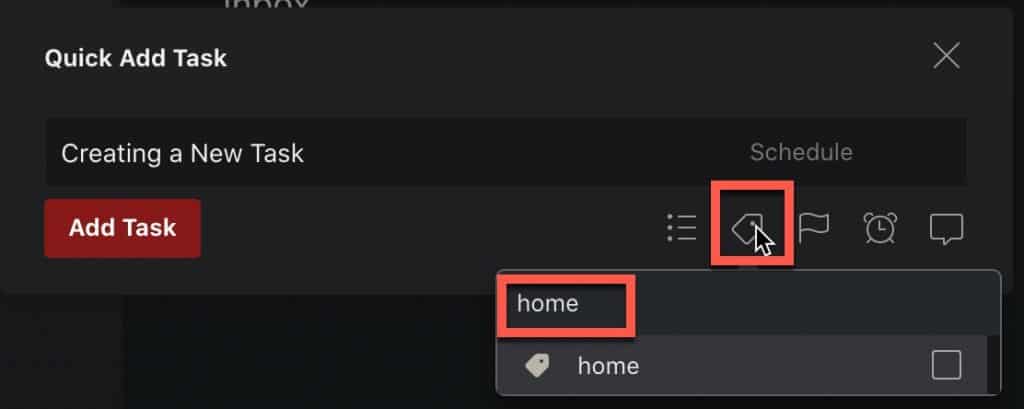
Start typing in the name of your label. Select it once it appears.
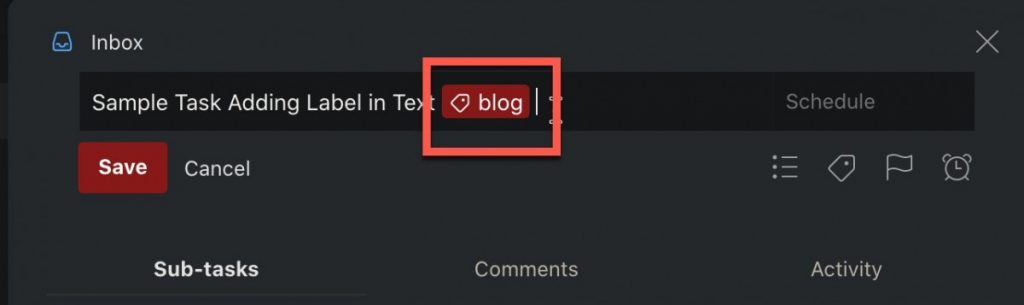
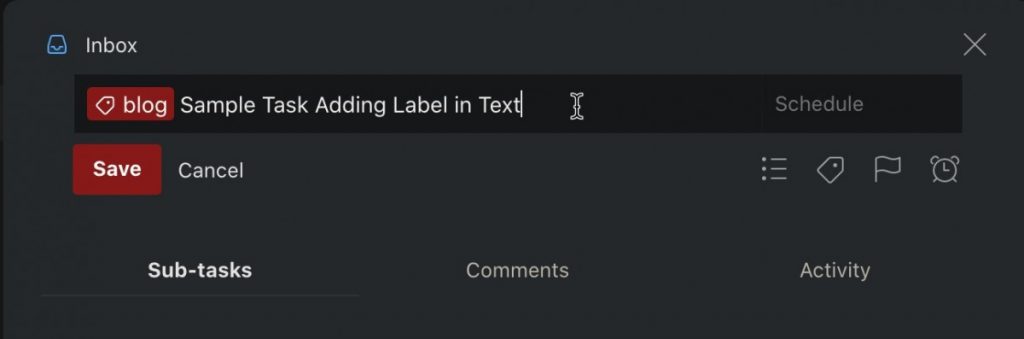
The label will now appear as a label in the text box as shown above. Click “Save” to finish creating your task.
How to Remove a Label from a Task in Todoist
There are two ways to remove a label from a task.
Remove Using the Label Button
Open your Task and click the Label button.
Start typing in the label name. It should appear in the drop down menu.
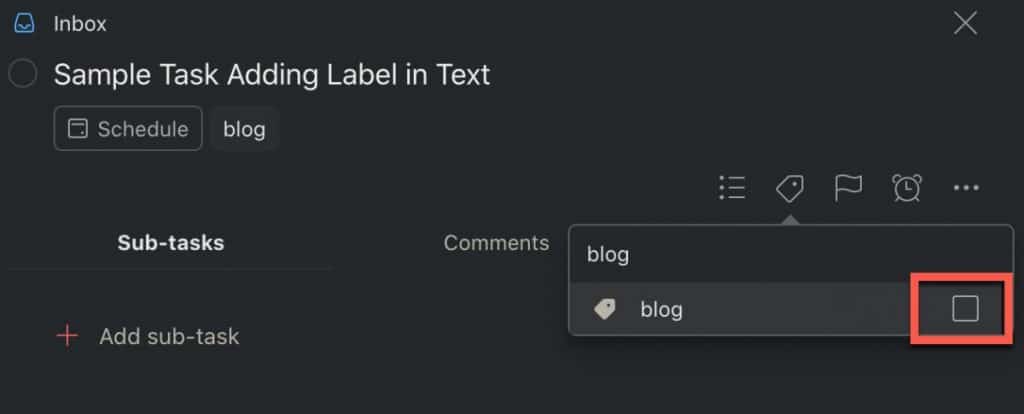
Uncheck the checkbox next to the label name. Click outside the drop-down to close the drop down menu.
The label should now be removed from the task.
Removing a Label from the Task Text Box
You can also remove the label from the task text box.

Open your task with the label you want to remove.
Double-click on the name of your task. Your screen should look like the screenshot above.

Click to the right of the label and backspace until the label is gone. Click “Save” to save the changes to your task.
The label should now be removed from the task.
How to Create a Custom View in Todoist Based on Your Labels Using Filters
Now that you have labels assigned to your tasks, the magic can happen. You can now create filters based on your labels. To create a filter that only shows tasks with a certain label, do the following:
Click on the “+” Sign Next to Filters
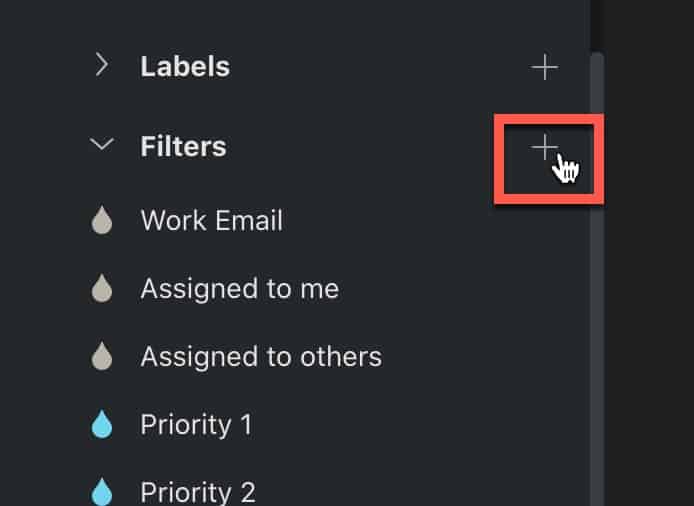
In the left panel, hover over “Filters” and click the “+” button.
Give your Filter a Name
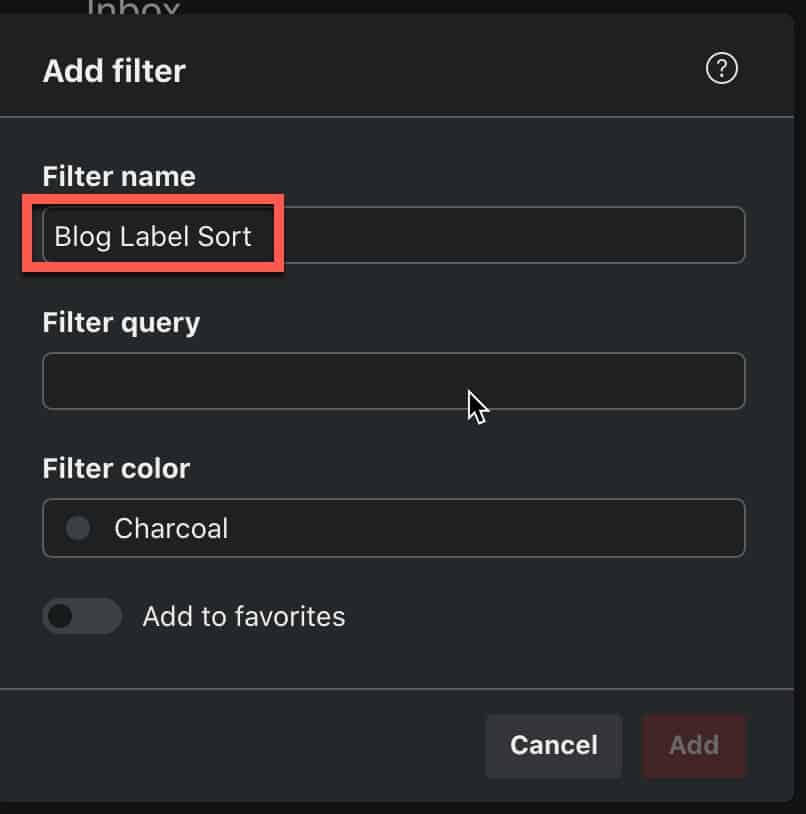
The add filter pop-up will appear. Click in the text box under “Filter name” and type in the name you want to give to your filter.
Type in the Criteria for Your Filter in the “Filter Query” Text Box
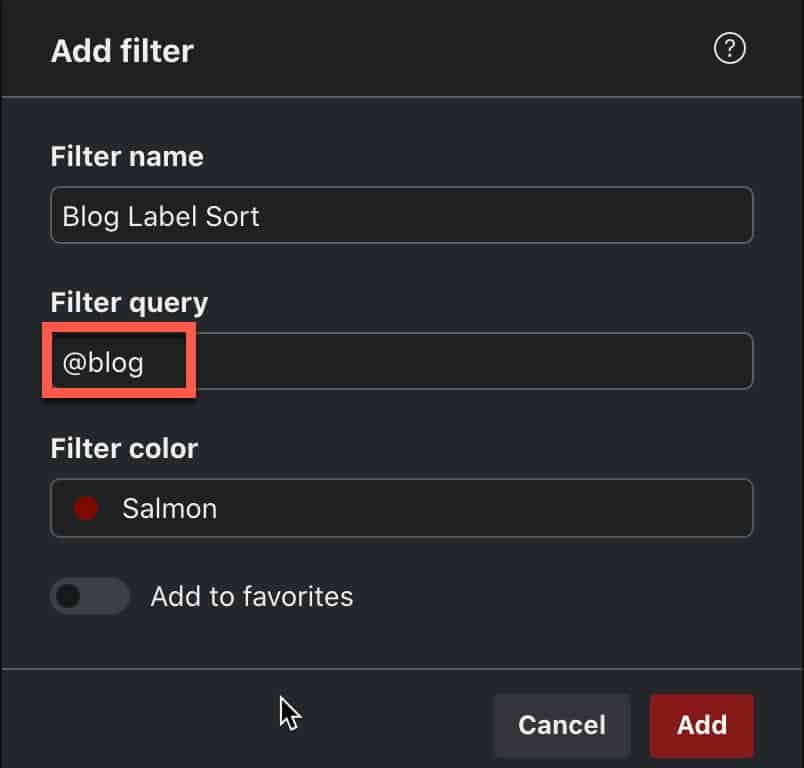
Next, we need to create our filter criteria. Click in the text box under “Filter query”. Type the “@” symbol and the name of your label as shown above. You can optionally customize the color of your filter.
Click “Add” to finish creating your filter.
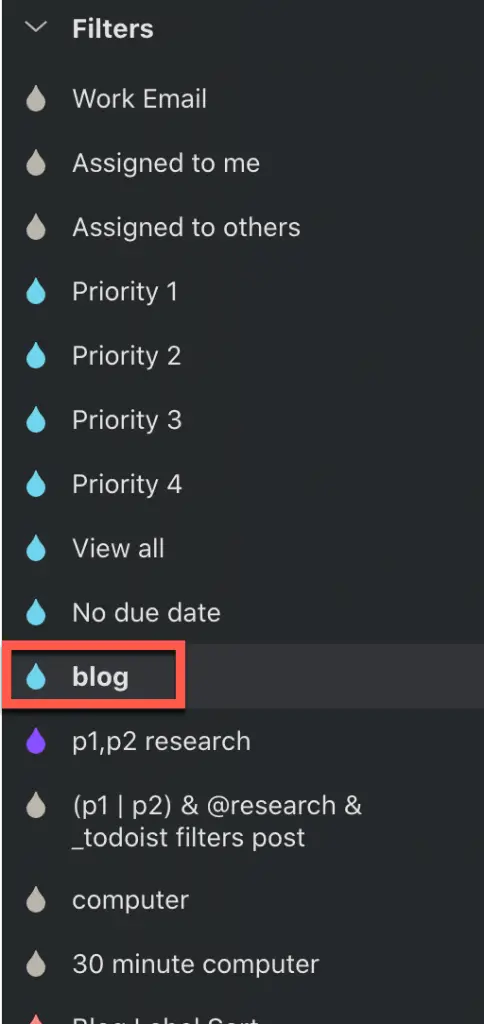
Your new filter will now appear under “Filters” in the left panel as shown above.

Click on your filter in the left-hand panel. The main window should only show you tasks that have the label that match your filter.
Summary
Using labels in Todoist is a superpower if done correctly. Labels allow you to completely customize Todoist to your liking and makes searching and sorting your tasks much easier and much more flexible.
I hope this tutorial was helpful to you. Good luck!
Want More Tips and Tricks? Subscribe to our Newsletter!
If you haven’t already subscribed, please subscribe to The Productive Engineer newsletter. It is filled with tips and tricks on how to get the most out of the productivity apps you use every day. We hate spam as much as you do and promise only to send you stuff we think will help you get things done.
Check Out Our YouTube Channel!
We have a YouTube channel now and we are working hard to fill it with tips, tricks, how-tos, and tutorials. Click the link below to check it out!
Check out our Resources Page
Check out our resources page for the products and services we use every day to get things done or make our lives a little easier at the link below: